






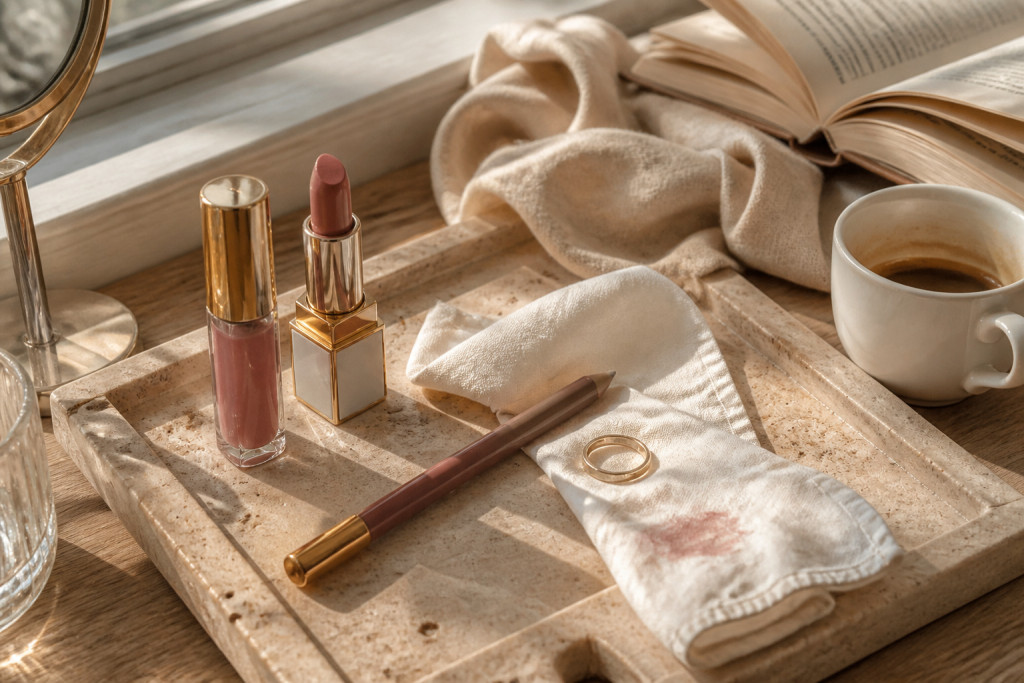

My everyday face used to be a washed-out lip and a lot of regret. Lip makeup for beginners can feel hard, but these 15 small tricks changed how my lips read in photos and in daylight. I’ll show exact shades, where I splurged, what I returned, and simple fixes that cost $5 to $35. Read this if you want predictable color, cleaner edges, and fewer rewrites at lunch.
I lean clean-glam with a hint of 2025 lip blur trends, most picks under $30 and a couple splurges around $45. These suit soft glam, clean girl, and folks learning to match undertone and texture. I noticed cream finishes and tinted oils everywhere this year.
1. Start With A Neutral Base
Style: Clean Girl | Budget: Under $15 | Best For: Evening out pigmented lips


I swipe a tiny clear lip primer before any liner or color. It smooths ridges and keeps color from feathering. I use a pea-size of primer like Clear lip primer balm around $8 to $14 and press with my ring finger for 10 seconds. Once I skipped this and the liner bled by noon, so now I never skip it.
Shop this idea:
2. Use A Pencil Two Shades Deeper
Style: Polished | Budget: Under $12 | Best For: Creating natural definition
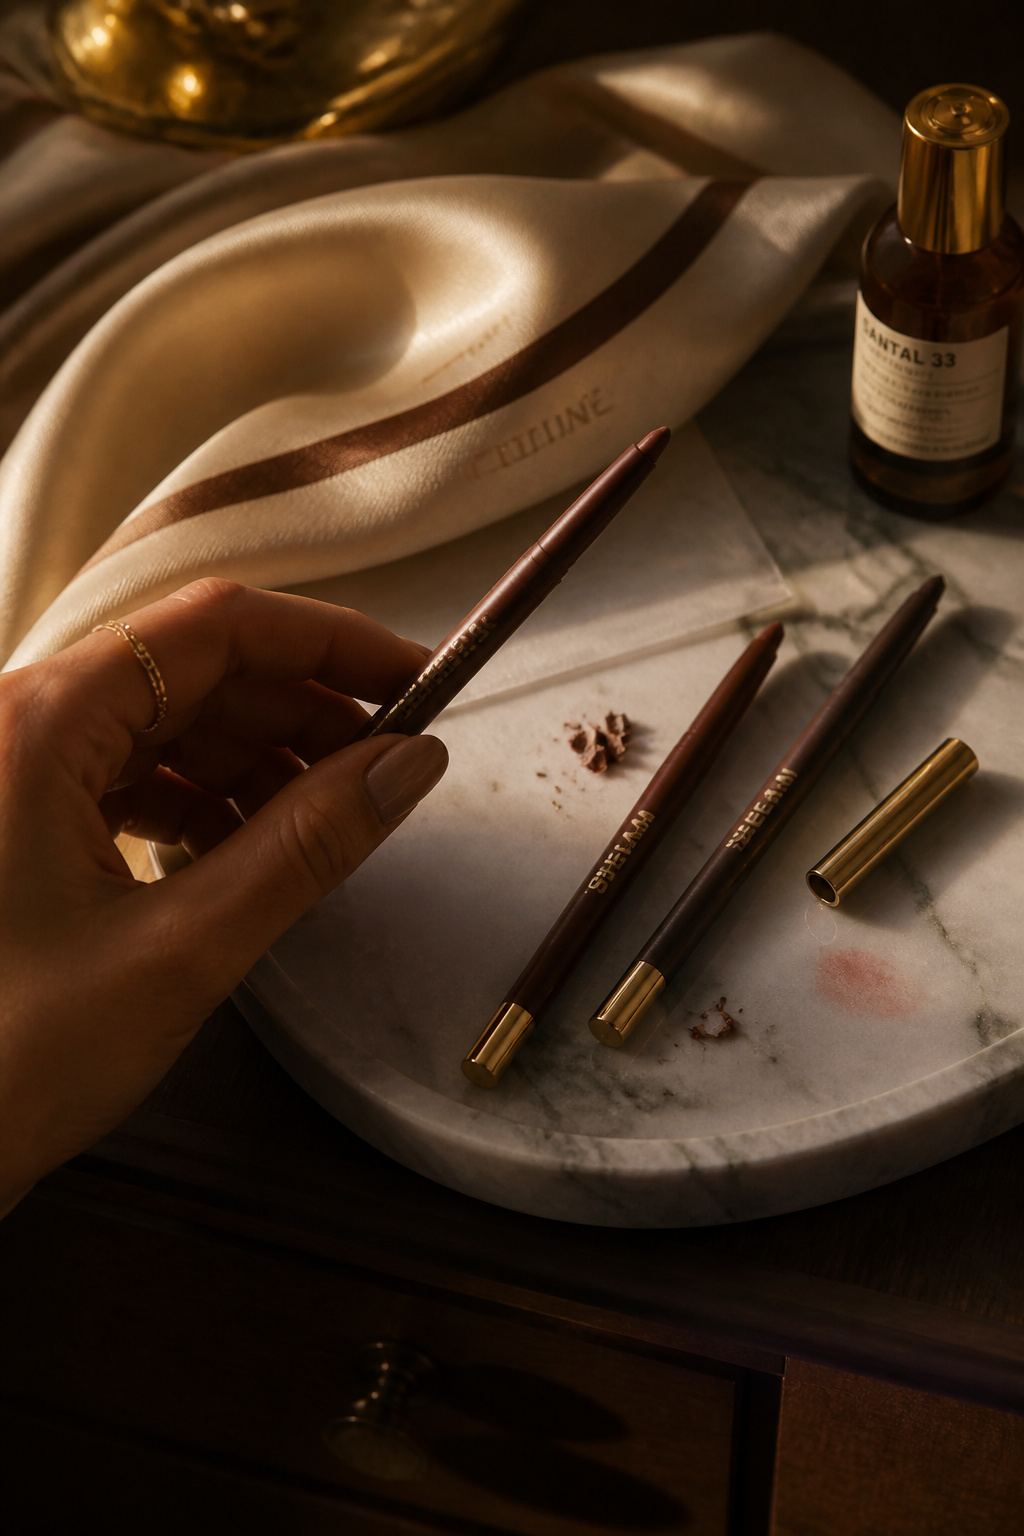

Sketching just outside your natural lip line with a liner two shades deeper gives dimension without obvious outline. I like a warm brown pencil like Warm brown lip pencil around $6 to $12. Tip: soften the edge with a fingertip or a tiny concealer brush. I learned this after a brutal sharp-liner day where everyone asked if I’d eaten too much.
Shop this idea:
3. Smudge The Liner For A Soft Ombre
Style: Soft Glam | Budget: Under $18 | Best For: Youthful, blurred lip look
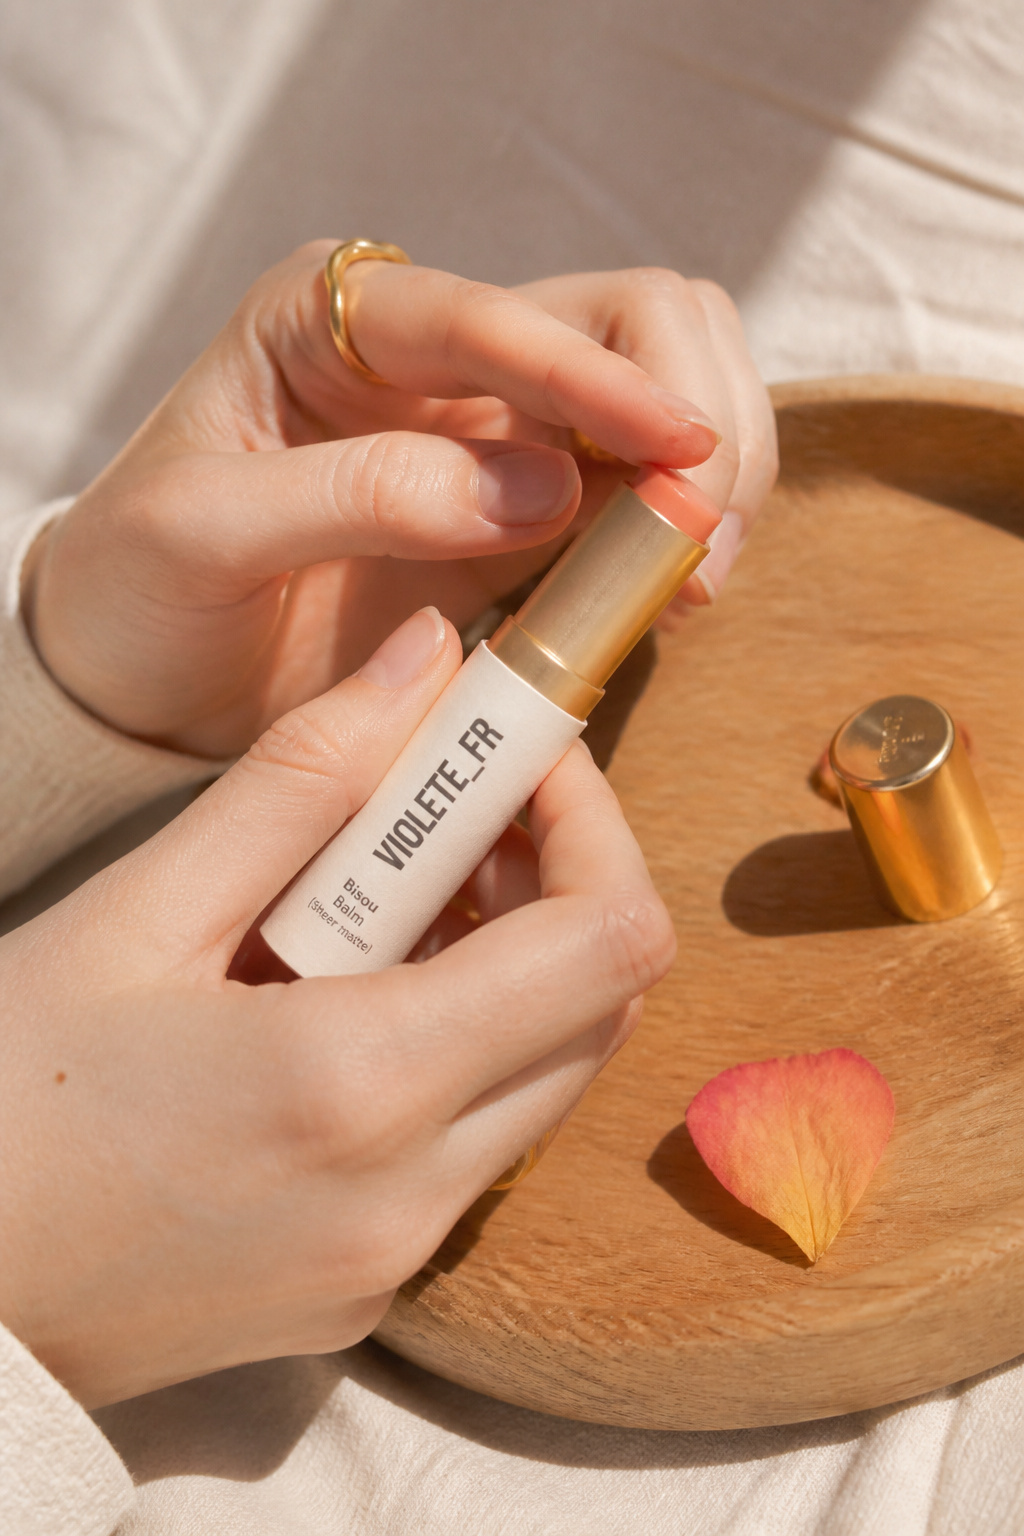

The trick is to smudge your liner inward before applying lipstick. Use a smudger brush or fingertip and swirl for a soft ombre. I use Smudger lip brush travel around $5 to $12. Ugly truth: a crisp line often reads dated unless you want bold editorial lips. Smudging helped me stop overlining.
Shop this idea:
4. Match Liner Texture To Formula
Style: Curated | Budget: Under $20 | Best For: Lipstick longevity
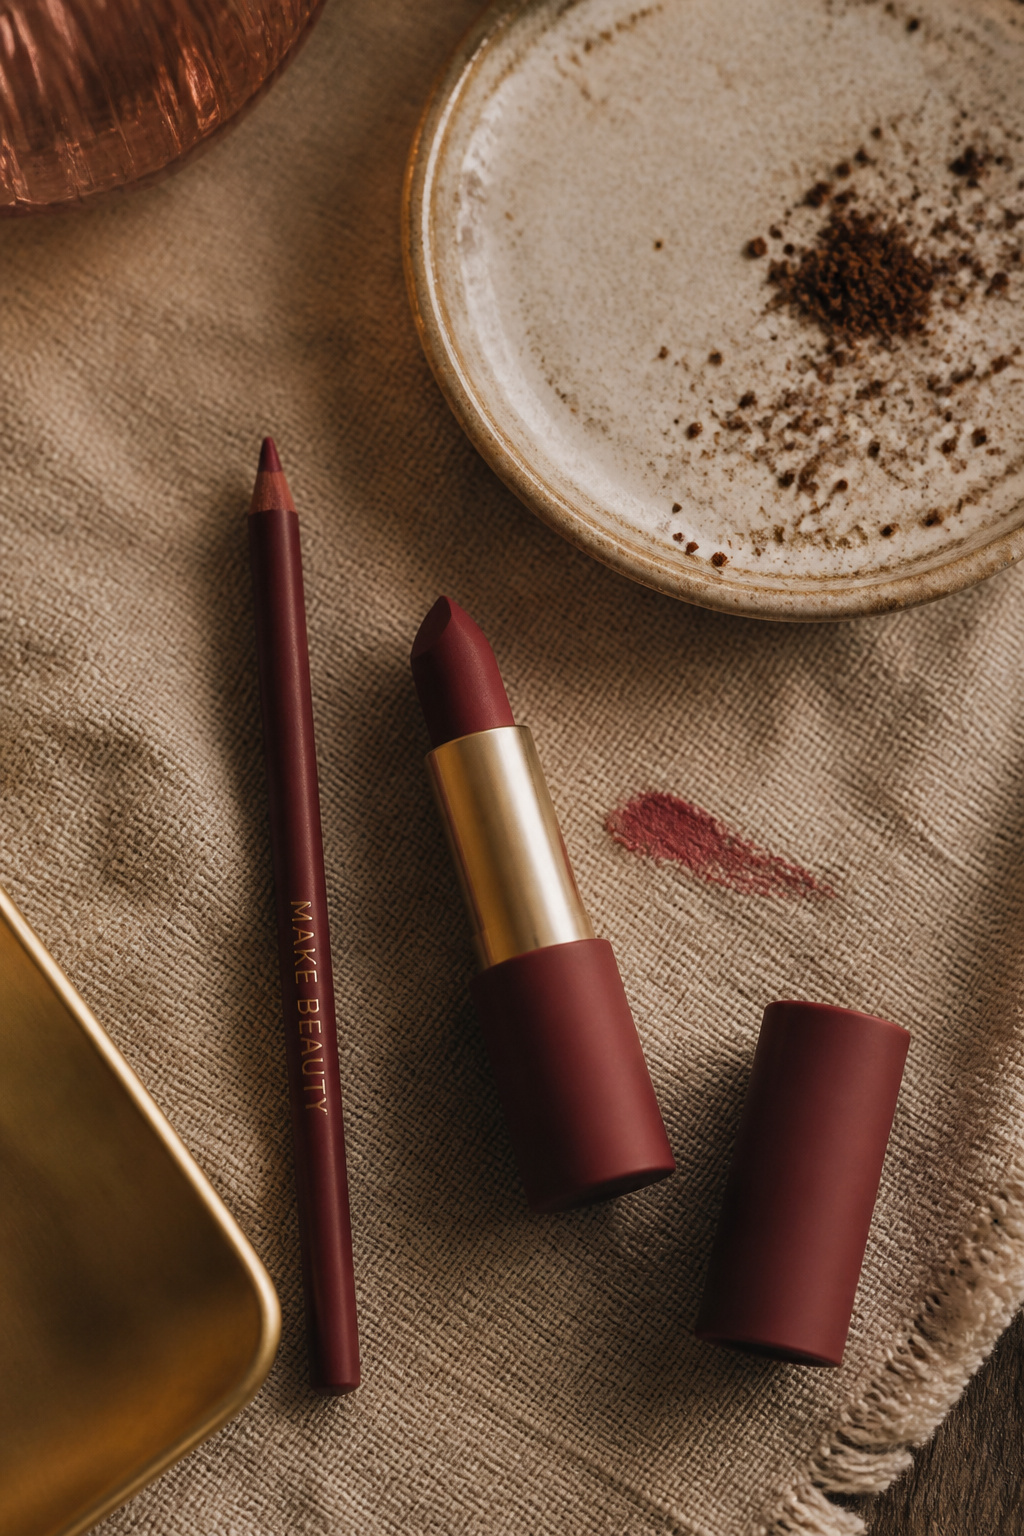

If you use matte liquid lipstick, pick a waxy matte liner. For gloss or balm, choose a creamy, blendable pencil. I switched to a creamy liner like Creamy nude lip liner around $7 to $14 and found transfer and cracking went down. Tip: test swatches on your wrist before buying to check finish.
Shop this idea:
5. Use Concealer For A Clean Cupid’s Bow
Style: Elevated | Budget: Under $20 | Best For: Crisp edges in photos


After I overlined once at a wedding, I now carve edges with a tiny concealer brush. A dab of Mini concealer brush kit around $8 to $18 sharpens the cupid’s bow and cleans bleed. Practical tip: warm the concealer on your finger first so it blends invisibly.
Shop this idea:
6. Try A Tinted Lip Oil First
Style: Clean Girl | Budget: Under $20 | Best For: Dry lips and natural shine
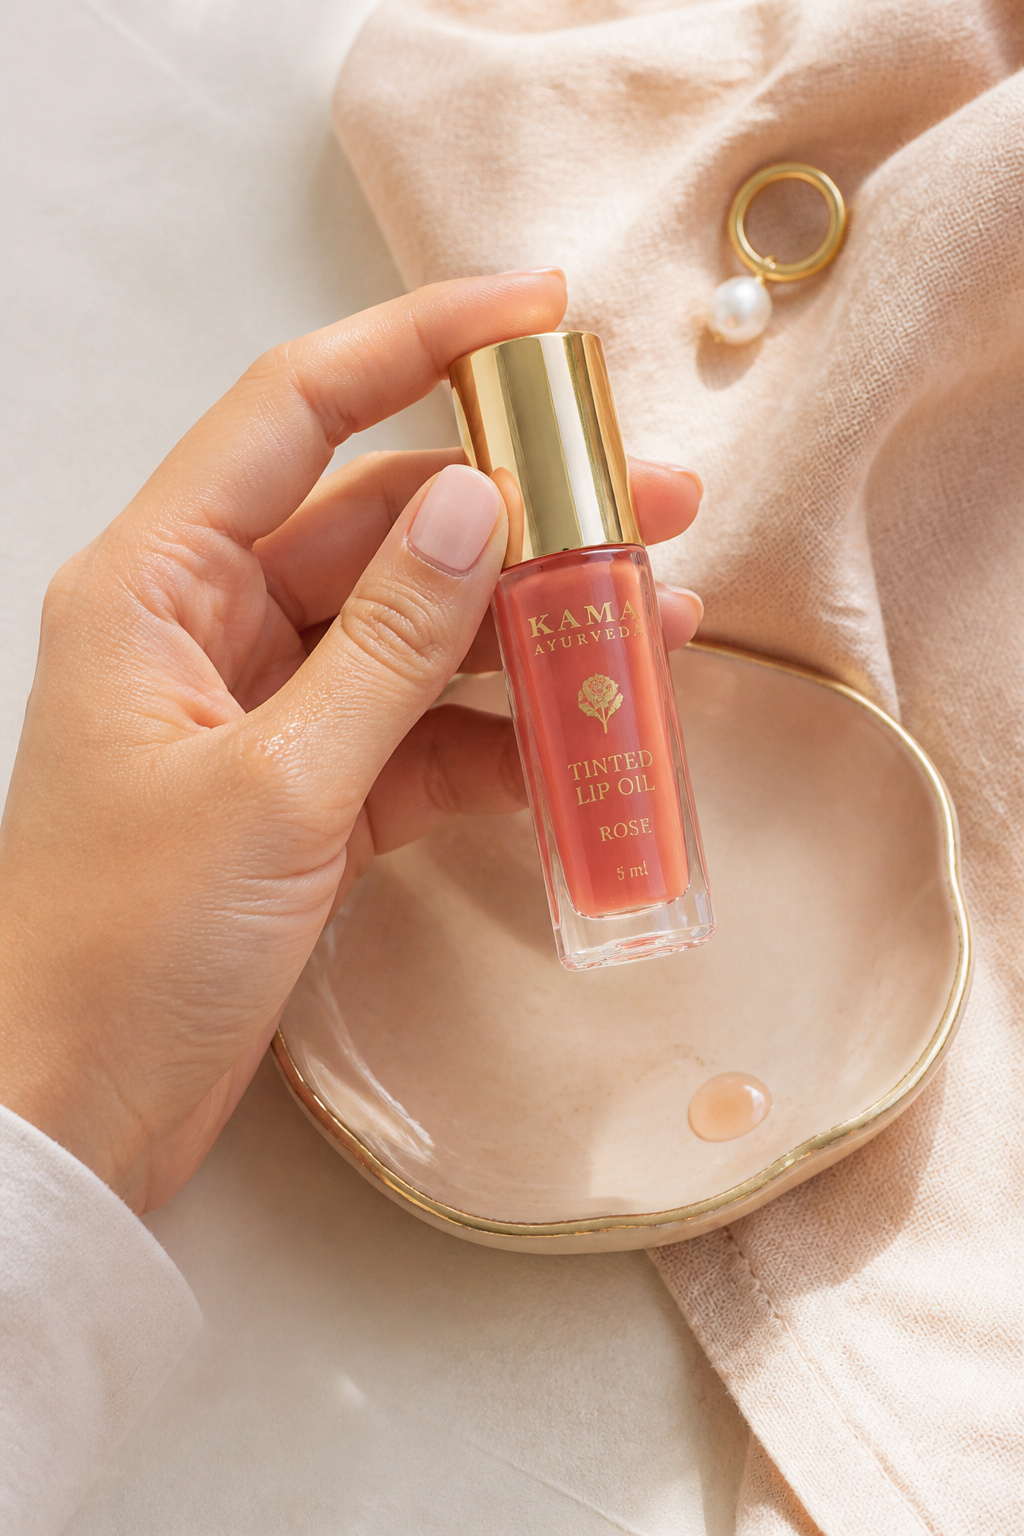

If liners intimidate you, start with a tinted lip oil. It adds color and hydrates without precision. My go-to is Berry tinted lip oil around $10 to $18. I learned this after many brittle-lip days; oils keep pigment even and save me from lining mistakes.
Shop this idea:
7. Use A Lip Brush For Mixing Shades
Style: Soft Glam | Budget: Under $15 | Best For: Custom color blending


Mixing a deeper liner and lighter lipstick with a lip brush gives control and avoids harsh lines. I keep a Mini lip brush around $6 to $12 in my clutch. Practical note: clean the brush weekly. I once mixed two reds and discovered my perfect fall shade by accident.
Shop this idea:
8. Blot Before You Go
Style: Polished | Budget: Under $5 | Best For: Longer wear without transfer


After applying, blot once with a tissue and set lightly with translucent powder through a thin sheet. It reduces transfer and keeps color. I use Facial blotting tissues around $3 to $7. Ugly truth: some long-wear formulas still crumble if you pile on more product. Less is usually better.
Shop this idea:
9. Keep A Liner For Lipstick Touch-Ups
Style: Minimal | Budget: Under $12 | Best For: Quick fixes on the go


Carry a slim retractable liner in your bag to tidy edges after coffee. I use Retractable lip pencil slim around $6 to $12. Pro tip: match liner to your outer lip shade for invisible fixes. I once saved an interview by re-lining in the bathroom mirror.
Shop this idea:
10. Layer Gloss Only In The Center
Style: Clean Glam | Budget: Under $14 | Best For: Plumper-looking lips
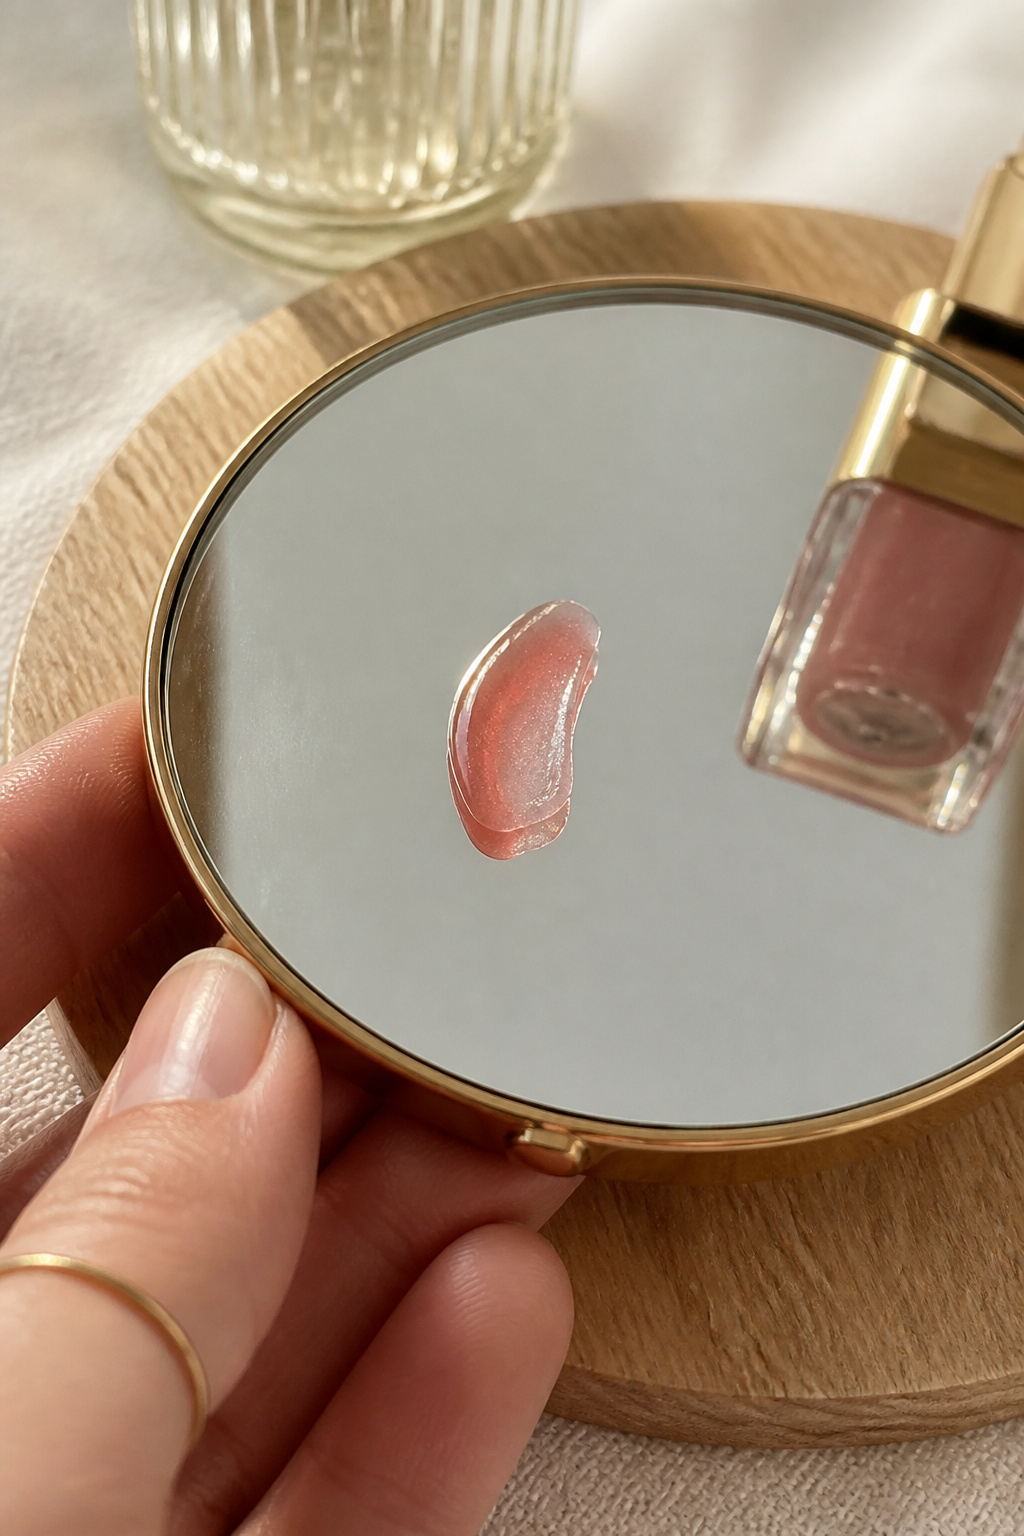

Apply gloss just to the center of your lips to catch light and create a plumped effect. Use a small doe-foot and press lips together lightly. I reach for Clear plumping gloss mini around $10 to $18. Ugly truth: full-lip gloss can look sticky in photos.
Shop this idea:
11. Try Lip Stains For Active Days
Style: Sporty Minimal | Budget: Under $16 | Best For: Masks, workouts, long meetings


Lip stains survive sweat and masks better than many pencils. A thin layer gives tinted skin finish. I keep Long-wear lip stain around $8 to $16 for travel. Tip: exfoliate first or stains emphasize dryness. I learned to always balm overnight before using stains.
Shop this idea:
12. Use A Highlight Under The Nose
Style: Soft Glam | Budget: Under $12 | Best For: Balanced upper lip focus
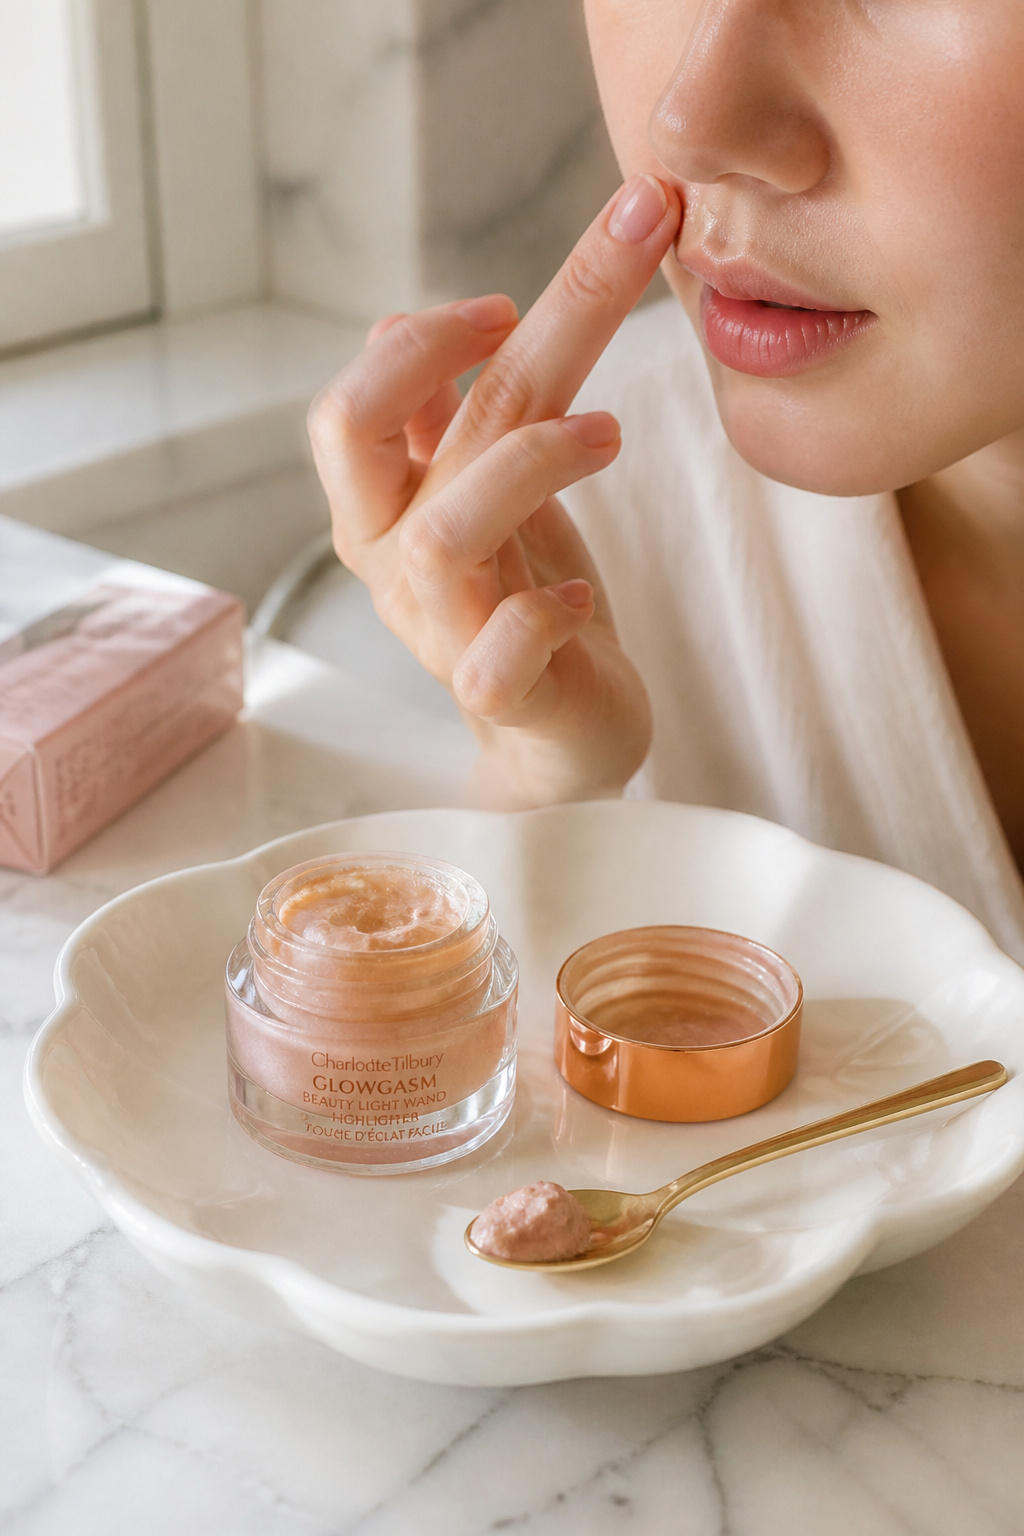

A sliver of cream highlight under the nose subtly lifts the upper lip and makes liner look cleaner. I use Mini cream highlighter stick around $9 to $14 and blend with a fingertip. I tried intense contour once and learned tiny highlights read better on camera.
Shop this idea:
13. Embrace Warm Undertones For Natural Look
Style: Curated | Budget: Under $25 | Best For: Warm and neutral undertones


If your veins read green, try warm peachy or caramel liners instead of cool pink. I found Caramel nude pencil around $7 to $14 flatter my skin. Practical tip: swatch on your inner wrist and take a photo in daylight to compare. My swatches helped me stop buying cool mauves that vanished on me.
Shop this idea:
14. Keep Lining Light On The Inner Corners
Style: Minimal | Budget: Under $12 | Best For: Avoiding harshness on small lips


Heavy lining in inner corners can make lips look smaller. I lightly blend liner inward and leave the center softer. Use Blendable nude pencil around $6 to $12. I once over-lined inward and the effect read clownish in photos, so now I always check from a few feet away.
Shop this idea:
15. Practice On A Mirror With Daylight
Style: Intentional | Budget: Free Practice | Best For: Building muscle memory
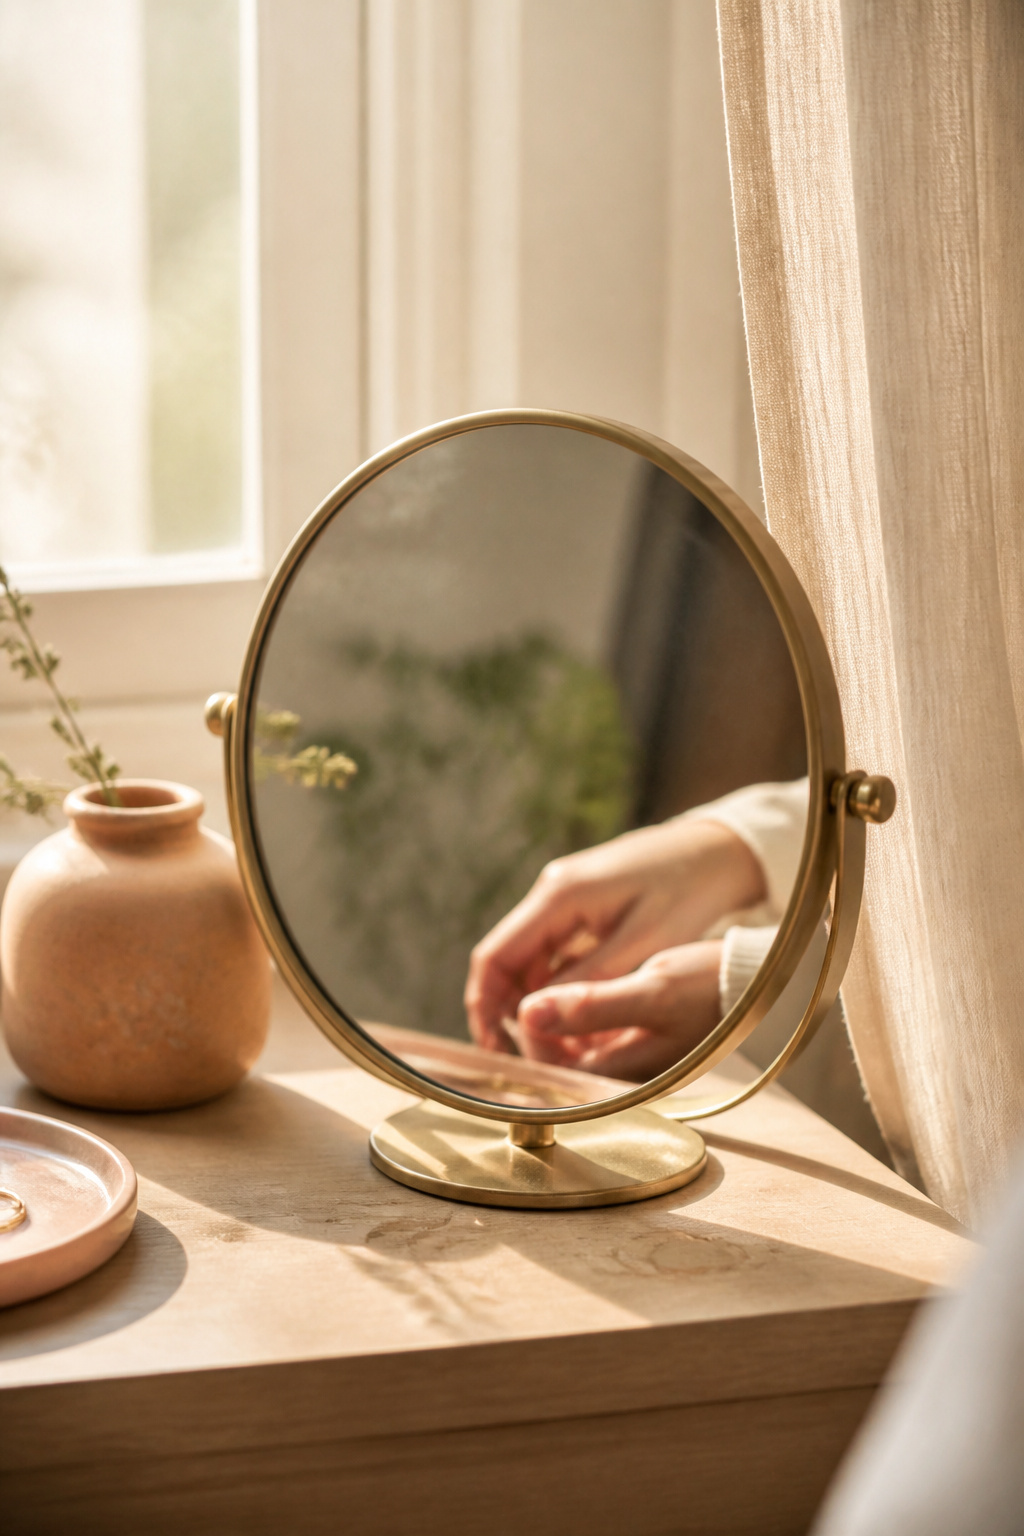

The fastest improvement came from practicing in natural light for 10 minutes a day. Trace a line, smudge, and remove it. I used Small tabletop mirror daylight around $12 to $25. Station practice near a window and you’ll notice how liner appears in real life, not just bathroom bulbs.
Shop this idea:
What You'll Need to Get This Look
Face & Base Essentials
- Clear lip primer balm around $8 to $14
- Mini concealer brush kit around $8 to $18
- Facial blotting tissues around $3 to $7
- Mini cream highlighter stick around $9 to $14
Eyes, Brows & Lips
- Creamy nude lip liner around $7 to $14
- Retractable lip pencil slim around $6 to $12
- Mini lip brush around $6 to $12
Clothing Staples
- Silk scarf soft pink around $12 to $30
- Cashmere crewneck sweater cream approx $60 to $120
Shoes, Bags & Jewelry
- Gold chunky hoop earrings 14k around $20 to $60
- Leather tote bag tan (price range $80 to $200)
Budget Swaps
- Drugstore long-wear lip stain around $6 to $12
- Affordable tinted lip oil around $8 to $14
Shopping Tips for These Looks
Shop seasonal sales: Buy warm liners and deep shades in fall sales like Black Friday and Friends and Family events. Check lip pencil sets on sale for bundle discounts.
Test in daylight: Bring samples home and swatch by a window before committing to a full-size lipstick, especially for undertone match. Try mini sample kits.
Thrift and layer: Pair a thrifted silk scarf with a new gloss for texture and savings. Look for color matches rather than brands in thrift stores.
Buy multipurpose items: Tinted oils and cream sticks work as blush and lip color, which saves space and money. See multi-use cream sticks.
Watch for 2025 shift: Many small brands are launching cream formulas and recyclable packaging in 2025, so consider buying refillable liners. Search refillable lip pencil.
Frequently Asked Questions
Q: How do I choose the right liner shade?
A: Pick one shade deeper than your natural lip or your intended lipstick. Try a small nude lip pencil sampler to compare in daylight.
Q: Do I need a liner with a tinted balm?
A: Not always. For sheer tints, a creamy liner helps if you want structure. I recommend a creamy blendable pencil for morning quick-fixes.
Q: Can I use eyeliner as lip liner in a pinch?
A: You can, but avoid gels with strong fragrances and non-food-safe pigments. Use a neutral multi-use nude pencil instead.
Q: How often should I sharpen liners?
A: For wooden pencils, sharpen after every two to three uses to avoid soggy tips. Retractables need a light twist and wipe. Keep a compact sharpener travel handy.
Conclusion
Start with one small change, like a tinted oil or a warmer pencil, and practice in daylight for five minutes a day. My biggest leap came from matching liner finish to lipstick, not obsessing over brand. Which trick will you try first, the smudge method or center gloss?


