






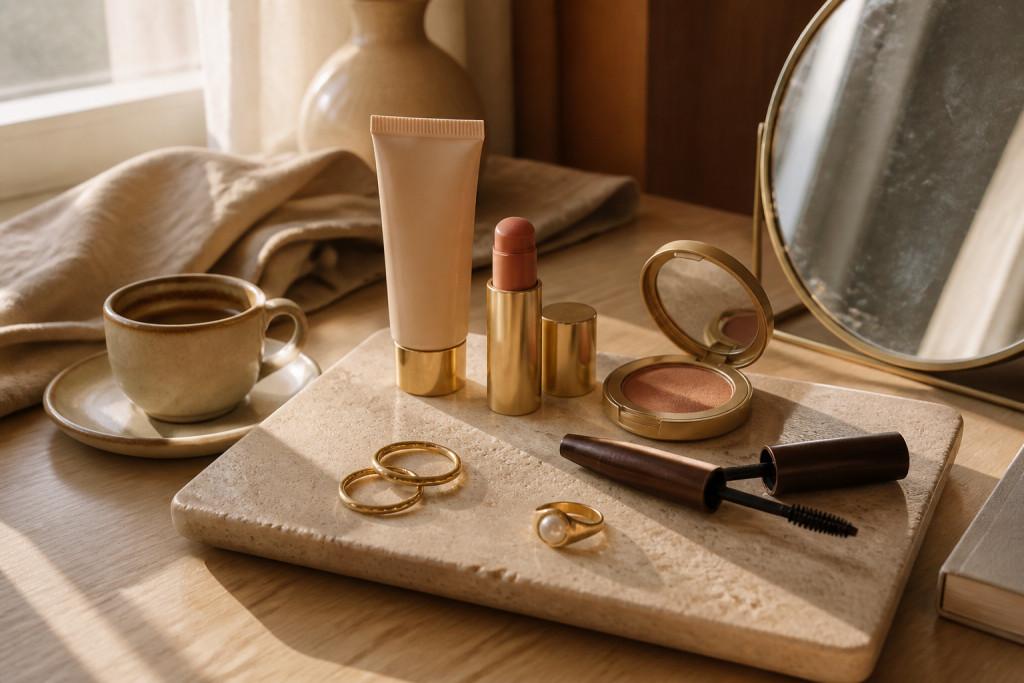

My everyday face now takes 7 minutes, not 30. Minimal makeup looks is my obsession because the goal is always skin that reads like skin, not a mask. I tested 15 pared-back combos, most under $40, a few splurges around $120, so you can pick what fits your routine and wallet.
I focused on fresh, lived-in finishes for warm, cool, and neutral tones. Most picks are under $30, a couple splurges around $95 to $120. These suit clean girl, soft glam, and mature skin types. Also, I've noticed cream products and skin-first SPF routines everywhere lately.
1. Tinted Moisturizer + Spot Conceal
Style: Clean Girl | Budget: Under $30 | Best For: Light coverage, dry to combo skin


The result is dewy, even skin without cake. I use a tinted moisturizer instead of foundation and only conceal redness and one under-eye spot. The trick is tap, don’t rub, and blend with a damp sponge. I grabbed a tinted moisturizer with SPF for daily protection, around $18 to $28, and my partner noticed I looked "rested" without makeup on. Ugly truth: full-coverage foundations often make my pores and fine lines shout.
Shop this idea:
2. Cream Blush Stippling On Cheeks
Style: Soft Glowy | Budget: Under $20 | Best For: All undertones


Cream blush gives a skin-fresh flush that powders never do. I dot into the apples of my cheeks with fingertips and blend upward toward the temple for a lifted look. Pick shades: peach for warm, dusty rose for neutral, cool berry for deeper tones. A small cream stick was $12 to $18 when I found it at Ulta during a sale and replaced bulky powder compacts. Mistake to avoid: over-blending kills the glow.
Shop this idea:
3. Brown Mascara and Feathered Brows
Style: Clean Girl | Budget: Under $18 | Best For: Soft natural framing
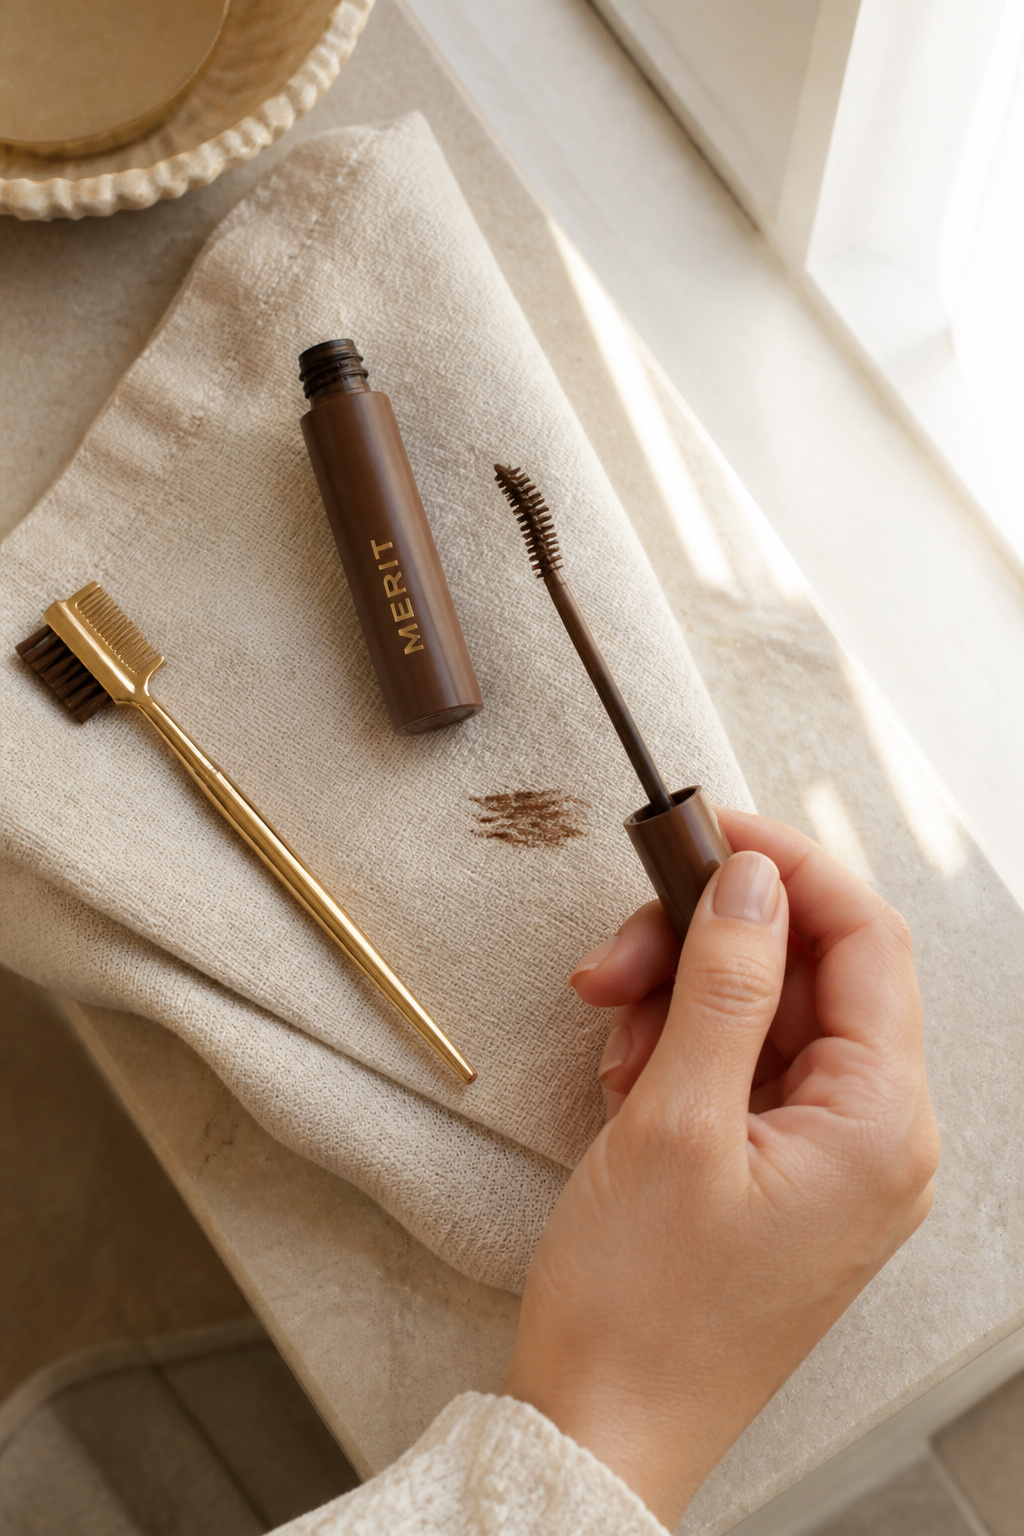

Brown mascara softens lashes and reads natural next to feathered brows. I swap black for brown for daytime and focus on a single coat of mascara at roots. For brows, I use a tinted gel and comb through in short upward strokes. Price note: brown mascara was about $10 to $16; tinted brow gel about $8 to $15. Ugly truth: heavy brow pomades look drawn-on in sunlight.
Shop this idea:
4. Sheer Lip Tint With Gloss Topper
Style: Tonal Minimal | Budget: Under $15 | Best For: On-the-go touch ups


A sheer lip tint plus clear gloss keeps the mouth looking hydrated and natural. I dab tint with the tip of my finger, then press a glossy balm in the center for dimension. Choose a warm rose for universal wear. I spent $9 on a tinted lip oil during a drugstore run and kept it in every bag after compliments. Tip: blot between layers to avoid stickiness.
Shop this idea:
5. Cream Highlighter On Cheekbone
Style: Lived-In Glow | Budget: Under $25 | Best For: Normal to dry skin


A dab of cream highlighter on the cheekbone makes skin look lit from within. Less is more, a fingertip-sized pearl across the top of the cheek and inner eye corner is all you need. I use a shade with subtle pearl, not glitter. Cost was roughly $14 to $24 for a deluxe mini I keep in my makeup bag. Real moment: people asked if I changed my skincare, not my makeup.
Shop this idea:
6. Brow Tint Pen and Clear Gel Combo
Style: Polished Minimal | Budget: Under $20 | Best For: Sparse brows
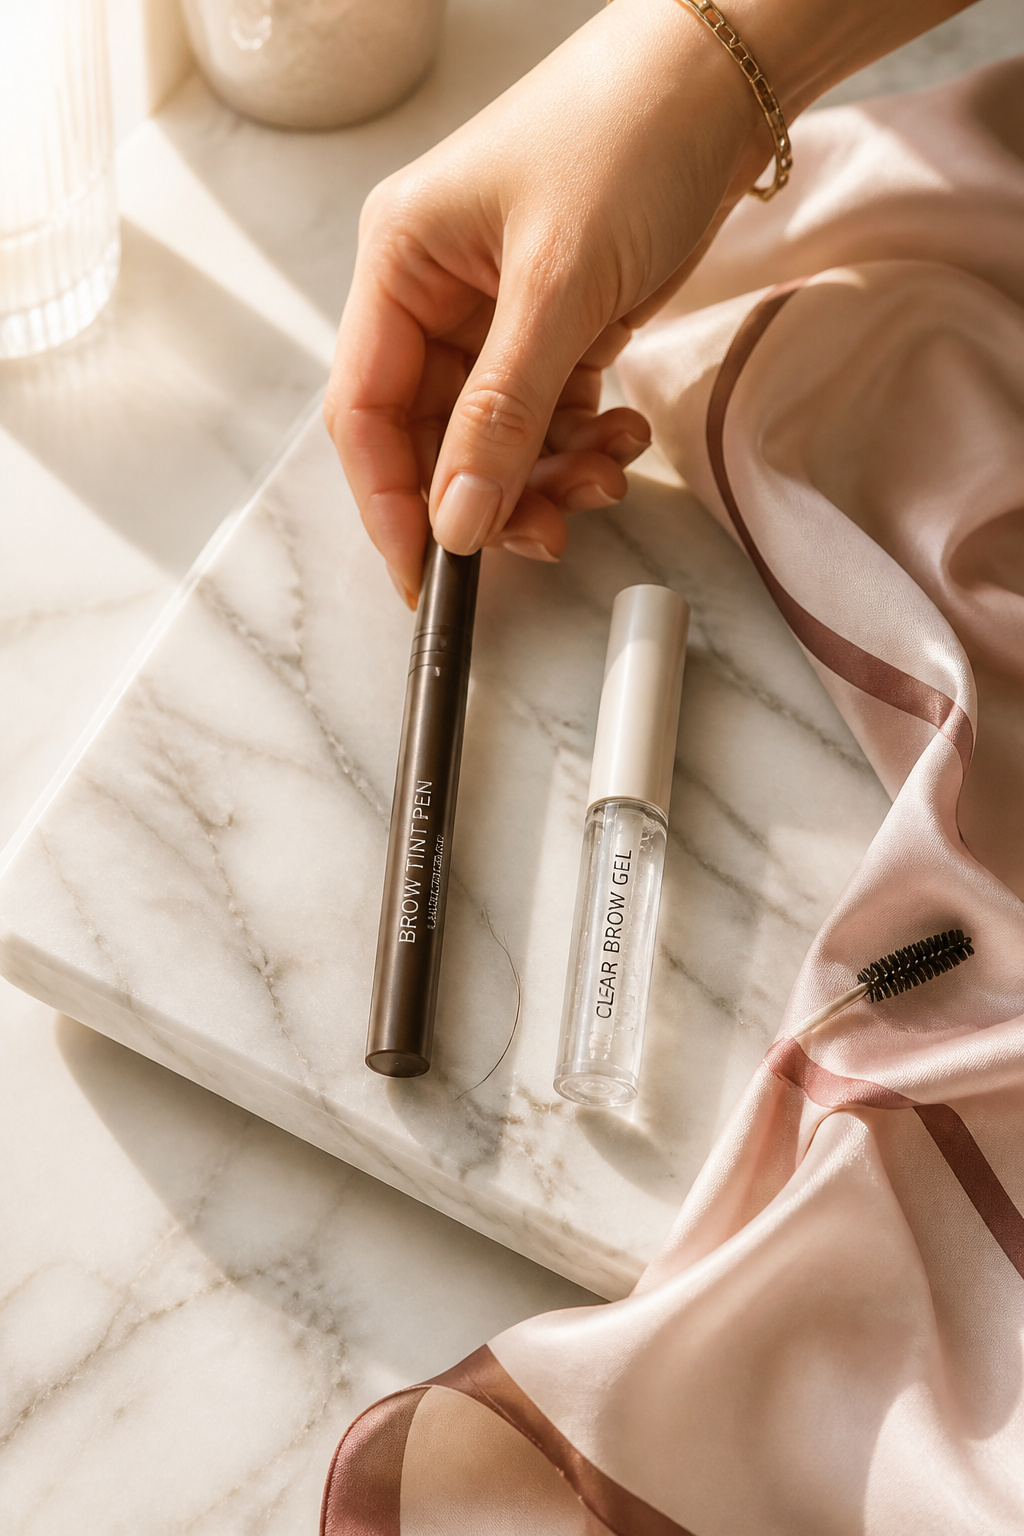

A fine-tip tint pen fills gaps with hair-like strokes, then a clear gel locks them in place. I go light at the start of the brow and concentrate strokes where hair is thin. This combo lasts through humid afternoons. I paid $12 to $18 for a reliable duo, and it saved me 10 minutes each morning. Ugly truth: heavy powder fills look flat and wash you out.
Shop this idea:
7. Sheer Sun-Kissed Bronzer Sweep
Style: Warm Minimal | Budget: Under $20 | Best For: Neutral to warm undertones


A light bronzer sweep adds warmth and natural definition. I use a fluffy brush and lightly swirl across the forehead, cheeks, and jaw for a gentle sun-kissed effect. Opt for matte or satin finishes; shimmer reads makeup. A travel compact was $10 to $18 and fits in any crossbody for touch ups. Mistake I made: pressing product on with a dense brush looks stripey and fake.
Shop this idea:
8. Neutral Eyeshadow Wash
Style: Soft Glam | Budget: Under $25 | Best For: Short mornings


A single neutral wash across lids evens tone and subtly sculpts the eye. I pick a matte warm taupe and blend with a fluff brush. The eyes look polished without liner. This routine takes two minutes; the pot I use was $10 to $16. Pro tip: use the leftover product on your brush to softly add warmth under the lower lash line for cohesion.
Shop this idea:
9. Lip Stain with Soft Edge
Style: Tonal Minimal | Budget: Under $20 | Best For: Long wear, no touch ups
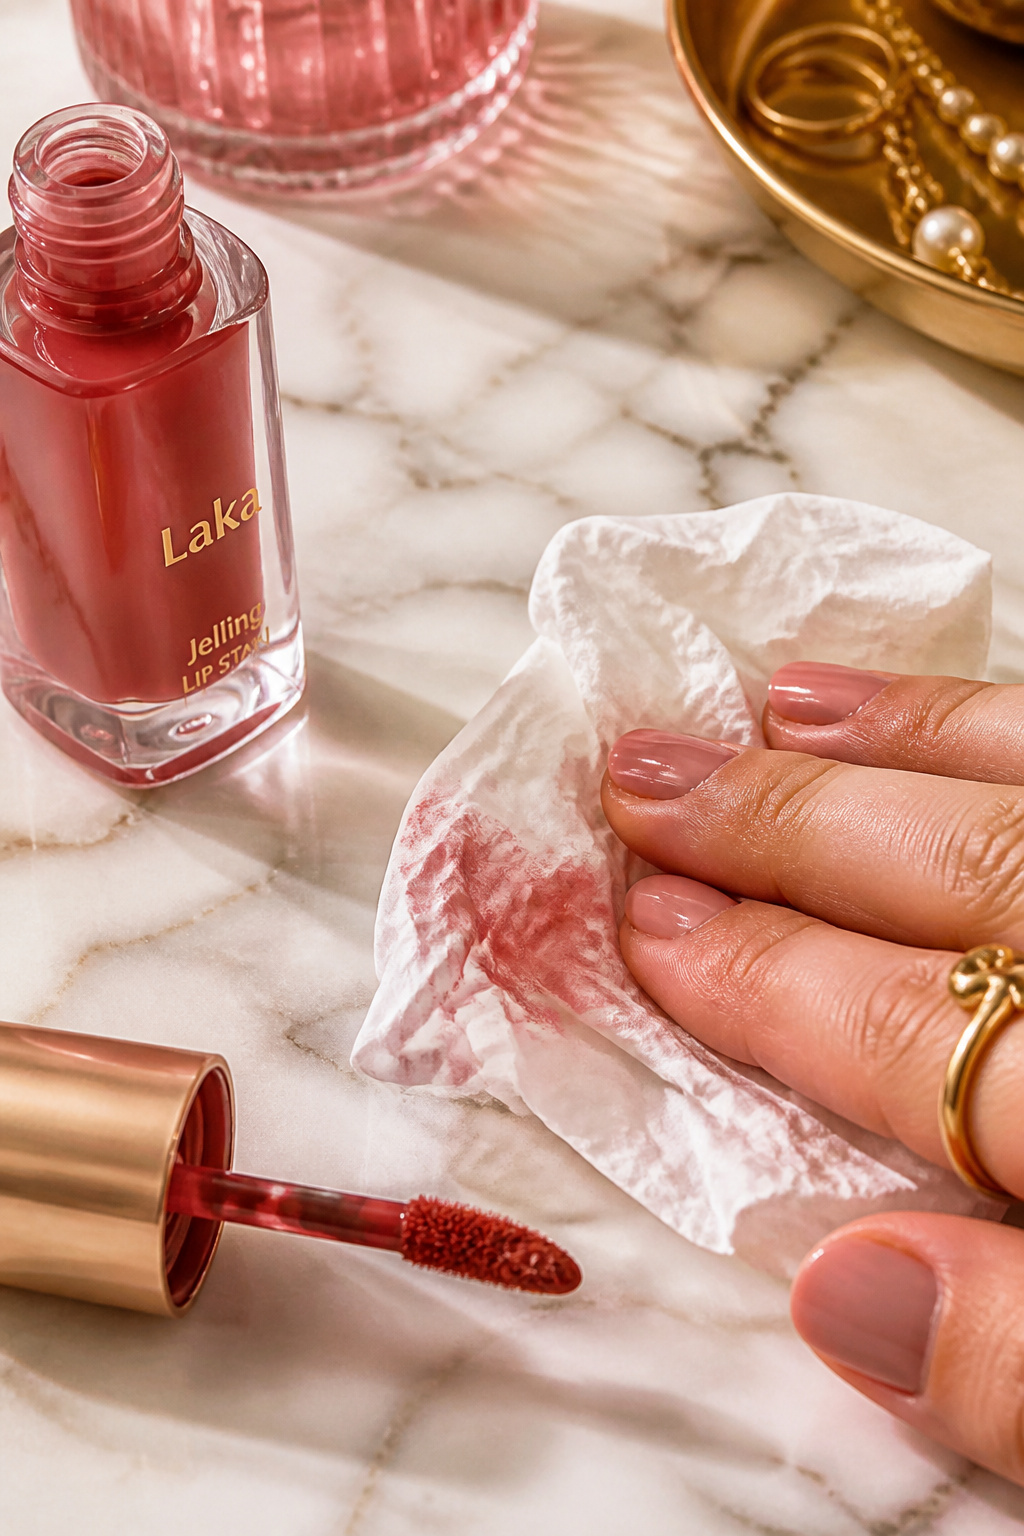

Lip stains that blur at the edges age better than sharp liners. I apply stain, then press with a fingertip to diffuse edges. It lasts through coffee and masks some of the day. My favorite shade is muted rose, and the stain runs about $8 to $14. Ugly truth: heavy liner and opaque lipstick look dated on natural skin days.
Shop this idea:
10. Minimal Eye Pencil Tightline
Style: Subtle Snatched | Budget: Under $12 | Best For: Small eyes or thin lashes


Tightlining with a soft brown or charcoal pencil adds definition without obvious liner. I work a tiny pencil along the upper waterline and then curl lashes. It makes lashes look denser and eyes more awake. The pencil cost around $6 to $12. Fail I learned: waterproof pencils can be hard to remove at night; choose a gentle remover to avoid tugging.
Shop this idea:
11. Dewy Setting Spray Finish
Style: Fresh Glow | Budget: Under $20 | Best For: Dry skin, long wear
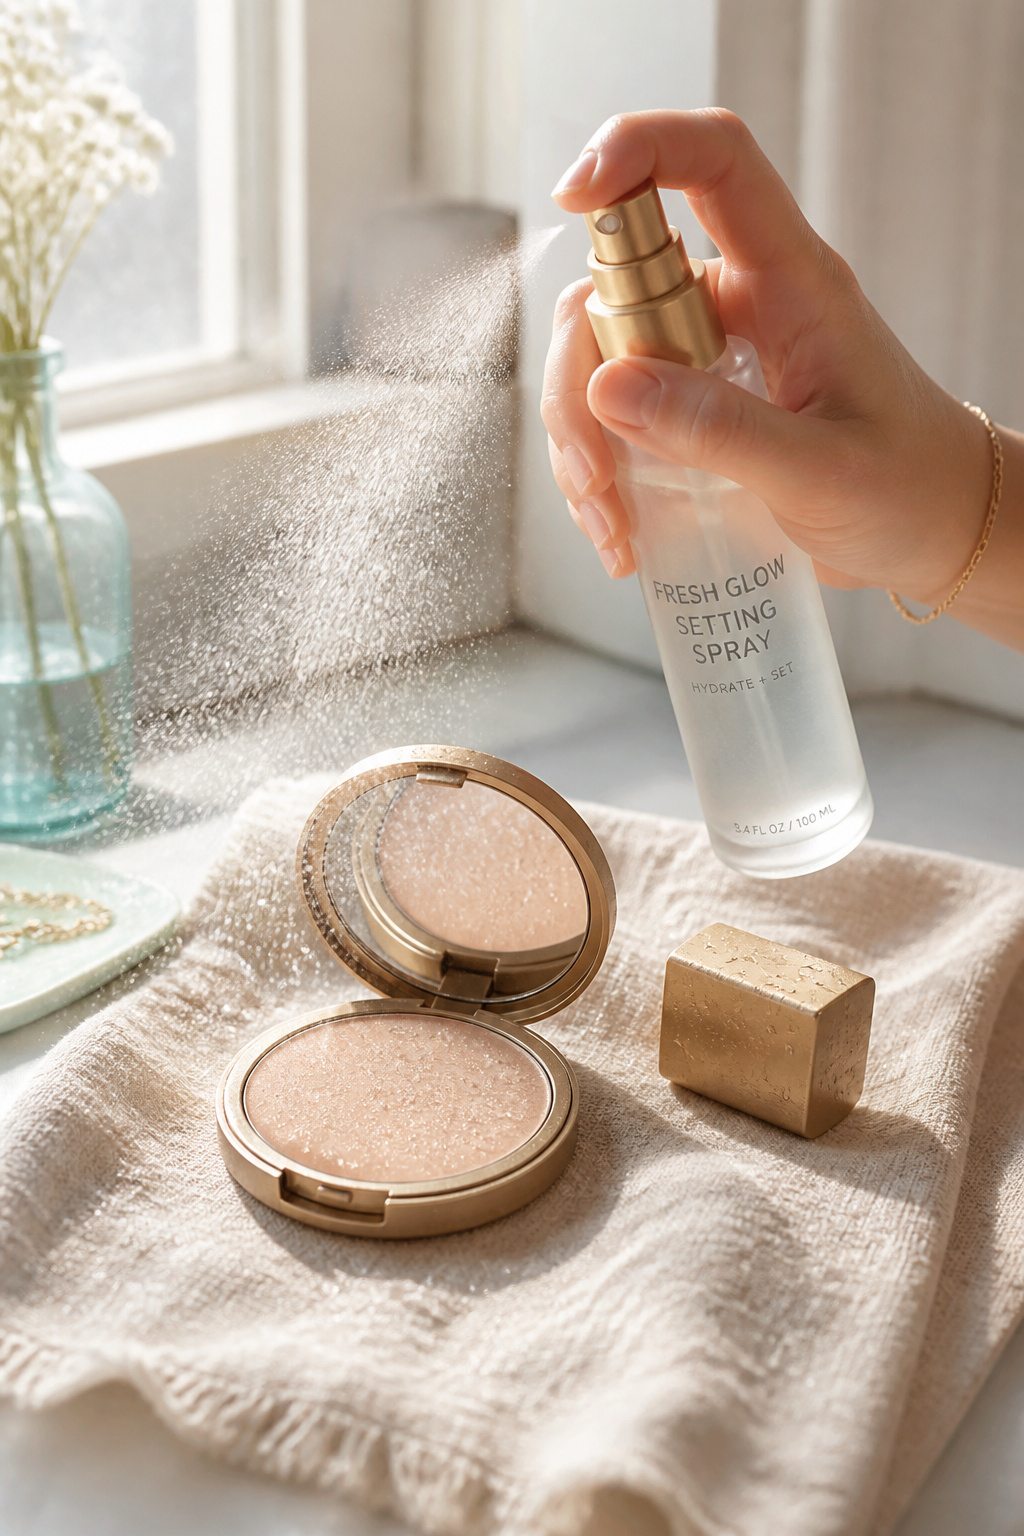

A light mist of dewy setting spray keeps everything melded to the skin and cuts powdery finish. I close my eyes, hold bottle six inches away, and do two quick spritzes for natural dew. My bottle was $12 to $18 and doubled my makeup's daylight longevity. Ugly truth: too much spray pools product and looks shiny not fresh.
Shop this idea:
12. Clean Eyeliner Smudge
Style: Soft Edge | Budget: Under $15 | Best For: Everyday edge
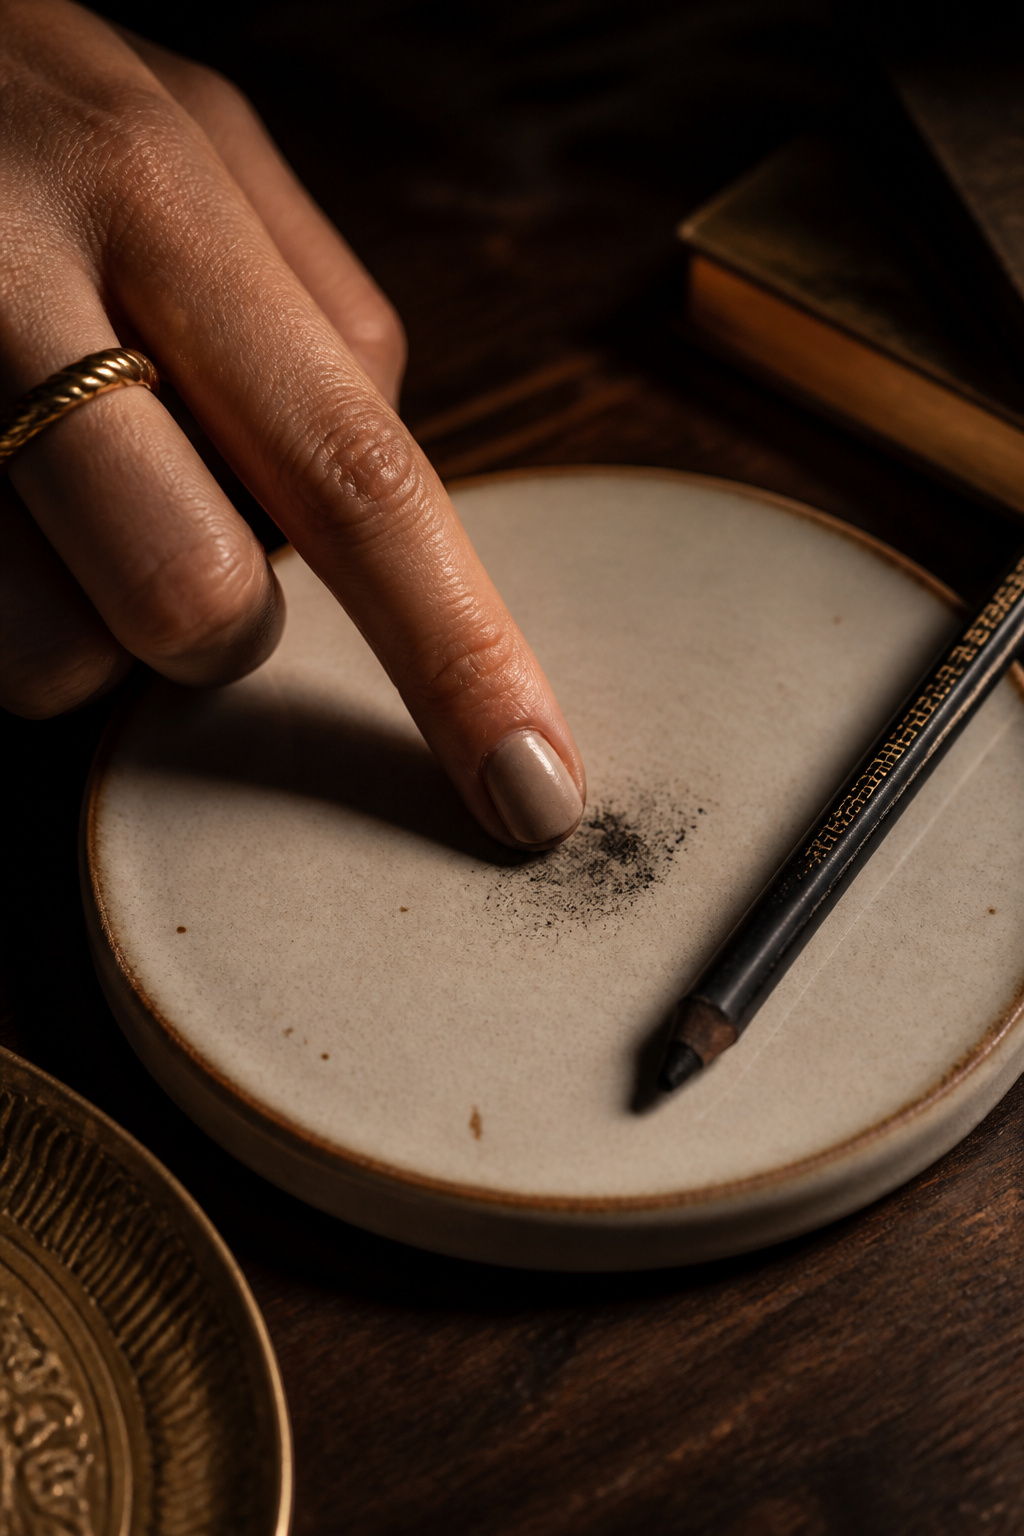

A thin pencil line smudged into the lash line adds subtle definition without looking done. I draw a short line from outer corner and smudge inward with a cotton bud. Keeps eyes soft and wearable. I paid $7 to $12 for the pencil and learned that sharpened tips create crisper smudge than blunt ones. Mistake: liquid wings steal the minimal vibe.
Shop this idea:
13. Sheer Powder in T-Zone Only
Style: Polished Minimal | Budget: Under $15 | Best For: Oily-combo skin


Using translucent powder only where I shine keeps skin looking real. I press a small puff into the T-zone while leaving cheeks dewy. It tamed midday oil without making me flat. My compact ran $8 to $14 and fits in a tiny clutch. Ugly truth: full-face powder makes mature skin look dry and emphasized lines.
Shop this idea:
14. Silk Scarf Neck Accessory
Style: Elevated Minimal | Budget: Under $30 | Best For: Instant polish
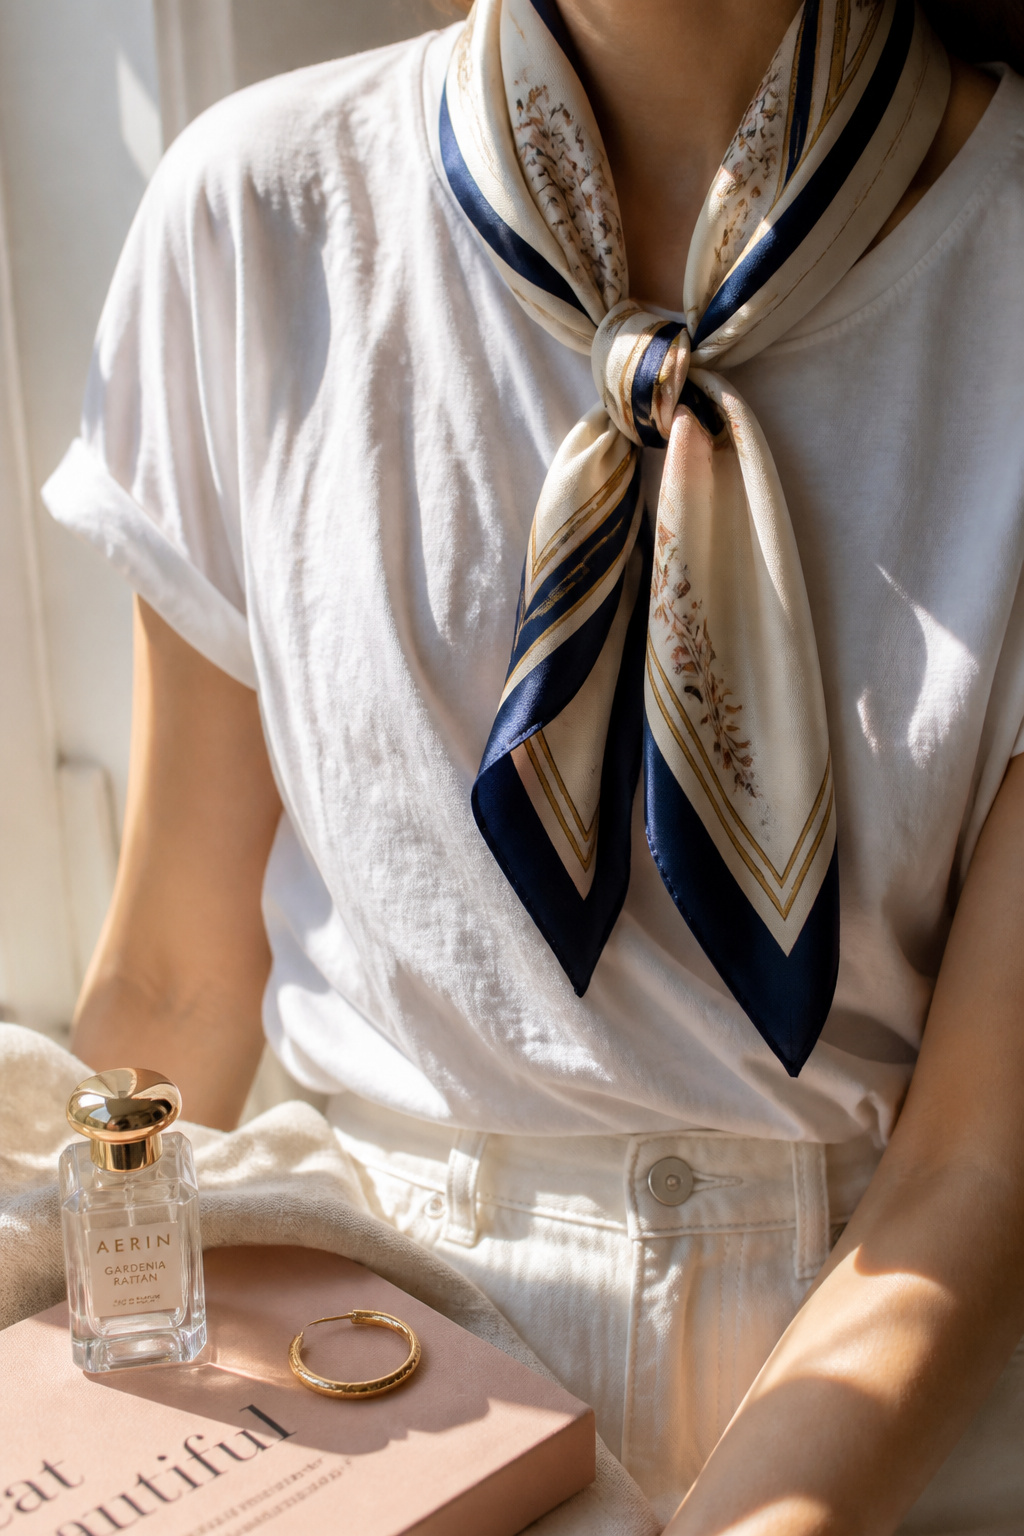

A silk scarf transforms the simplest tee and minimal makeup into a curated outfit. I tie mine in a loose knot at the throat or as a headband. It reads intentional and photographs well. I bought a 20×20 inch silk square for $18 to $28 at a boutique and kept it for years. Tip: choose a muted print so it complements subtle makeup, not competes.
Shop this idea:
15. Gold Hoop Earring Finish
Style: Capsule Accessory | Budget: Under $40 | Best For: Elevating basics
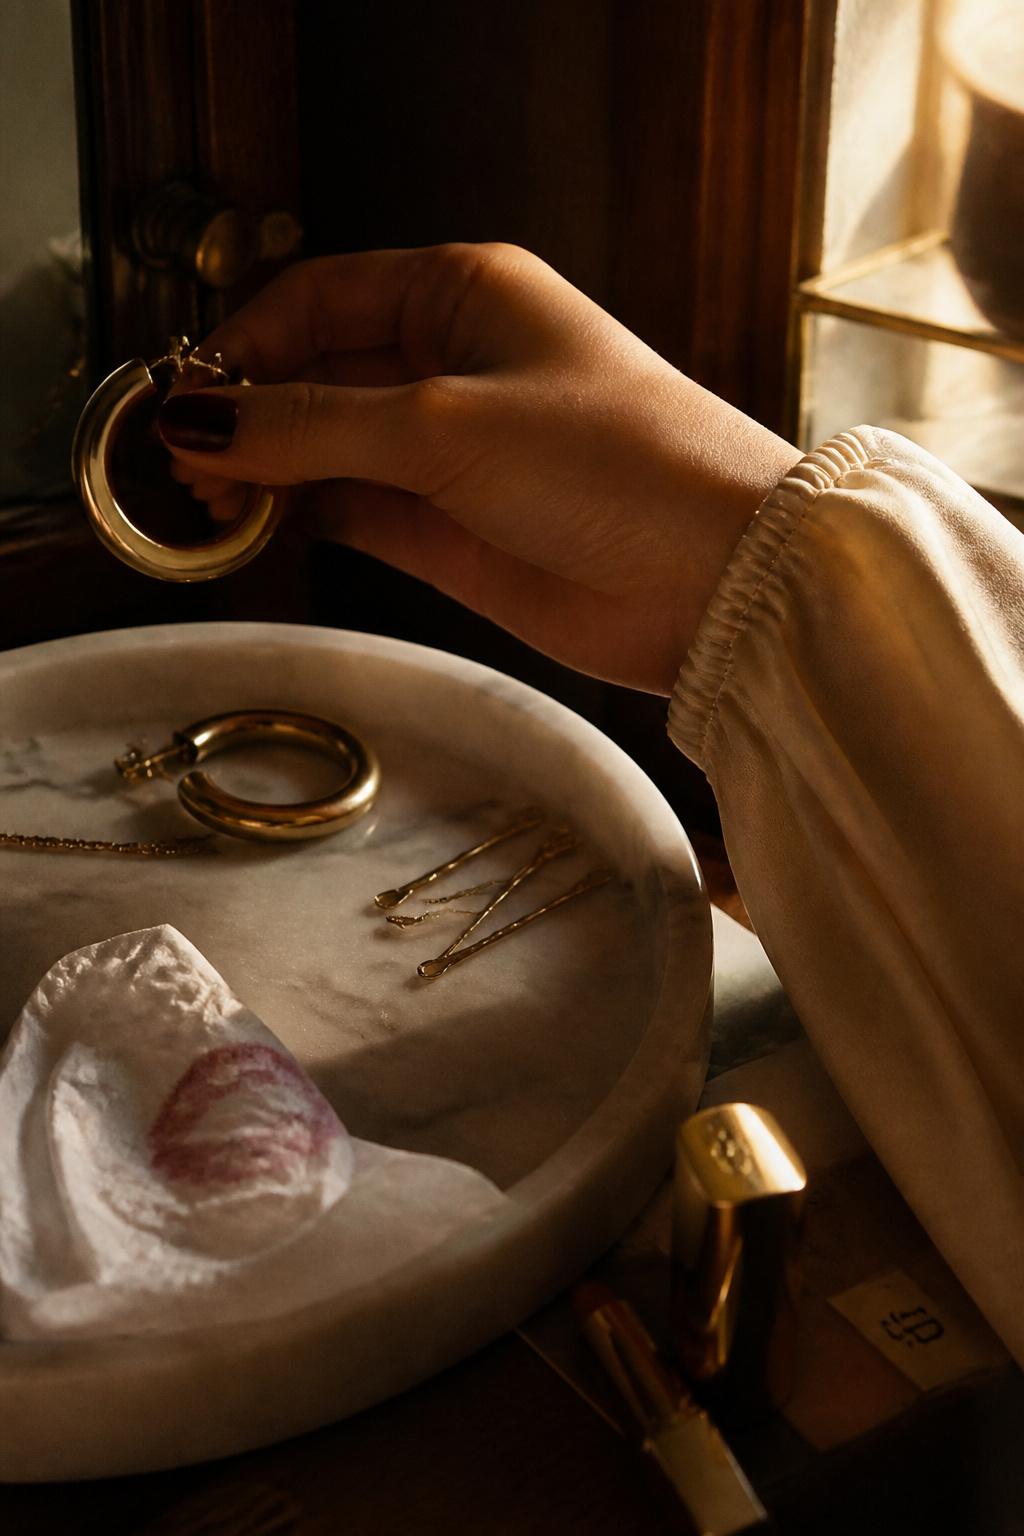

One small gold hoop makes even a bare face feel put together. I keep a medium chunky 14k plated pair for daily wear; they catch light and distract from minimal makeup. My pair cost $28 to $38 and received compliments at a coffee run. Ugly truth: heavy statement earrings can overpower a natural face, so stick to medium or small hoops for these looks.
Shop this idea:
What You'll Need to Get This Look
Face & Base Essentials
- Tinted moisturizer SPF 30 around $18 to $28
- Light weight concealer wand around $8 to $16
- Cream blush stick peach around $12 to $18
- Dewy setting spray travel around $12 to $18
Eyes, Brows & Lips
- Brown lengthening mascara around $10 to $16
- Tinted brow gel medium brown around $8 to $15
- Long wear lip stain rose around $8 to $14
Clothing Staples
- Silk scarf 20×20 inch around $18 to $28
- Cream cashmere crewneck sweater around $60 to $120
Shoes, Bags & Jewelry
- Medium gold hoop earrings around $28 to $38
- Leather crossbody bag small around $45 to $150
Budget Swaps
- Drugstore tinted moisturizer mini around $8 to $14
- Cream blush dupe stick around $6 to $12
- Affordable gold hoop set around $12 to $25
Shopping Tips for These Looks
Buy During Seasonal Sales: Watch Memorial Day, Ulta 21 Days of Beauty, and Black Friday for tinted moisturizers and brushes at reduced prices, like my cream blush that hit $9 on sale. Tinted moisturizer SPF 30
Try Mini Sizes First: Many brands offer travel sizes under $20, so test shades without commitment, for example a mini setting spray for about $12. Dewy setting spray travel
Thrift and Tailor: Find silk scarves and classic gold hoops at thrift shops, then clean or replate if needed. I scored a vintage silk square at a thrift for $6 and it reads like new.
Layer Cream Over Powder Sparingly: Apply cream blush before powder; otherwise the cream lifts and looks patchy. This is why I prefer cream-first routines. Cream blush stick peach
Shop Multipurpose Pieces: Look for products that double up, like cream highlighters that work on eyes and lips. This cuts cost and bag clutter. Cream highlighter mini
Follow 2025 Trend Cues: Skinimalism continues into 2025 with a focus on skincare-infused makeup and minimal tools; prioritize sunscreen-infused tints and multipurpose sticks. Tinted moisturizer SPF 30
Frequently Asked Questions
Q: How do I pick the right shade of cream blush?
A: Match to the undertone of your lip or natural flush, test on the cheek, and observe in daylight. Try a mini sample like a cream blush stick peach to confirm shade. I usually pick peach for warm undertones.
Q: Will tinted moisturizer provide enough sun protection?
A: Only if it lists SPF 30 or higher and you apply the recommended amount. For full protection, layer a dedicated broad spectrum sunscreen SPF 30 under the tint.
Q: How do I keep minimal makeup from separating midday?
A: Use a dewy setting spray and press translucent powder only where you need it. A travel size dewy setting spray helped my makeup last 8 hours. Dewy setting spray travel
Q: Are cream products okay for oily skin?
A: Yes, if you balance with light powder in the T-zone and use mattifying primers selectively. A translucent powder mini will be your friend for midday shine. Translucent powder mini
Conclusion
Start with one tiny swap, like replacing heavy foundation with a tinted moisturizer, and build from there. My final tip is to focus on texture and placement over coverage. Which minimal change will you try first, cream blush or tinted moisturizer?


