






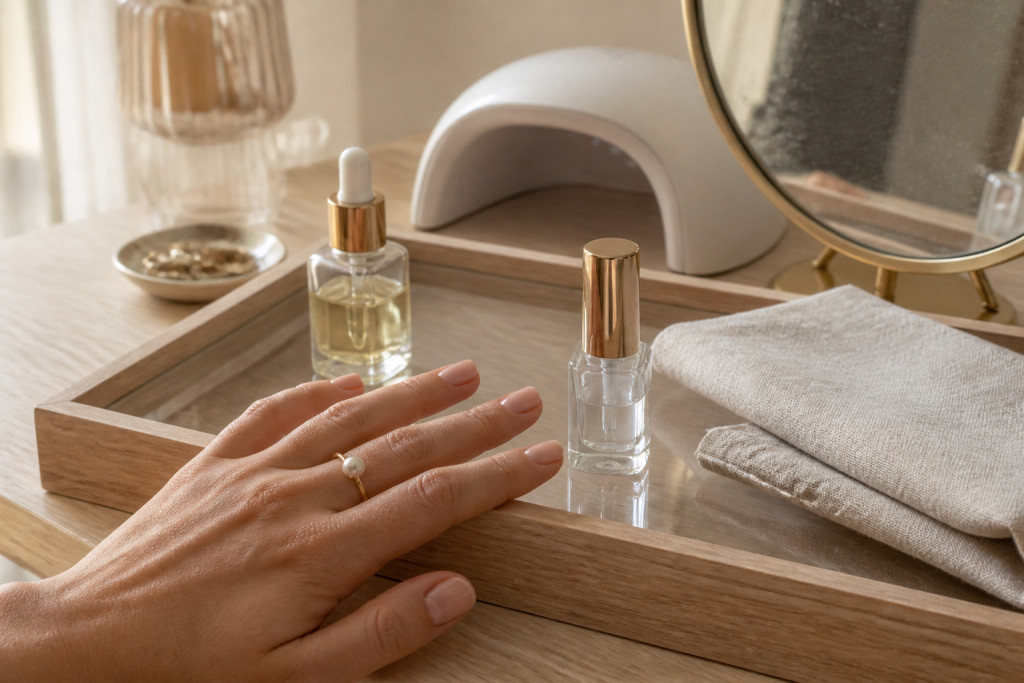

My glossy transparent nails got a compliment at brunch and I paid attention. Minimalist transparent nails feel effortless and actually tie an outfit together. I tested 16 subtle takes from salon gel to press-ons so you can pick one under $10 or a splurge $120 kit.
I’ve seen minimal nail looks show up in trend roundups. Pinterest Predicts named sheer, skin-like nails as a rising search in 2025, and Grand View Research estimated the global nail care market was worth roughly $10.7 billion in 2021, so people are investing in simple polish. Most picks here are under $30, a few tools around $80 to $120, and they suit clean girl, soft glam, and tailored wardrobes.
1. Glass-Like Sheer Gloss Top Coat
Style: Clean Girl | Budget: Under $20 | Best For: Short nails / all tones
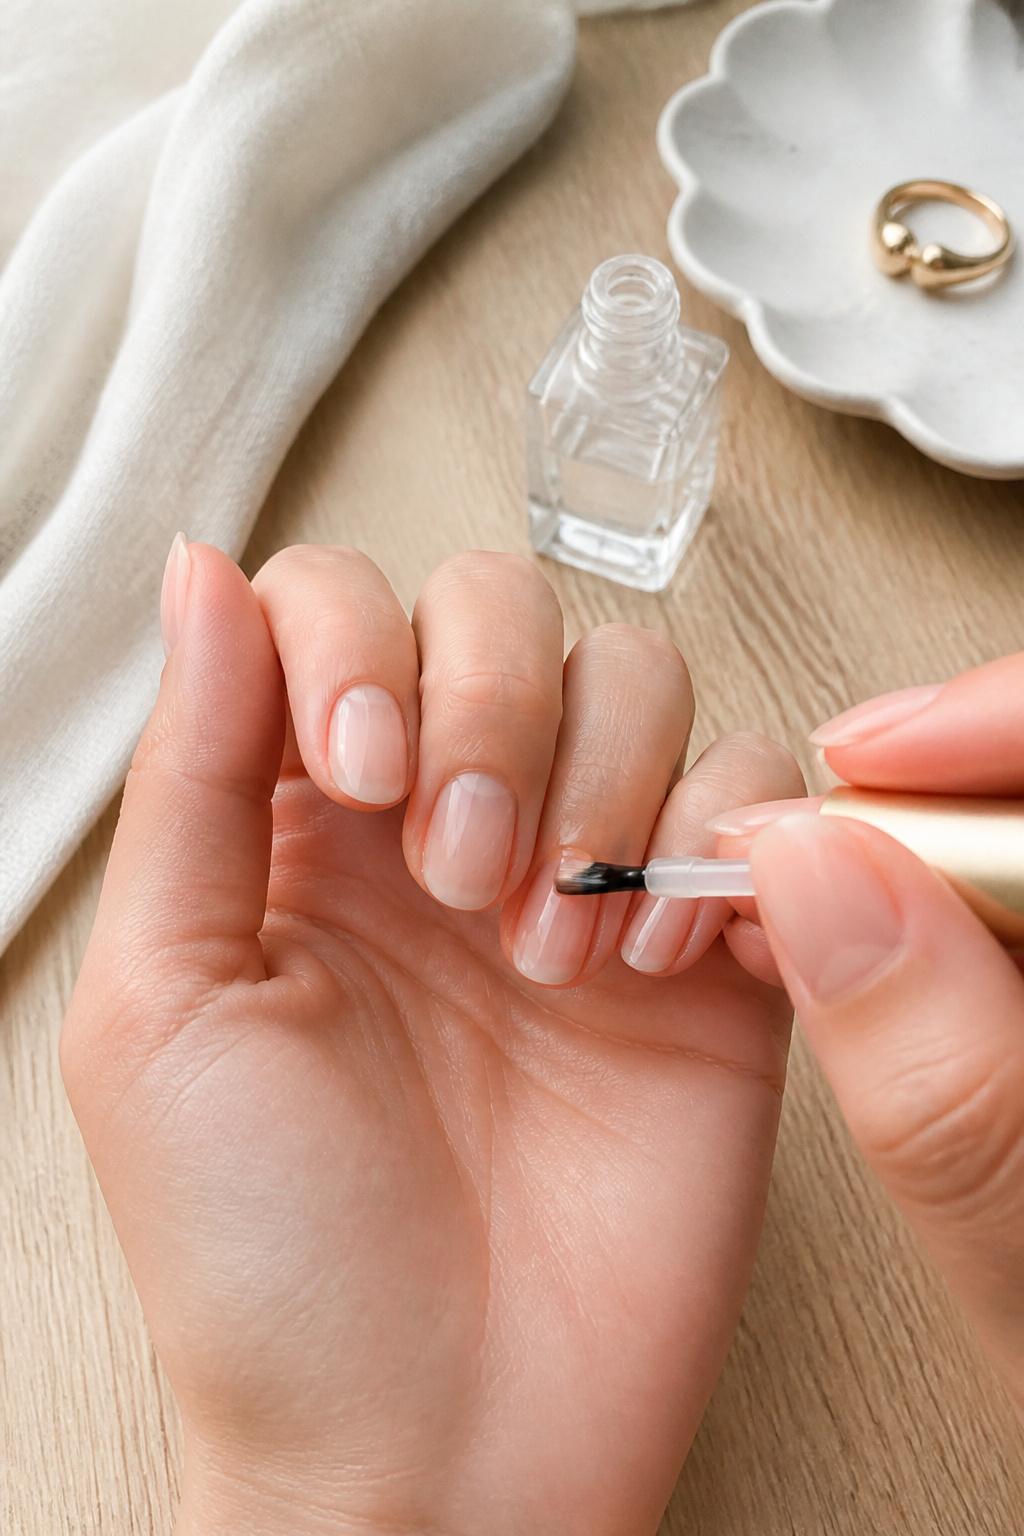

The trick is a high-shine, fast-dry top coat for that glass look. I use a quick 60-second clear top coat to avoid smudges and keep fingertips glossy all week. One coat after a sheer nude gives damp-looking shine without thickness. I bought my last bottle at Target for about $12 to $18 and it lasted three weeks with base coat. People often over-layer matte then wonder why nails look yellow, that’s one ugly truth.
Shop this idea:
2. Bare Buff With Matte Seal
Style: Minimal | Budget: Under $15 | Best For: Short, strong nails


Buffing to a soft sheen then sealing with a matte top coat looks intentionally natural. I gently buffed my nails in one direction after learning the hard way not to over-buff, which thins the nail plate. A matte seal keeps a lived-in clean vibe and lasts around five days before touch-ups. Bought the buffer in a $6 kit at CVS; expect roughly $6 to $12 for tools. Ugly truth: over-buffing means brittle nails.
Shop this idea:
3. Sheer French Tip, Tone-On-Tone
Style: Classic Minimal | Budget: Under $25 | Best For: Medium length / elongated look


Tonal French tips use a sheer base with a softer-than-white tip for an updated clean look. My salon tech used a sheer beige base and a soft latte white tip, and someone asked if I’d gotten a manicure 10 minutes into brunch. Pro tip: micro-tip brush and builder polish help keep lines thin. Expect to spend about $15 to $25 for a home kit, or $30 to $55 at a salon.
Shop this idea:
4. Transparent Nails With Single Pearl Accent
Style: Elevated Clean | Budget: Under $30 | Best For: Dates / weddings


A single flat pearl at the cuticle immediately feels curated. I glued one tiny pearl on a glossy sheer and it lasted a week with careful handwashing. Use a tiny dab of nail glue and seal over with top coat to avoid catching. A pack of 100 flat pearls runs about $6 to $12, so this is an inexpensive way to feel polished. Ugly truth: big gems look dated, tiny accents read modern.
Shop this idea:
5. Soft Smoky Transparent
Style: Moody Minimal | Budget: Under $22 | Best For: Evening / neutral wardrobes


Sheer gray over natural nail gives a soft smoky effect without heavy polish. I painted two thin coats of sheer gray jelly polish and loved that it read grown-up and not goth. Tip: sheer polishes need two thin coats to avoid streaks. A bottle costs about $8 to $18. Ugly truth: heavy pigment on short nails looks clunky, so keep it translucent.
Shop this idea:
6. Skin-Tone Sheer Tint
Style: Clean Girl | Budget: Under $18 | Best For: Warm and cool undertones
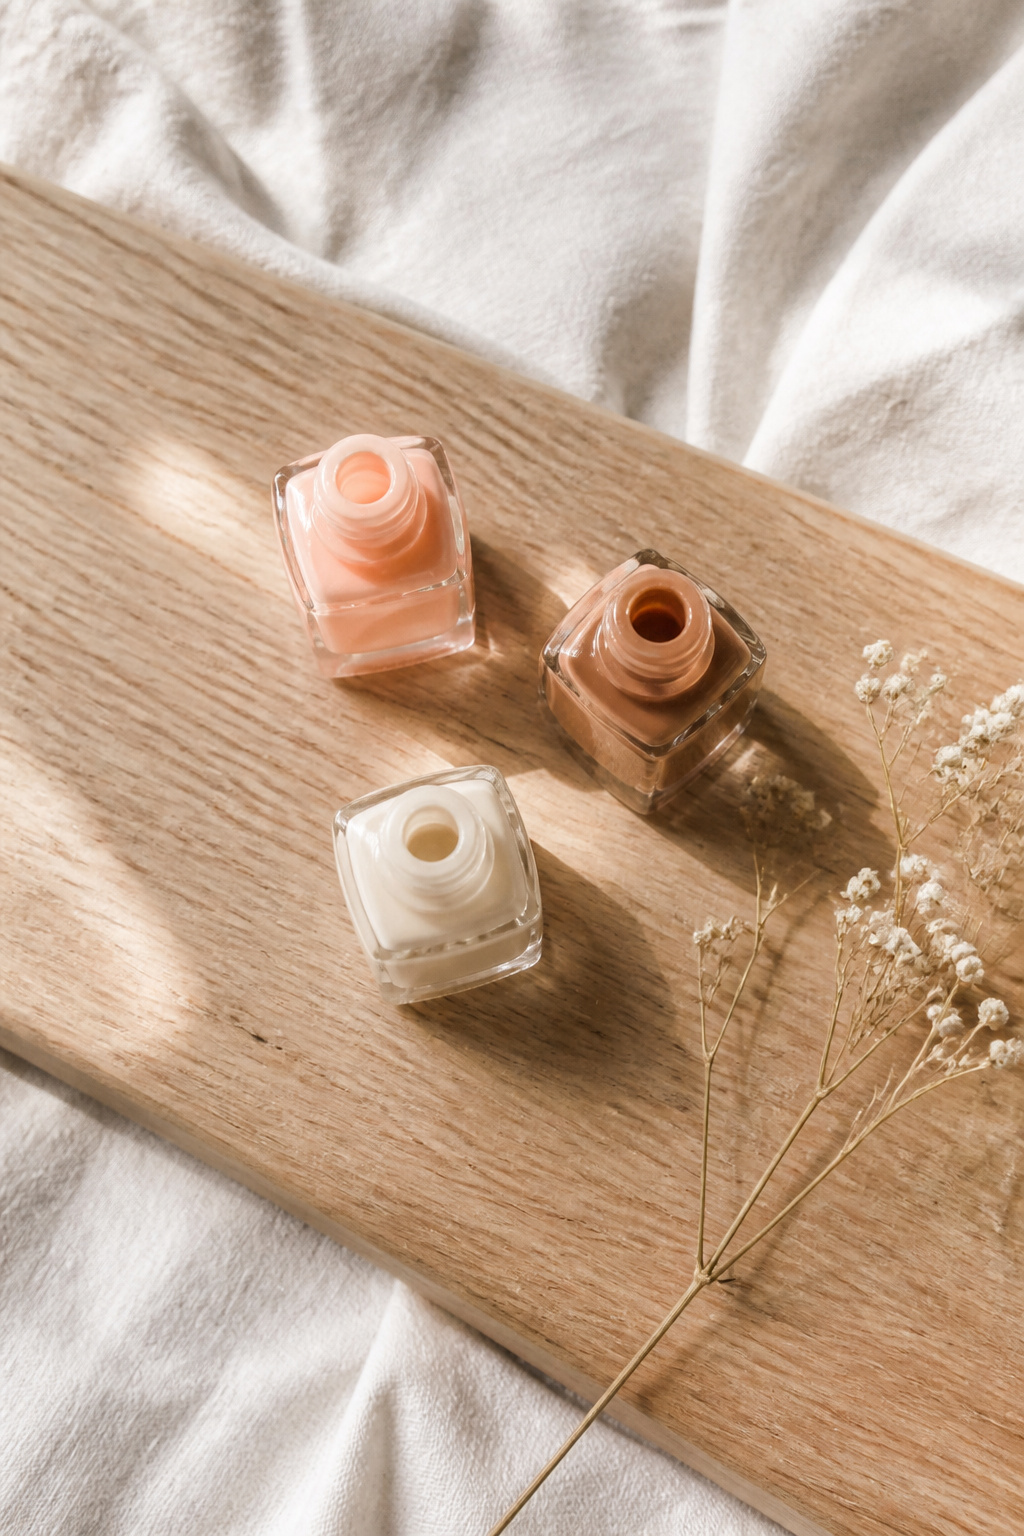

Match a sheer tint to your skin for the most natural look. I matched a warm caramel sheer to my tan hands and it visually lengthened fingers. Use one thin layer and seal with glossy top coat. Expect a bottle price of $10 to $18. Pro tip: test on the underside of your wrist. Ugly truth: one-size-fits-all pink sheers often read too cool on warm skin.
Shop this idea:
7. Jelly Sheer Pink
Style: Soft Minimal | Budget: Under $12 | Best For: Spring / romantic looks


Jelly sheers in soft pink read fresh and very wearable. I layered a jelly pink over natural nails and it made them look hydrated and youthful. The trick is thin coats and wiping the brush on the bottle neck to prevent pooling. Bottle prices range $6 to $12. Ugly truth: thick jelly layers can look sticky and attract lint.
Shop this idea:
8. Clear With Gold Foil Sliver
Style: Elevated Minimal | Budget: Under $28 | Best For: Nights out / statement-without-statement


A narrow gold foil sliver reads expensive but subtle. I pressed a single thread of foil near the free edge and sealed it. Buy pre-cut foil strips to make placement easy. The foil pack cost me about $6 to $14 and it lasted two manicures. Pro tip: apply foil onto tacky top coat, then seal fully to prevent peeling.
Shop this idea:
9. Short Square Transparent
Style: Tailored Minimal | Budget: Under $10 | Best For: Active hands / office


Short square transparent nails look polished with minimal upkeep. I wore short square press-ons to a trip and they survived airport security and carry-on mishaps. Prep with a gentle cleanse and nail glue for best hold. A quality 24-pack runs about $8 to $18. Ugly truth: cheap press-ons peel by day three without glue.
Shop this idea:
10. Almond Transparent With Nude Accent
Style: Classic Minimal | Budget: Under $20 | Best For: Long nails / elegant hands


An almond shape with one nude accent nail keeps things interesting without being bold. I filed to almond at home and used a soft peach nude on the ring finger for contrast. Filing in small strokes keeps the shape strong. Tools for shaping cost about $6 to $14. Ugly truth: over-filing to a pointy almond can snag everything.
Shop this idea:
11. Sheer Ombre Fade
Style: Polished Minimal | Budget: Under $30 | Best For: Medium to long nails
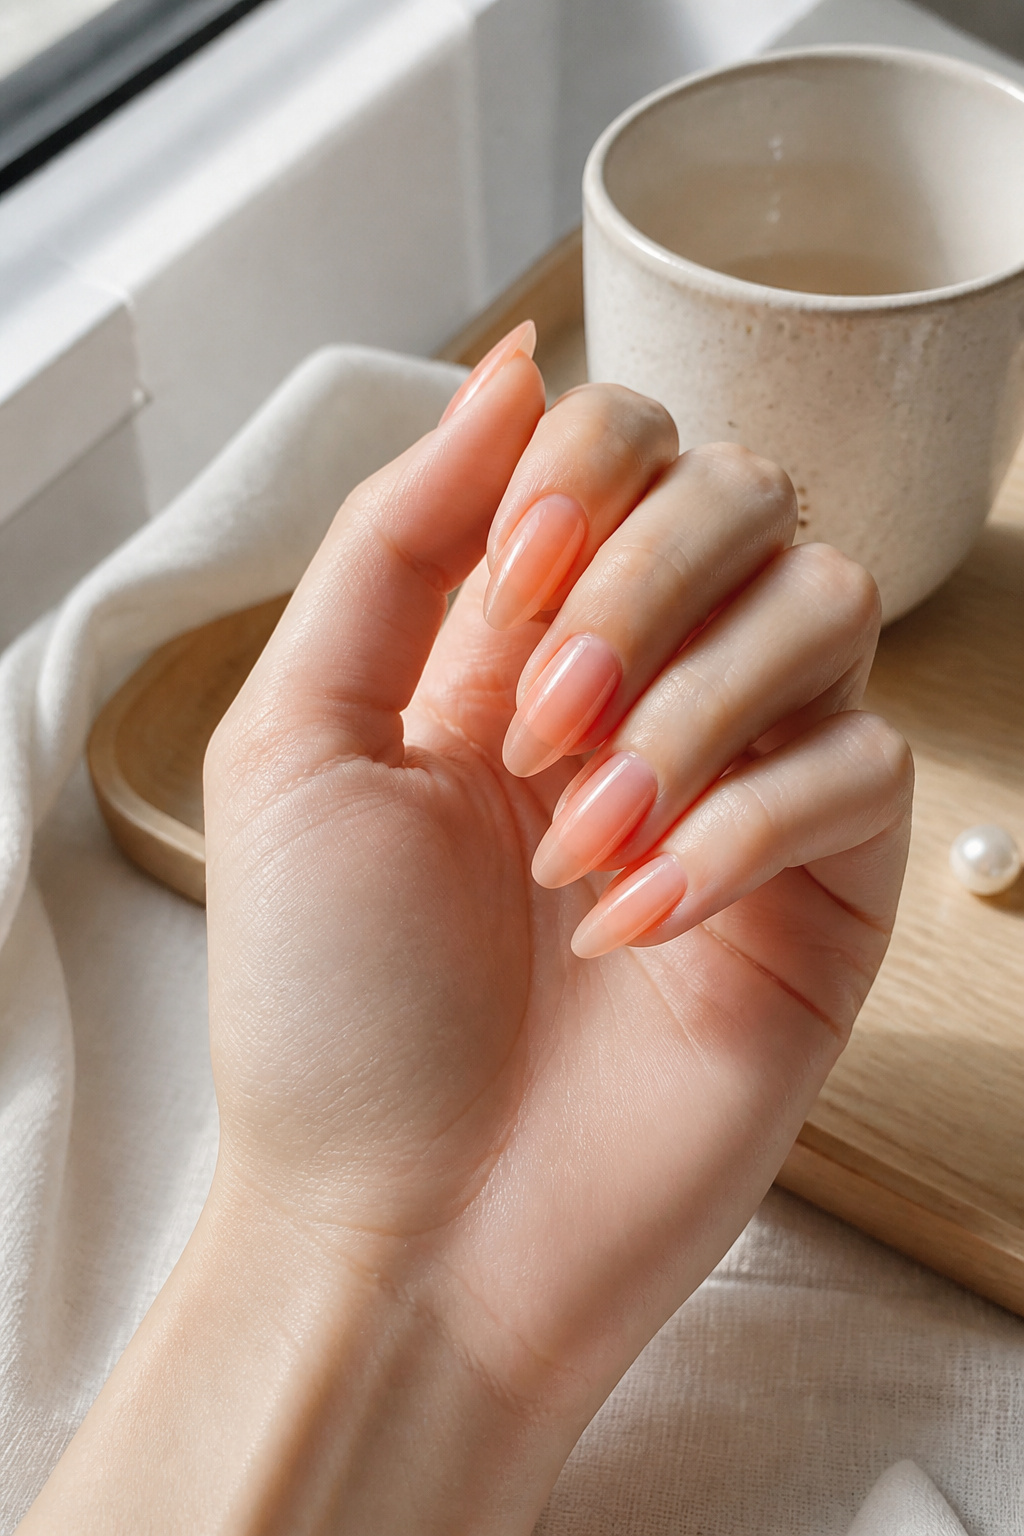

A sheer ombre fade is soft but visually interesting. I sponged a barely-there peach from the cuticle outward, then blended with a clean brush. Thin layers are key to avoid banding. Expect to pay $12 to $30 for nail sponges and polish bundles. Tip: practice on a swatch wheel first. Ugly truth: heavy ombre looks fake; keep it translucent.
Shop this idea:
12. Negative Space Transparent Line Art
Style: Modern Minimal | Budget: Under $25 | Best For: Creative but low-key
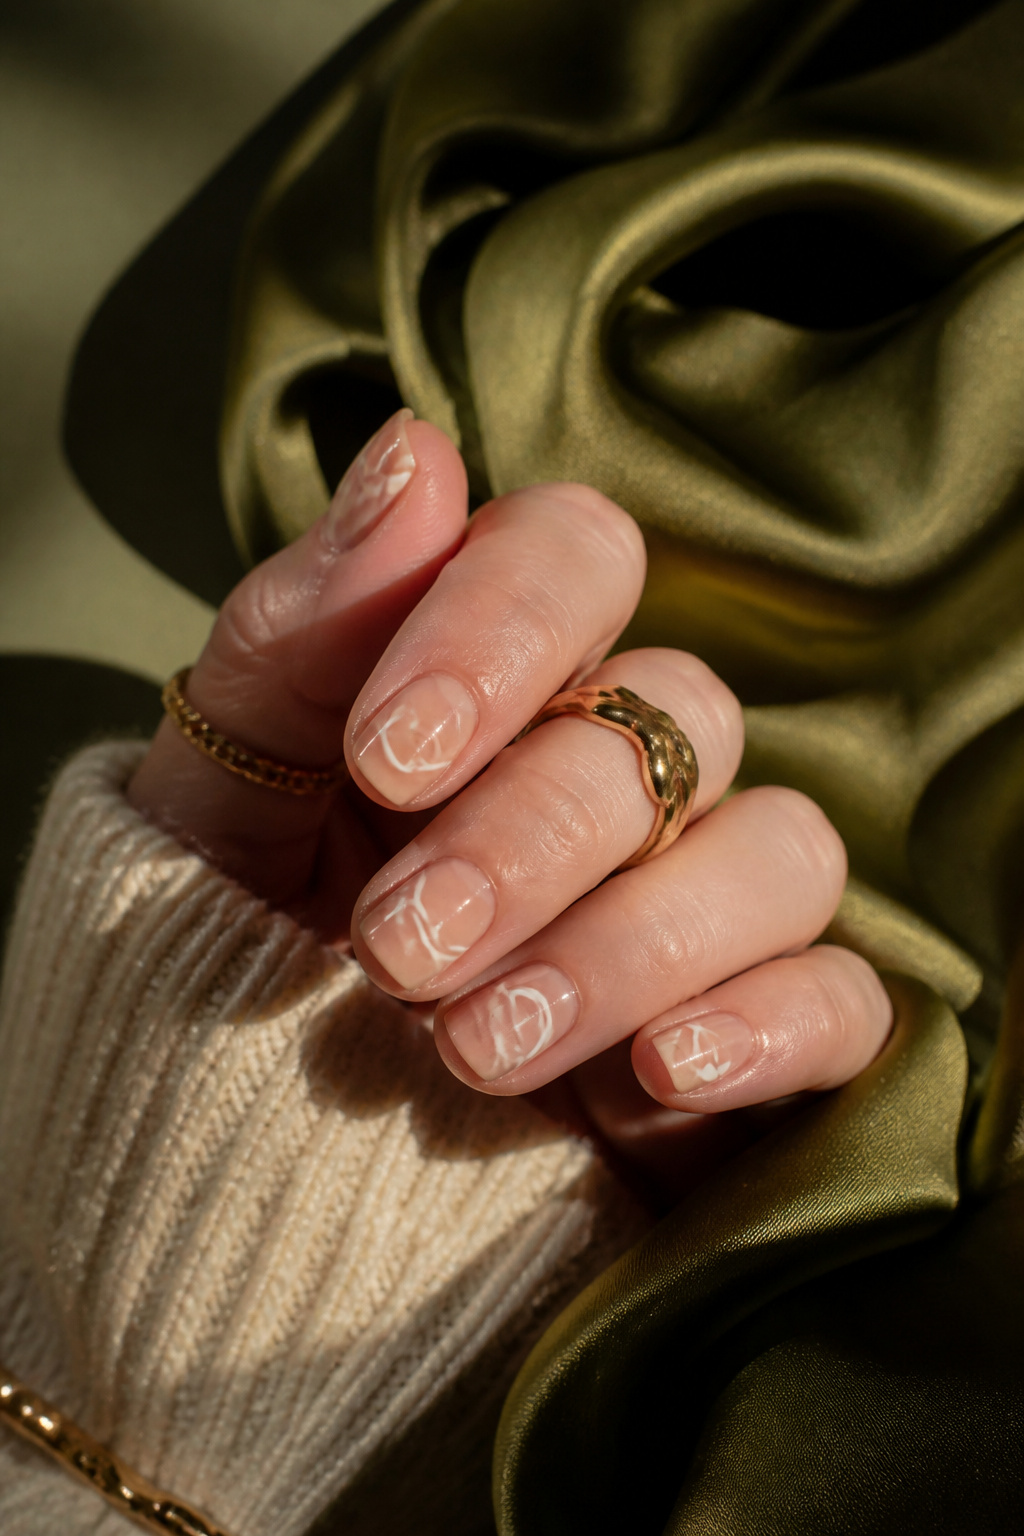

Tiny negative-space lines add a graphic touch without color overload. I drew one curved line per nail with a steady hand and a super-fine brush. Seal with glossy top coat to flatten the line. A fine liner brush and black gel polish cost around $10 to $22. Tip: practice on plastic tips first to perfect pressure.
Shop this idea:
13. Micro-Glitter Clear Top Layer
Style: Soft Glam Minimal | Budget: Under $20 | Best For: Holiday / celebratory moments


A thin veil of micro-glitter on clear nails reads festive but not loud. I patted a small amount across the tip and sealed it so the texture stayed smooth. Use a sparse brush and one light top coat for fusion. Packs of fine glitter are about $4 to $12. Ugly truth: chunky glitter feels dated on minimalist nails.
Shop this idea:
14. Gel-Look At-Home With LED Lamp
Style: Practical Minimal | Budget: $40 to $120 | Best For: People who want salon durability


At-home LED kits give that hardened gel look without salon time. I bought a compact lamp and a clear gel base/top combo for about $40 to $80 and it lasted two weeks chip-free. Cure each thin layer for the recommended seconds to avoid lifting. Ugly truth: skipping a proper nail cleanse makes gel pop off early.
Shop this idea:
15. Transparent Press-Ons For Busy Days
Style: Fast Minimal | Budget: Under $20 | Best For: Travelers / last-minute events
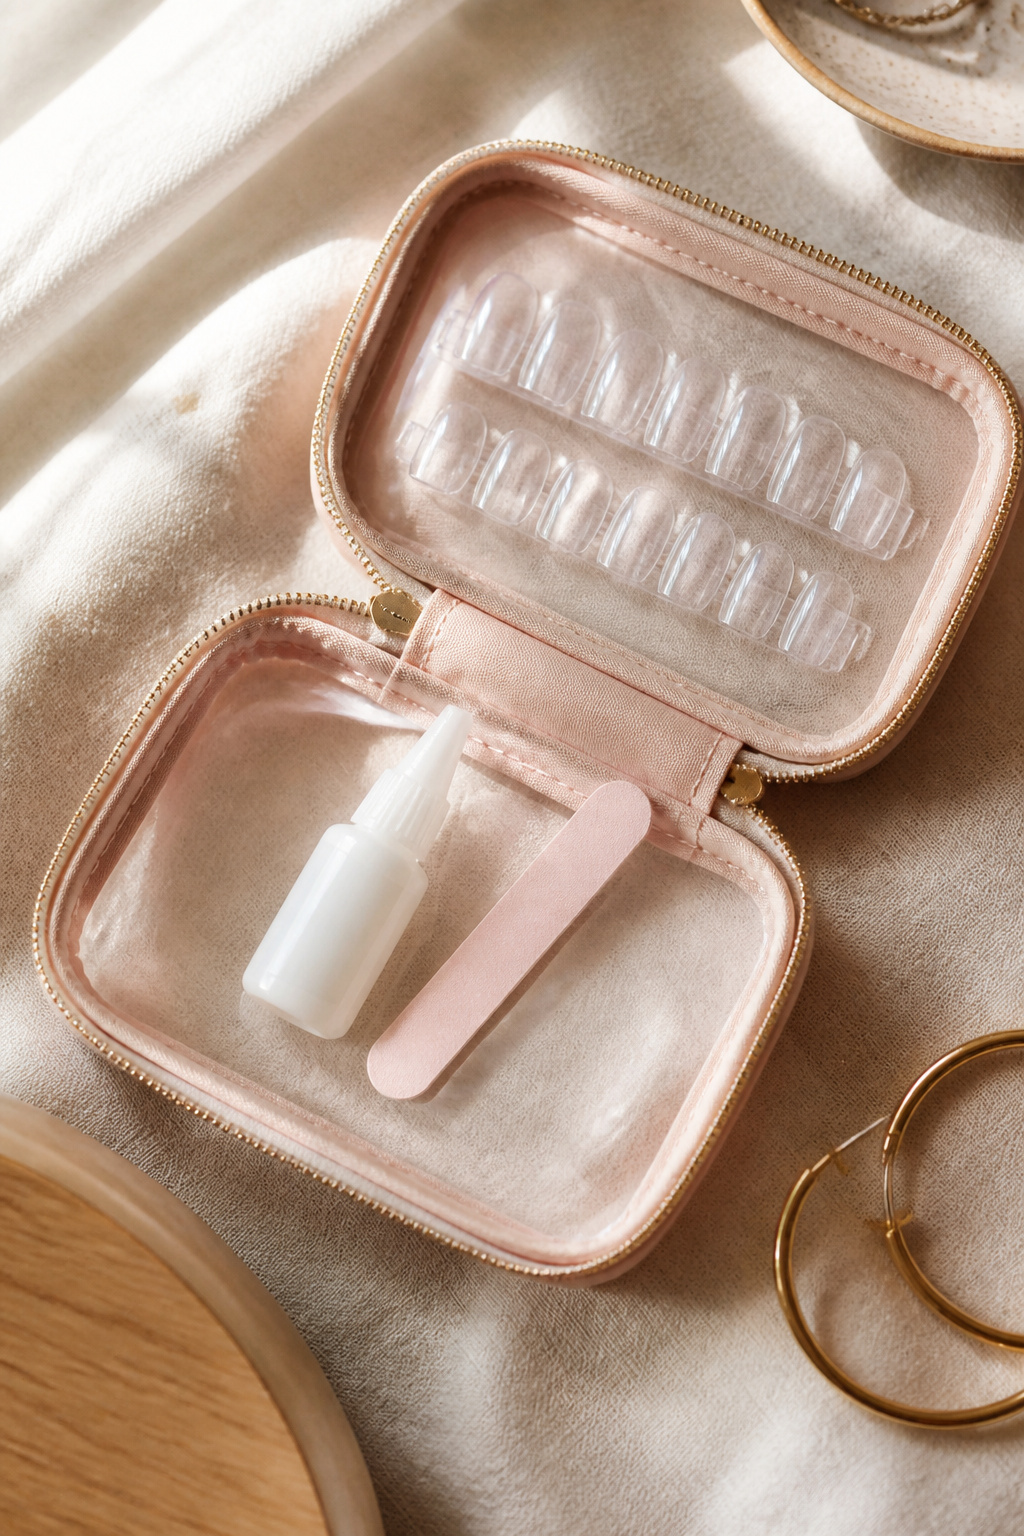

Press-ons can be disguised as minimal transparent nails if prepped properly. I learned to lightly buff, dehydrate with alcohol, and use glue tabs for travel. A quality 24-pack plus glue runs $8 to $20. Ugly truth: skipping prep means press-ons detach during dinner. They saved me when my flight left at 6 a.m and I needed a polished hand.
Shop this idea:
16. Nail-Care Ritual For Lasting Clarity
Style: Self-Care Minimal | Budget: Under $30 | Best For: Long-term nail health
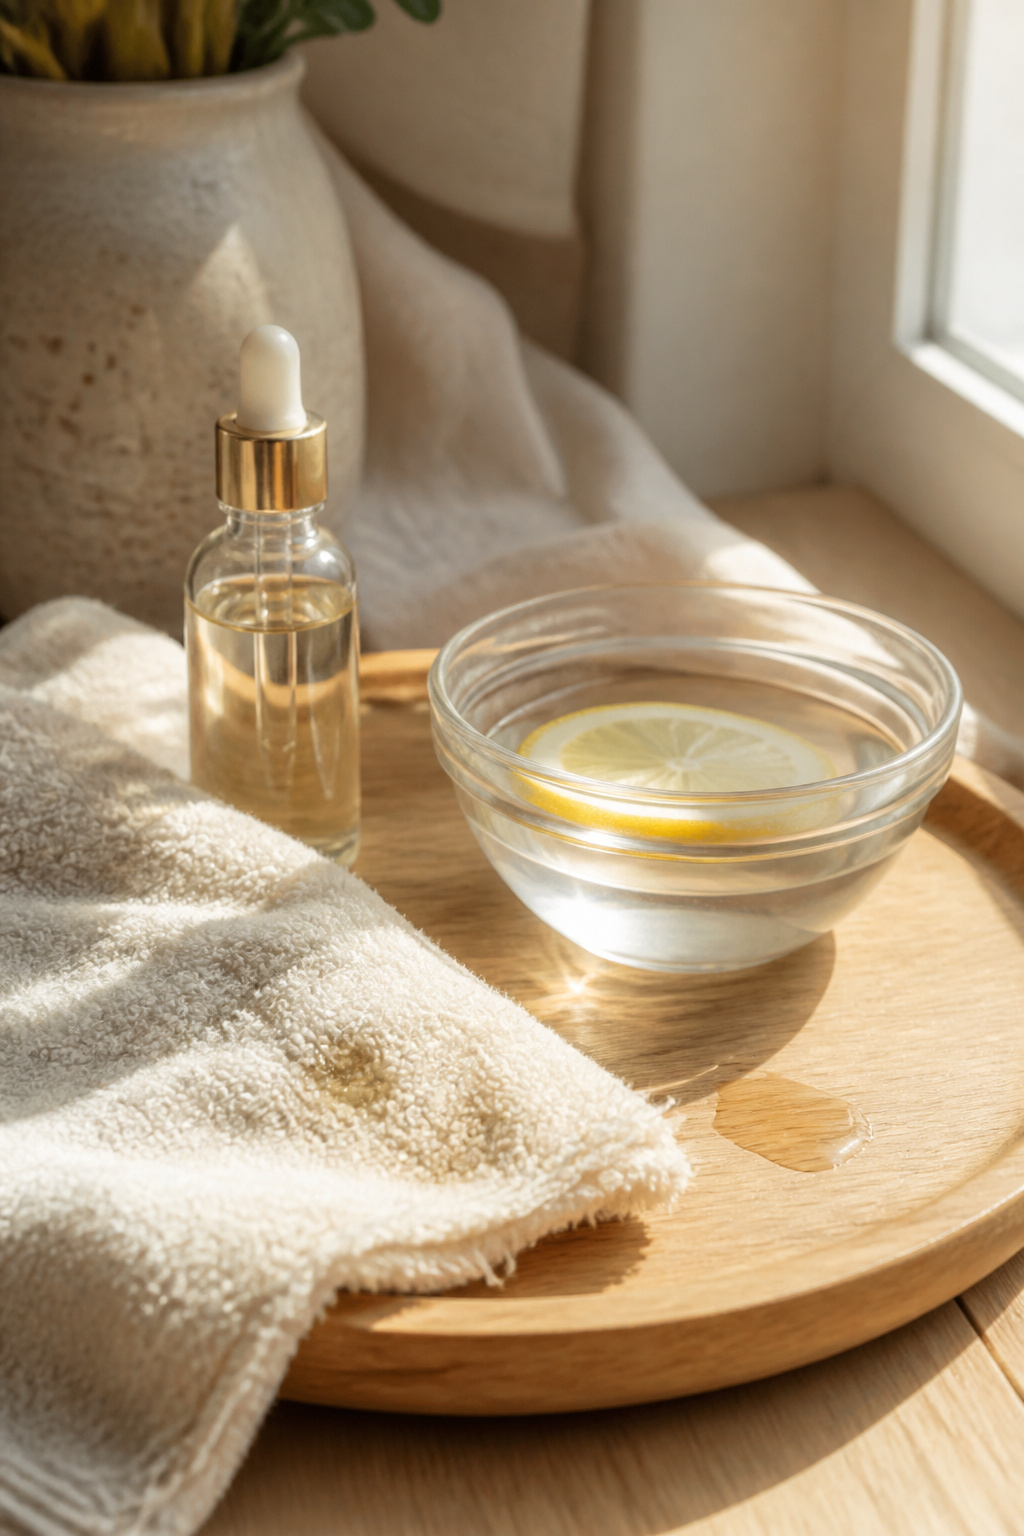

Healthy nails are the foundation of great transparent looks. My nightly routine now is warm water soak, gentle cuticle push, and a roll-on cuticle oil. I saw a visible reduction in peeling in four weeks. A quality cuticle oil and buffer set costs about $12 to $28. Tip: skip acetone weekly to avoid drying. Ugly truth: you can’t fake strong nails with top coat alone.
Shop this idea:
What You'll Need to Get This Look
Face & Base Essentials
- Sheer nude base polish around $8 to $18
- Glass top coat quick dry around $10 to $20
- Cuticle oil roll-on around $6 to $18
Eyes, Brows & Lips
- Tinted lip oil clear balm around $8 to $20
- Brown lengthening mascara mini around $6 to $15
Clothing Staples
- Silk scarf small square around $12 to $40
- Cream cashmere crewneck approx $60 to $120
Shoes, Bags & Jewelry
- Tan leather loafers approx $50 to $150
- Gold chunky hoop earrings around $12 to $40
- Leather tote bag tan (price range $80 to $200)
Budget Swaps
- Drugstore sheer polish around $4 to $8 (drugstore)
- Affordable LED nail lamp approx $20 to $40 (value buy)
- Press-on starter kit clear around $6 to $18 (time-saver)
Shopping Tips for These Looks
Tip: Buy during seasonal sales: Stock up during Ulta 21 Days of Beauty or Amazon Prime Day for LED kits and polish sets, prices fall about 20% to 40% on tools. See LED nail lamp deals.
Tip: Test shear on a swatch wheel: Try tints on a small wheel before committing to full set, saves time and money. Check nail swatch wheel.
Tip: Thrift your jewelry for texture: Mix a thrifted signet ring with new pearls to keep the look intentional and affordable. Thrift shops often have unique pieces to pair with clear nails.
Tip: Layer products seasonally: In winter swap to hydrating cuticle oil and avoid acetone; summer needs more top coat reapplication. See cuticle oil roll-on.
Tip: Dupe hack for foil: Use ultra-fine gold leaf pieces from craft stores as a gold foil dupe, press and seal with tacky coat. Try gold leaf sheets.
Frequently Asked Questions
Q: Do transparent nails yellow over time?
A: Yes, they can yellow from UV, smoking, and everyday dirt. Reapply a fresh top coat every 7 to 10 days and use UV-protective top coat to slow yellowing.
Q: Can I get salon-like gel at home safely?
A: Yes, with a proper LED lamp and gel kit you can get durable results. Follow cure times exactly and use portable LED nail lamp for best results.
Q: Are press-ons noticeable?
A: Not if prepped correctly. Buff, clean, and use strong glue for a natural look. A solid clear press-on nail set helps you match sizes.
Q: How do I keep transparent nails from chipping?
A: Nail health plus thin layers equals longevity. Use a base, two thin sheers, then top coat. Consider a nail treatment kit to strengthen nails first.
Conclusion
Start with a glass top coat and one affordable tweak, like a pearl or a sheer tint, to see the most reaction. My easiest win was swapping a matte for a glass seal and suddenly everything looked curated. Which transparent nail style are you trying first, and when will you book that at-home session?


