








My everyday face used to read heavy and tired. I switched to natural eyeshadow makeup looks and got the soft compliments instead of questions about my eyeliner. Here are 17 easy ideas that take 3 to 10 minutes, most products under $30, a few splurges around $120, all worn by me on real mornings and rushed afternoons.
These are soft, tonal, and wearable. Most picks under $30, a couple splurges like a cream palette around $80 to $120. They suit clean girl, soft glam, mature lids, and deeper skin tones. I’ve noticed cream-to-powder textures and sheer metallic touches are everywhere lately.
1. Bare Lid + Brown Lash
Style: Clean Girl | Budget: Under $25 | Best For: Small lids / Minimalists


The result is fresh, not blank. I use a neutral cream eyeshadow stick in warm beige as a base and skip heavy powder. The trick is combing through lashes with a brown lengthening mascara so the lid feels balanced. I paid around $9 to $16 for the stick at a drugstore and got compliments from my coworker in the elevator.
Shop this idea:
2. Soft Taupe Crease
Style: Minimal Elevation | Budget: Under $30 | Best For: Hooded eyes / Mature lids
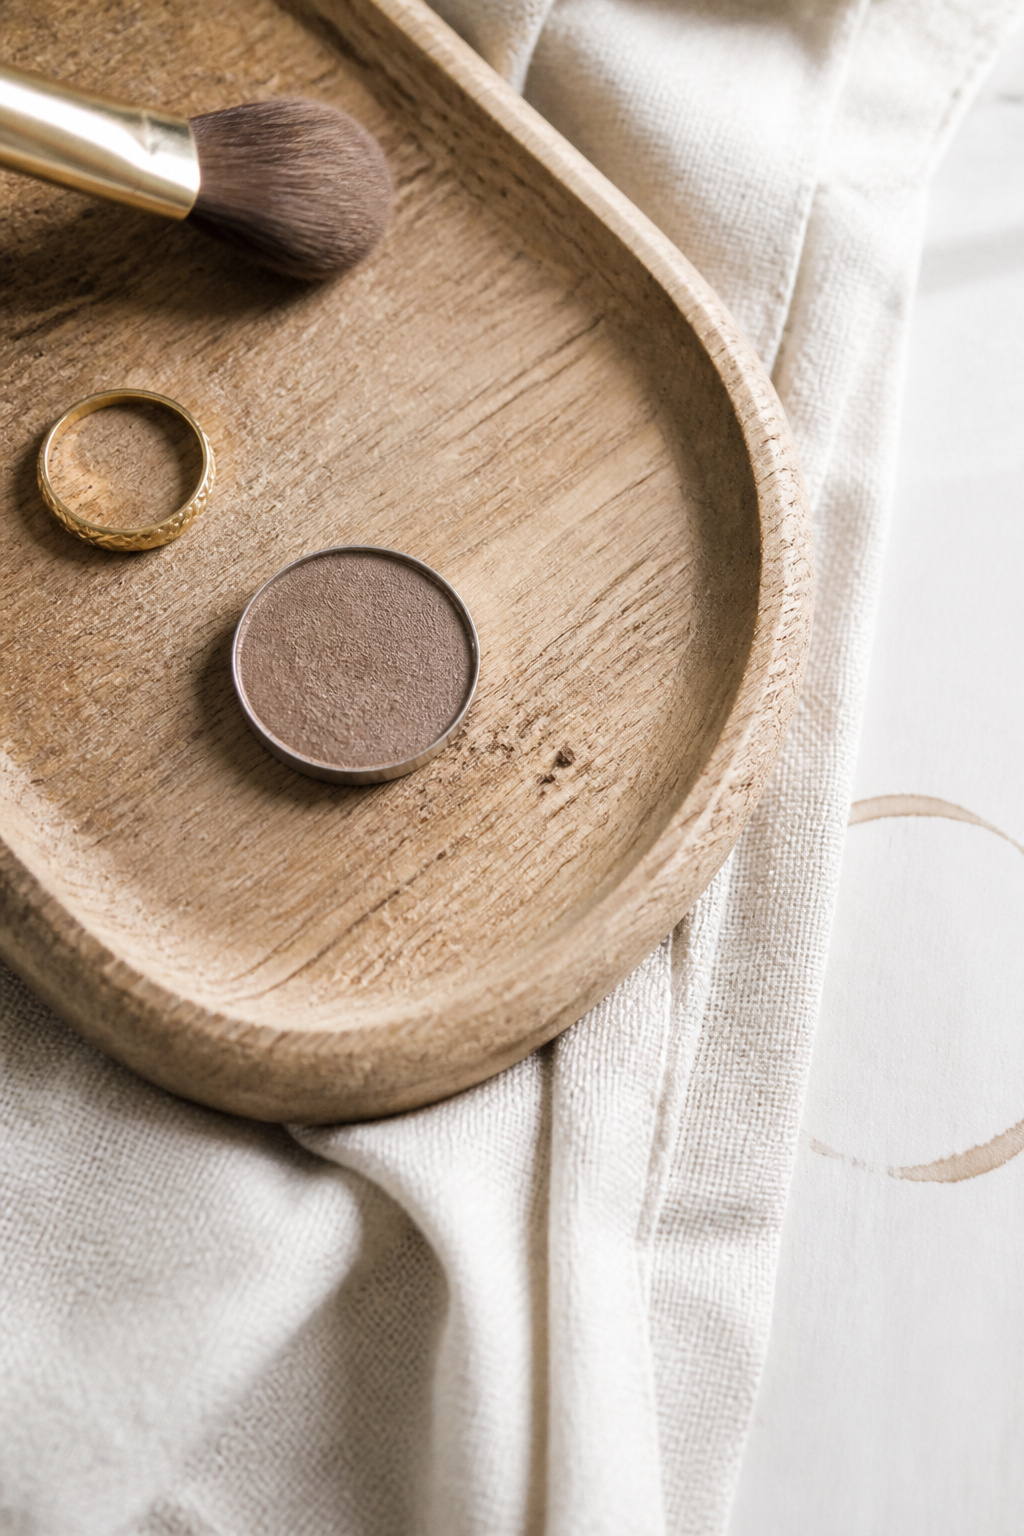

A matte taupe swept into the socket gives the illusion of depth without heavy pigment. I use a small tapered brush with a light hand and set only the outer third. Try a single-pan taupe eyeshadow in soft matte brown, around $6 to $18, and blend in windshield-wiper motions. Years ago I piled shimmery browns and looked older; this fixed that.
Shop this idea:
3. Champagne Inner Corner Pop
Style: Bright Eye | Budget: Under $25 | Best For: Small eyes / Tired mornings
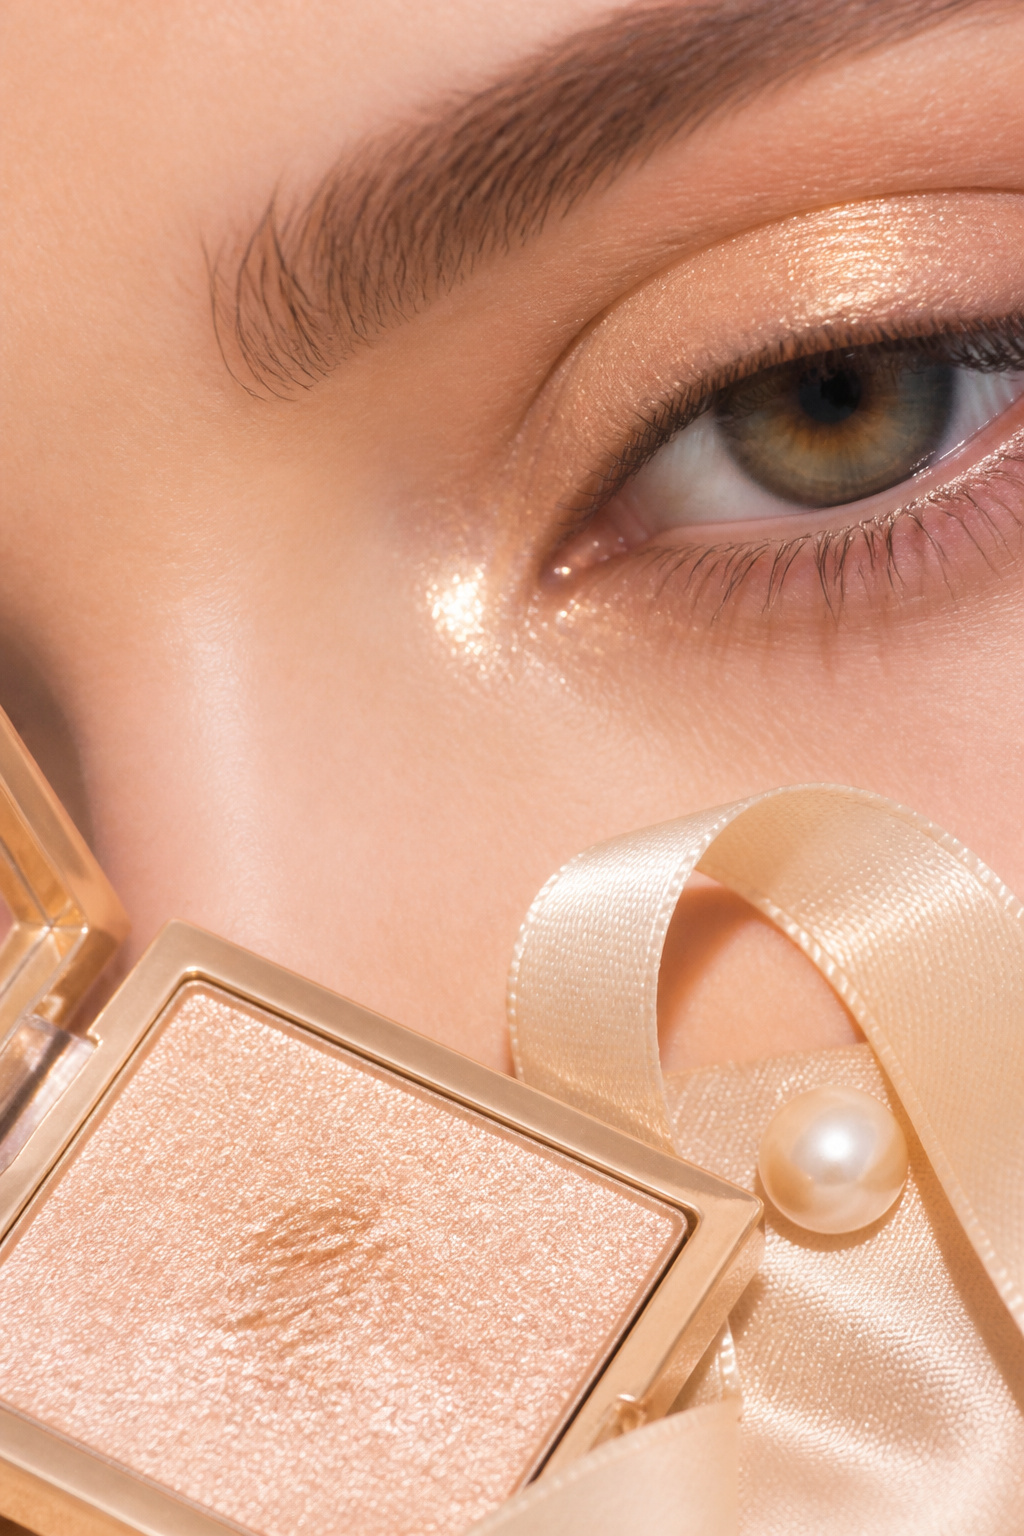

A tiny champagne shimmer in the tear duct wakes up the whole face. Use a cream-to-powder shimmer stick in soft champagne, about $10 to $22, and press with the ring finger. The trick is tapping, not swiping, to avoid fallout. I once swiped too hard and had glitter under my eyes for hours; tapping solved it.
Shop this idea:
4. Washed Peach Lid
Style: Soft Romantic | Budget: Under $30 | Best For: Warm undertones / Blue eyes
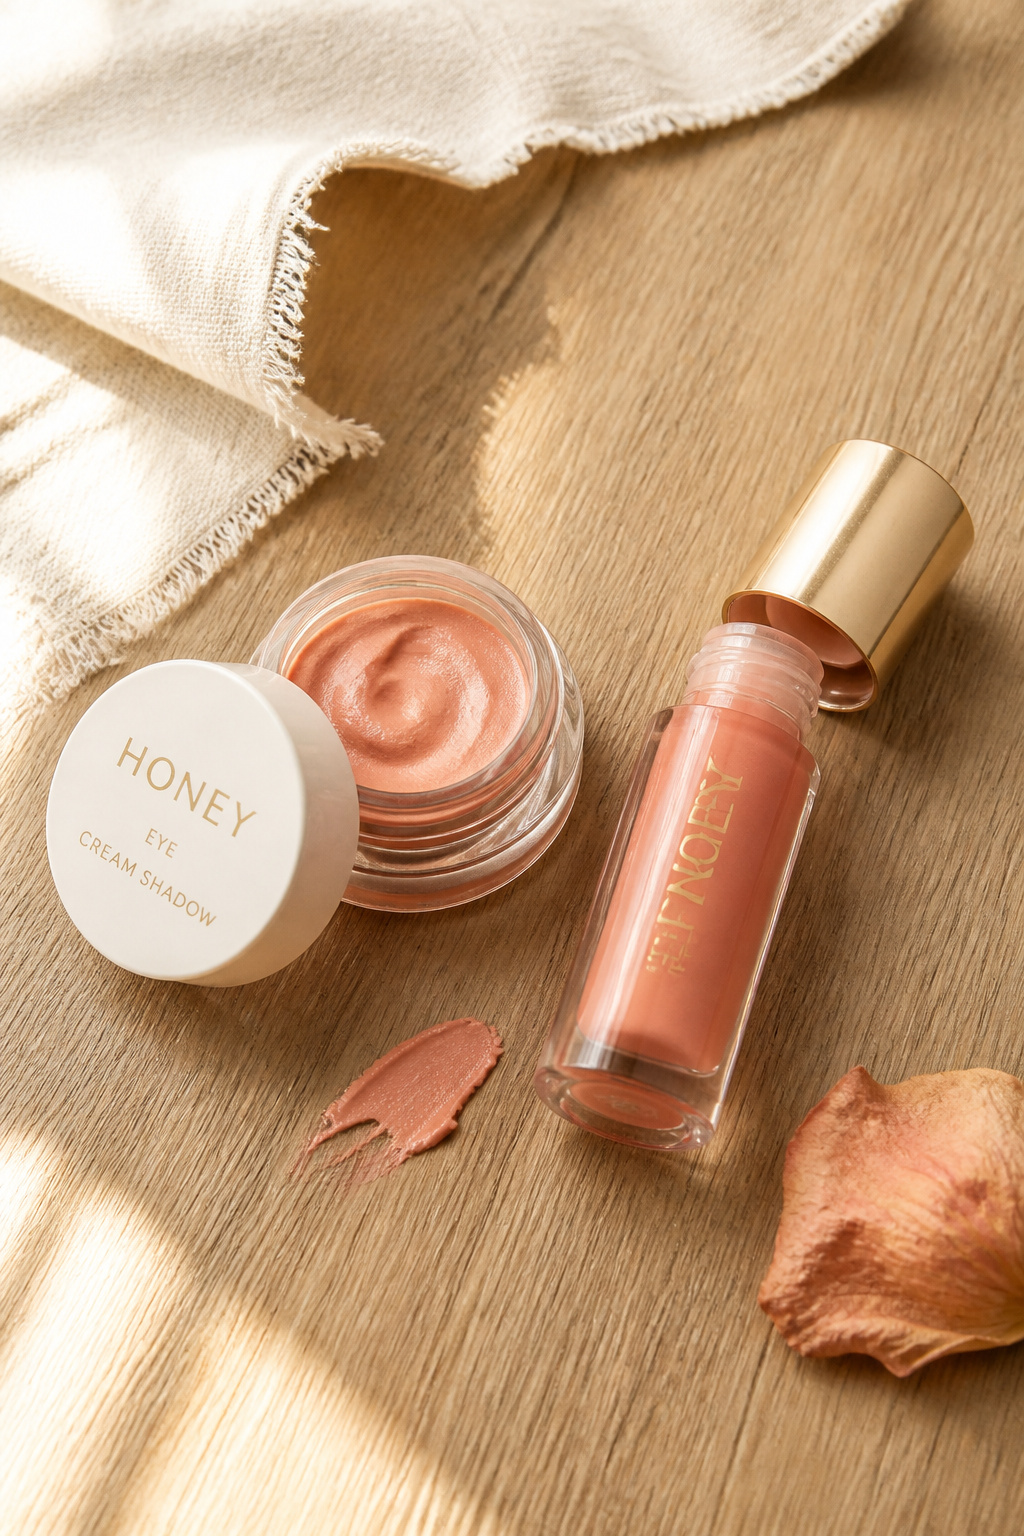

A peach wash feels polished and not try-hard. I sweep a peach cream shadow across lid, blend edges into a damp sponge, and line lashes with a warm brown pencil. Use a cream peach eyeshadow about $7 to $18 and pair with a peachy lip oil. People often overdo peach and look orange; keep it soft and sheer.
Shop this idea:
5. Satin Bronze Liner
Style: Elevated Neutral | Budget: Under $30 | Best For: Green eyes / Evening outings


Swap black for a satin bronze gel liner on the top lash line for softness. A bronze gel liner applied with an angled brush lasts through humid days; I paid around $12 to $28 and wear it under office lights and dinner candles. The tip is to smudge the outer third while the gel is tacky. Black often looks harsh with soft outfits, and bronze fixes that.
Shop this idea:
6. Soft Smoky Brown
Style: Soft Glam | Budget: Around $30 | Best For: Date nights / Everyone
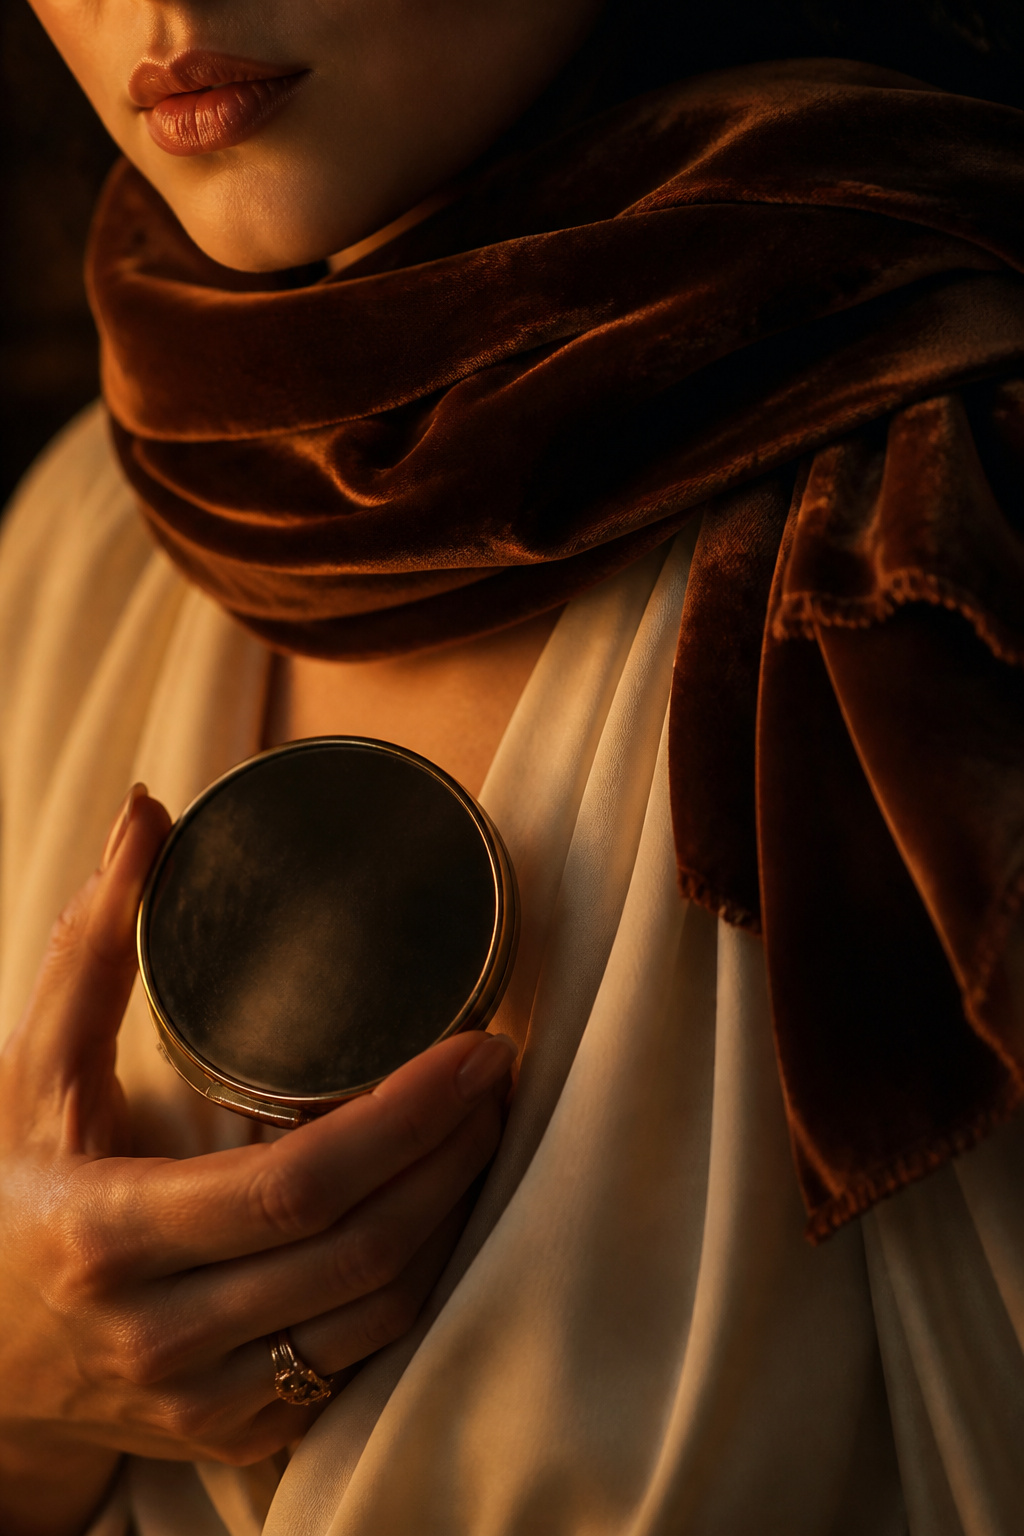

A diffused smoky brown is wearable if you keep edges soft. Layer a matte warm brown in the crease, a satin brown on the lid, and smudge along lower lashes. I reach for a neutral palette about $18 to $36 and a stiff pencil brush to smudge. Ugly truth: packing dark pigment without blending makes you look older. Blend more than you think.
Shop this idea:
7. Cream-to-Powder Nude Lid
Style: Natural Texture | Budget: Under $28 | Best For: Dry lids / Mature skin
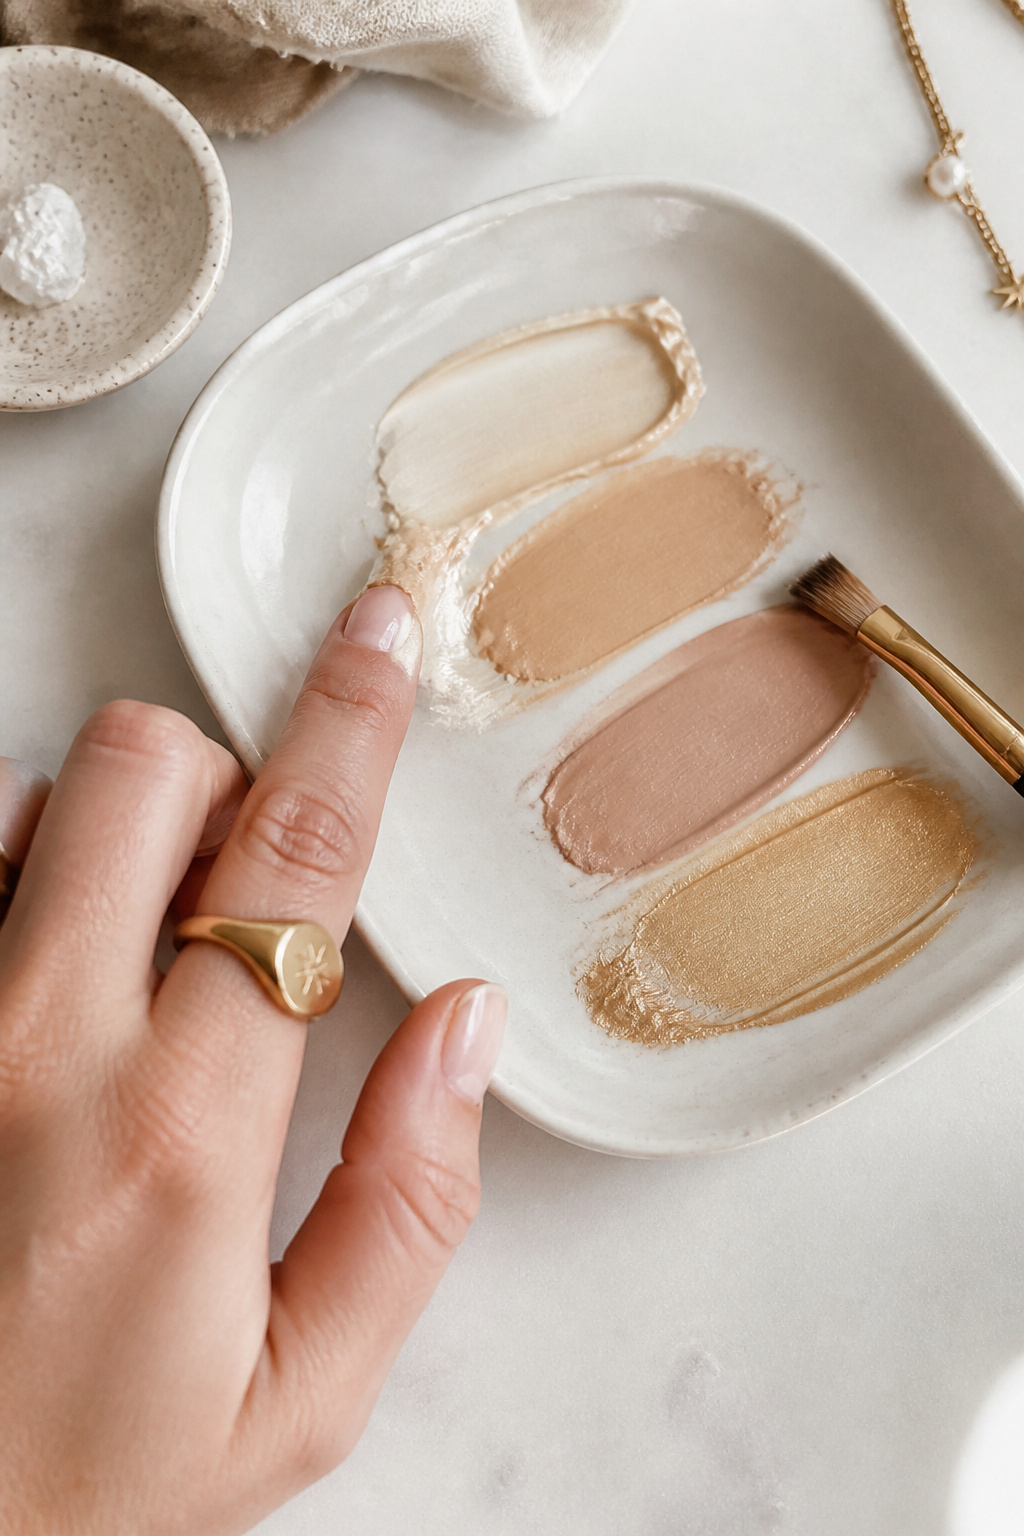

Cream-to-powder formulas sit nicely on mature lids. I start with a cream nude stick, buff edges, and set only center with a light powder shade. A cream-to-powder neutral palette around $14 to $28 prevents creasing all day. One mistake is over-powdering, which flattens the skin. Light tapping keeps skin texture and looks modern.
Shop this idea:
8. Single Shadow Monochrome
Style: Minimal Statement | Budget: Under $20 | Best For: Quick routines / Travel
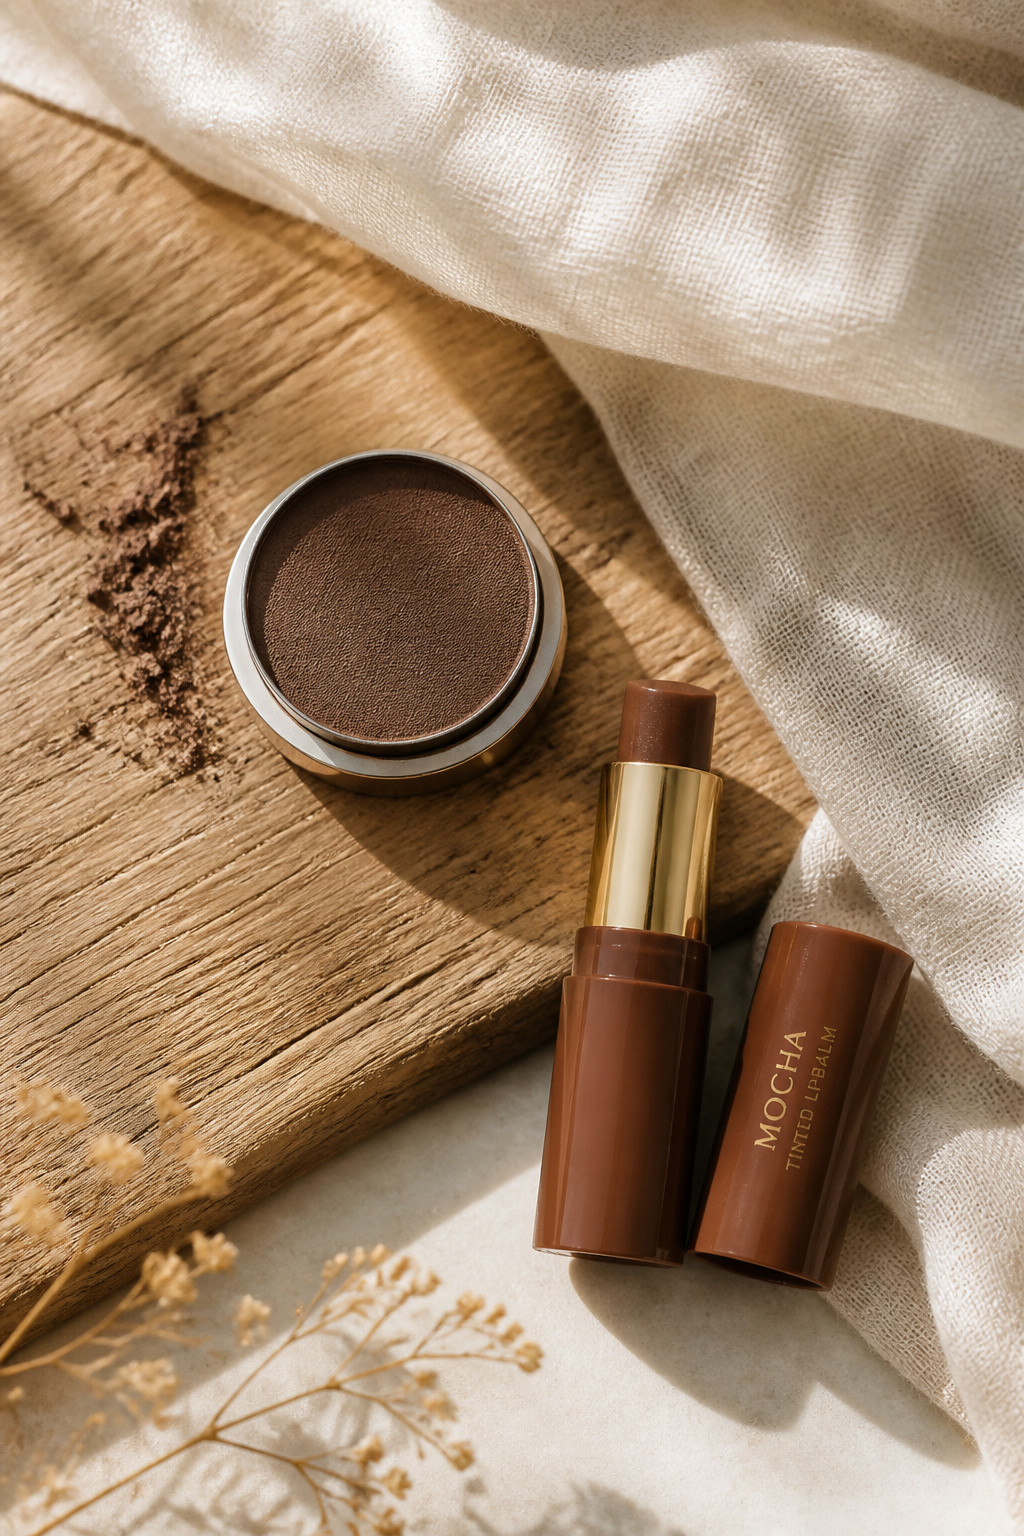

Pick one shade and use it everywhere: lid, lower lash line, even lightly on the temple. A single deep brown shadow around $6 to $16 doubles as light contour. The trick is to sheer it out with a fluffy brush for a cohesive look. I learned this on a weekend trip when I only packed one pan and got ready faster than ever.
Shop this idea:
9. Rose Taupe for Blue Eyes
Style: Soft Romantic | Budget: Under $30 | Best For: Blue eyes / Fair skin


Rose taupe makes blue eyes pop without glitter. I layer a matte rose-taupe shade in the crease and a soft satin on lid. A rose-taupe duo around $12 to $28 is my go-to. Practical tip: add a touch of warm brown at the outer corner to stop the look from reading too flat. Once I skipped that brown and the look lacked dimension.
Shop this idea:
10. Warm Caramel Halo
Style: Glow Focused | Budget: Under $30 | Best For: Brown eyes / Warm undertones
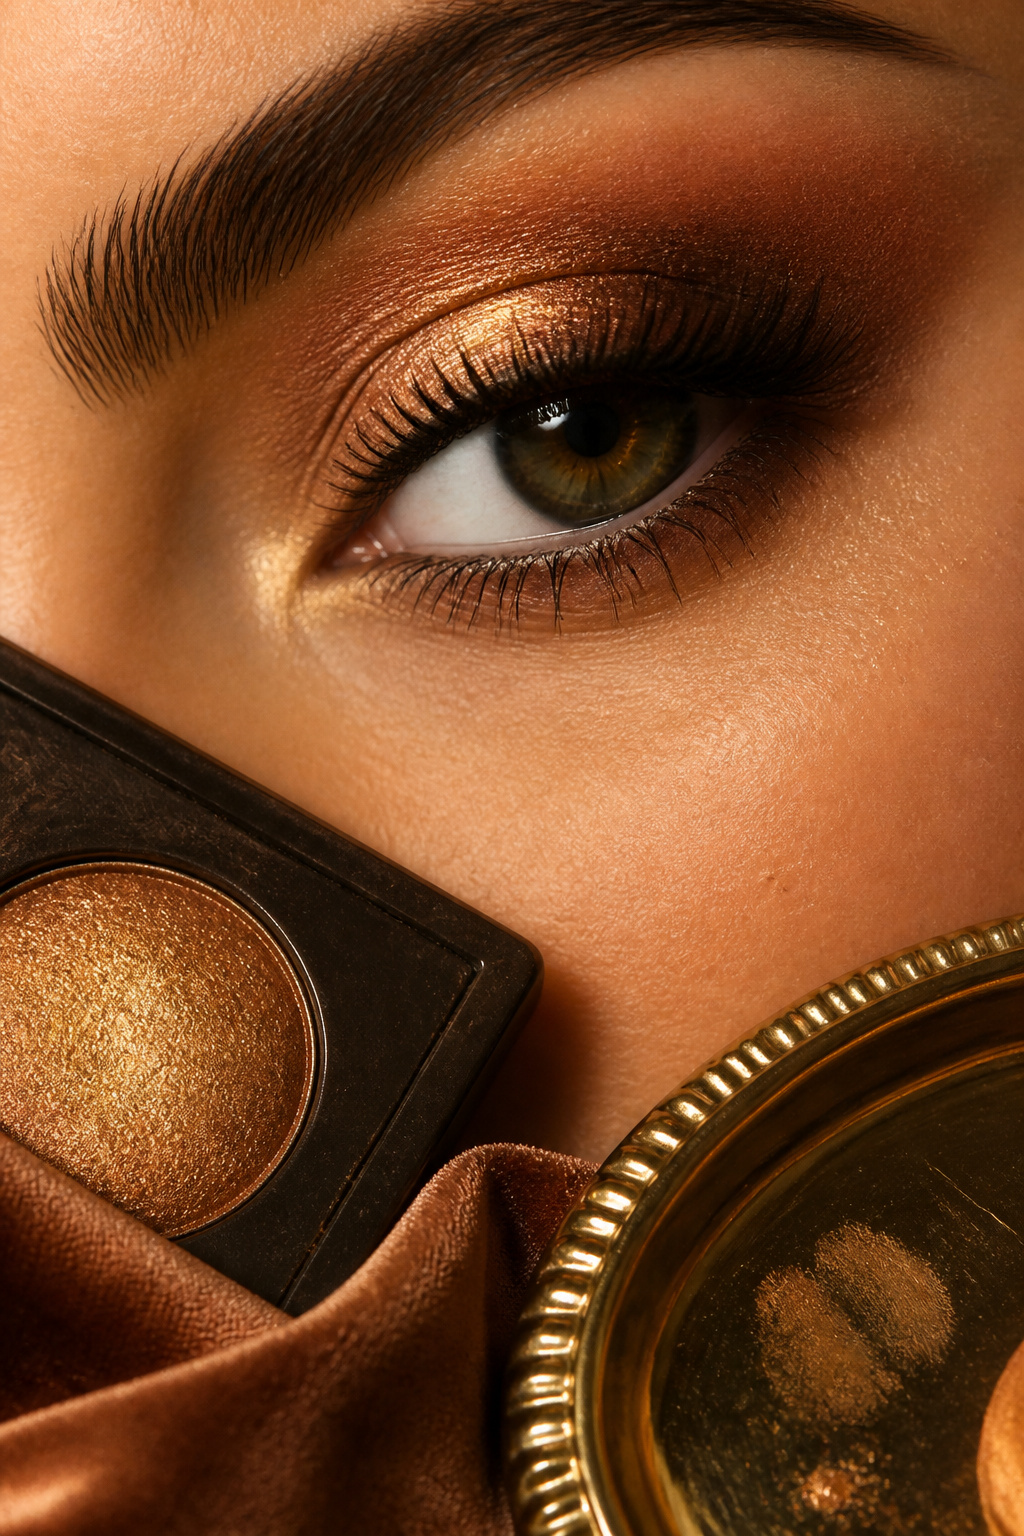

A halo with warm caramel and a gold center reads soft on camera. I use a matte caramel in the outer and inner thirds and press a gold cream shadow in the center. A small cream gold pot around $10 to $24 gives that pop. Tip: press with a damped flat brush for longer wear. I tried glitter first and it migrated into my smile lines.
Shop this idea:
11. Satin Cocoa Lashline
Style: Subtle Edge | Budget: Under $20 | Best For: Monolid / Soft glam
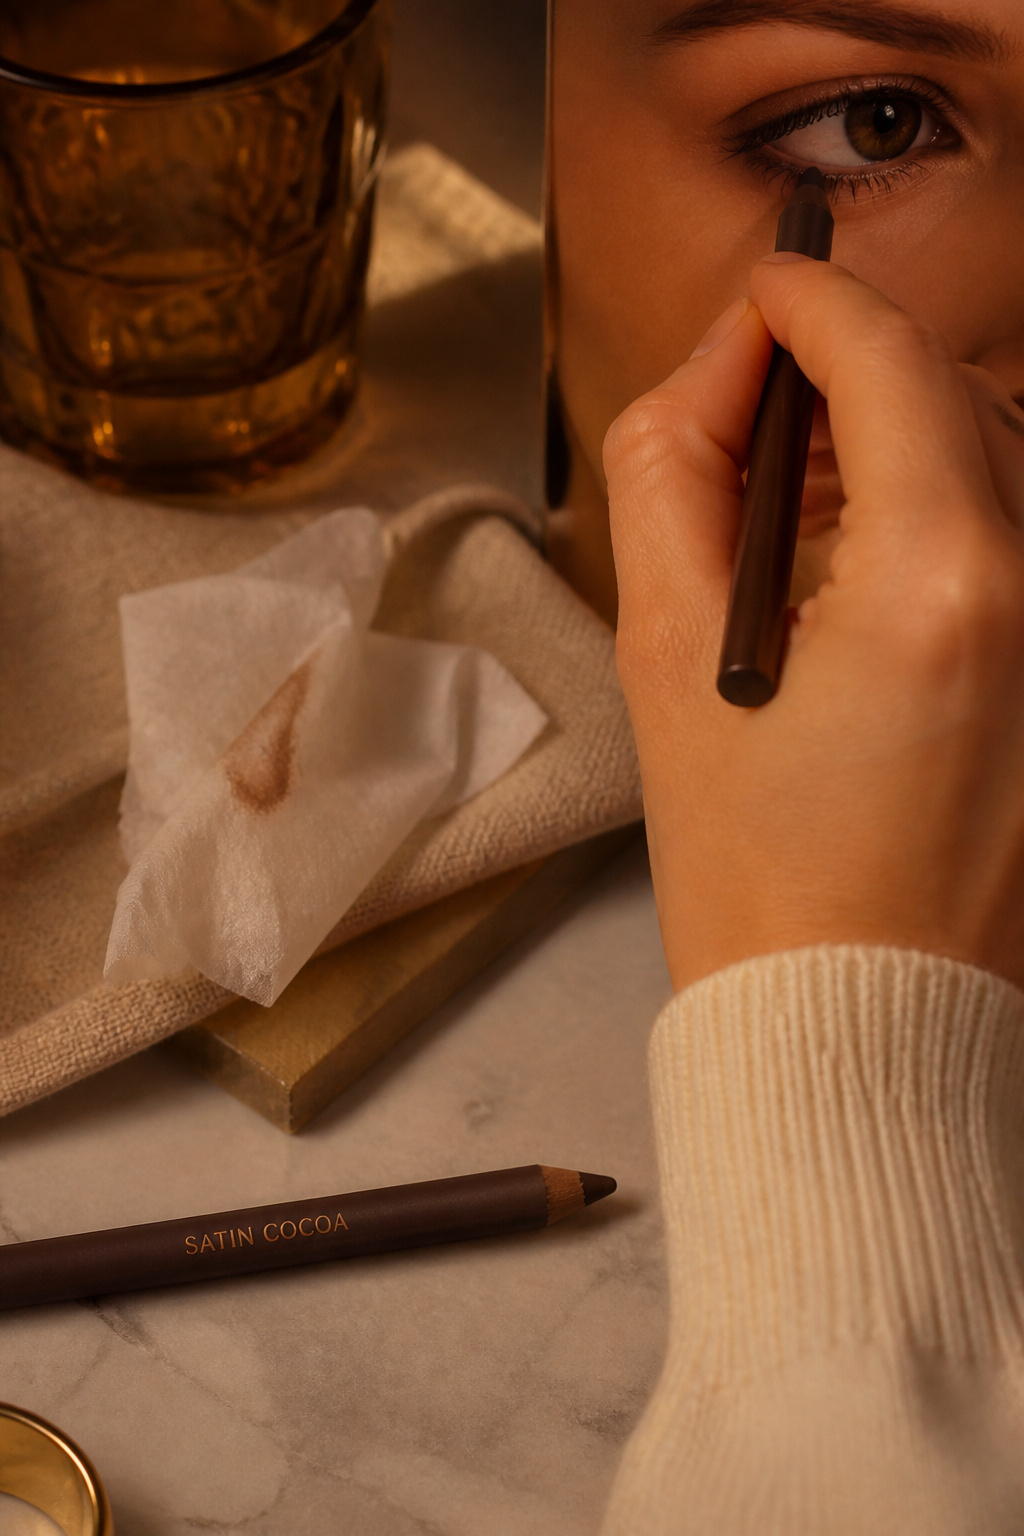

Tightline and smudge a satin cocoa pencil along lashes for a natural darkening. I sharpen the pencil and smudge with a tiny brush, then curl lashes. A satin cocoa pencil around $6 to $14 lasts all day. Common mistake: pressing too hard and leaving a harsh line. Gentle smudging gives that lived-in soft eye that still reads polished.
Shop this idea:
12. Faint Smudged Crease
Style: Lived-In Cool | Budget: Under $25 | Best For: Weekend looks / Casual dates
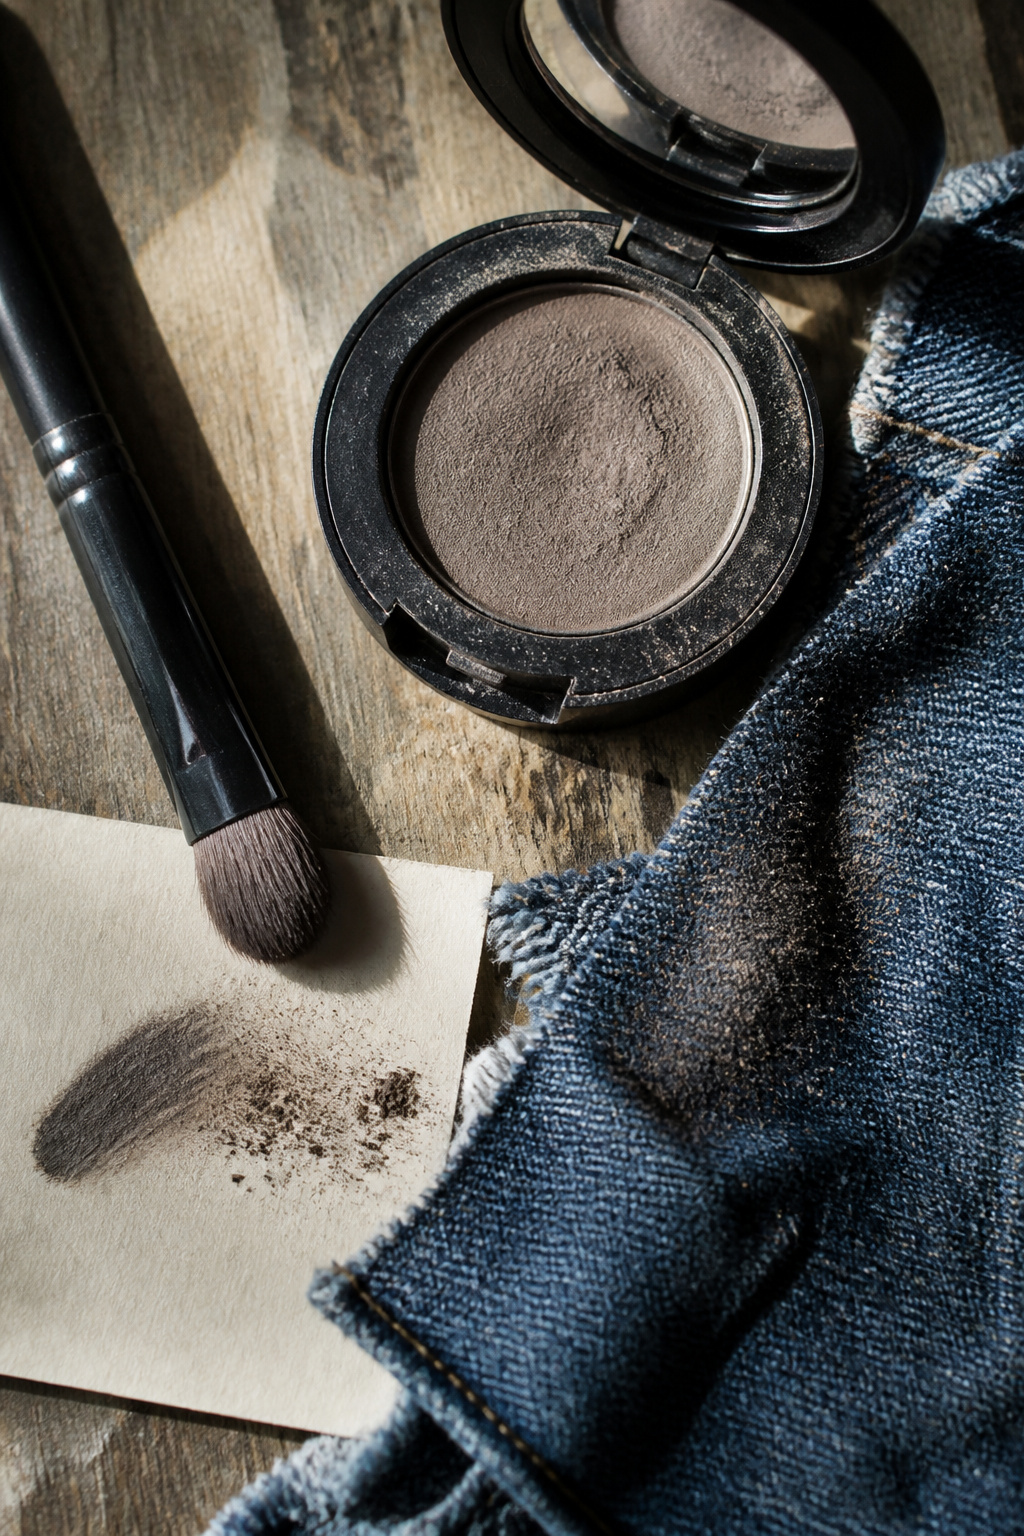

A faint smudged crease reads effortless. Sweep a soft gray-brown into the crease and smudge up slightly, keeping center lid bare. Use a soft matte gray-brown shadow around $7 to $20 and a dense blender. I once over-smudged and looked tired; stop when it softens, not when it disappears.
Shop this idea:
13. Bronze-Gold Gradient
Style: Warm Glow | Budget: Around $35 | Best For: Olive skin / Evening
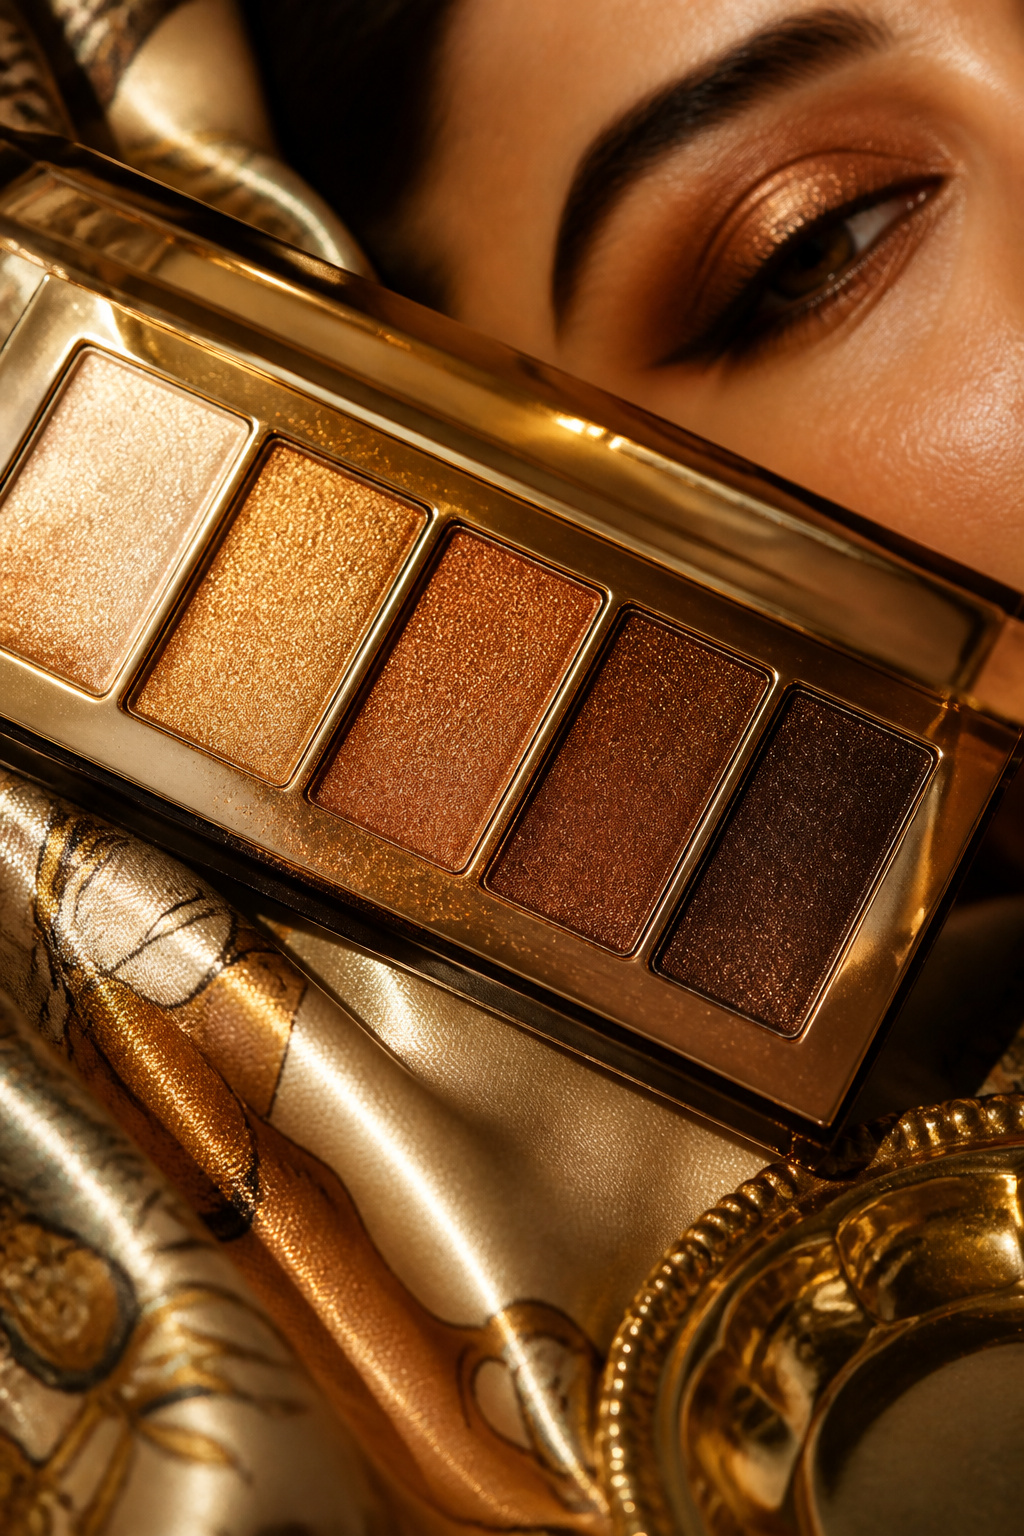

Layer bronze at the outer lid and antique gold at the center for a soft gradient. A warm neutral palette with satin bronze and gold shades around $24 to $48 works well. Apply bronze with a fluffy brush and press gold in with the fingertip. I learned to dampen the brush lightly for richer payoff without fallout.
Shop this idea:
14. Neutral Matte With Glossy Lid
Style: Trendy Soft | Budget: Under $30 | Best For: Social photos / Younger skin


A thin layer of clear lid gloss over a matte neutral gives a modern, dewy look. Use a matte taupe base and a non-sticky eye gloss applied with a fingertip. A clear eye gloss around $8 to $18 keeps lids luminous. Ugly truth: most lip glosses are too sticky for lids. Buy a product formulated for eyes to avoid creasing.
Shop this idea:
15. Peachy Bronze With Cream Base
Style: Soft Bronze | Budget: Under $30 | Best For: Tanned skin / Summer
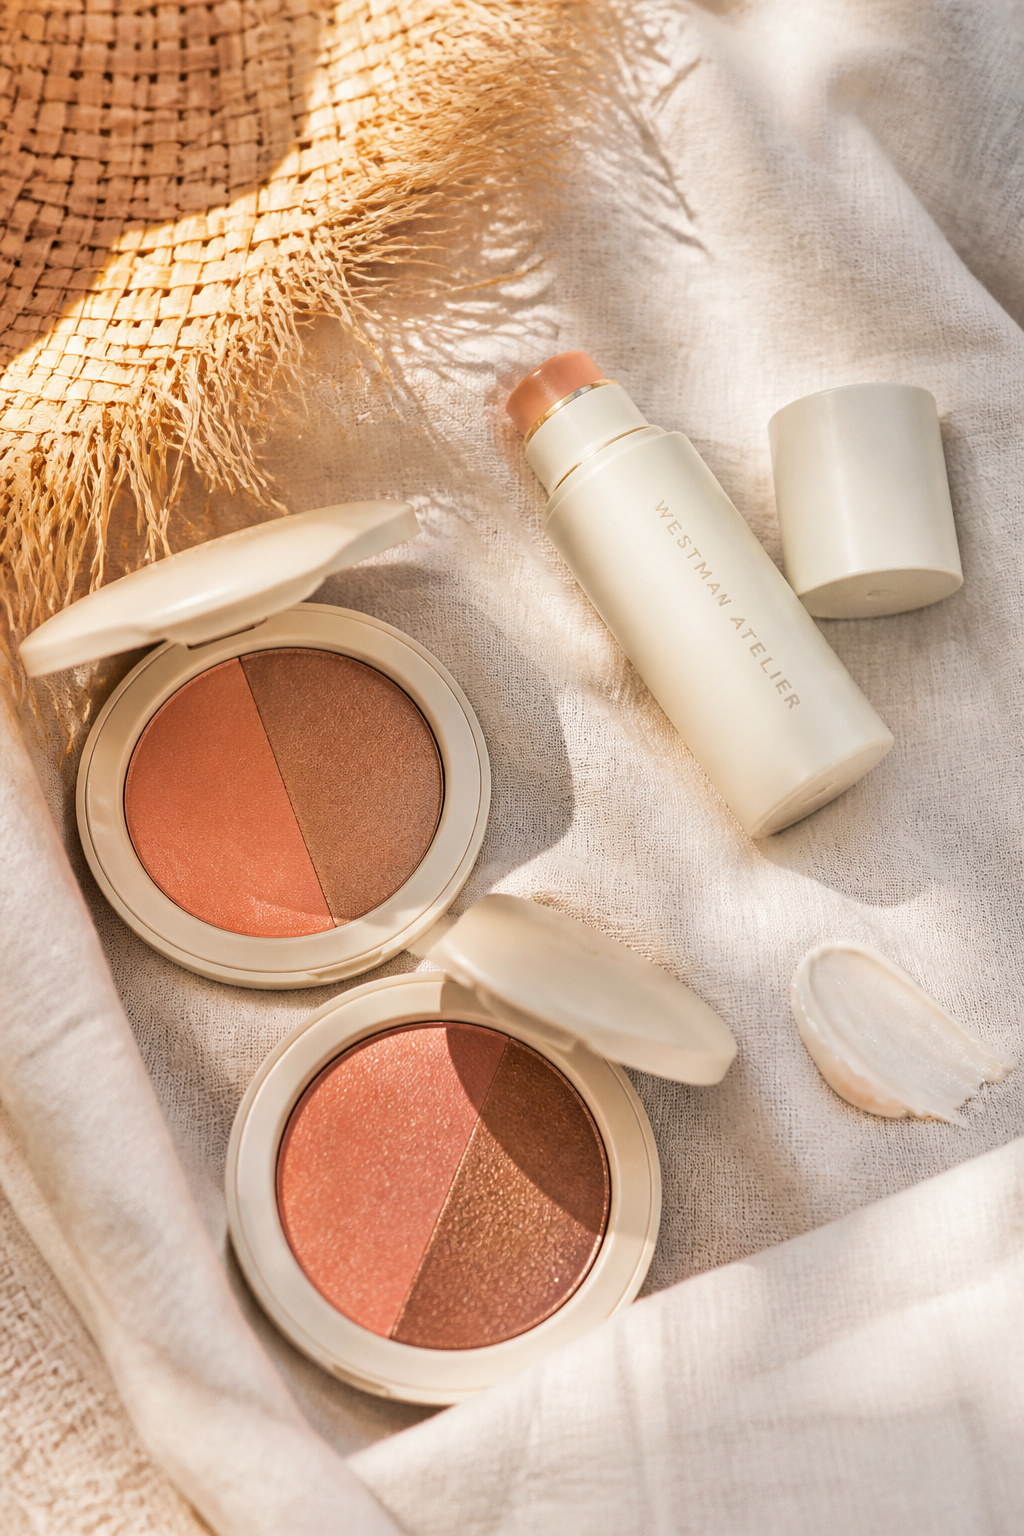

Start with a peachy cream base and layer a bronzy shadow on top for a sun-kissed look. A cream base around $10 to $22 prevents bronze from patching on dry areas. The tip is to press, not rub, when layering. I wore powder bronze alone once and had patchy spots; cream cured that.
Shop this idea:
16. Subtle Moss Green
Style: Unexpected Neutral | Budget: Under $28 | Best For: Hazel eyes / Earthy wardrobes


Moss green is surprisingly neutral when desaturated. I sweep a soft moss on the outer lid and warm brown in the crease for balance. A desaturated green pan around $8 to $20 gives subtle color without reading costume. Practical tip: dampen a brush for more pigment on special nights. I used bright forest green once and regretted it at brunch.
Shop this idea:
17. Dewy Highlighted Lid
Style: Fresh Glow | Budget: Under $30 | Best For: No-makeup makeup / Photos


A luminous cream highlight on the mobile lid lifts the whole look. Use a soft champagne cream highlight, dabbed in the center and blended with fingertip. A cream highlighter for lids around $9 to $22 keeps the lid dewy without glitter. Tip: less is more, build slowly. I used too much once and had a reflective blob in photos.
Shop this idea:
What You'll Need to Get This Look
Face & Base Essentials
- Tinted moisturizer light to medium around $12 to $28
- Cream to powder concealer stick around $8 to $22
- Cream blush stick peachy around $7 to $18
- Translucent finishing powder light around $10 to $28
Eyes, Brows & Lips
- Neutral matte eyeshadow palette around $14 to $36
- Brown lengthening mascara waterproof around $6 to $18
- Cream gold eyeshadow pot around $10 to $28
Clothing Staples
- Silk scarf vintage print around $12 to $50
- White linen shirt oversized around $24 to $70
- High waist straight jeans dark wash around $30 to $120
Shoes, Bags & Jewelry
- Gold chunky hoop earrings medium around $8 to $45
- Leather crossbody bag tan small around $40 to $150
- Pearl signet ring small around $12 to $60
Budget Swaps
- Drugstore neutral quad around $6 to $14 (dupe for $40 palette)
- Affordable cream shadow stick multi around $7 to $16 (dupe for $30 cream pot)
- Faux leather tote alternate around $20 to $60 (budget bag swap)
Shopping Tips for These Looks
Buy Neutral Quads Around Sale Events: Watch Ulta 21 Days of Beauty and Amazon Prime Day for palettes and mascara deals, I snagged a $36 palette for $18. Neutral matte eyeshadow palette
Try Cream Bases First: Cream-to-powder eyeshadows save time and reduce fallout, test shades in natural light before buying. Cream to powder nude palette
Thrift + Modern Mix: Vintage silk scarves and gold hoops from thrift shops pair well with new drugstore eyeshadows for a curated look. I found a perfect scarf at a weekend flea market. Silk scarf vintage print
Seasonal Texture Swap: In 2025 I’ve noticed people swapping heavy mattes for cream finishes in spring; choose creams for humid months and mattes for winter. Non sticky eye gloss clear
Check Return Policies: Eyeshadow shades can shift on camera, buy from retailers with easy returns and sample-friendly policies. Neutral palette with easy returns
Frequently Asked Questions
Q: How do I stop cream shadow from creasing?
A: Use a thin layer of a cream-to-powder formula and set the center lightly with a matching powder shade. Try Cream to powder nude palette and avoid heavy eyelid primer.
Q: Can I use lip gloss on eyelids?
A: Not recommended unless formulated for eyes. Lip glosses often crease and migrate. Choose an eye-safe glossy product like Non sticky eye gloss clear.
Q: Which shade flatters brown eyes best?
A: Warm bronzes and caramel tones enhance brown eyes. A warm bronze palette like Warm bronze gold palette neutral is a versatile pick.
Q: How do I make matte shadows less flat?
A: Layer a satin or cream shimmer in the center of the lid or add a light highlight to the inner corner. A small cream gold pot works well, try Cream gold eyeshadow pot.
Conclusion
Start with one small swap like brown mascara or a cream shadow stick and you’ll see the difference. My final tip: test textures in daylight and build slowly, not all at once. Which of these 17 natural eyeshadow makeup looks will you try first?


