






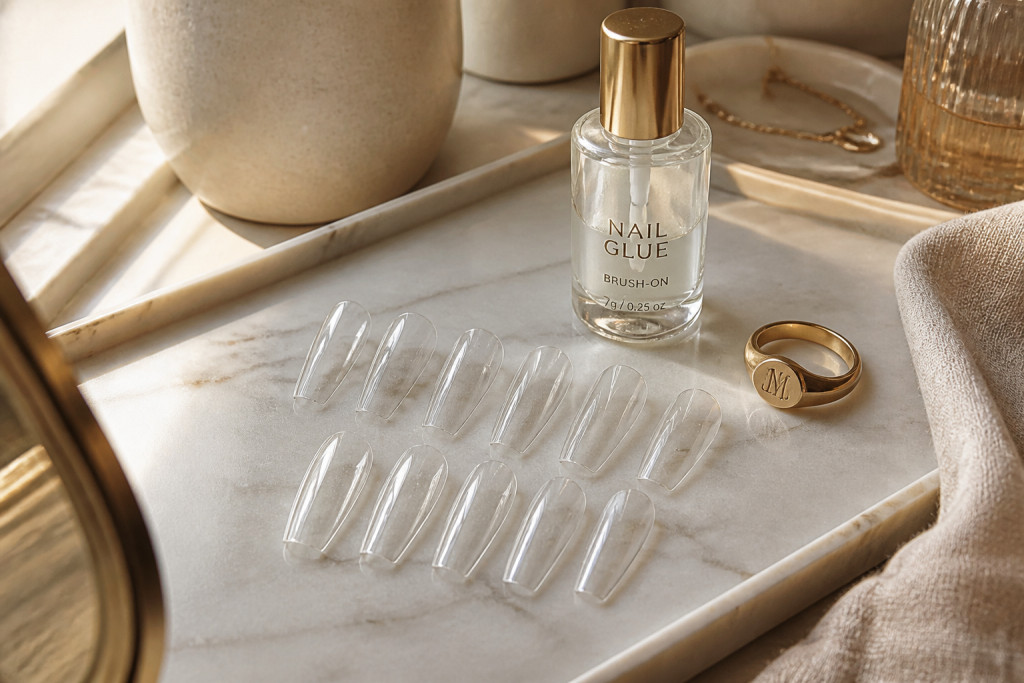

My salon fail taught me the power of transparent coffin nails. Transparent coffin nails feel bold without loud colors, and my friends started asking where I got them after one coffee date. This list has 18 wearable ideas you can do at home, most looks under $30, a few splurges around $80 to $120.
These ideas skew clean, modern, and a little editorial. Most picks are under $30, a few tools around $60 to $120. Suits clean-girl, soft-glam, minimalist, and anyone who dislikes loud color but wants shape and presence. I’ve noticed Pinterest searches edging toward minimalist nail art for 2025.
1. Clear Tips With Single Gold Stud
Style: Clean Girl | Budget: Under $20 | Best For: Short-to-medium nails
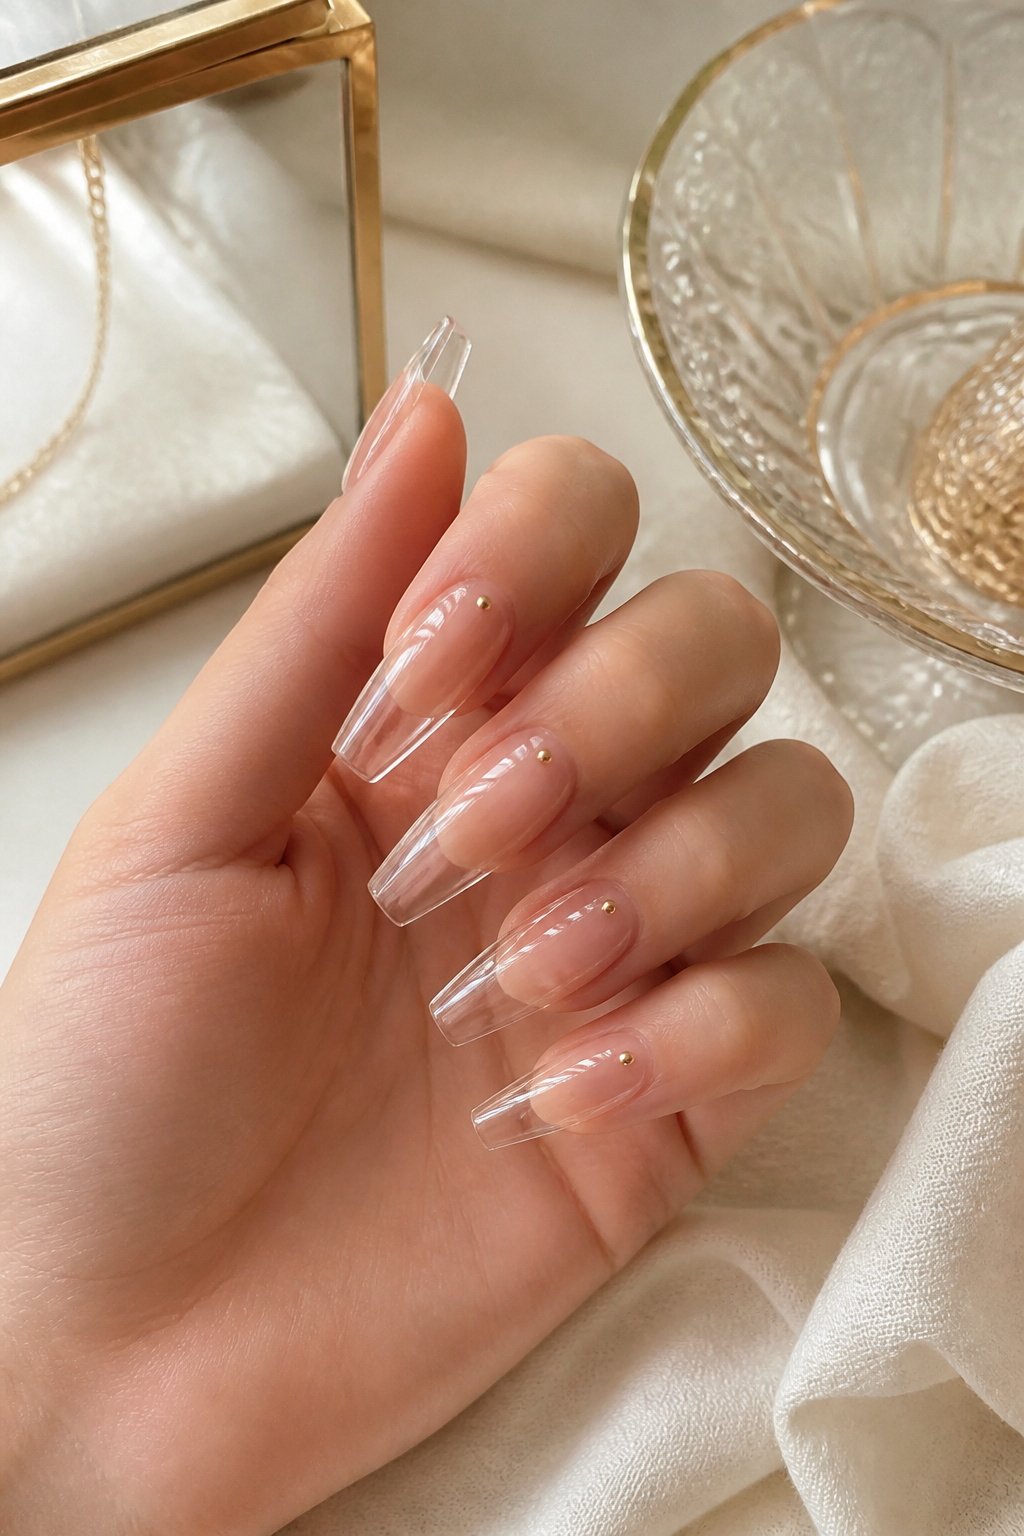

The trick is the placement. I press a single 2mm gold stud at the cuticle of a transparent coffin press-on for subtle shine. Use a clear glossy finish, not matte, to keep the shape visible. I paid around $12 to $18 for a 24-piece press-on set at a local boutique and got compliments at brunch. Don’t overdo studs; one per nail looks intentional.
Shop this idea:
2. Clear Ombre To Natural Pink
Style: Soft Glam | Budget: Under $25 | Best For: Medium-length, long fingers


Gradient is foolproof. I blended transparent coffin tips into a sheer natural-pink at the tip using a soft sponge and a tinted topcoat. It costs around $14 to $22 for the nail set and a mini bottle of tinted topcoat. Tip: dab the color lightly, then seal with two layers of clear gel topcoat to avoid tip lift. I learned this after one salon ombre lifted within a day.
Shop this idea:
3. Minimalist Negative Space Chevron
Style: Minimal | Budget: Under $20 | Best For: Petite hands
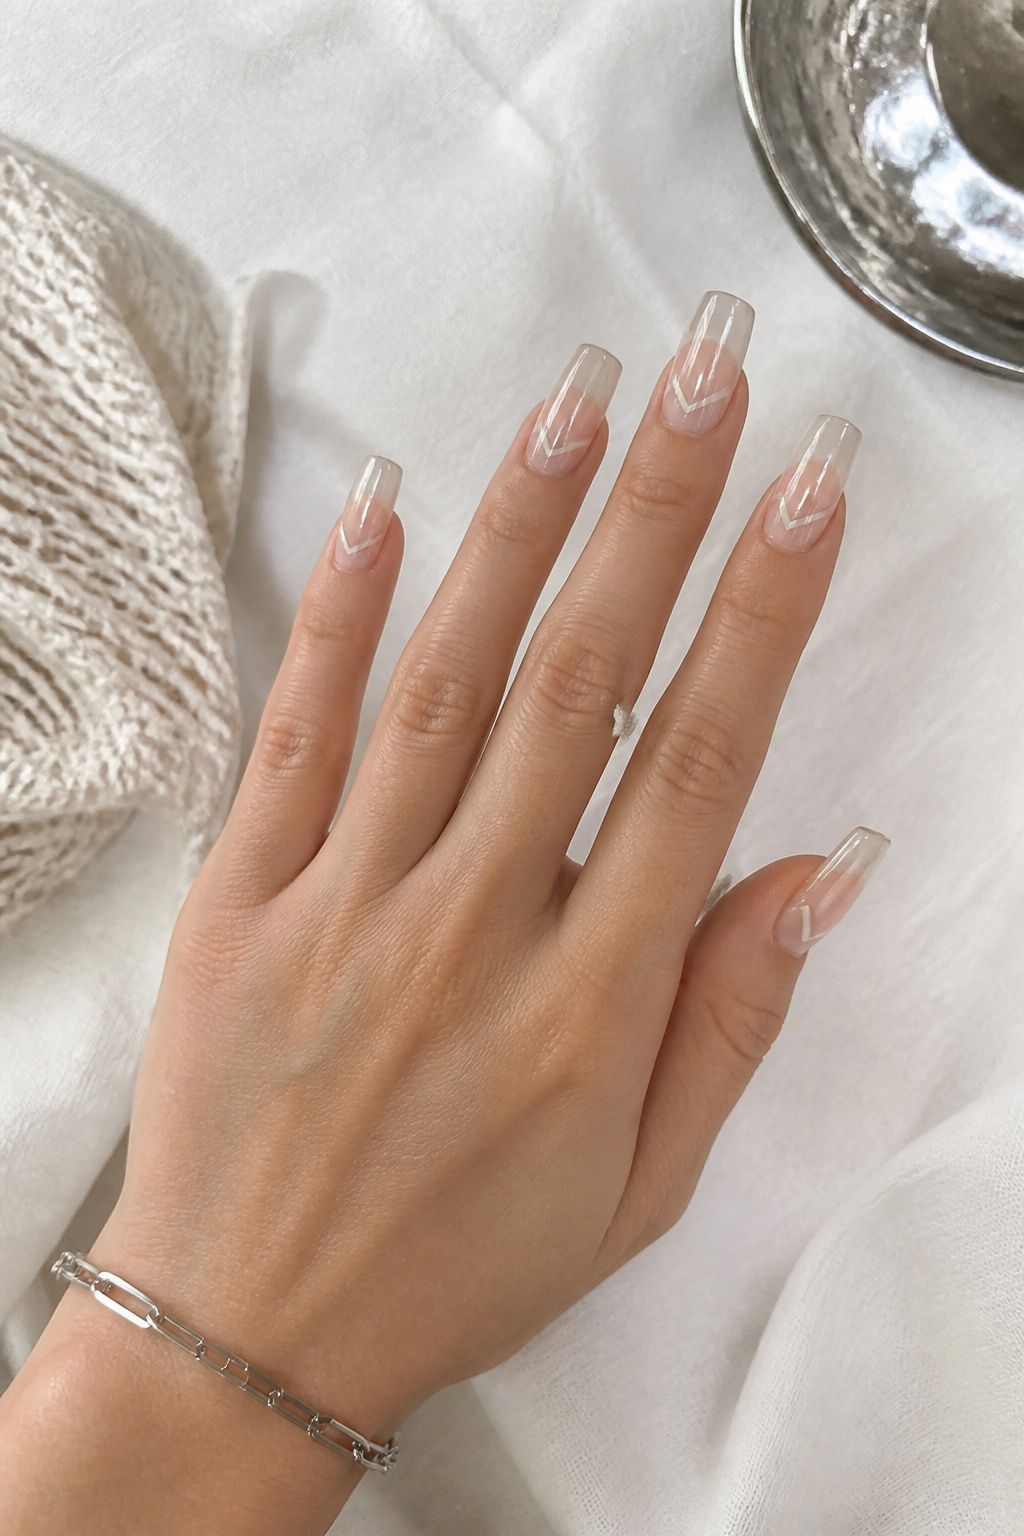

A tiny V at the base reads bold but stays quiet. I use a striping brush and a sheer gray gel polish for the chevron, around $8 to $14 per polish bottle. Practical tip: cure each thin line for 30 seconds to avoid smudging. Ugly truth: freehand chevrons look messy at first; practice on one press-on set before committing.
Shop this idea:
4. Satin Finish Clear Coffin
Style: Elevated Minimal | Budget: Under $25 | Best For: Mature skin tones
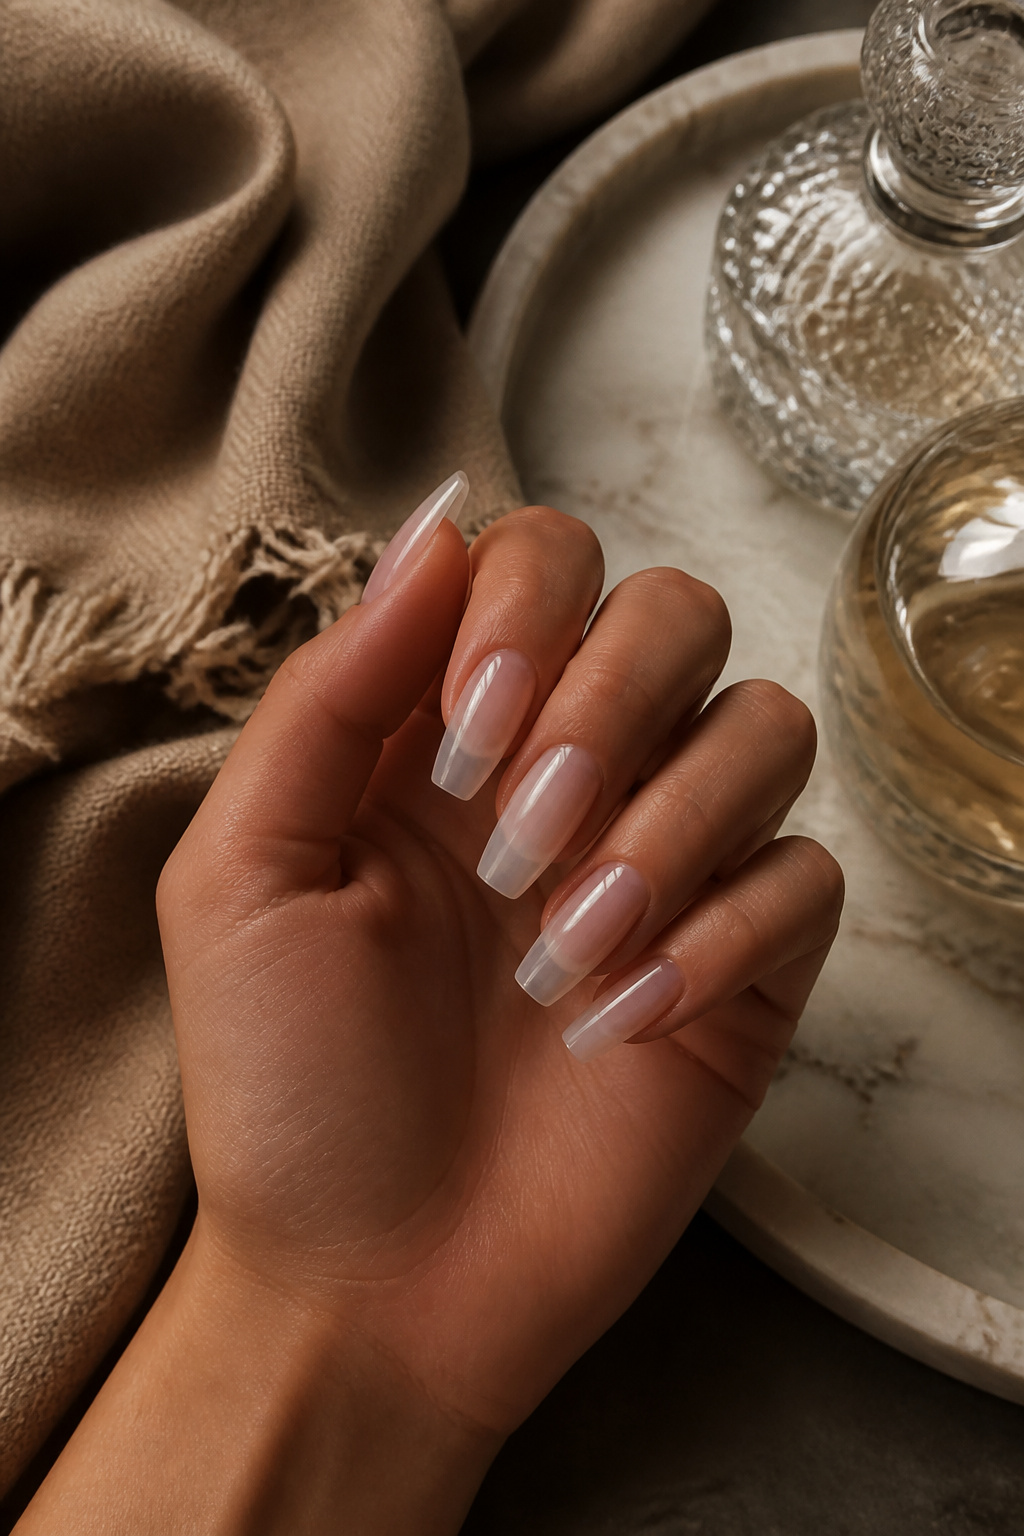

Satin topcoat softens the glossy look and reads luxe. I swapped my usual glossy topcoat for a matte-satin hybrid, about $10 to $18. Tip: buff press-ons lightly with a 400-grit buffer before applying to help the satin adhere. Honest moment: satin shows fingerprints more, so keep a small polish remover pad in your bag.
Shop this idea:
5. Tiny Pearl Accent Row
Style: Classic | Budget: Under $30 | Best For: Wedding guest / formal looks
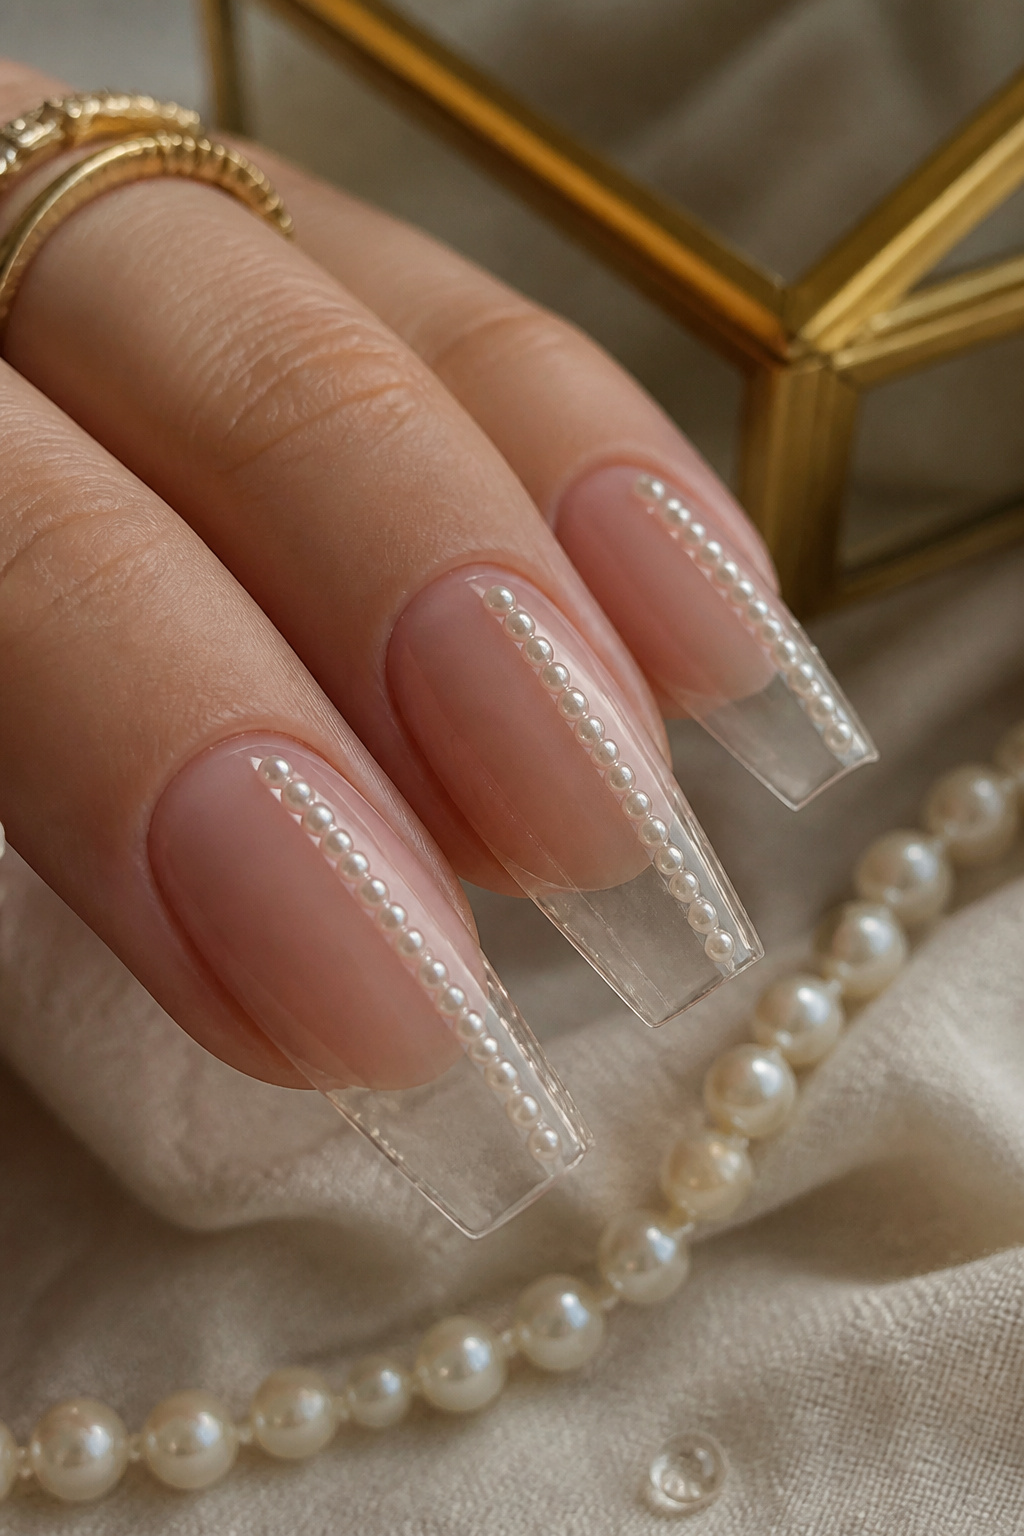

Pearls make transparent coffin nails feel intentional and bridal without color. I sewed tiny 1.5mm faux pearls into a bead tray and glued one neat row down the side; the bead pack was about $6 to $12. Tip: use a toothpick to place pearls, then seal with a clear gel. Ugly truth: too many pearls weigh down cheap press-ons, so limit to one accent nail.
Shop this idea:
6. Clear Coffin With Matte French Tip
Style: Clean Edge | Budget: Under $20 | Best For: Office-friendly
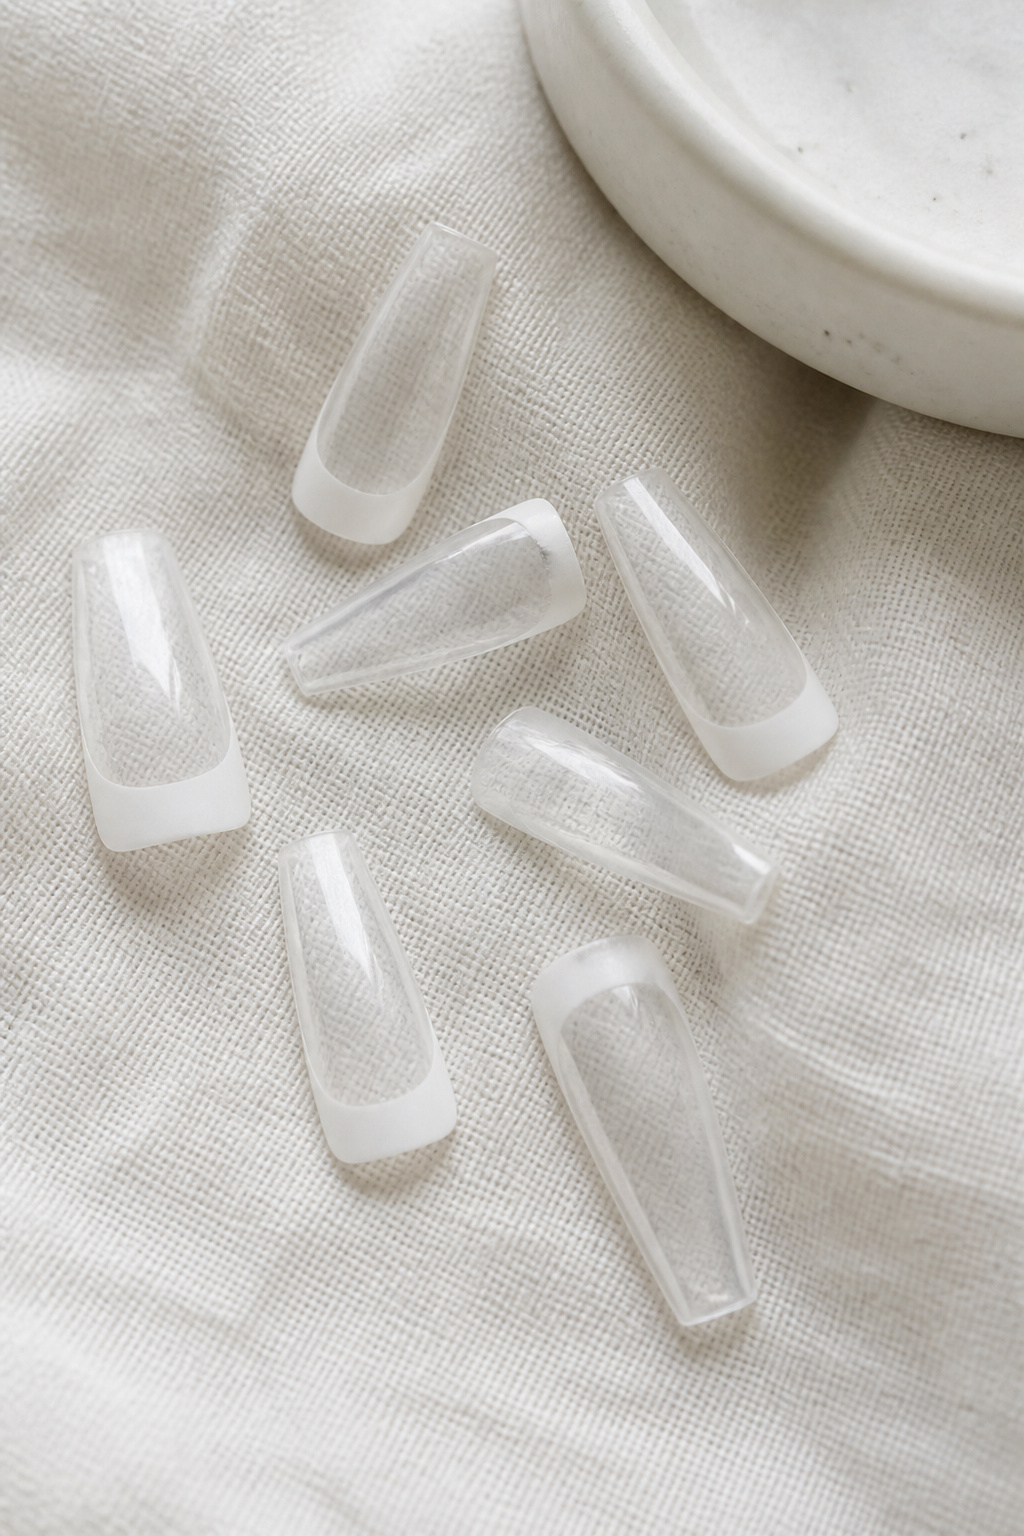

A matte white tip on clear coffin nails reads tailored and wearable. Use a matte white gel polish for the tip, about $7 to $15. Practical tip: stencil the French with reinforcement label stickers to get a clean edge. Personal misstep: I tried freehanding at a dinner prep and ended up redoing three nails.
Shop this idea:
7. Transparent Coffin With Micro-Glitter Fade
Style: Subtle Sparkle | Budget: Under $25 | Best For: Night out


You get drama without color. I dusted micro-glitter at the cuticle and blended outward for a halo effect; glitter pot costs around $6 to $12. Tip: press glitter into tacky layer of topcoat, then seal with two clear coats. Ugly truth: loose glitter sheds if you skimp on sealing.
Shop this idea:
8. Clear Coffin With Tiny Monogram
Style: Curated | Budget: Under $30 | Best For: Personal branding


Monograms feel bespoke and subtle on transparent coffin nails. I used a micro brush and black gel polish to paint a 3mm initial; the tiny nail brush was $5 to $10. Tip: sketch with a white pencil first for placement. Personal win: someone asked if my nails were custom-ordered, which felt oddly satisfying.
Shop this idea:
9. Clear Coffin With Sheer Beige Base
Style: Old Money Minimal | Budget: Under $30 | Best For: Neutral wardrobes
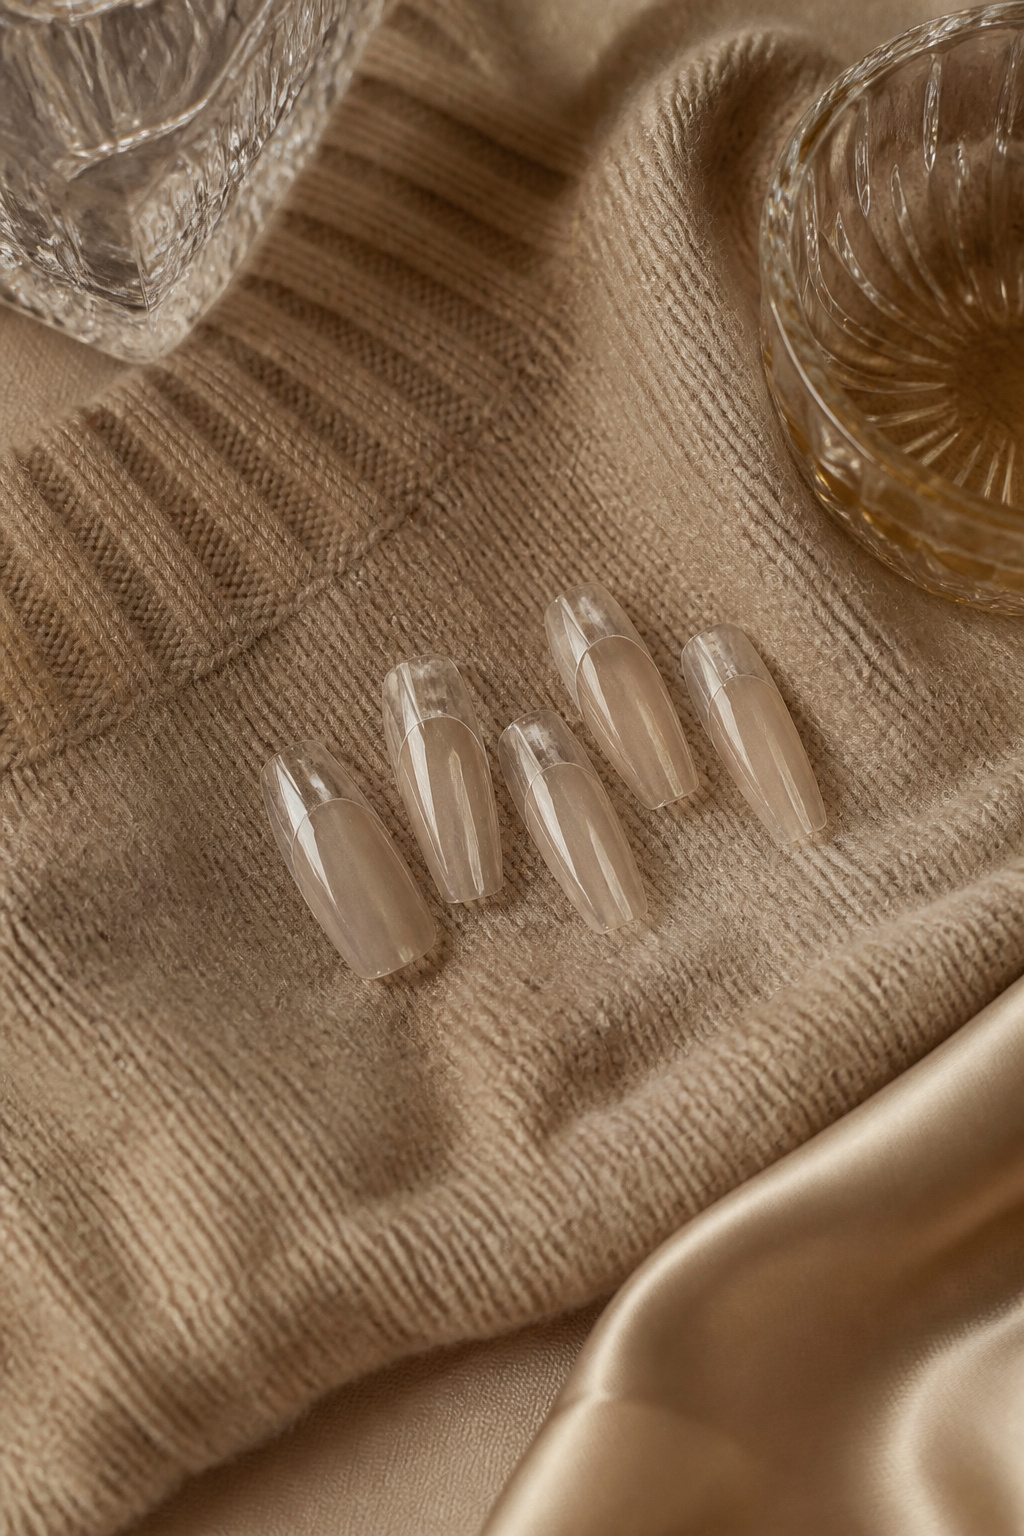

A soft beige wash at the base warms transparent coffin nails and pairs with neutrals. I used a sheer beige polish, about $10 to $18. Tip: thin layers build warmth without obscuring transparency. Ugly truth: too-opaque creams kill the clear aesthetic, so choose sheer formulas.
Shop this idea:
10. Clear Coffin With Tiny Silver Line
Style: Modern Edge | Budget: Under $20 | Best For: Trend-forward
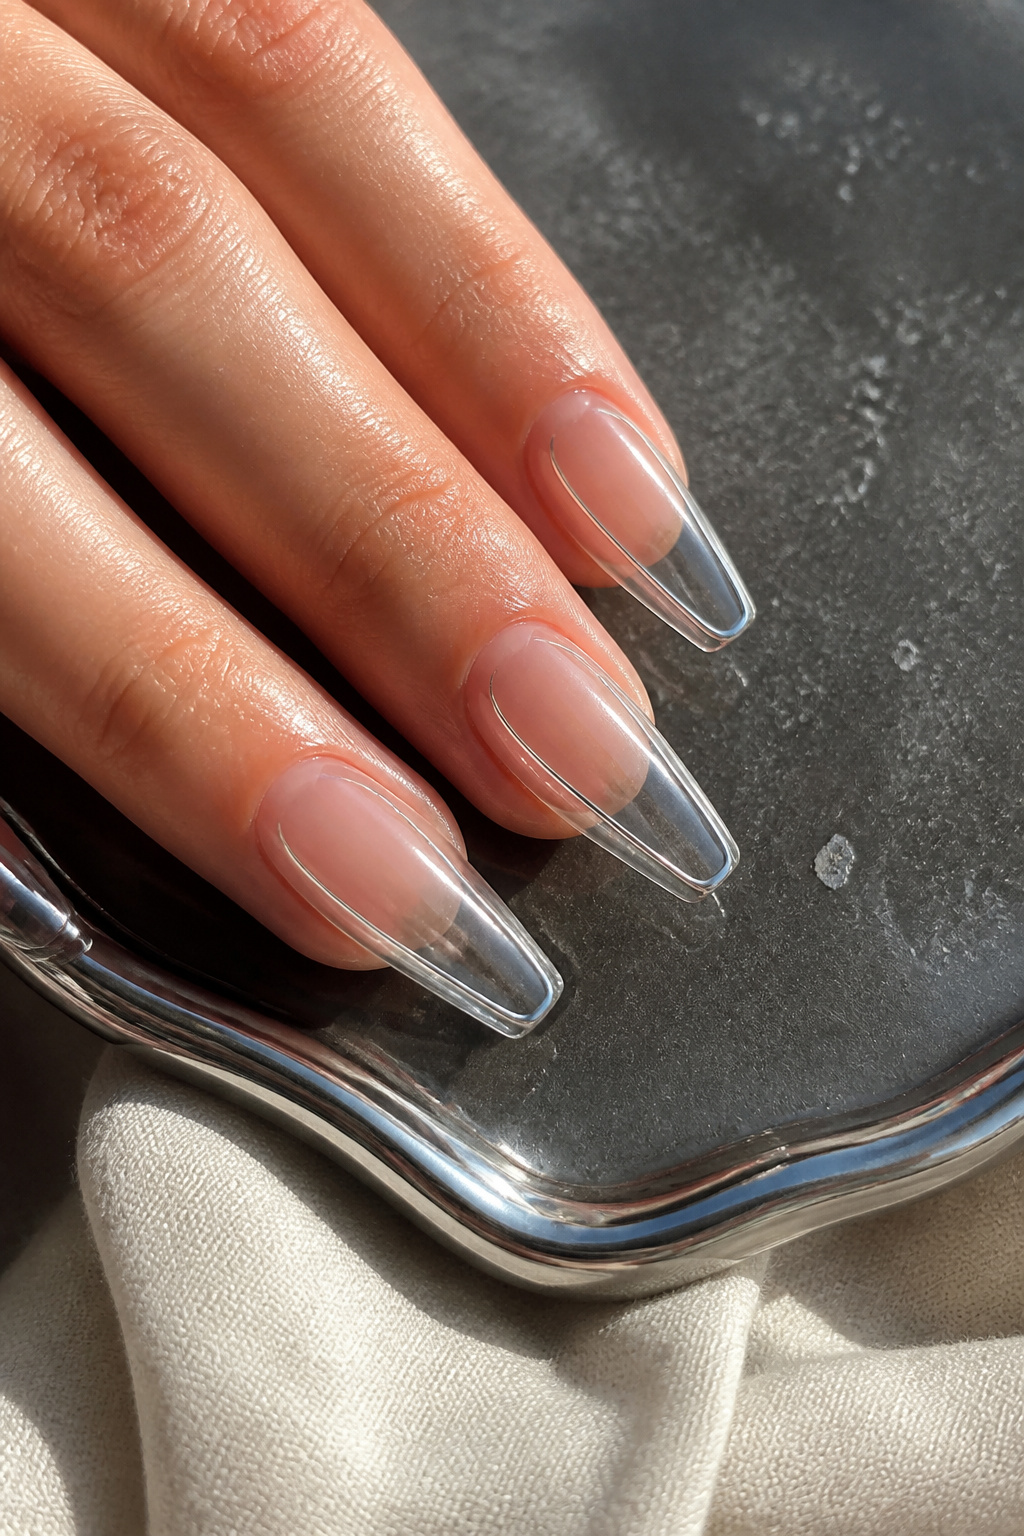

A single metallic edge looks expensive. I used a silver striping polish and drew a slim line along the side, about $9 to $15. Tip: use a topcoat after the metallic to prevent rubbing off. I learned this after one week of wear where the silver rubbed away at grocery unloading.
Shop this idea:
11. Clear Coffin With Micro-French Lines
Style: Refined | Budget: Under $25 | Best For: Bridesmaids
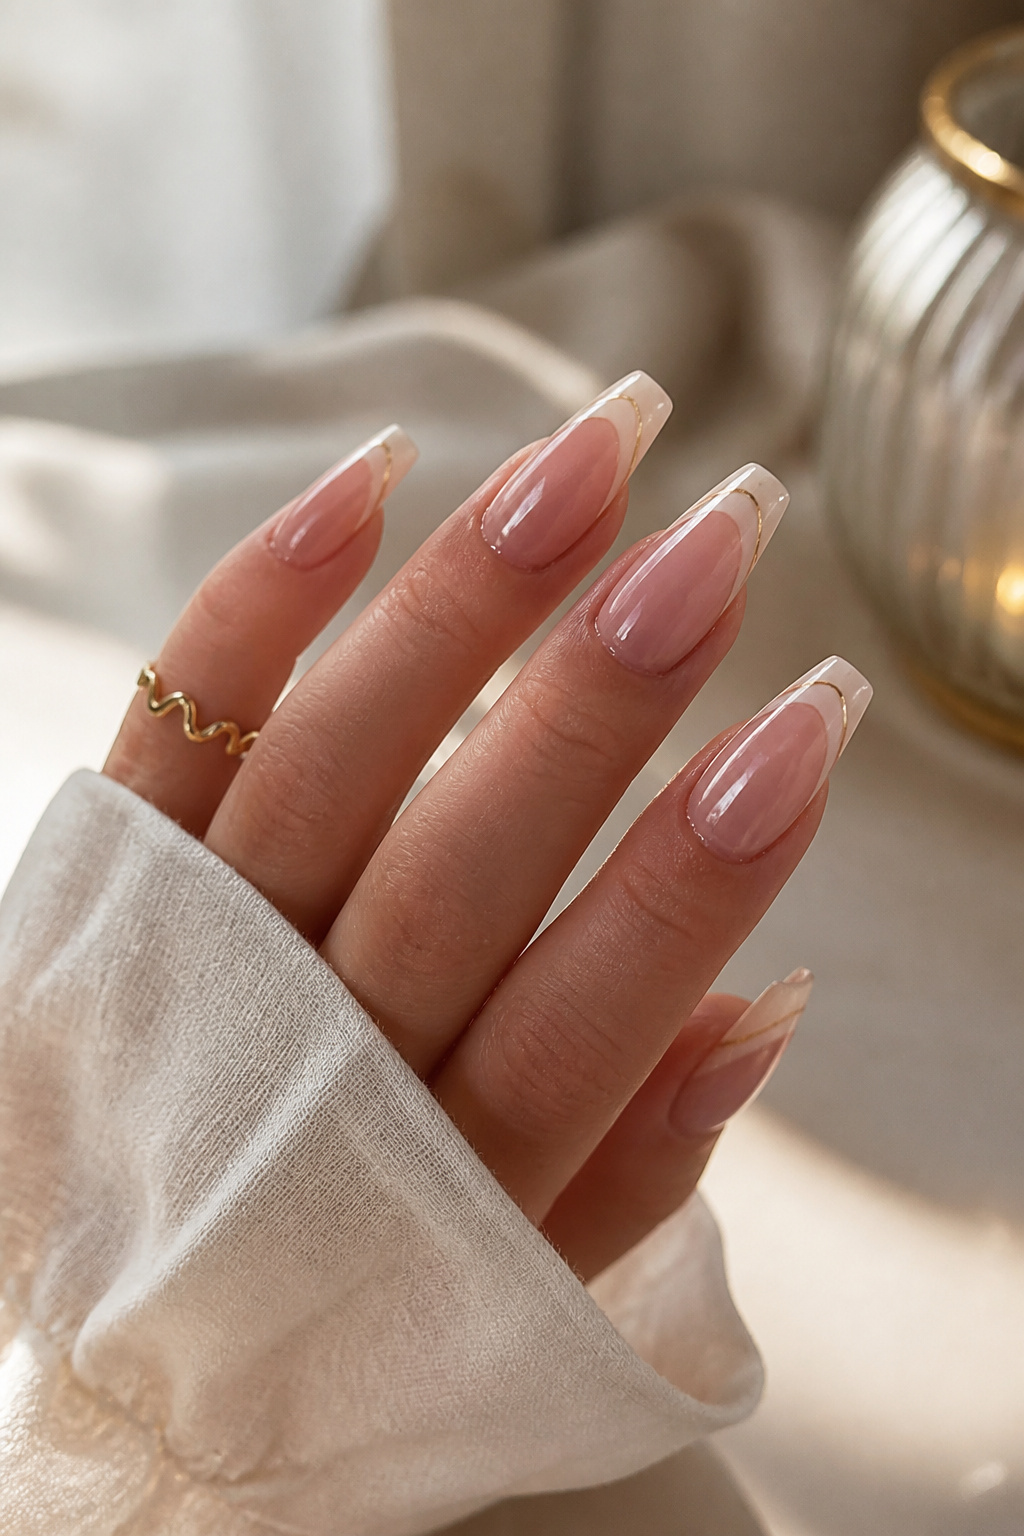

Stacked micro-French lines at the tip look editorial without color. I layered two thin nude lines and one clear glitter line; the polish set cost around $12 to $20. Tip: cure between each thin layer for crisp lines. Personal note: this got a “where did you get those?” from a bridesmaid at rehearsal dinner.
Shop this idea:
12. Clear Coffin With Subtle Marble Vein
Style: Artistic Minimal | Budget: Under $30 | Best For: Creative wardrobes
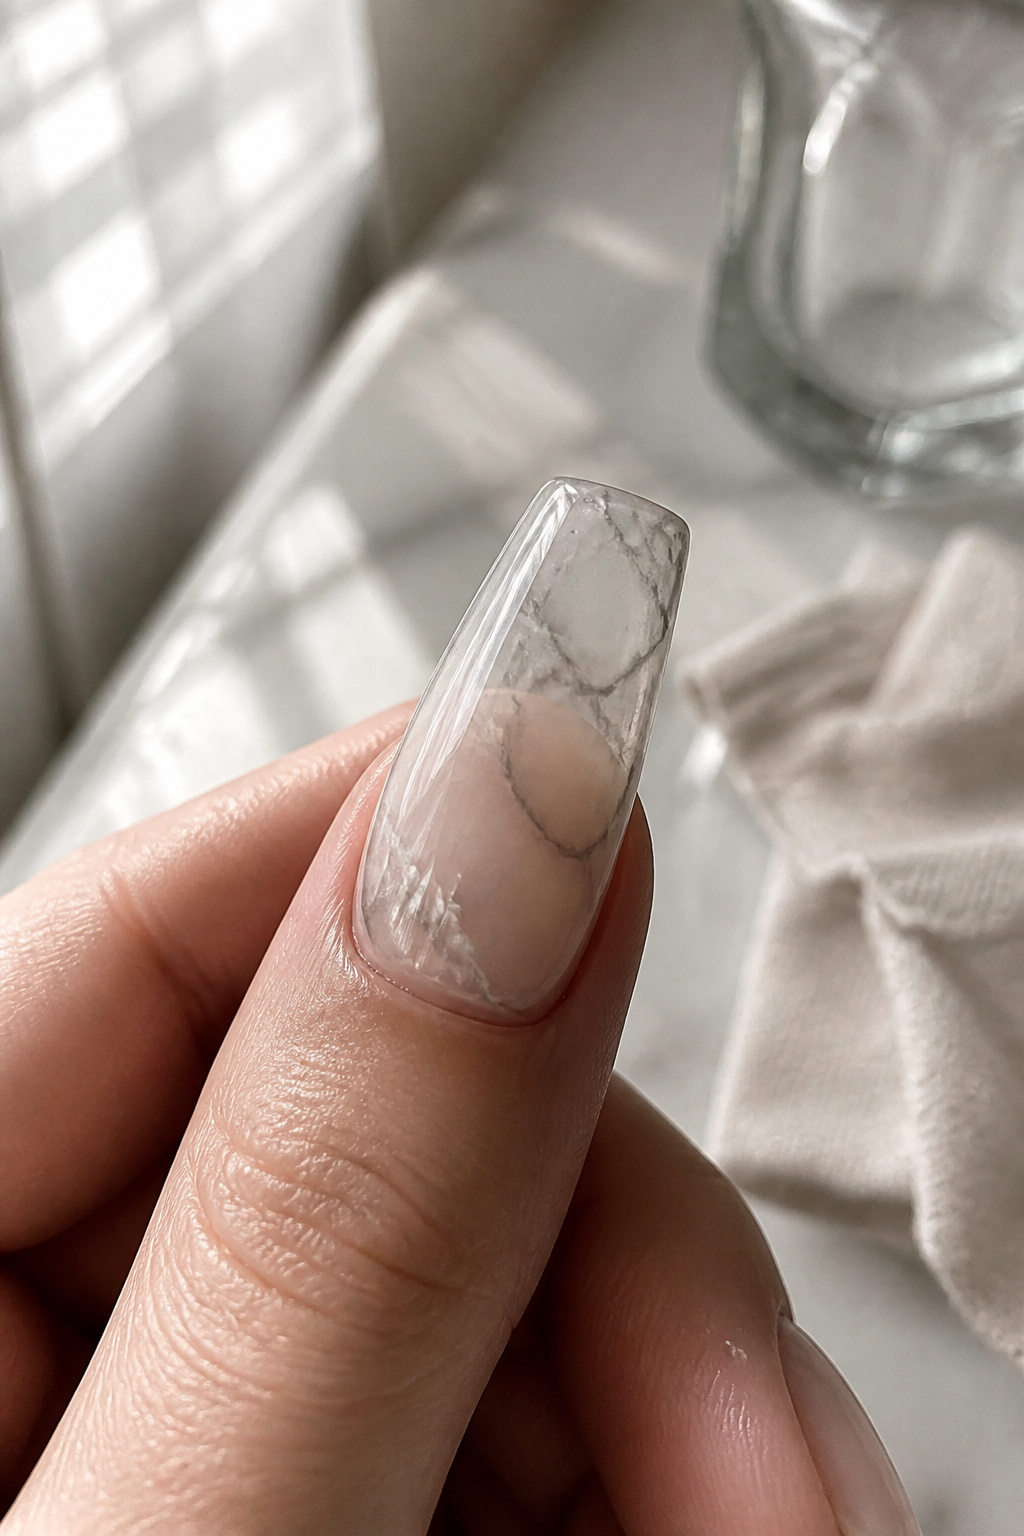

A whisper of marble lends texture. I dragged a thin gray gel line and feathered with a fan brush; gel was $10 to $18. Tip: keep veins sparse and fine to preserve transparency. Ugly truth: heavy marble smudges look like quick DIY; less is more.
Shop this idea:
13. Clear Coffin With Matte Crescent Moon
Style: Modern Retro | Budget: Under $20 | Best For: Retro lovers
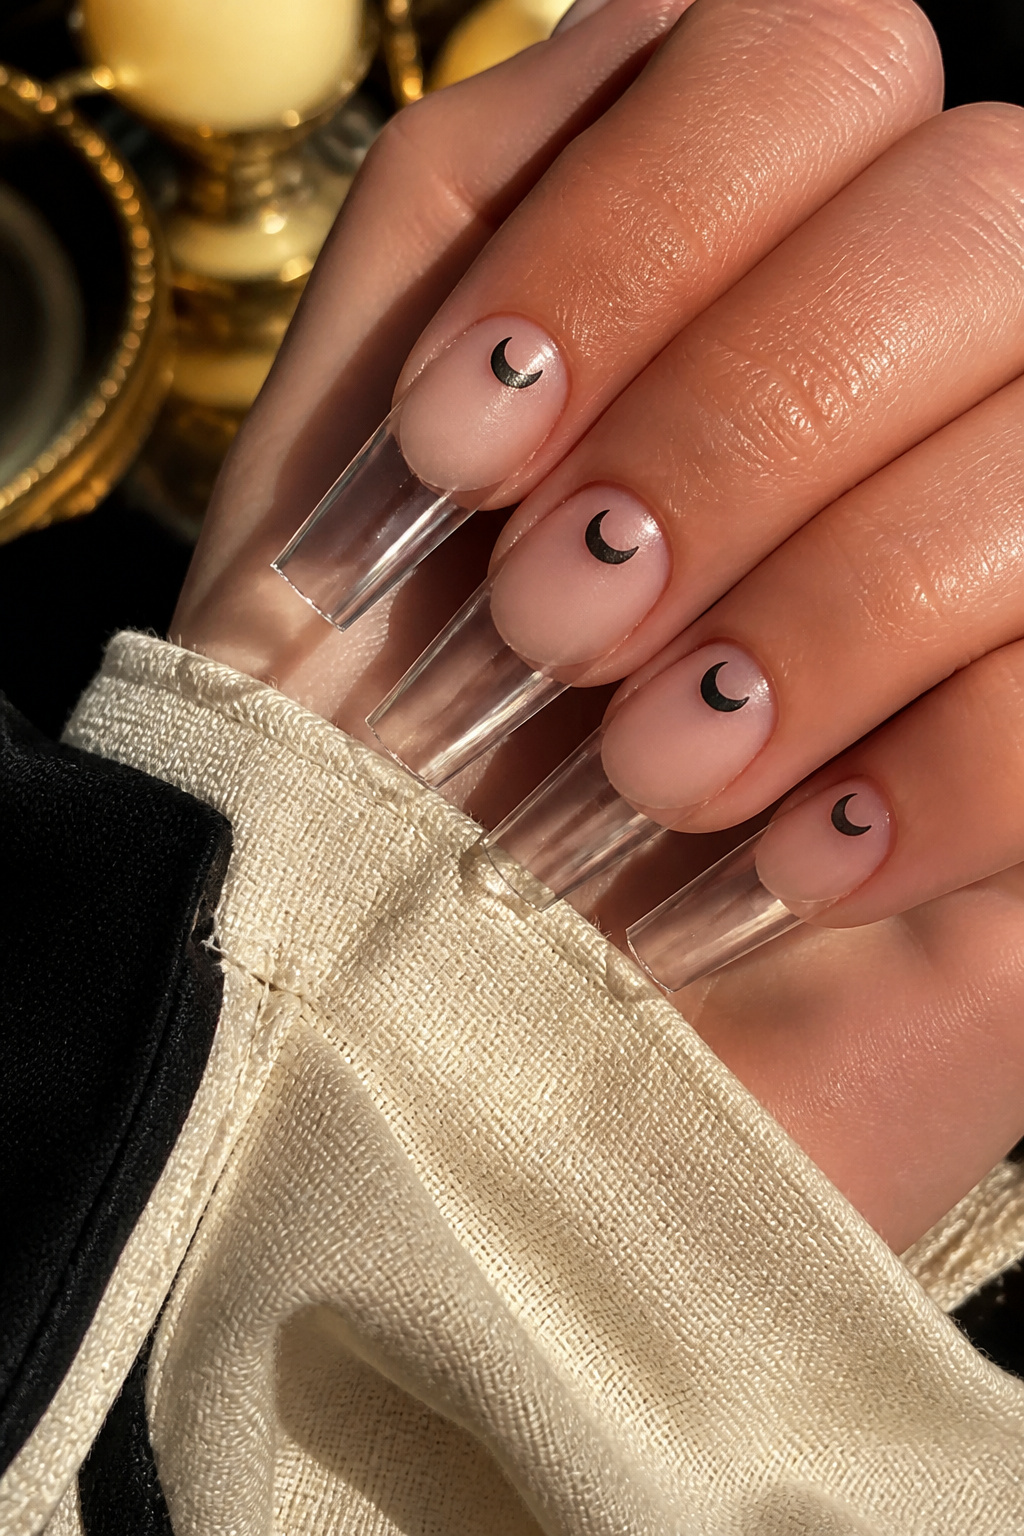

A matte crescent at the cuticle gives subtle mood. I painted crescent moons in matte black gel, about $8 to $14. Tip: hold a light across the nail to check for symmetry before curing. Personal flub: I painted the moons too big the first time and had to file and redo three nails.
Shop this idea:
14. Clear Coffin With Embedded Dried Flower
Style: Romantic Minimal | Budget: Under $30 | Best For: Spring events
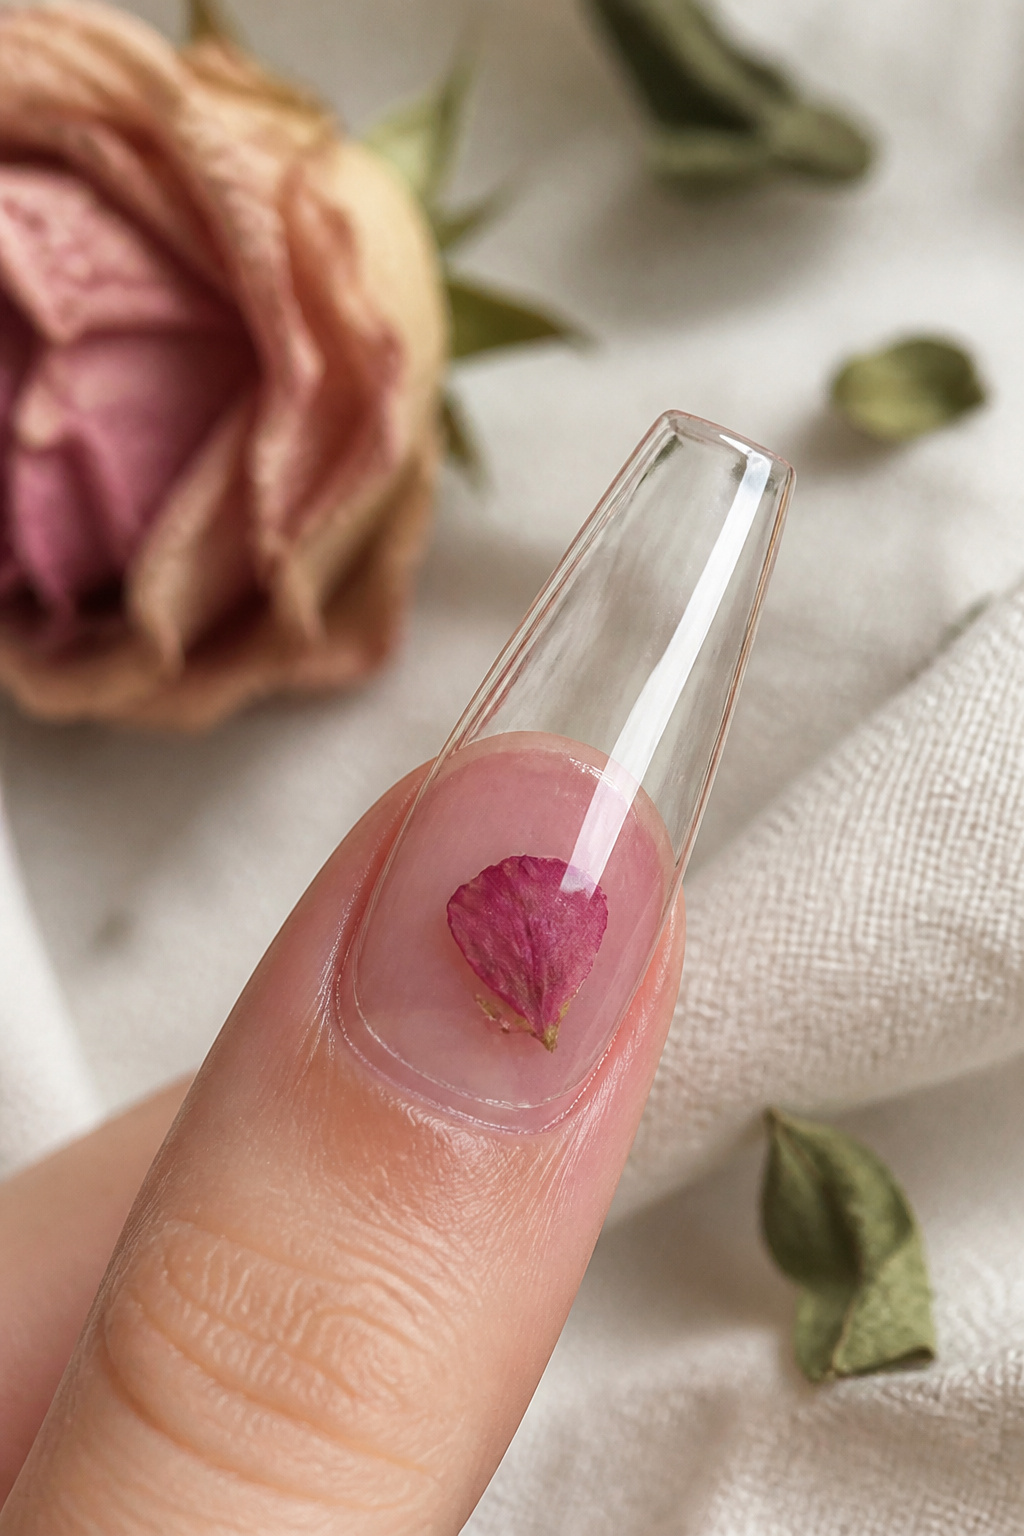

Tiny pressed flowers trapped under a clear gel look delicate. I used a micro petal and encased it in builder gel; dried floret pack was $7 to $12. Tip: press petals flat and seal immediately to avoid air bubbles. Honest moment: I once forgot to seal and the petal curled up within a day.
Shop this idea:
15. Clear Coffin With Brushed Gold Tip
Style: Luxe Minimal | Budget: Under $30 | Best For: Date night
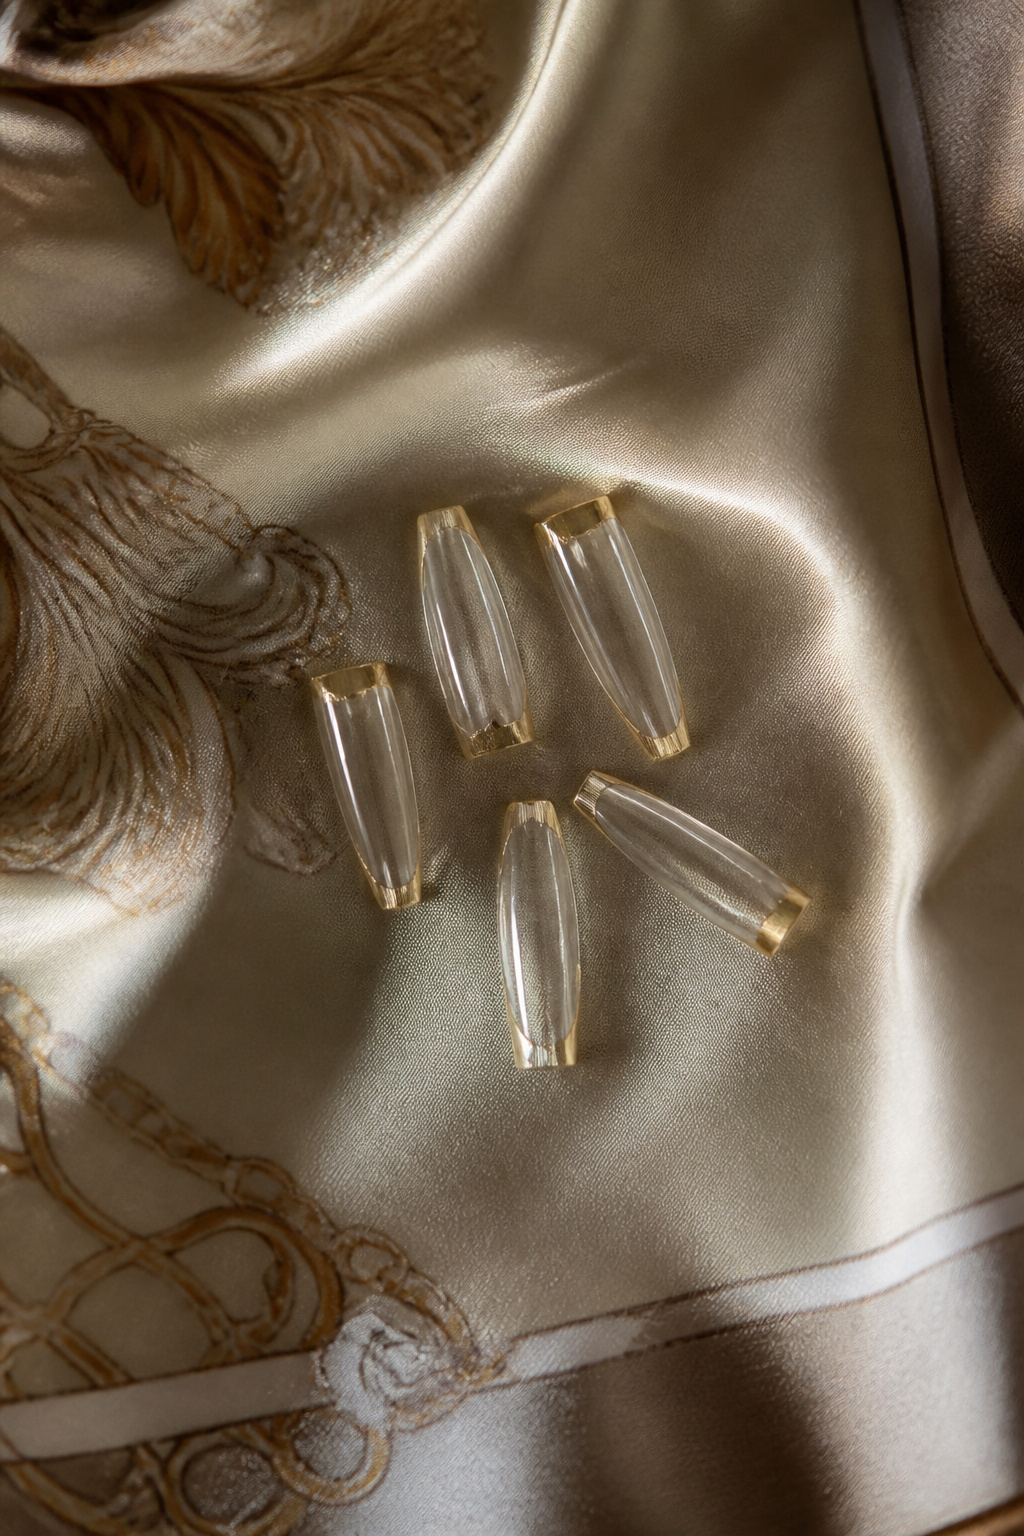

A brushed gold tip reads jewelry-like. I dry-brushed a metallic gold polish across just the edge; the metallic was $10 to $18. Tip: wipe excess brush on a paper towel before stroking to avoid clumps. Personal memory: a boyfriend complimented this look during a dim dinner and asked if they were real.
Shop this idea:
16. Clear Coffin With Micro Rhinestone Cluster
Style: Tiny Glam | Budget: Under $25 | Best For: Party season
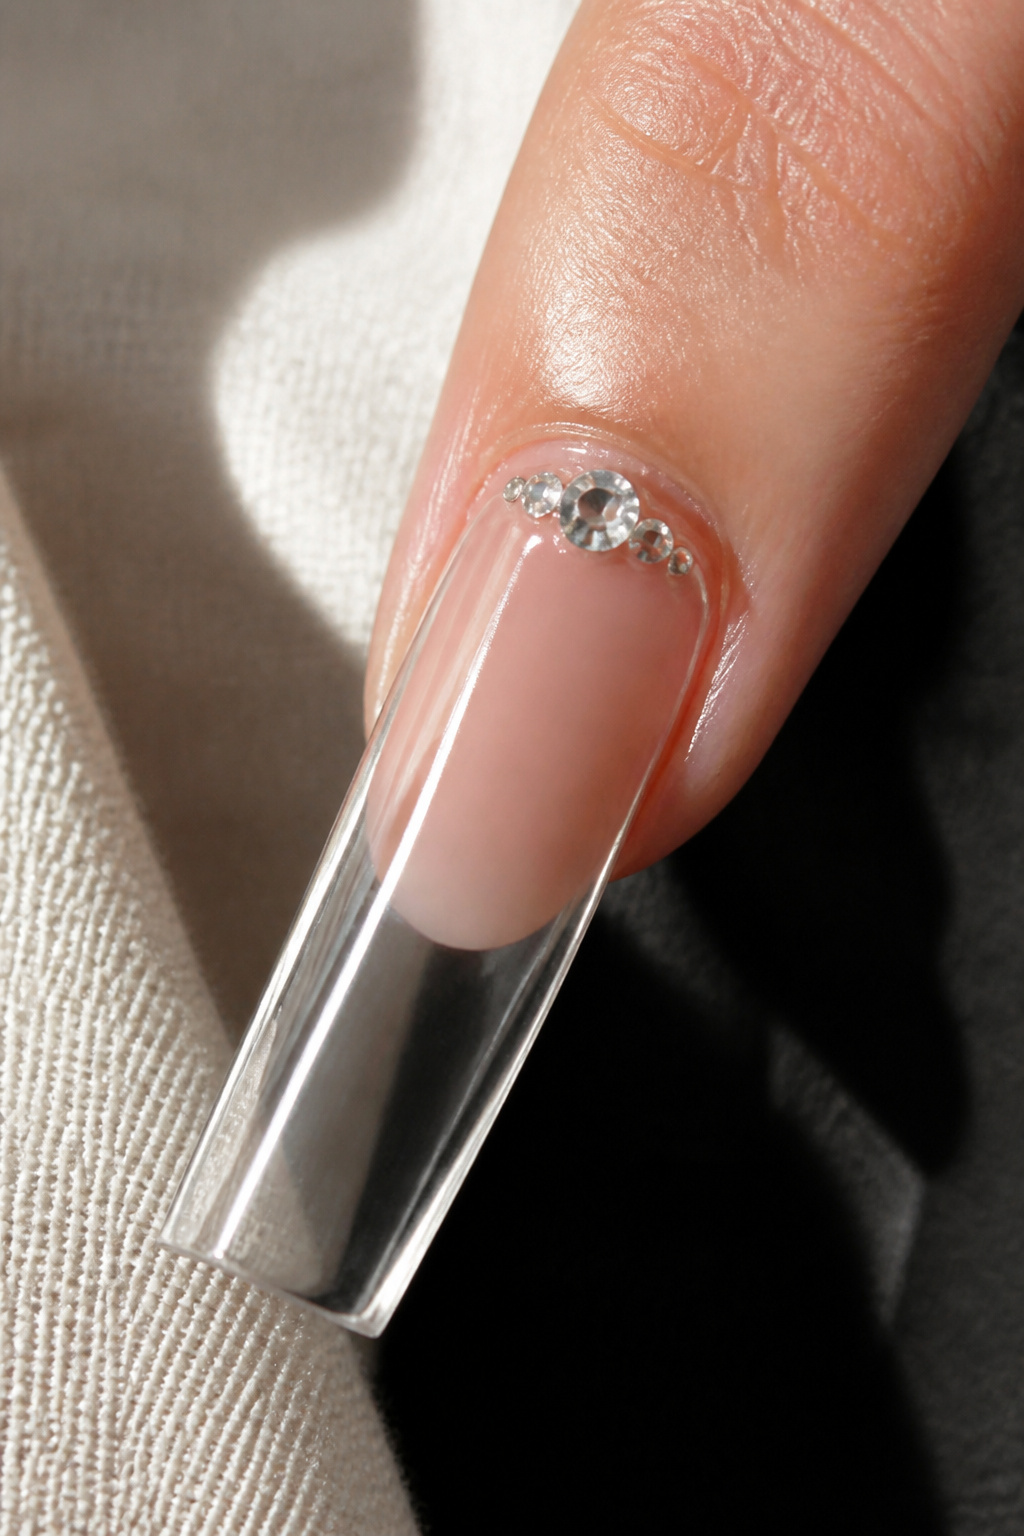

Tiny crystal clusters give sparkle without color. I layered three 1mm rhinestones into a crescent and sealed; rhinestone packs are $5 to $10. Tip: use a tiny dab of builder gel as glue and cure fully. Ugly truth: cheap rhinestones fog after a few washes if not sealed well.
Shop this idea:
17. Transparent Coffin With Sheer Taupe Brushstroke
Style: Artisanal Minimal | Budget: Under $20 | Best For: Creative professionals
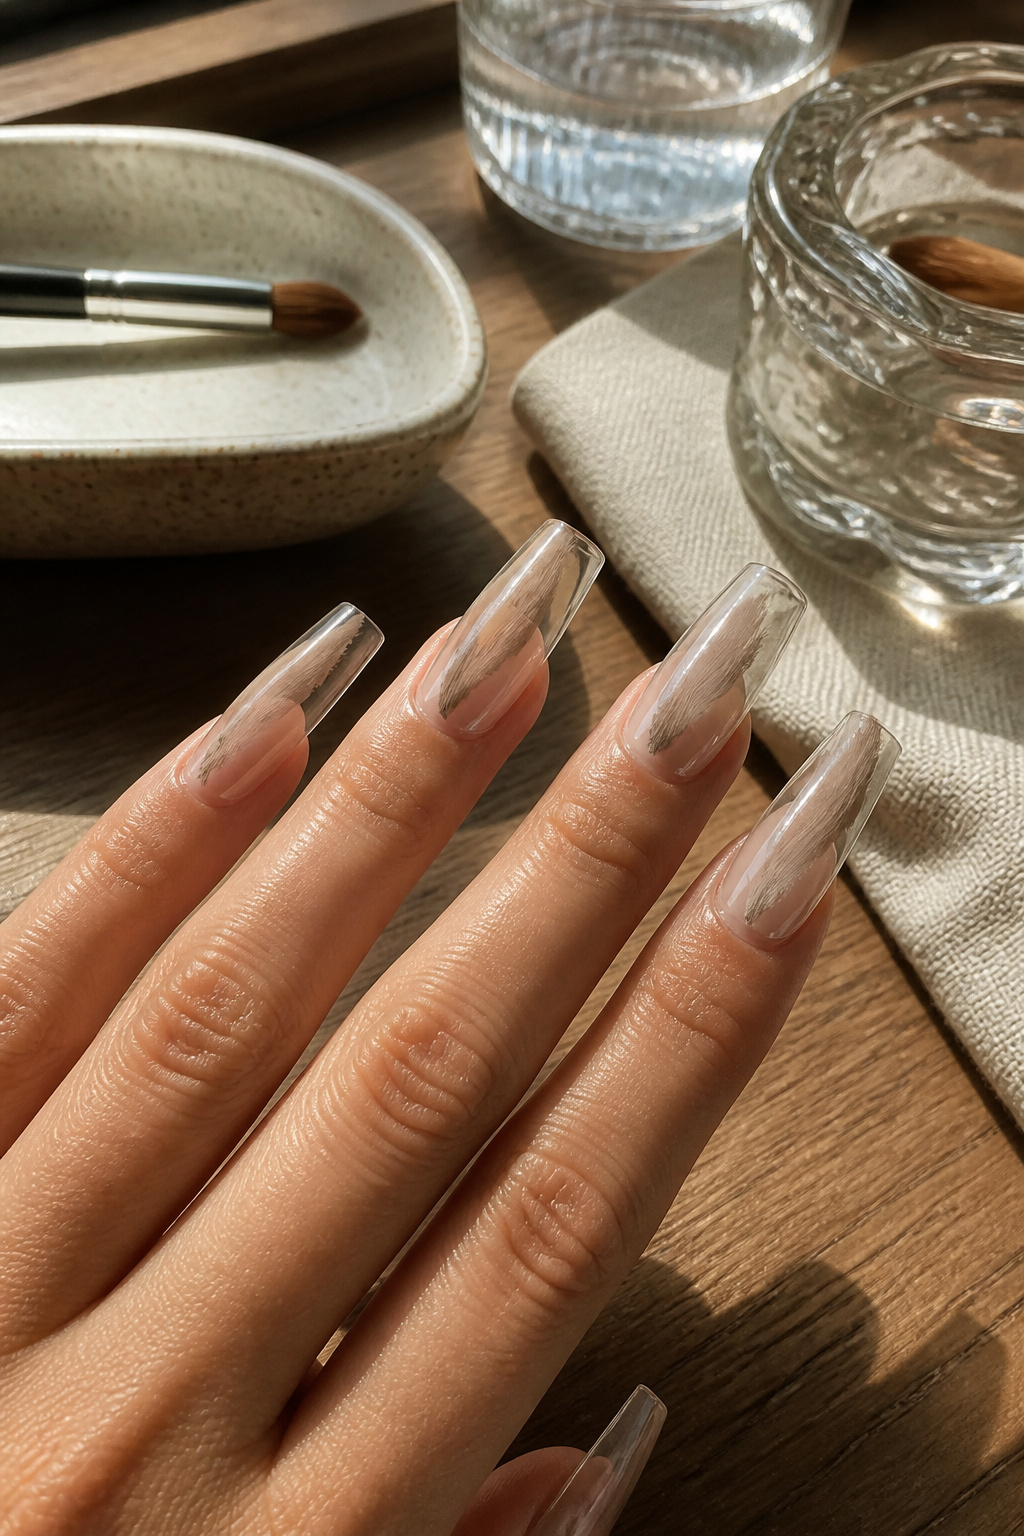

A single brushstroke feels handmade. I mixed a sheer taupe using two drops of polish and swiped with a flat brush; polish mixing cost about $6 to $12. Tip: clean the brush between nails for crisp strokes. Personal win: I wore these to a gallery opening and people asked for the artist.
Shop this idea:
18. Clear Coffin With Microlines And Gloss Halo
Style: Editorial | Budget: Under $30 | Best For: Photoshoots / influencers
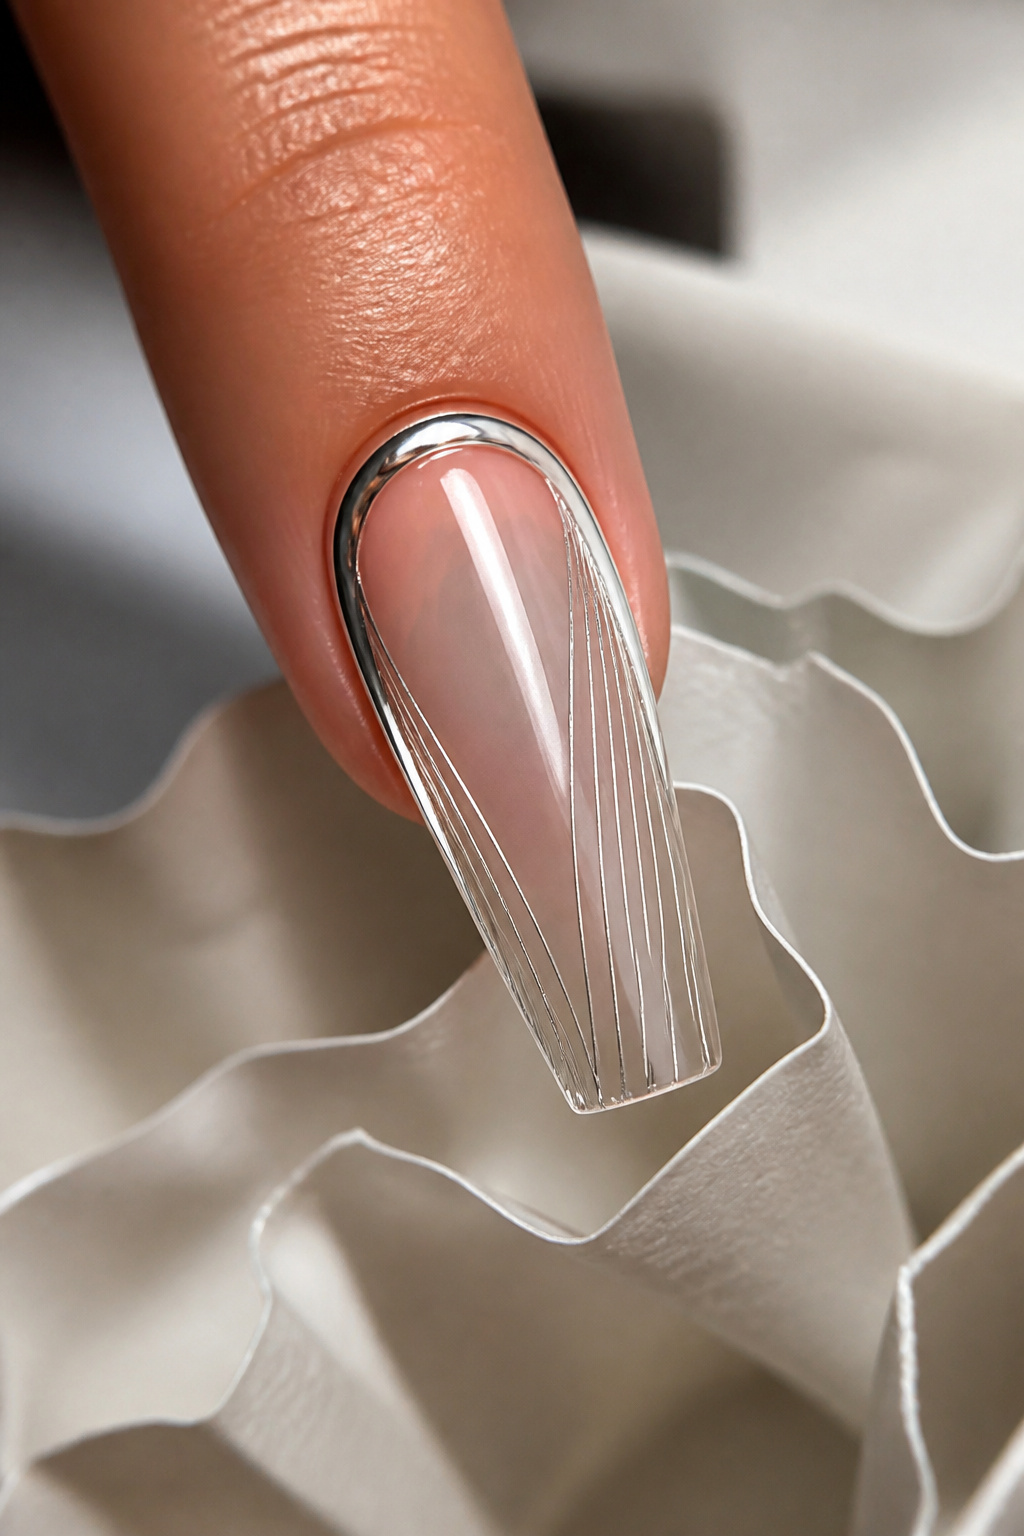

Microlines plus a glossy halo reads magazine-ready. I used a chrome gel for microlines and a thick glossy topcoat for the halo; chrome gel and topcoat together were around $18 to $30. Tip: use a magnifier for microlines and steady your hand on a flat surface. Ugly truth: this is harder than it looks; practice on spare tips first.
Shop this idea:
What You'll Need to Get This Look
Face & Base Essentials
- Quick-dry nail glue small bottle around $6 to $14
- Clear builder gel 15ml tube around $12 to $28
- Topcoat satin or high gloss around $8 to $18
- Nail buffer multi sided around $4 to $12
Eyes, Brows & Lips
- Tinted lip oil berry brown around $8 to $18
- Brown lengthening mascara small around $6 to $16
Clothing Staples
- Cream cashmere crewneck sweater around $60 to $120
- Straight leg high waist jeans around $40 to $90
Shoes, Bags & Jewelry
- Gold chunky hoop earrings 14k look around $12 to $40
- Tan leather tote bag medium around $80 to $200
Budget Swaps
- Drugstore clear topcoat around $4 to $10 (swap for salon gel topcoat)
- Press on starter kit around $8 to $18 (swap for custom salon set)
- Faux pearl bead mix tiny around $6 to $12 (swap for real pearls when splurging)
Shopping Tips for These Looks
Buy Essentials in Multiples: Press-ons, glue, and topcoat run out quickly. I keep two backup glues; they often go on sale during Prime Day. Quick-dry nail glue small bottle
Time Your Topcoat Purchases: Topcoat formulas refresh seasonally. Shop during fall and holiday sales for best finishes, around Black Friday or Amazon Prime Day. High gloss gel topcoat
Thrift The Accessories: I thrift pearl brooches and trim them down for nail accents. Thrift scores paired with a $6 bead pack stretch your budget. Mini dried flower pack nails
2025 Trend Note: Minimalist negative space and clean silhouettes keep popping up across feeds. Invest in quality topcoat and a few sculpted press-ons, and you’ll ride the trend longer. Clear coffin press on nails
Match Jewelry To Nail Hardware: If you like gold studs on nails, pair with brushed-gold hoops for a cohesive look. It reads curated, not accidental. Gold chunky hoop earrings 14k look
Frequently Asked Questions
Q: Can I make transparent coffin nails last two weeks?
A: Yes. Prep natural nails by lightly buffing and using a dehydrator, then use builder gel and two topcoat layers. I keep a mini topcoat for touch-ups. Try Clear builder gel 15ml tube.
Q: Are press-ons better than salon overlays for this look?
A: Press-ons are faster and cheaper, overlays are more durable. For trial runs I buy press-on sets around $12 to $20, then consider salon overlays if I love the shape. See Transparent coffin press on nails.
Q: How do I remove embellishments without ruining the press-on?
A: Soak in warm soapy water for 10 minutes, gently lift edges with a wooden stick, then file and re-seal. For glue-heavy bits, a small acetone soak helps. Keep Nail glue quick dry on hand for reapplication.
Q: Which topcoat is best for both glossy and satin styles?
A: Use a versatile gel topcoat for gloss and a satin hybrid for matte-satin finishes. I own both and switch based on mood. Try Satin nail topcoat.
Conclusion
Start with one tiny change, like a single gold stud or a sheer taupe stroke, and build from there. My favorite budget switch is keeping a press-on kit and a good builder gel on rotation. Which clear coffin idea are you trying first, the stud, the pearl row, or the micro-glitter halo?


