






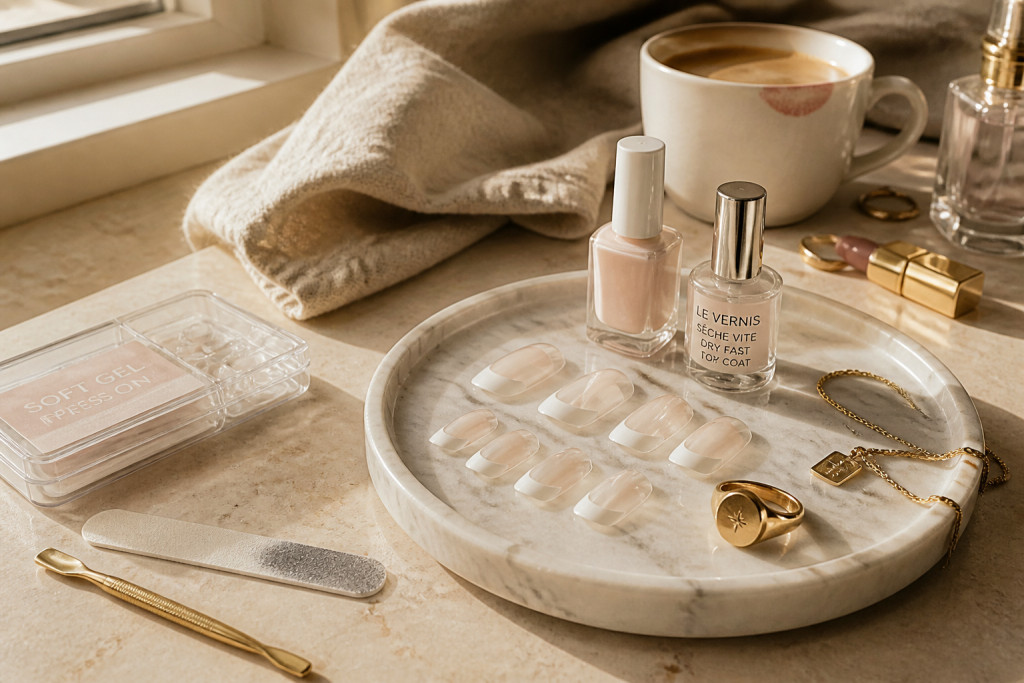

Transparent french tip nails are my go-to when I want a quiet polish that still gets noticed. I tested 15 variations, from sheer nude crescents to glassy coffin tips, and found options for every skill level and budget. I’ll share looks under $10 to splurges around $60, plus the exact Amazon buys that helped me get salon results at home.
These are polished, minimal, and wearable. Most picks are under $30, a couple around $50 to $60 for a luxe finish. Suits clean-girl, soft-glam, petite hands, and mature nails. Lately I’ve seen more people pairing transparent tips with tonal outfits and muted jewelry, a trend Pinterest has flagged as rising in 2024 (Pinterest Predicts) and covered in beauty roundups by Vogue.
1. Sheer Nude Base With Glassy Clear Tips
Style: Clean Girl | Budget: Under $20 | Best For: Short to medium nails


Result: Invisible length that reads polished. I glue on a clear French tip press-on and paint a sheer nude base underneath for a blurred, natural effect. My go-to is the clear press-on set I found on Amazon, priced around $8 to $18, which lasts a week with a good top coat. Tip: file the natural nail edge first so the tips sit flush, or they’ll peek and lift.
Shop this idea:
2. Ultra-Gloss Glass Tips
Style: Bold & Saturated | Budget: $25 to $60 | Best For: Long nails / statement nights


Result: Mirror-shine tips that read like glass. Use a high-shine gel top coat and cure under LED lamp; the shine stays through handwashing. I splurged on a salon-grade top coat for about $25 to $40 and it made a noticeable difference. Ugly truth: cheap top coats yellow fast, so the upgrade is worth it for evening looks. Pro tip: buff lightly before top coat for glass smoothness.
Shop this idea:
3. Minimalist Micro French Line
Style: Minimal | Budget: Under $15 | Best For: Petite nails / office-friendly


Result: A whisper of a tip that reads modern and tidy. I use a fine nail brush and a clear polish to paint a micro crescent, then seal with a fast-dry top coat. Cost is around $6 to $12 for practice-grade brushes. Pain point solved: this hides short nail beds without needing length. Mistake I made: painting too thick gives a clunky smile line, so steady thin strokes win.
Shop this idea:
4. Matte Tip With Glossy Base
Style: Elevated | Budget: Under $25 | Best For: Textured outfits / modern wardrobes


Result: Unexpected contrast that reads editorial. I mattify just the tip with a matte top coat, leaving the rest glossy. A small bottle of matte top coat is about $8 to $15. Tip: mask the base with tape so the matte stays only on the tip. Ugly truth: matte shows chips faster, so keep a tiny bottle for quick touch-ups.
Shop this idea:
5. Negative Space Crescent
Style: Soft Glam | Budget: Under $20 | Best For: Long nail beds / creative looks
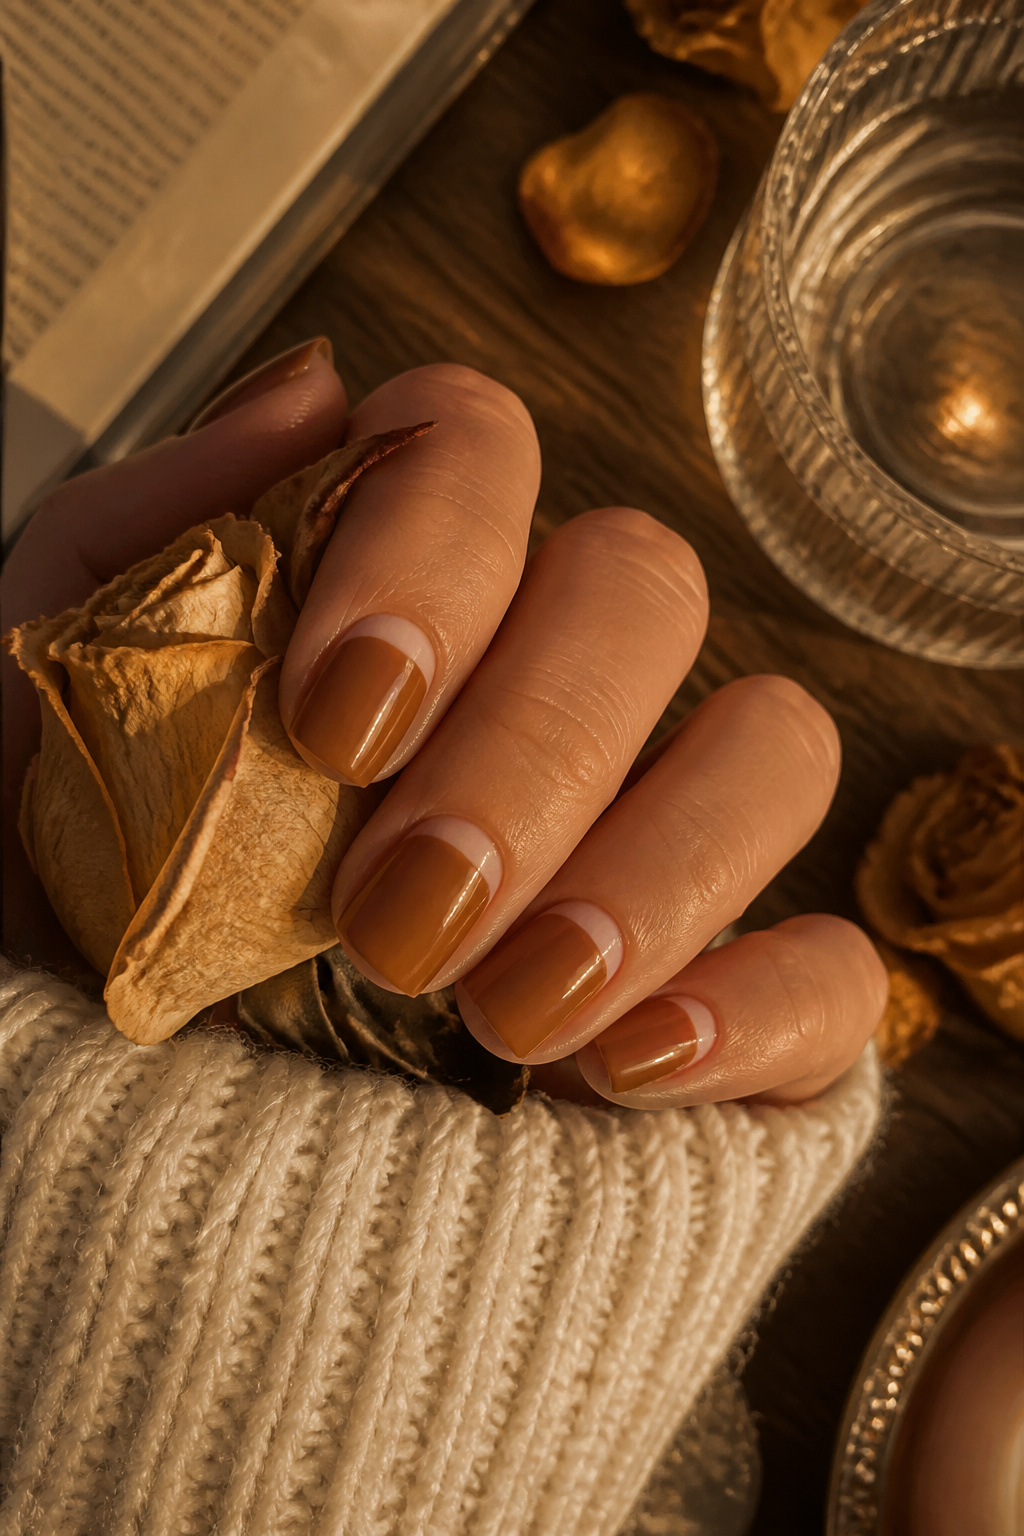

Result: Airy and modern, especially on longer nails. I paint a sheer nude leaving a crescent moon of natural nail at the cuticle, then outline a thin clear tip. Works around $10 to $18 for essentials. Practical tip: cure layers thinly if using gel to avoid bubbling. Personal note: once I showed up to brunch and someone asked where I got my manicure because it “looked like art.”
Shop this idea:
6. Subtle Pearl Accent On Clear Tip
Style: Old Money | Budget: $12 to $30 | Best For: Weddings / refined days
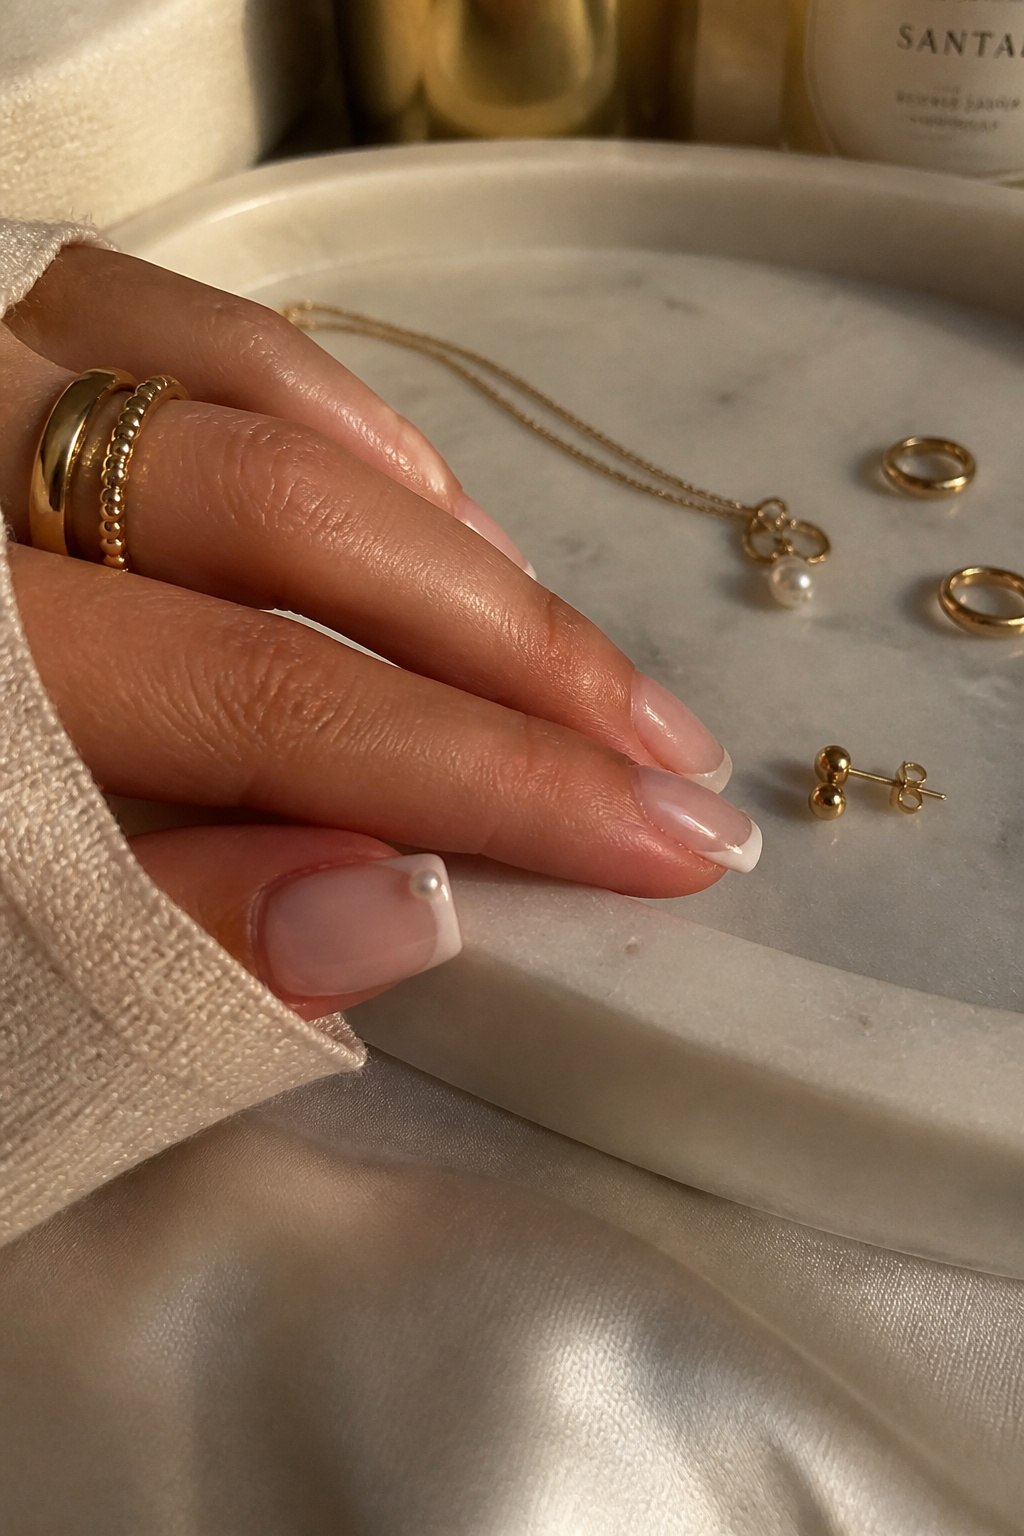

Result: A single pearl instantly elevates a transparent tip into heirloom territory. I glue a tiny pearl at the base of one clear tip for a curated accent. Small pearl packs run $6 to $12. Tip: press the pearl into unset top coat then cure to avoid losing it. Ugly truth: foil studs can snag, so pearls are gentler for daily wear.
Shop this idea:
7. Clear Tip With Colored Underside
Style: Bold & Saturated | Budget: Under $25 | Best For: Playful outfits / summer


Result: Subtle pop without full nail paint. I brush a thin coral polish under the clear tip so color peeks through when you move your hand. A small bottle of bright lacquer is about $5 to $12. Practical tip: use sheer layers so the color reads soft. I wore this to a rooftop party and several people asked how my manicure changed color in light.
Shop this idea:
8. Chrome Edge On Transparent Tip
Style: Night Out | Budget: $15 to $35 | Best For: Parties / Y2K nods


Result: Futuristic edge without heavy color. I draw a slim chrome line along the tip with a nail foil pen; it reads luxe at night. Chrome pen kits cost around $12 to $20. Tip: seal chrome with two thin top coats to prevent flaking. Pain point: chrome shows fingerprints, so carry a soft cloth for quick polish.
Shop this idea:
9. Transparent Coffin With Tiny Rhinestone
Style: Glam | Budget: $10 to $40 | Best For: Short evening dresses / glam events
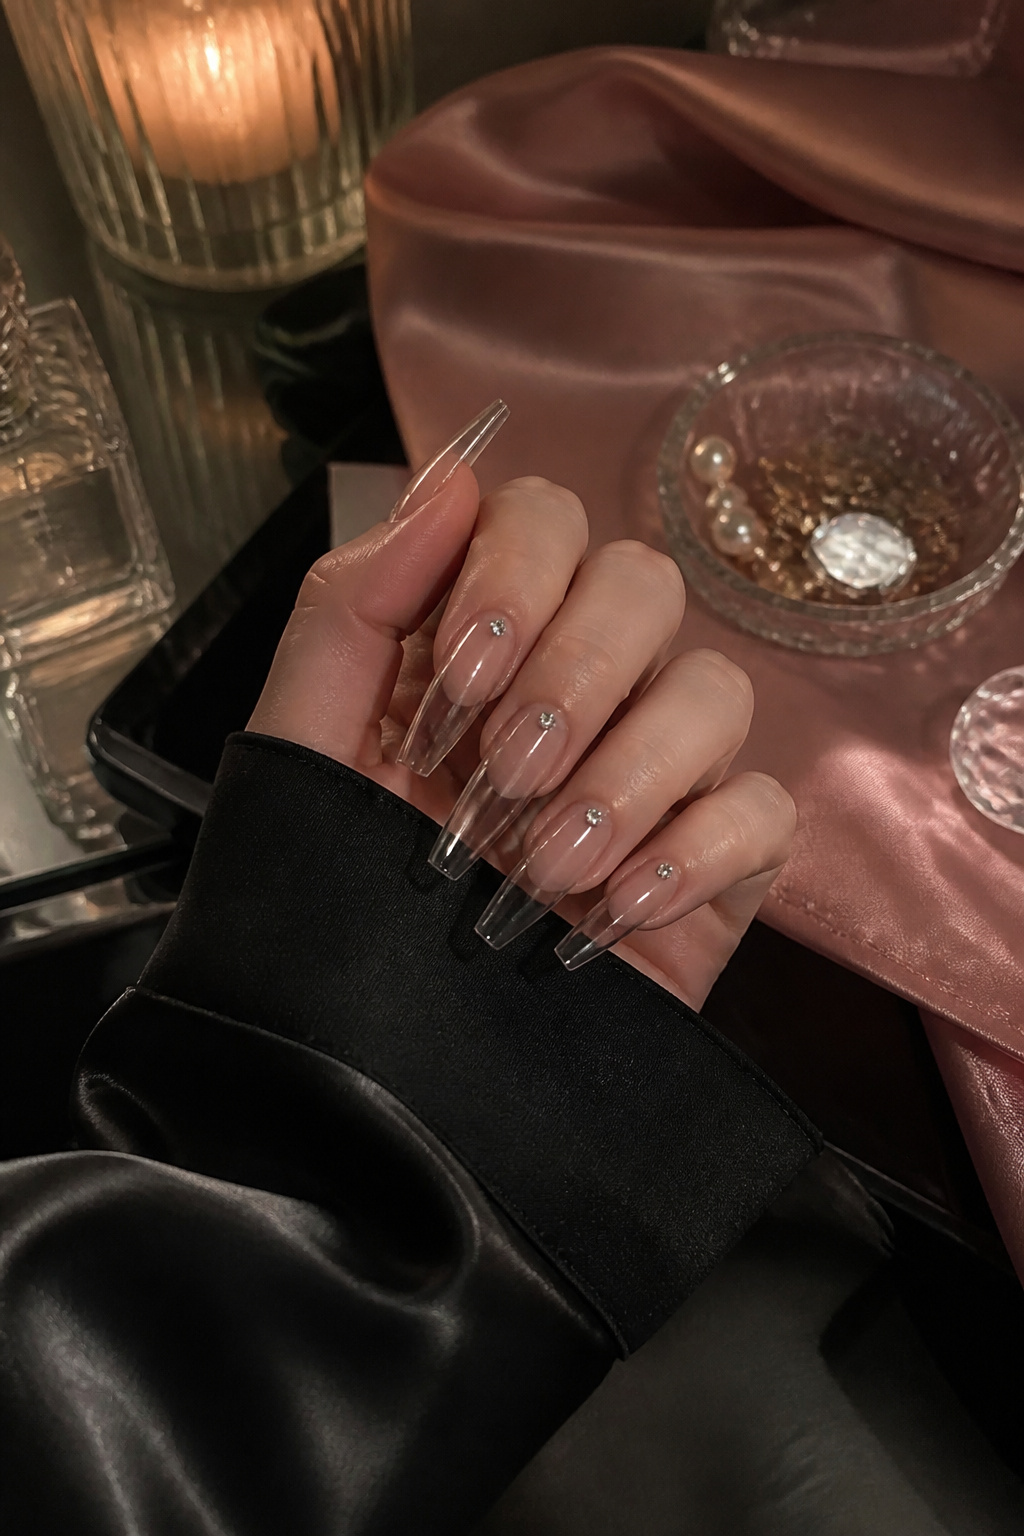

Result: A statement that still reads minimal. I glue a single crystal to the clear tip and keep other nails plain. Rhinestone kits are $5 to $15. Tip: use tweezers and a dab of builder gel for stronger hold. Personal fail: once I used too much glue and the stone slid; less is more.
Shop this idea:
10. French With Sheer Pink Base
Style: Classic | Budget: Under $20 | Best For: Brides / interviews


Result: Timeless, soft, and flattering on every skin tone. I paint a soft baby pink base and add clear tips for a clean finish. This routine costs about $6 to $14 in polish. Tip: choose a slightly warmer pink for warmer skin tones and a cooler pink for cool undertones. I learned this after two rounds of returns at Ulta.
Shop this idea:
11. Press-On Clear Tips With Ombre Fade
Style: Soft Glam | Budget: $10 to $25 | Best For: Travel / quick changes
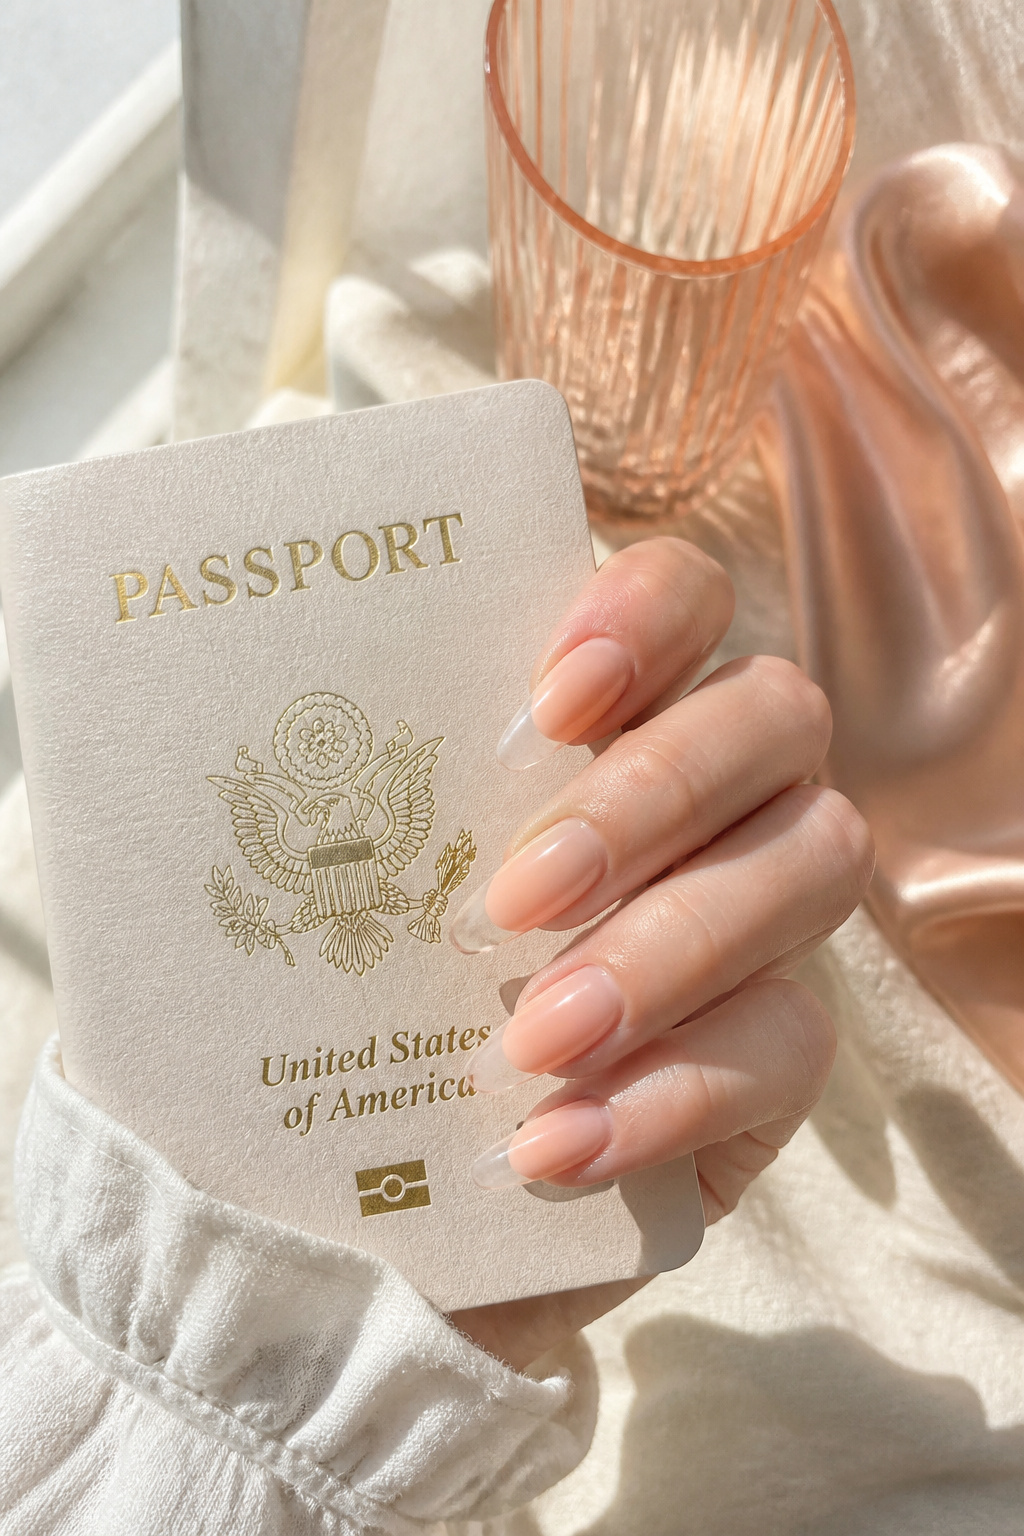

Result: Instant salon-level ombre without tools. I use press-on tips and airbrush a soft ombre under the clear edge. Press-on sets for ombre run about $12 to $25. Practical tip: keep a small file in your bag to blend edges on the go. Pain point solved: no appointment needed when travel plans change.
Shop this idea:
12. Wispy Glitter Under Clear Tip
Style: Party Ready | Budget: Under $18 | Best For: Holiday looks / festive nights


Result: Sparkle that peeks only when you move your hands. I brush a thin line of fine glitter under the clear tip and seal it. Fine glitter pot is around $4 to $10. Tip: use a sheer gel to anchor glitter; loose glitter without sealant sheds. Ugly truth: chunk glitter is impossible to remove cleanly, so stick to fine powder.
Shop this idea:
13. Textured Satin Clear Tip
Style: Curated | Budget: $15 to $30 | Best For: Editorial shoots / tactile outfits
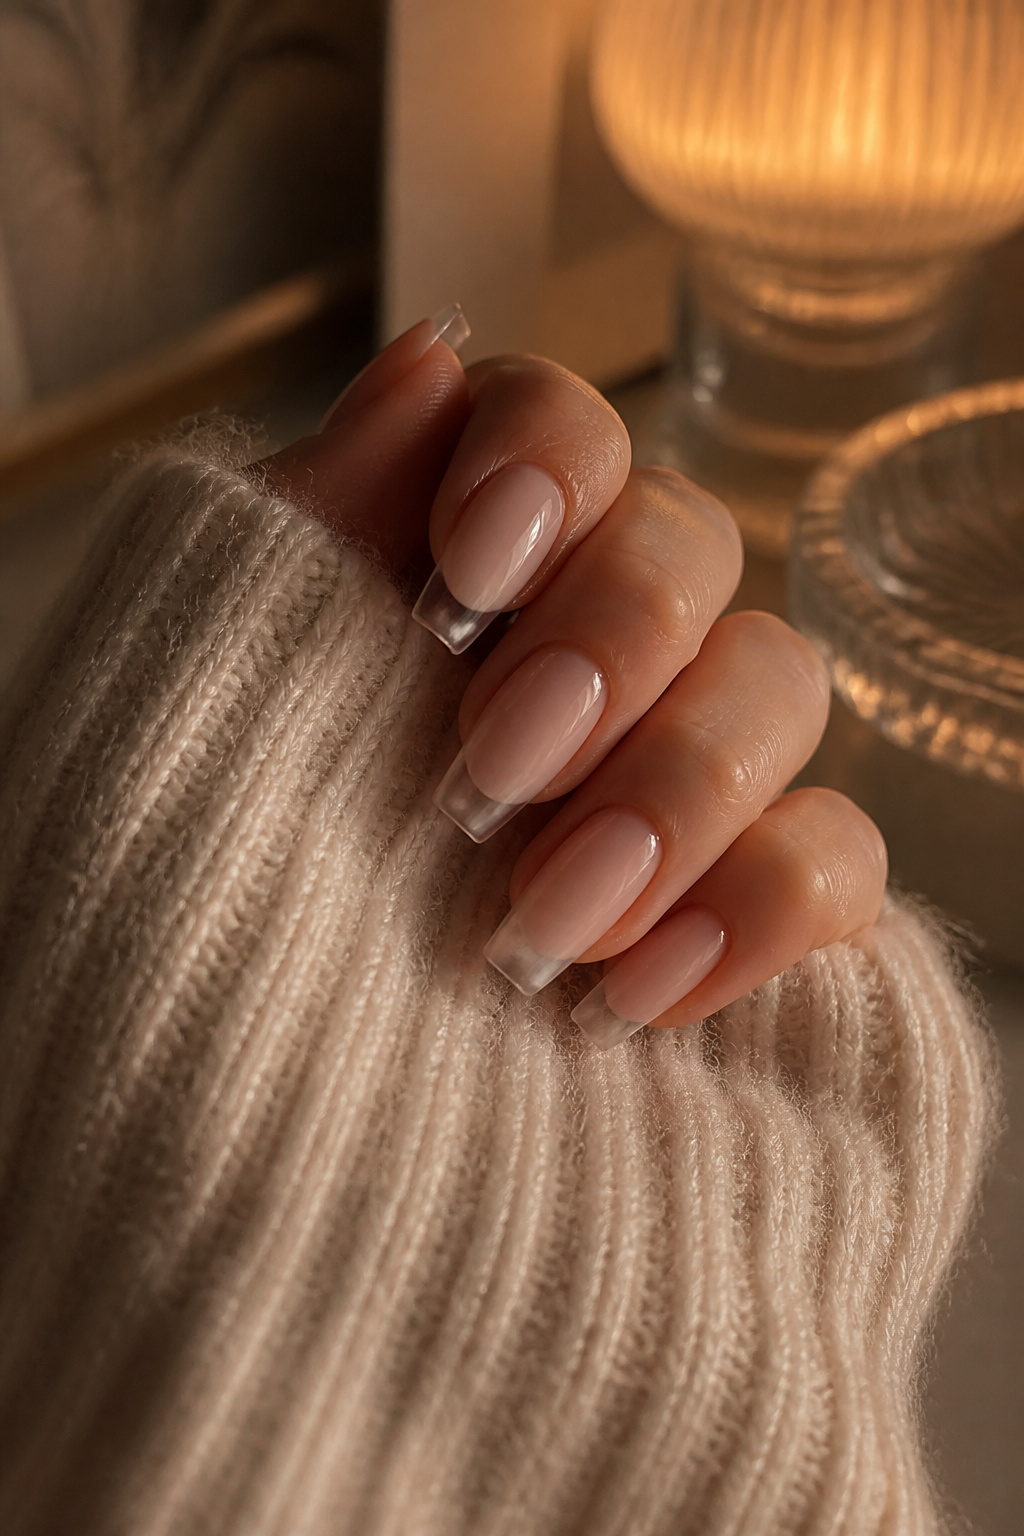

Result: Unexpected texture that reads tactile and high-fashion. I apply a satin finish top coat just on the tip to create a soft sheen. Satin top coats are $10 to $18. Tip: avoid sanding; use polish layers to build the look. Personal moment: a photographer once stopped me on set to ask about the finish because it reads so magazine-like.
Shop this idea:
14. Half-Moon Transparent Accent Tip
Style: Retro Modern | Budget: Under $20 | Best For: Vintage tees / 90s nods


Result: A wink to retro half-moon mani updated with transparency. I paint a small clear half-moon at the tip edge over a muted base. Products needed run $6 to $15. Tip: use a dotting tool to ensure symmetry across fingers. Pain point: uneven half-moons look DIY; practice on a press-on set first.
Shop this idea:
15. Clear Tip With Matte Nude Negative Space
Style: Minimal Elevated | Budget: $10 to $25 | Best For: Everyday polished looks
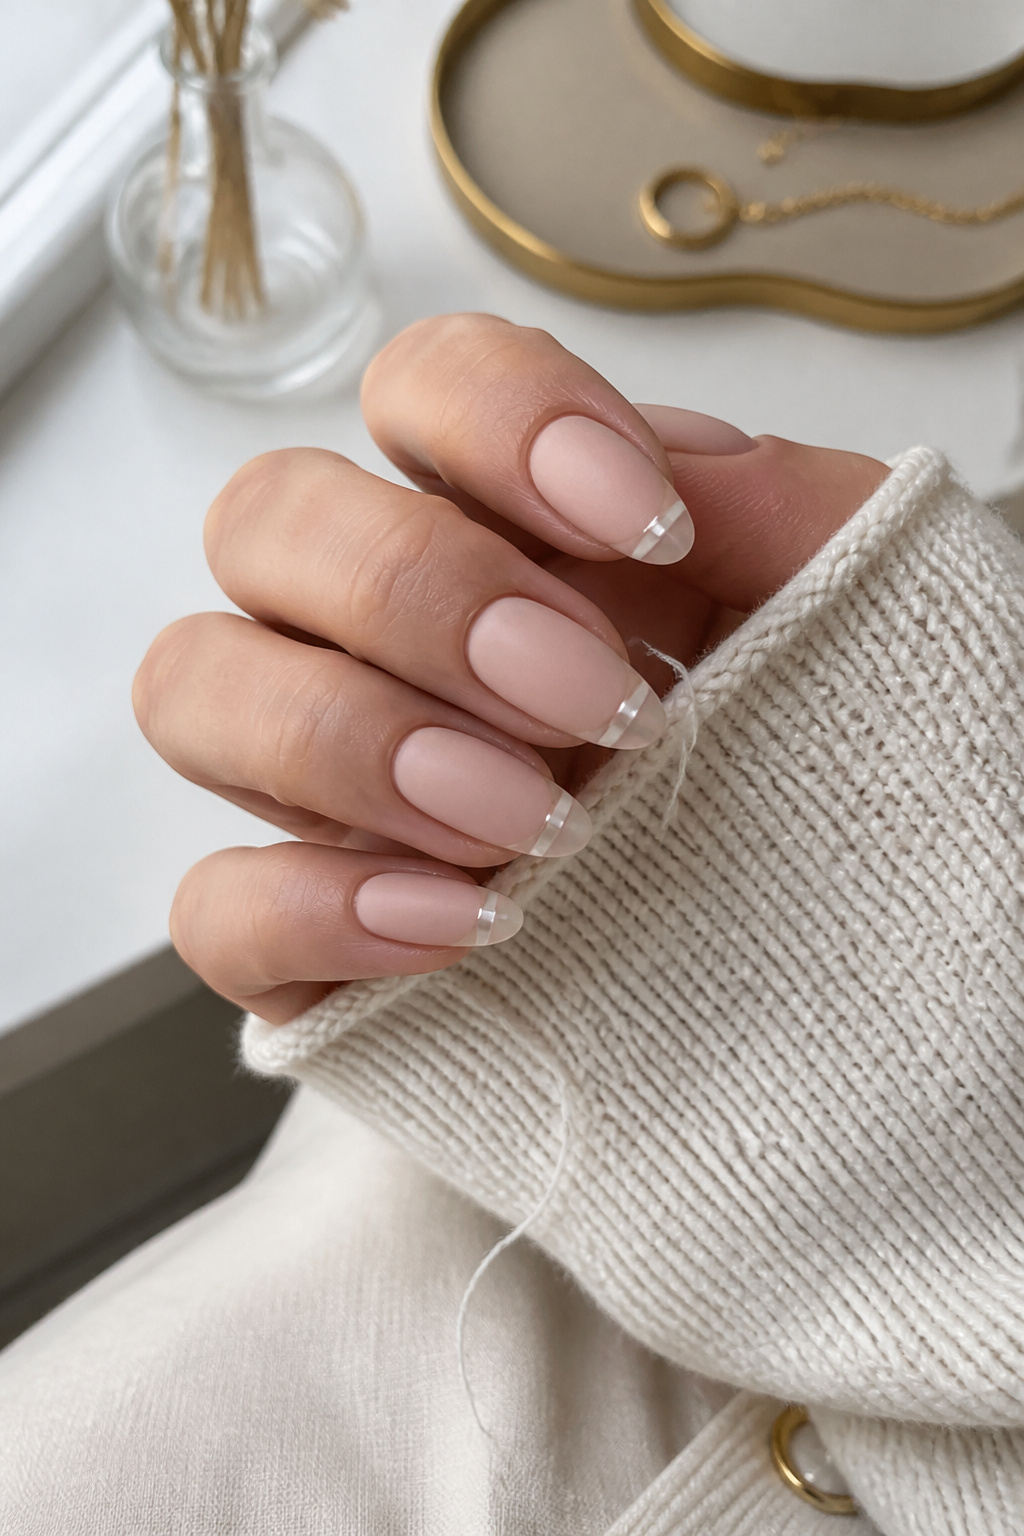

Result: Quietly curated and extremely wearable. I pair a matte nude base with a glossy clear tip and a thin negative space band in between. Expect to spend $10 to $25 on basic supplies. Tip: alternate fingers with full gloss to add variety. I wore this to a low-key dinner and still got three compliments.
Shop this idea:
What You'll Need to Get This Look
Face & Base Essentials
- Cuticle oil rosehip around $6 to $14
- Nail buffer block medium around $4 to $10
- Nail dehydrator solution around $5 to $12
Eyes, Brows & Lips
- Fast-dry top coat travel around $6 to $15
- Satin finish top coat mini around $8 to $18
Clothing Staples
- Silk scarf small square around $10 to $30
- Cashmere crewneck sweater approx $60 to $120
Shoes, Bags & Jewelry
- Gold signet ring thin around $12 to $40
- Pearl stud earring pack around $8 to $24
Budget Swaps
- Drugstore sheer nude polish around $4 to $10 (dupe for luxe brands)
- Press-on clear tip multipack around $8 to $20 (cheaper than salon)
Shopping Tips for These Looks
Buy during end-of-season beauty sales: I snagged a glossy top coat during Ulta’s 21 Days of Beauty for under $10; check retailer sale calendars for 30 to 50 percent off. Fast-dry top coat travel
Start with press-ons if you’re nervous: A beginner press-on set lets you test shapes and transparency for $8 to $20, then invest in longer-lasting gels later. Clear French tip press-on nails
Thrift and mix for texture: Pair thrifted silk scarves or vintage rings with polished clear tips for that curated contrast. I found a perfect scarf at a local thrift for $6. Silk scarf small square
Seasonal switch: Move from gloss to satin finishes when fall hits for a warmer, tactile look; satin top coats often go on sale in October. Satin finish top coat mini
Dupe hack for chrome: Use a chrome pen from Amazon for $12 to imitate high-end chrome powders. I tried both and the pen lasted for weeks when sealed well. Chrome nail art pen
Frequently Asked Questions
Q: How long do clear French tip press-ons last?
A: Press-ons typically last 5 to 10 days with glue and careful wear. For longer wear, use dual adhesive and a sealing top coat. Try Clear French tip press-on nails for starter sets.
Q: Can I do glassy clear tips at home without a lamp?
A: Short answer, yes but gel with lamp gives the longest shine. For no-lamp, use a high-shine non-gel top coat and expect touch-ups every 4 to 7 days. I keep High-shine gel top coat for nights out.
Q: Are clear tips bad for nail health?
A: Only if you remove them improperly. Always soak or use an appropriate remover and follow with cuticle oil; avoid prying them off. I use Cuticle oil rosehip after removal.
Q: What’s a quick fix for lifting tips?
A: File the lift, clean with dehydrator, and add a dab of nail glue, then seal with top coat. Keep Nail glue mini on hand.
Conclusion
Start with one tiny change, like a single pearl or a matte tip, and build confidence before trying more elaborate transparent designs. My final tip: practice on a press-on hand before committing to a full set. Which transparent French tip are you trying first, the glassy look or the micro crescent?


