








Transparent nails aesthetic has quietly taken over my rotation. I counted 21 distinct ways to wear see-through polish and clear tips, from milky nude to glassy chrome, and I’m sharing them all. Most ideas are under $30, with a few splurges around $120 for custom press-ons or high-end top coats. Try one tonight, then build from there.
I’m leaning clean, tonal, and slightly editorial. These looks suit clean-girl, soft-glam, and minimalist wardrobes. Most pieces cost under $30, with a couple splurges up to $120 for specialty press-ons or a luxe top coat. Trends I keep seeing: glass nails, negative space geometry, and clear jelly with micro-glitter.
1. Sheer Nude Gloss With Minimalist Tips
Style: Clean Girl | Budget: Under $20 | Best For: Neutral wardrobes, short nails
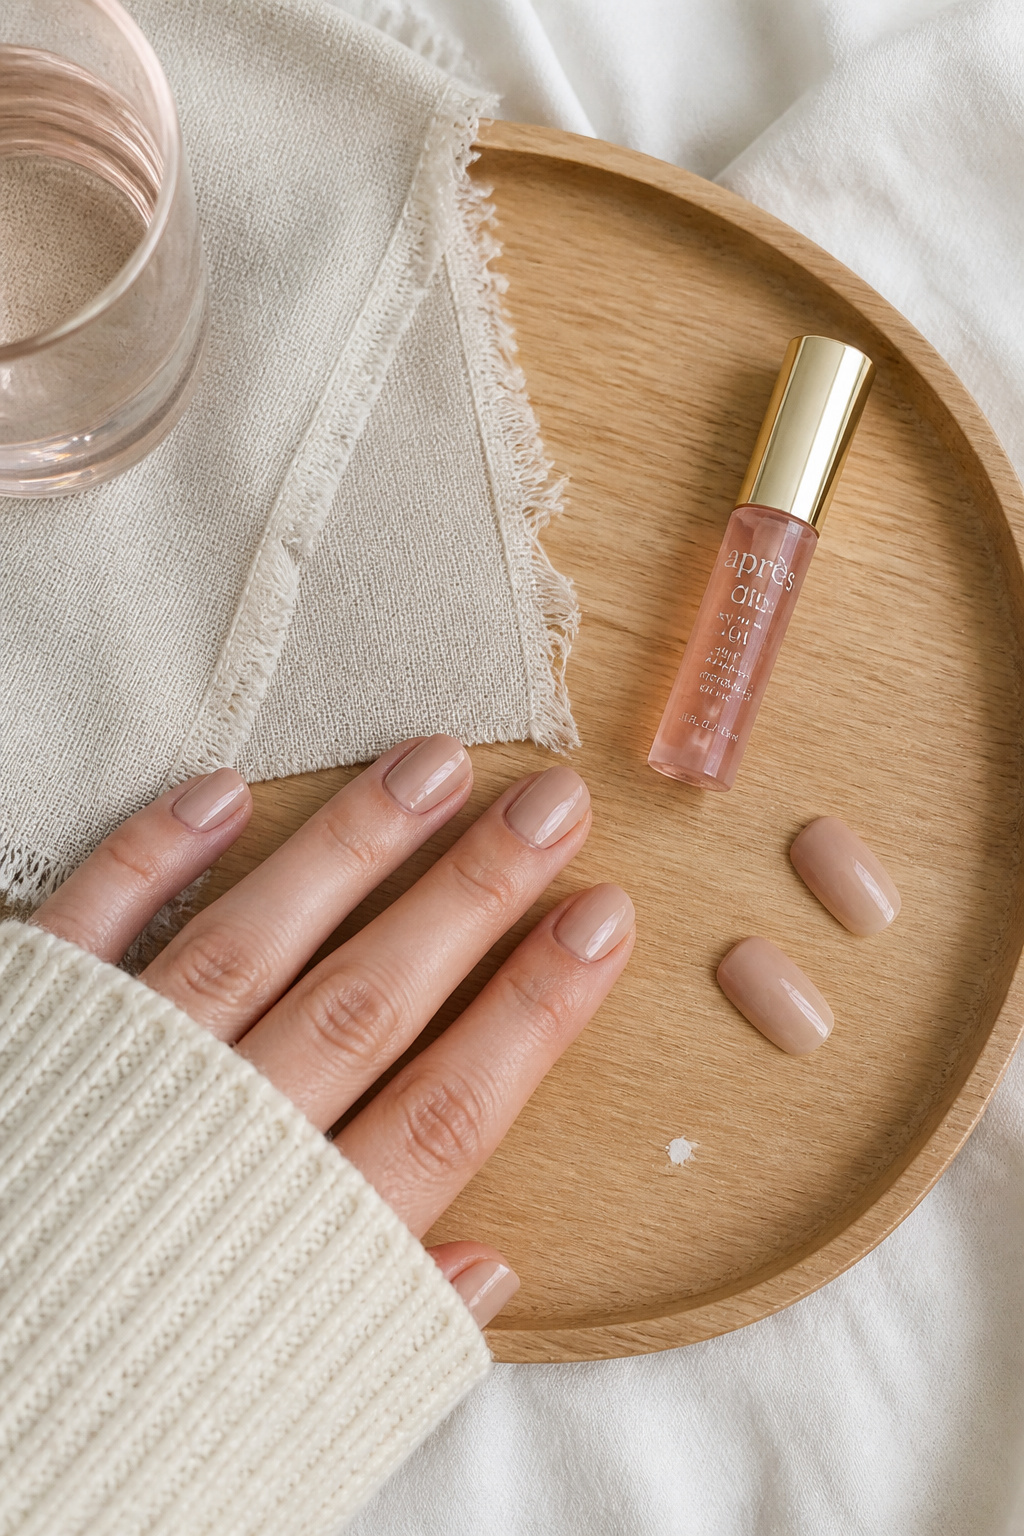

Result: nails that read polished without shouting. I use a clear base, a sheer nude wash, then a glossy topcoat. Try clear top coat high gloss for shine that lasts. Pick a sheer nude milk color, not opaque beige. Tip: buff lightly first, or the gloss beads. I once left a streak and my friend knew I rushed it.
Shop this idea:
2. Glass Nails With Silver Foil
Style: Bold & Saturated | Budget: $25 to $60 | Best For: Statement looks, medium to long nails


Result: mirror-like clarity with foil shards that catch the light. I press tiny silver foil under a clear gel layer and seal with a builder gel. Use builder gel clear 15ml. Tip: apply foil with sticky base, not dry fingers. Ugly truth: foil looks messy if not fully cured; I learned that after a salon fail.
Shop this idea:
3. Milky Translucent Almond
Style: Soft Glam | Budget: Under $22 | Best For: Elongating short fingers
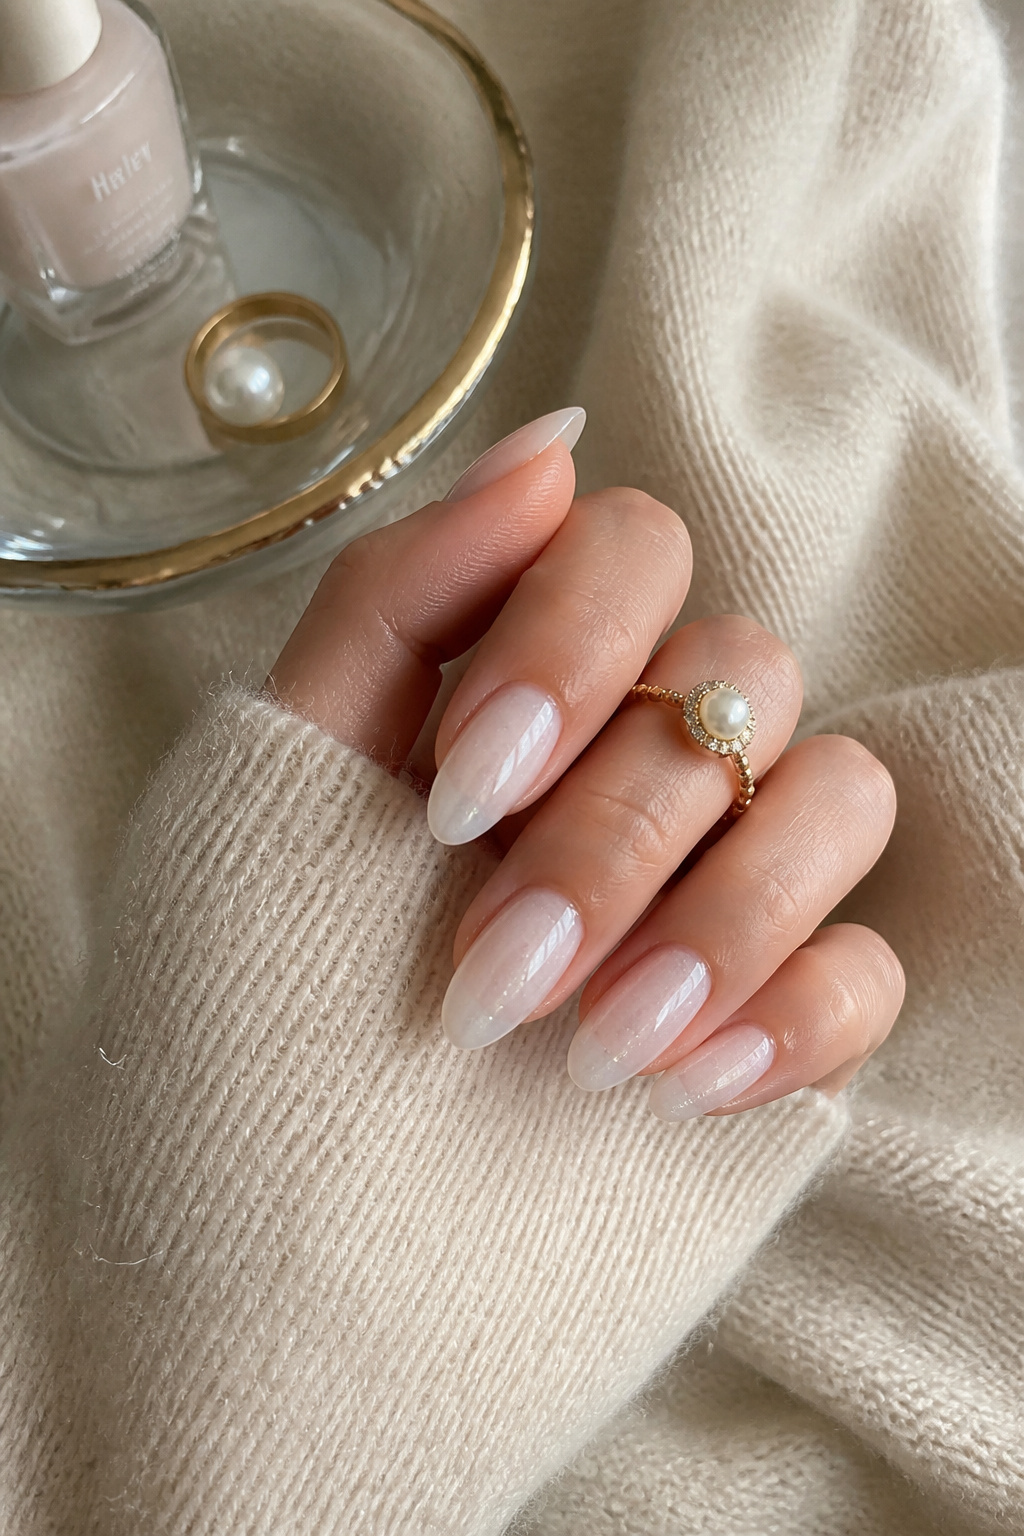

Result: soft, modern, and flattering on most skin tones. I layer two thin coats of a milky polish and finish with a satin-gloss topcoat. Try milky white sheer polish around $8 to $14. Tip: file sides gently to avoid snagging. I wore these to brunch and someone asked where I got them.
Shop this idea:
4. Clear Tip French With Negative Space
Style: Minimal | Budget: Under $18 | Best For: Office-friendly, petite hands
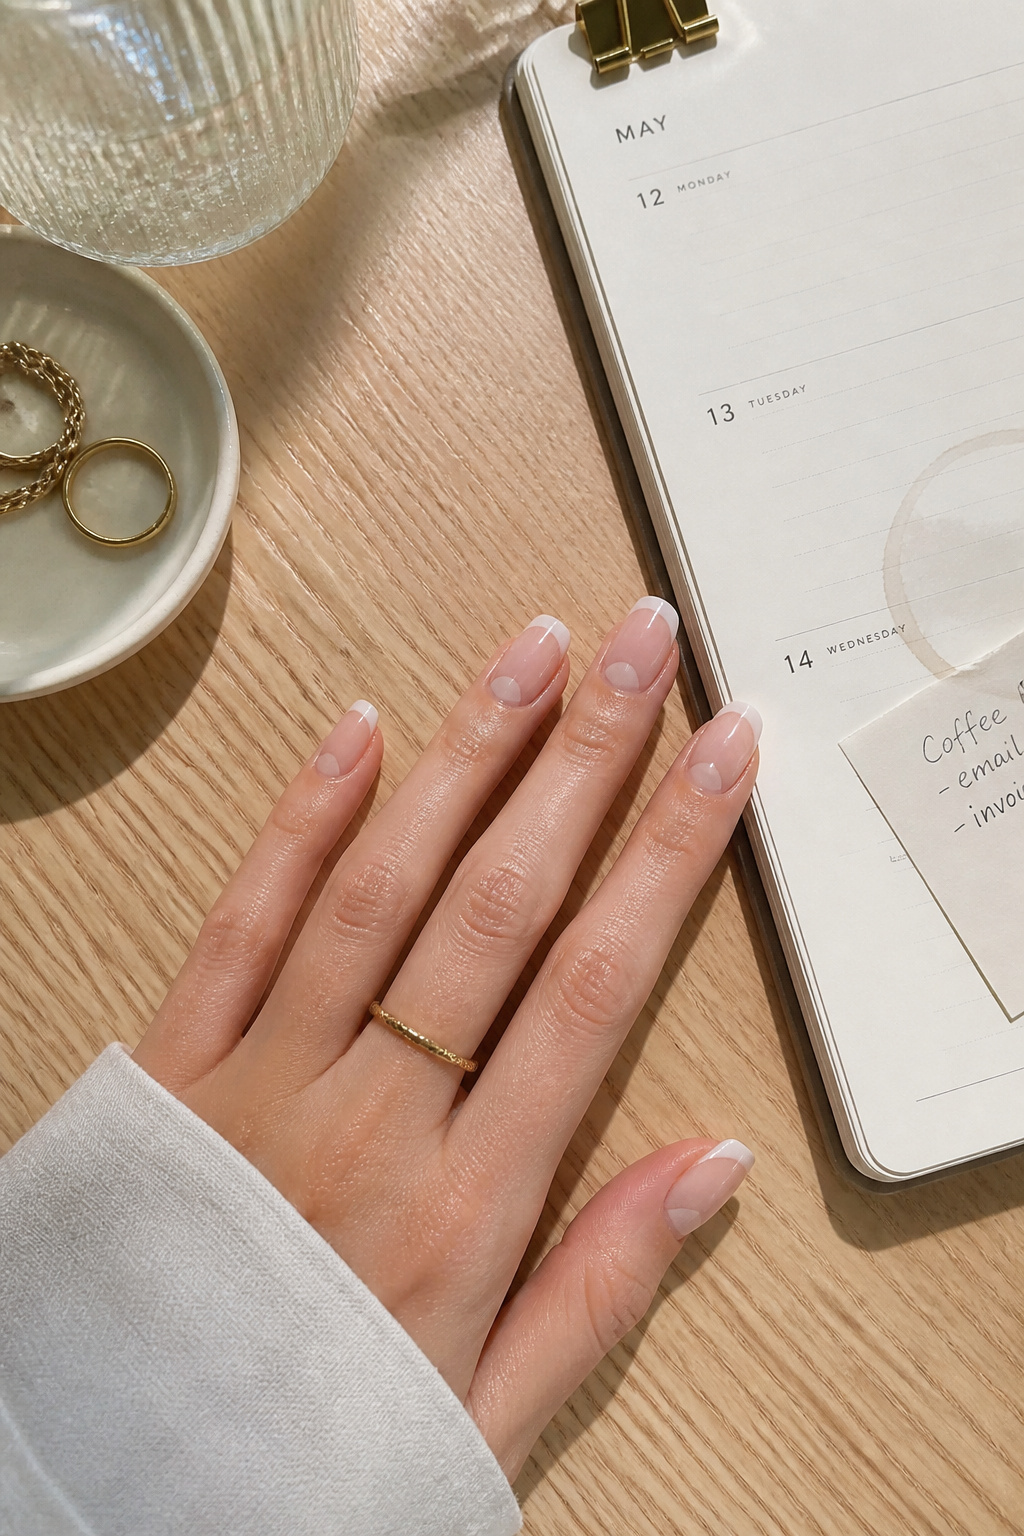

Result: modern French without the hard white. I paint the smile line with sheer beige and leave the tip transparent. Use clear tip forms press-on. Tip: tape guides help if your freehand is shaky. Ugly truth: crisp lines look amateur without a steady base coat.
Shop this idea:
5. Jelly Clear With Micro-Glitter
Style: Bright & Saturated | Budget: $12 to $28 | Best For: Playful outfits, festival looks
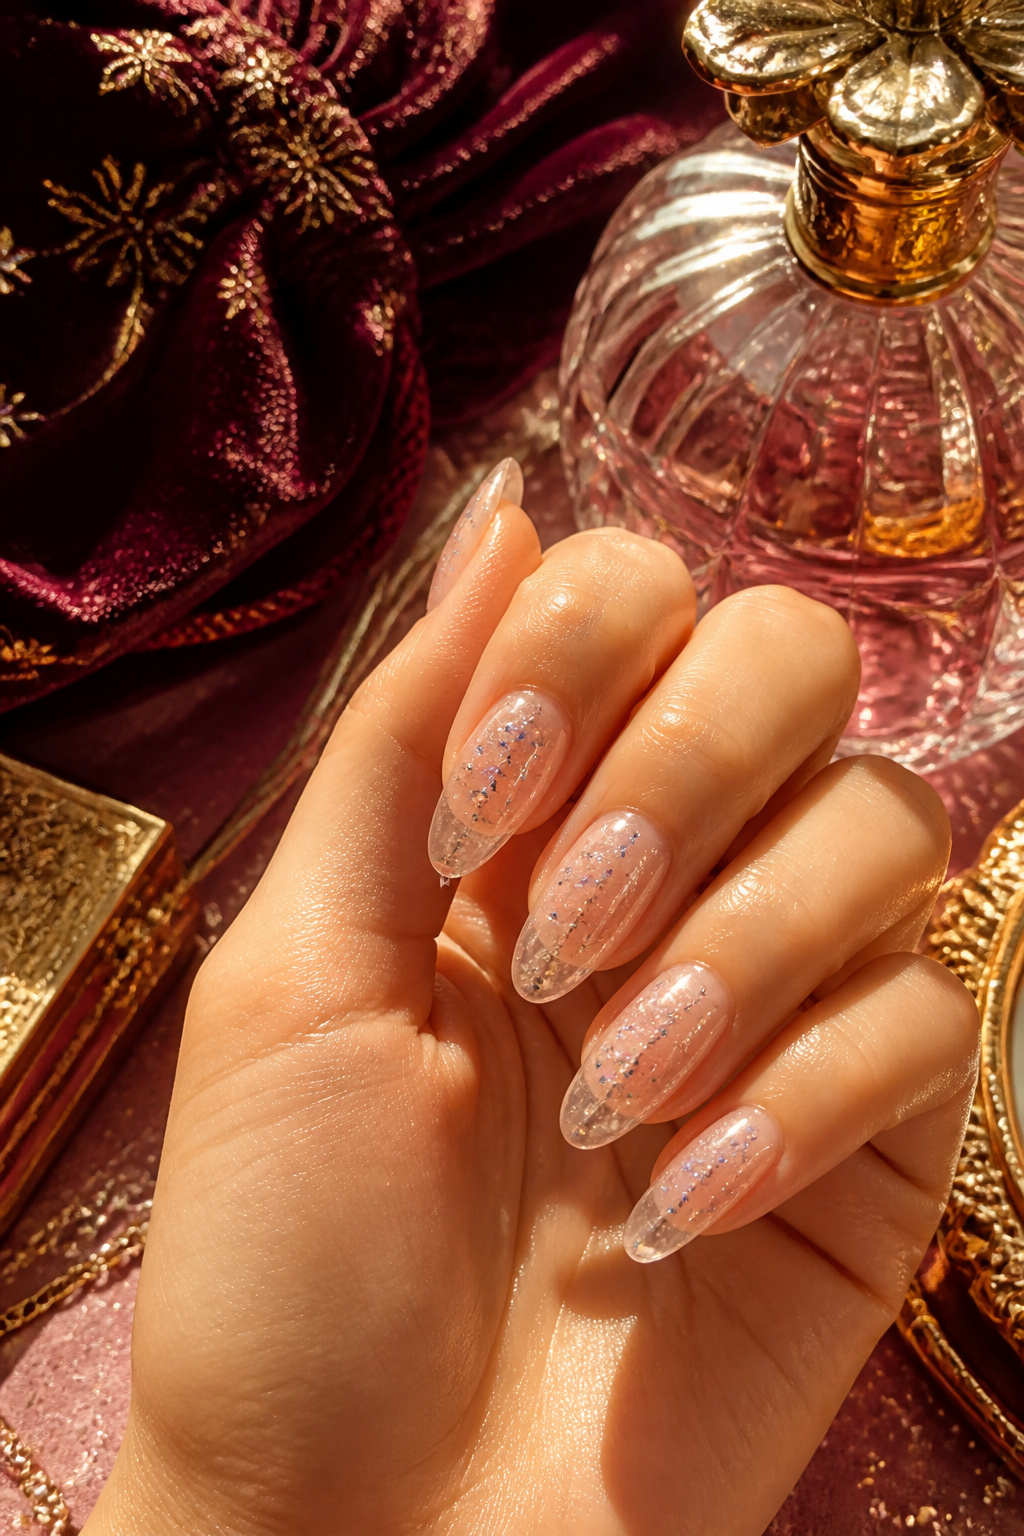

Result: that translucent, candy-like shine. I mix a tiny amount of micro-glitter into a clear jelly base and cure in thin layers. Use clear jelly nail polish around $10 to $18. Tip: seal well or glitter migrates. Once I skipped the topcoat and glitter faded by day three.
Shop this idea:
6. Transparent Chrome Sheen
Style: Bold & Saturated | Budget: $15 to $35 | Best For: Night out, medium nails
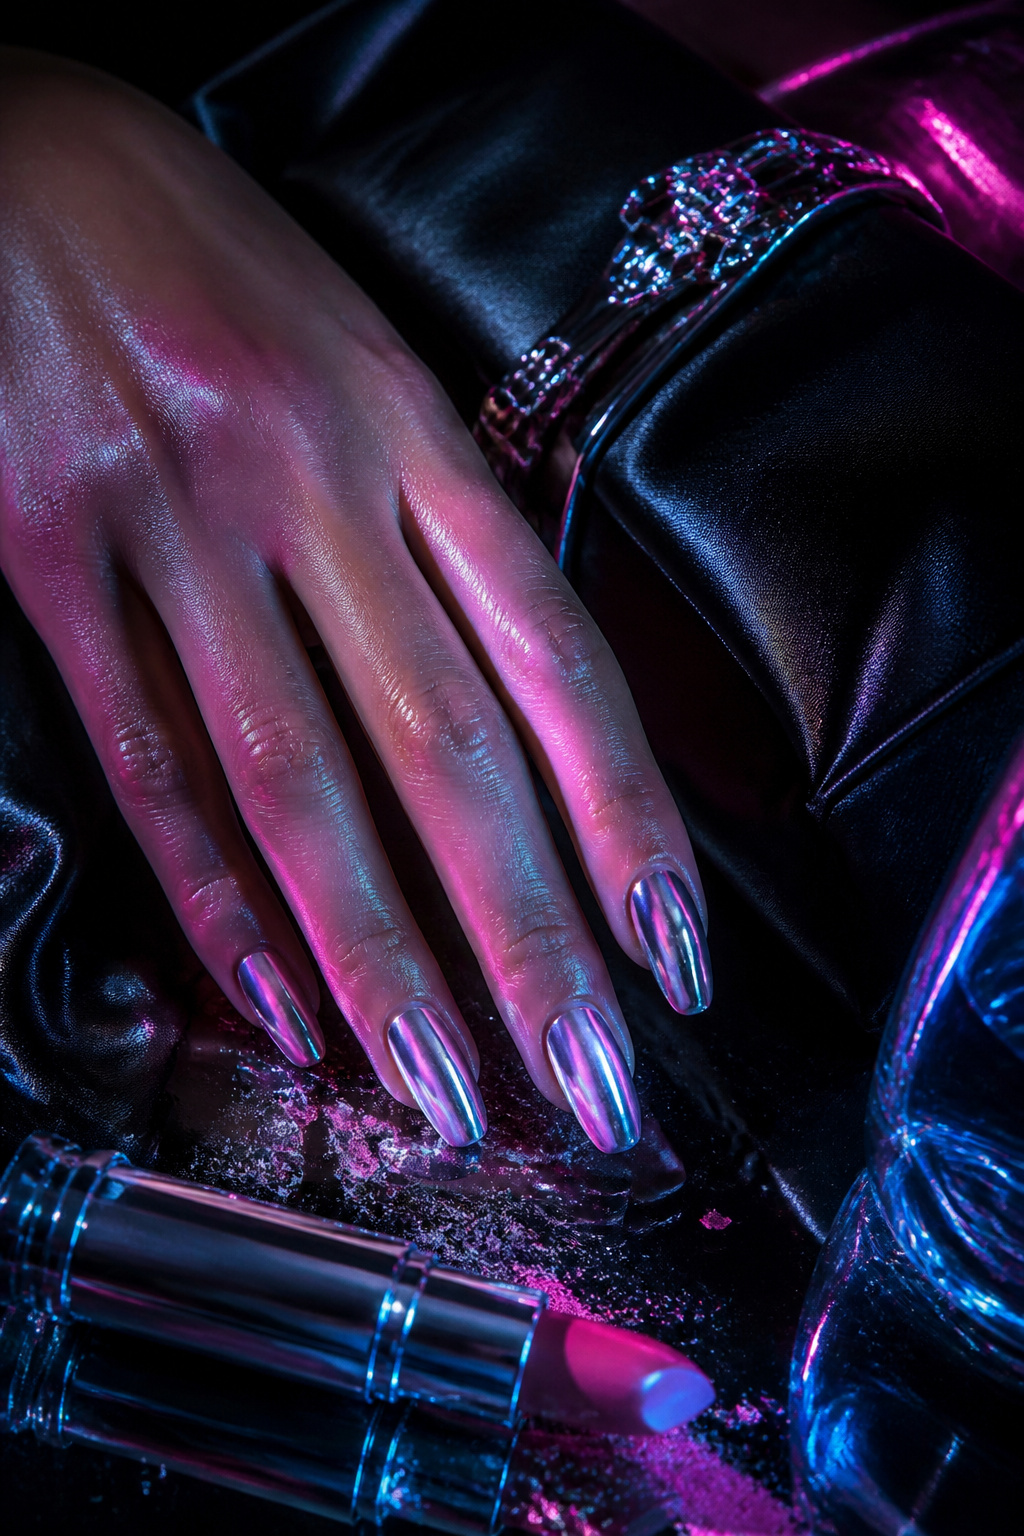

Result: soft reflectivity without color block. I rub chrome powder over a sheer base, then lock it with a gel top layer. Try chrome nail powder rose. Tip: buff very lightly or chrome flakes show. Ugly truth: powders pick up oils easily so prep is everything.
Shop this idea:
7. Clear With Tiny Dried Flowers
Style: Moody & Cozy | Budget: $20 to $45 | Best For: Romantic outfits, short to medium nails
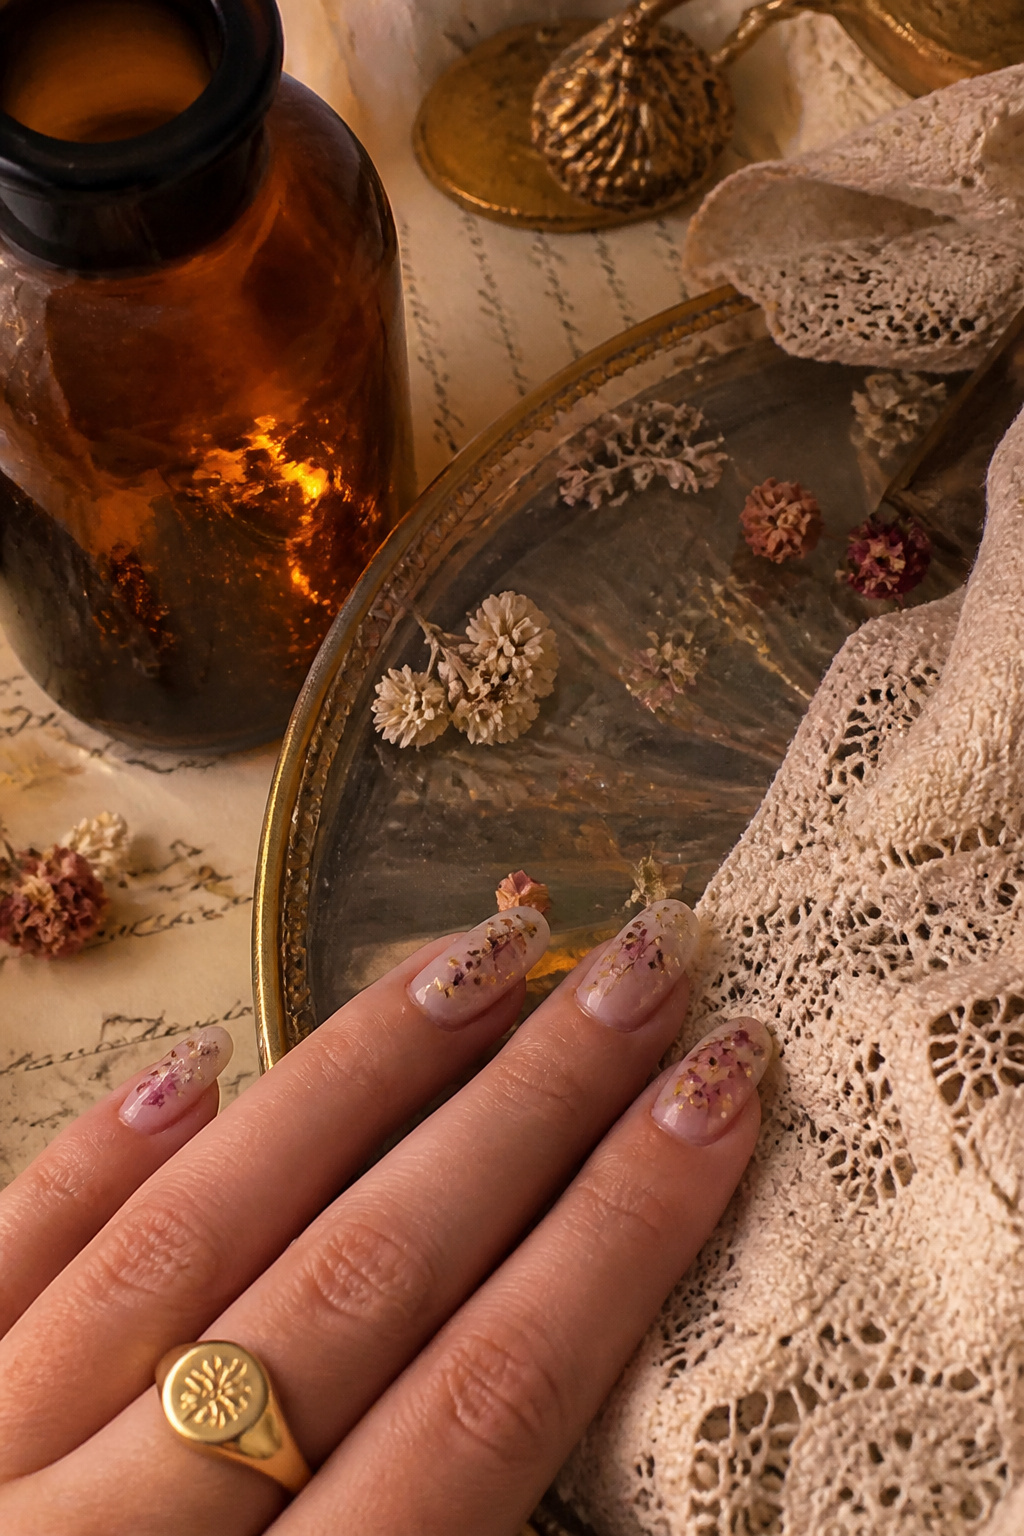

Result: delicate and editorial. I press micro-flowers into tacky gel then seal. Use dried micro flower nail art. Tip: place with tweezers and finish with two clear layers. I once placed a flower too close to the edge and it lifted.
Shop this idea:
8. Translucent Ombre Fade
Style: Soft Glam | Budget: Under $25 | Best For: Gradual color lovers, medium nails
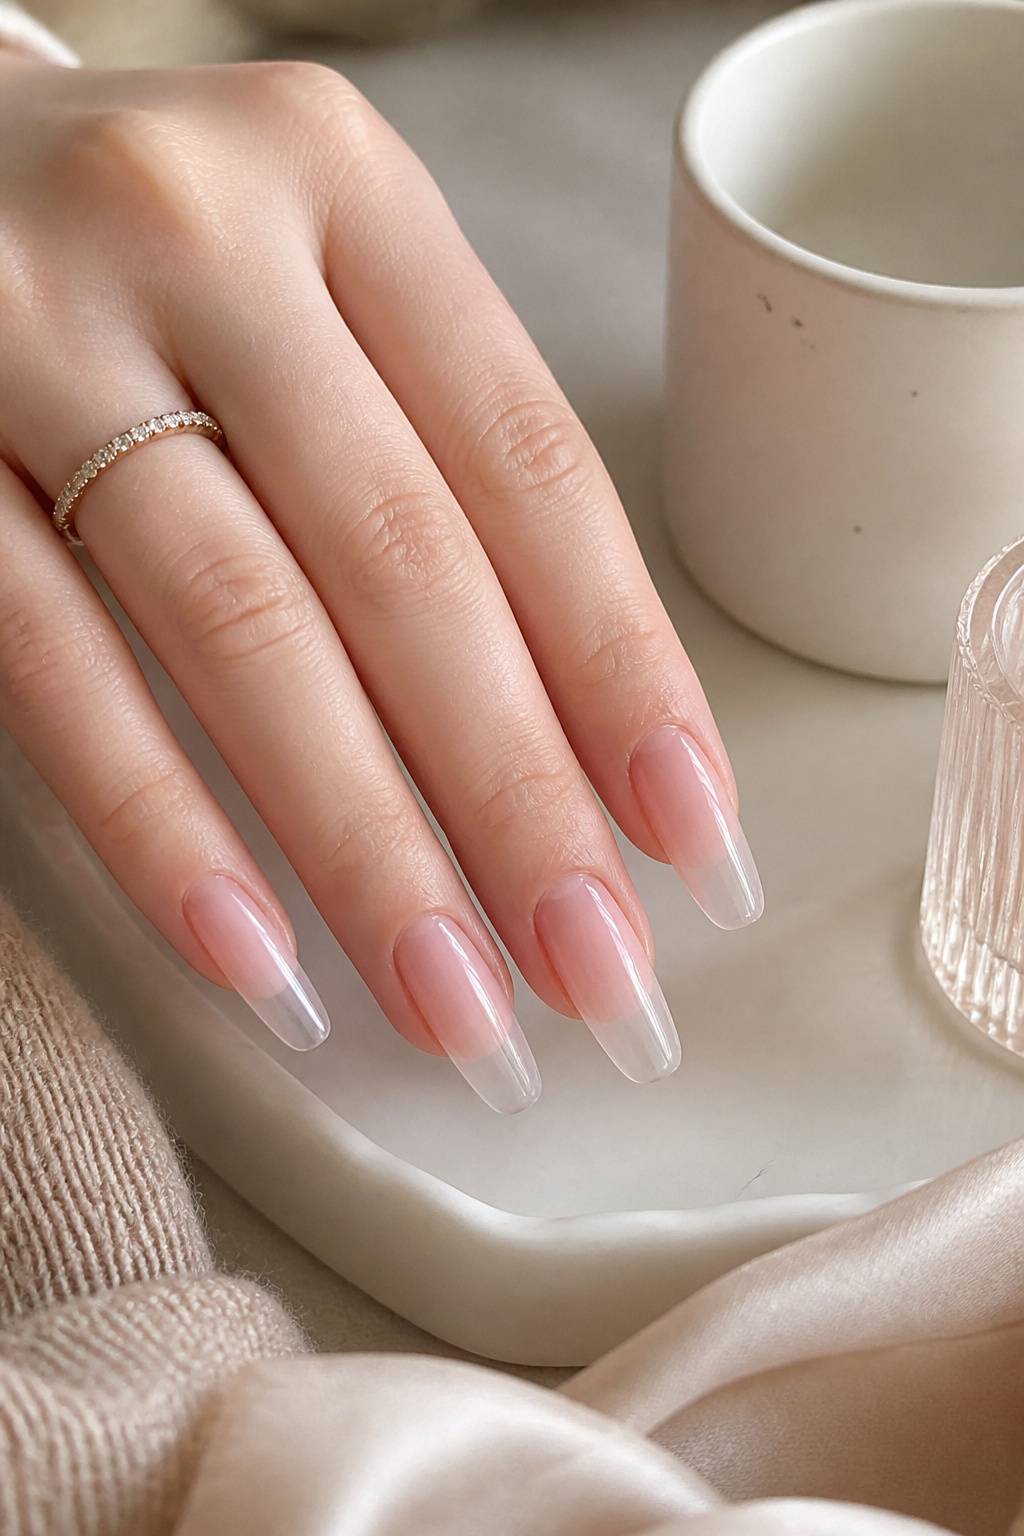

Result: the most wearable gradient. Lightly sponge a sheer color into the base and fade to clear. Try sheer ombre polish set around $12 to $22. Tip: work in layers and cure between steps. I messed up the first set by over-saturating my sponge.
Shop this idea:
9. Ultra-Short Gloss With Edge
Style: Minimal | Budget: Under $15 | Best For: Active hands, short nails
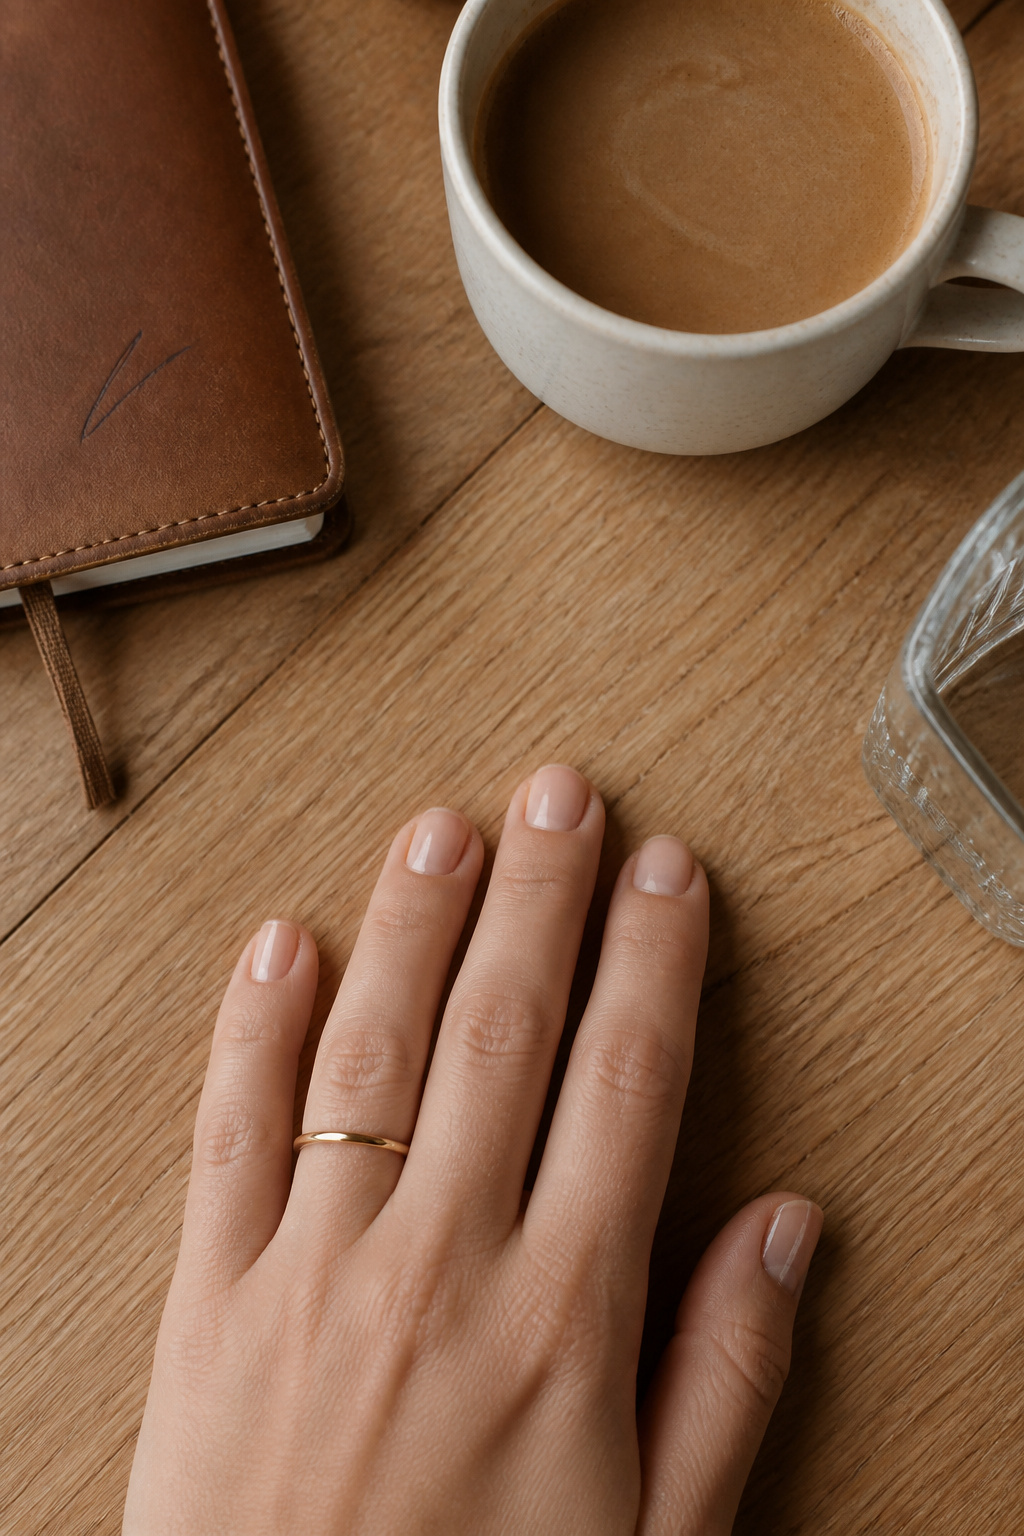

Result: clean and low-maintenance. I file short, apply a clear gel-like lacquer, and buff shine. Use quick-dry clear polish around $6 to $12. Tip: short nails show chips faster; keep a travel bottle. Ugly truth: very short transparent nails can yellow if you smoke or use dark pigments often.
Shop this idea:
10. Clear Coffin With Gold Flake Line
Style: Bold & Saturated | Budget: $18 to $40 | Best For: Night looks, long nails


Result: elevated and editorial. I glue a thin strip of gold flake along the lunula and seal. Use gold flake nail foil. Tip: press flakes flat to avoid snagging. I once snagged a knit sweater on a flake and learned to file edges smooth.
Shop this idea:
11. Clear Press-Ons With Minimal Art
Style: Clean Girl | Budget: $12 to $35 | Best For: Instant upgrade, travel


Result: salon-level in 20 minutes. I prefer clear press-ons and add a tiny hand-drawn line with a nail pen. Try clear press-on nails medium. Tip: roughen the underside for stronger glue hold. Ugly truth: press-ons lift if you skip nail prep.
Shop this idea:
12. Frosted Matte Transparent
Style: Moody & Cozy | Budget: Under $20 | Best For: Winter wardrobes, cozy knits


Result: soft, understated, and tactile. I apply a matte topcoat over a translucent base for that frosted look. Use matte top coat quick-dry around $7 to $14. Tip: matte shows bumps, so buff first. I once thought matte hid mistakes; it actually highlights them.
Shop this idea:
13. Icy Blue Transparent
Style: Bold & Saturated | Budget: Under $22 | Best For: Color lovers, pale skin tones
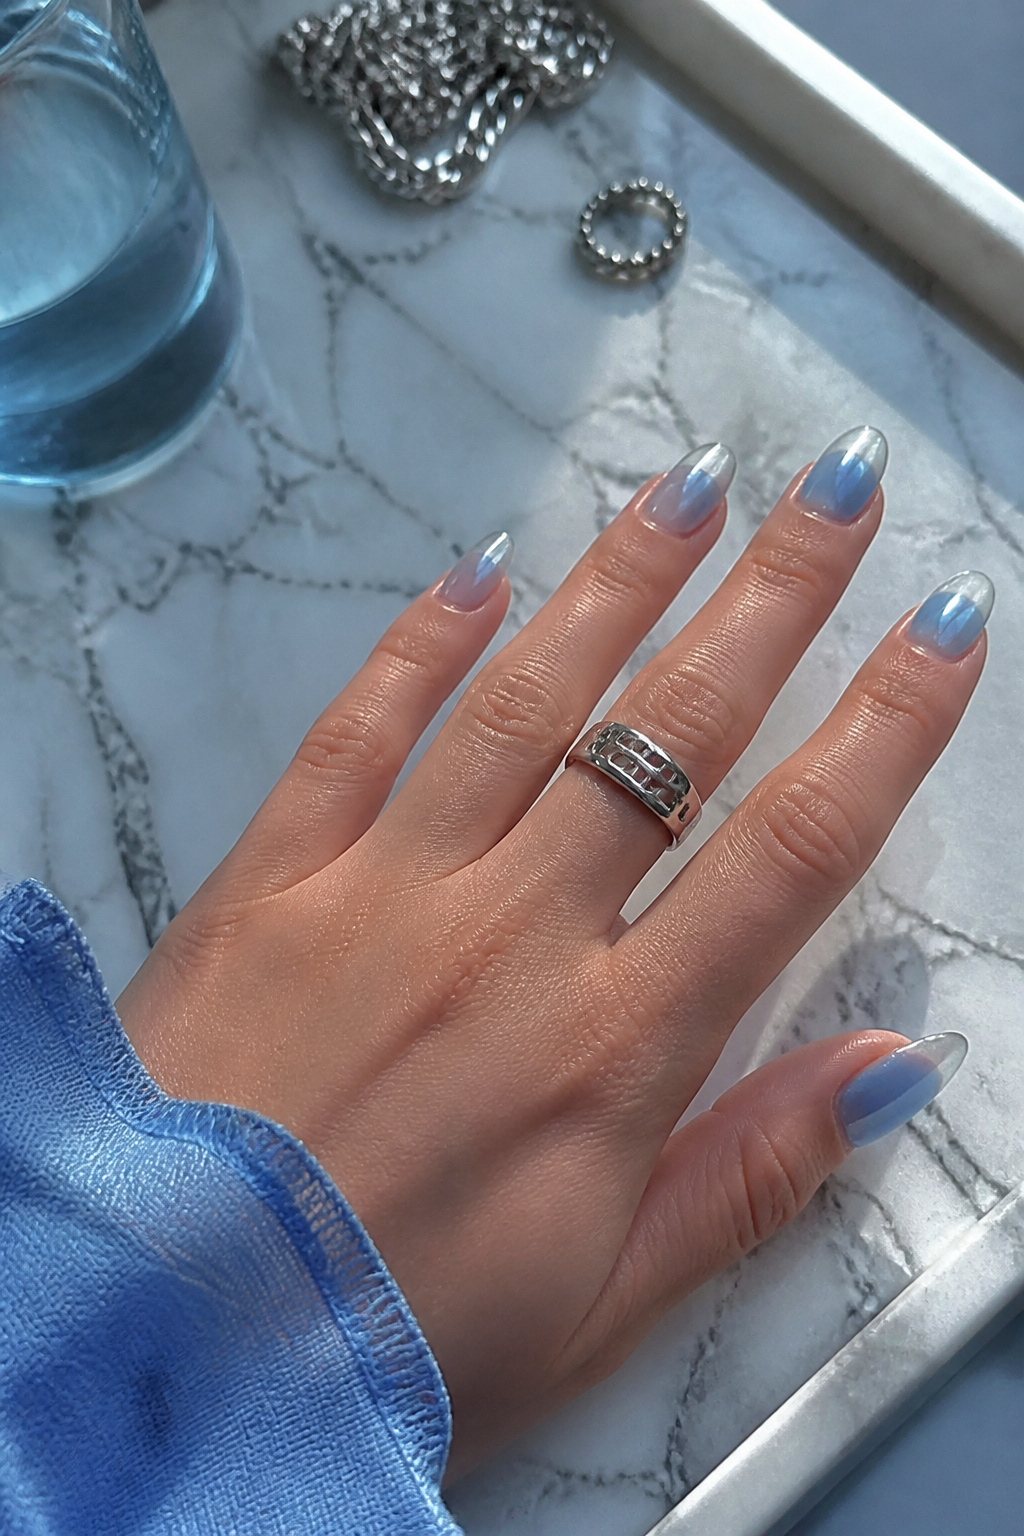

Result: cool and modern without full opacity. I dilute a pastel blue with clear polish to get a see-through tint. Use sheer blue tint polish. Tip: layer thin coats for depth. I got asked where my coat was from, not the nails, which was the point.
Shop this idea:
14. Clear With Single Rhinestone
Style: Clean Girl | Budget: Under $18 | Best For: Date nights, minimal sparkle
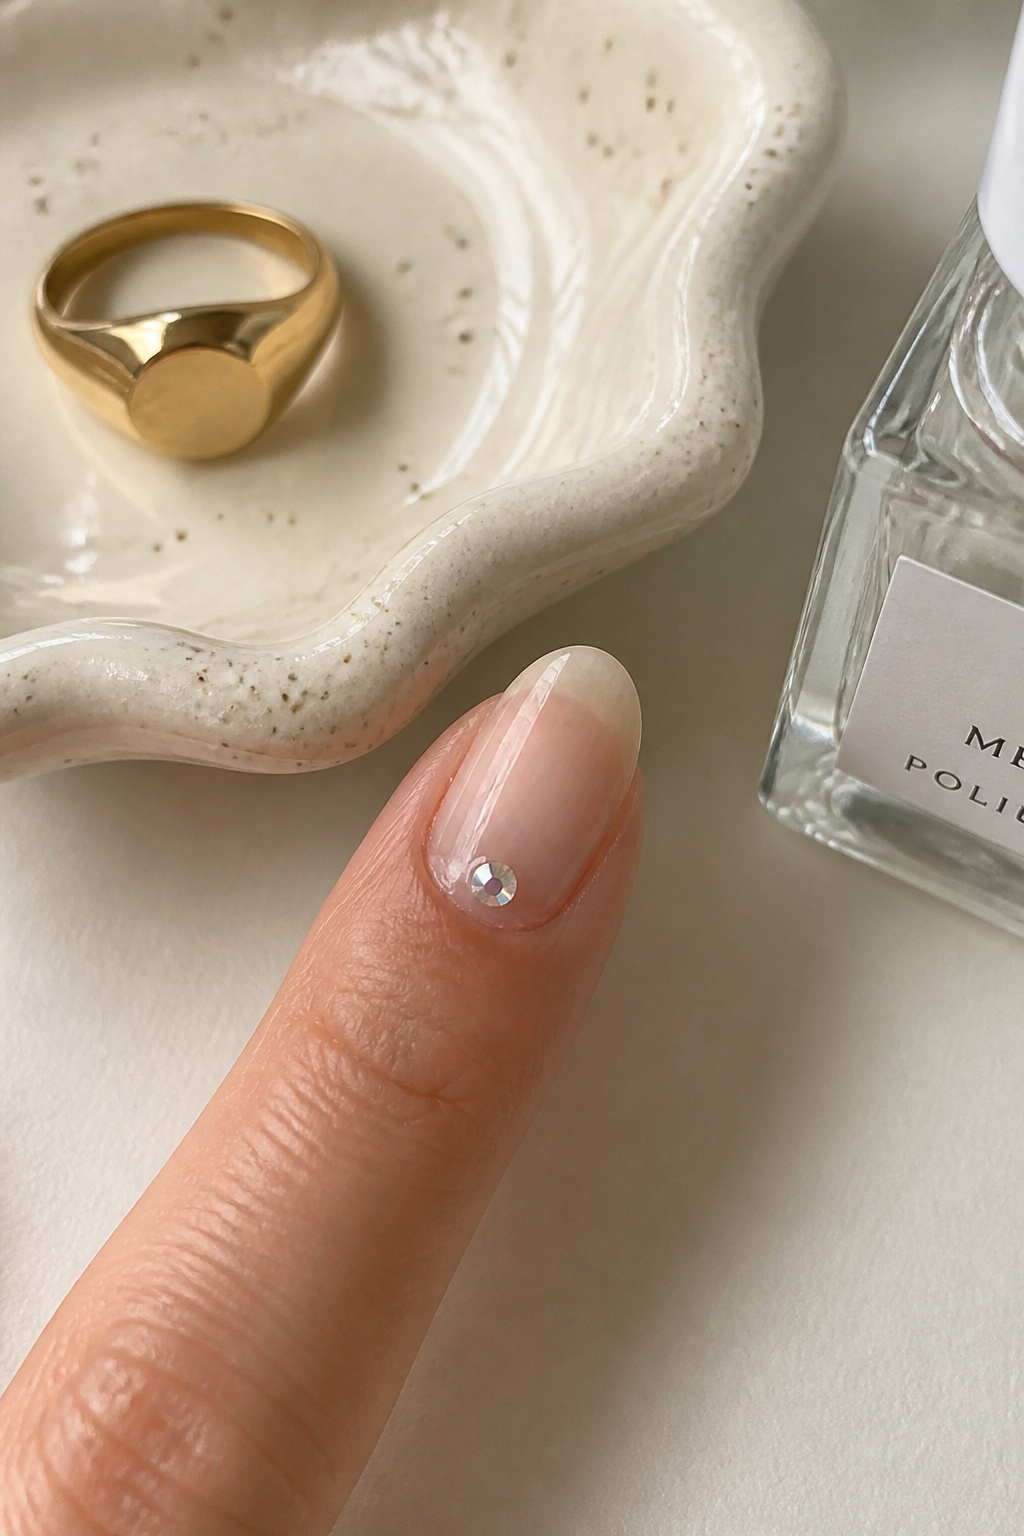

Result: low-key luxury. One rhinestone on the ring finger reads intentional. I use nail rhinestone mix small and nail glue. Tip: press and cure immediately. I once glued a gem crooked and had to redo the whole nail.
Shop this idea:
15. Transparent Matte Nude With Line Art
Style: Soft Glam | Budget: Under $25 | Best For: Artful minimalists, short nails
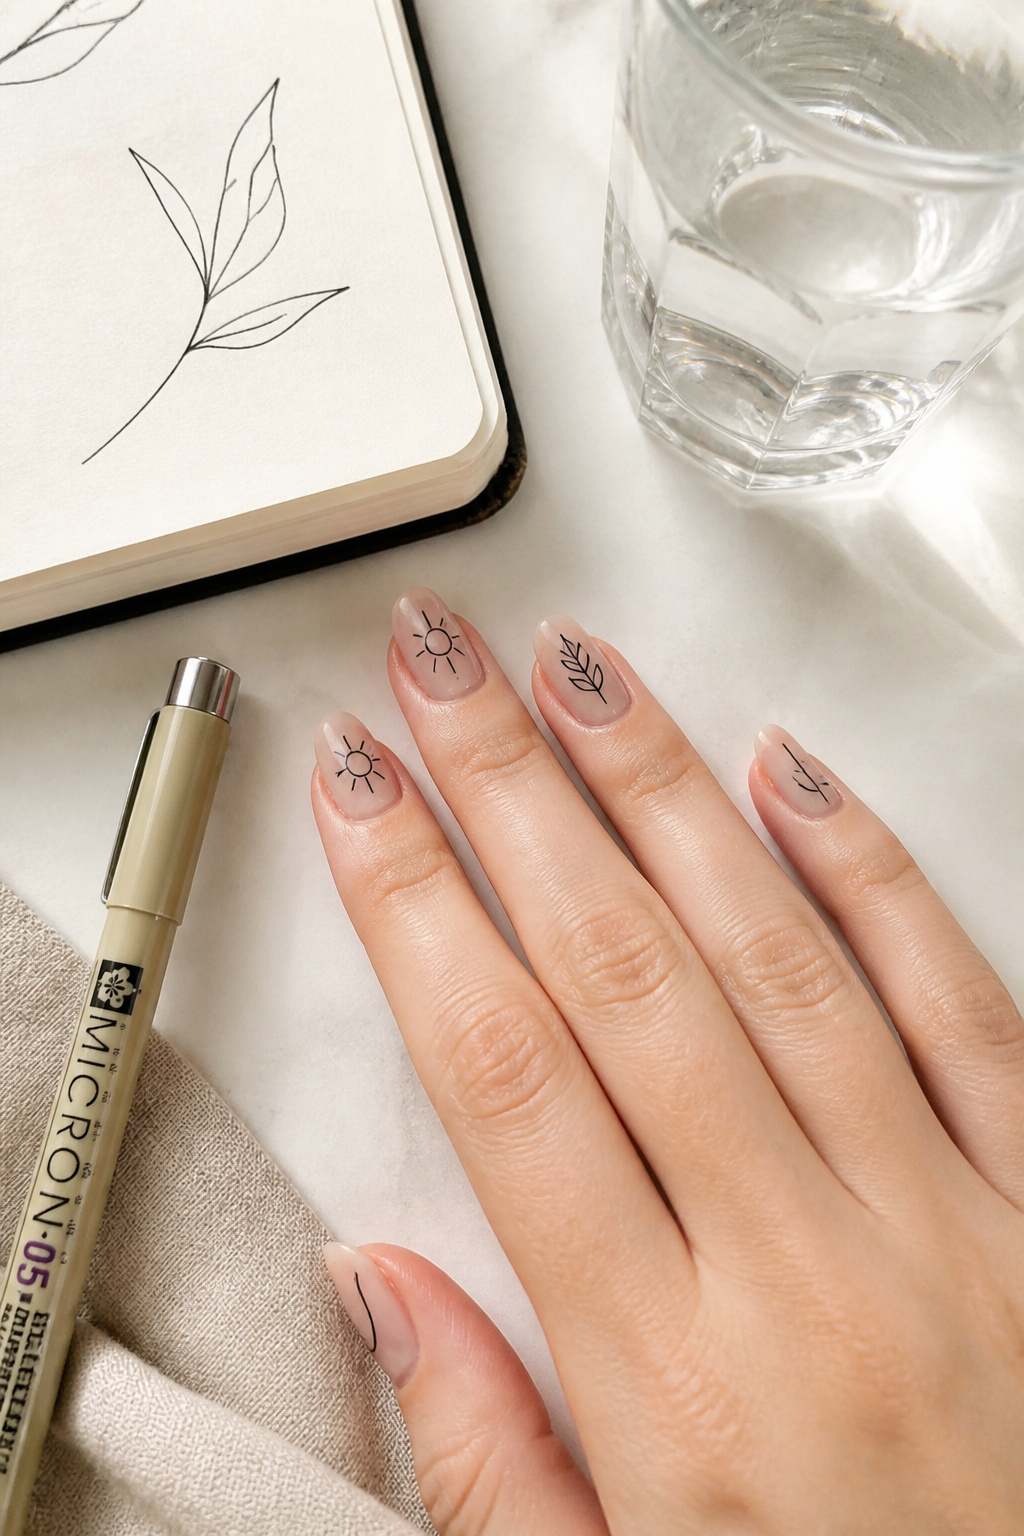

Result: graphic but subtle. I paint a thin black line with a fine nail pen over matte translucent base. Use fine nail art pen black around $6 to $12. Tip: seal with matte topcoat to prevent smudging. People assume a manicure like this took hours; it took me 12 minutes.
Shop this idea:
16. Clear With Thin White Stripe
Style: Minimal | Budget: Under $15 | Best For: Neutral wardrobes, clean lines


Result: textbook minimalist. I draw a crisp white hairline across the tip with a striping brush. Use white striping polish. Tip: steady elbow on table helps. I once freehanded standing up and it shows.
Shop this idea:
17. Translucent Pearl Sheen
Style: Soft Glam | Budget: $12 to $28 | Best For: Brides, elegant looks


Result: luminous and soft. I brush a pearlescent topcoat over a clear base for subtle shimmer. Use pearlescent top coat. Tip: one thin layer maintains transparency. I wore these to a wedding and they felt elevated without stealing the show.
Shop this idea:
18. Clear With Tiny Gold Moon
Style: Clean Girl | Budget: Under $20 | Best For: Subtle luxe, short nails


Result: tiny detail, big effect. I glue a small gold foil crescent on the lunula and seal. Use tiny gold moon decals. Tip: less is more, and press flat. I learned that one oversized decal reads costume, not editorial.
Shop this idea:
19. Clear With Micro-Opal Flakes
Style: Bold & Saturated | Budget: $18 to $40 | Best For: Evening outfits, medium nails


Result: pearly iridescence without heavy pigment. I scatter opal flakes into clear gel for that subtle rainbow. Try opal nail flakes mix. Tip: thin layers prevent bulk. I was thrilled when the flakes caught the candlelight at dinner.
Shop this idea:
20. Subtle Smoky Transparent
Style: Moody & Cozy | Budget: Under $22 | Best For: Evening, cool undertones
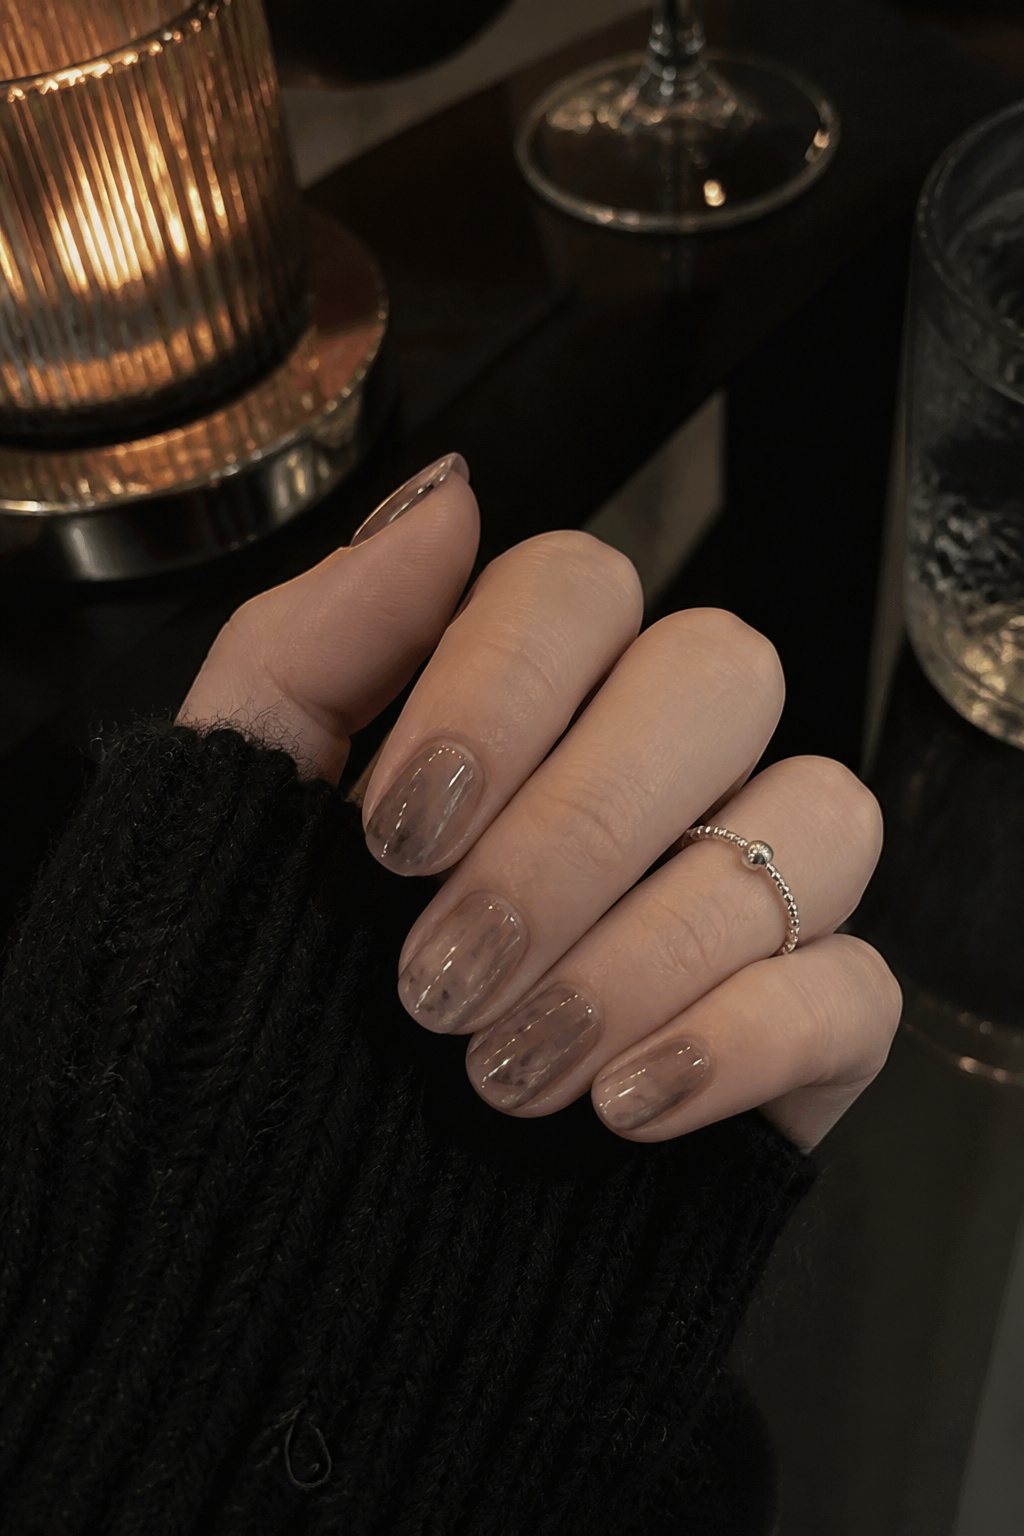

Result: unexpected and chic. I dilute gray polish to a translucent wash and top with high gloss. Use translucent gray polish. Tip: layering builds the right depth. I got compliments with an all-black outfit and they noticed the nails.
Shop this idea:
21. Ultra-Glass Long Almond
Style: Bold & Saturated | Budget: $35 to $120 | Best For: Glam events, long-nail lovers
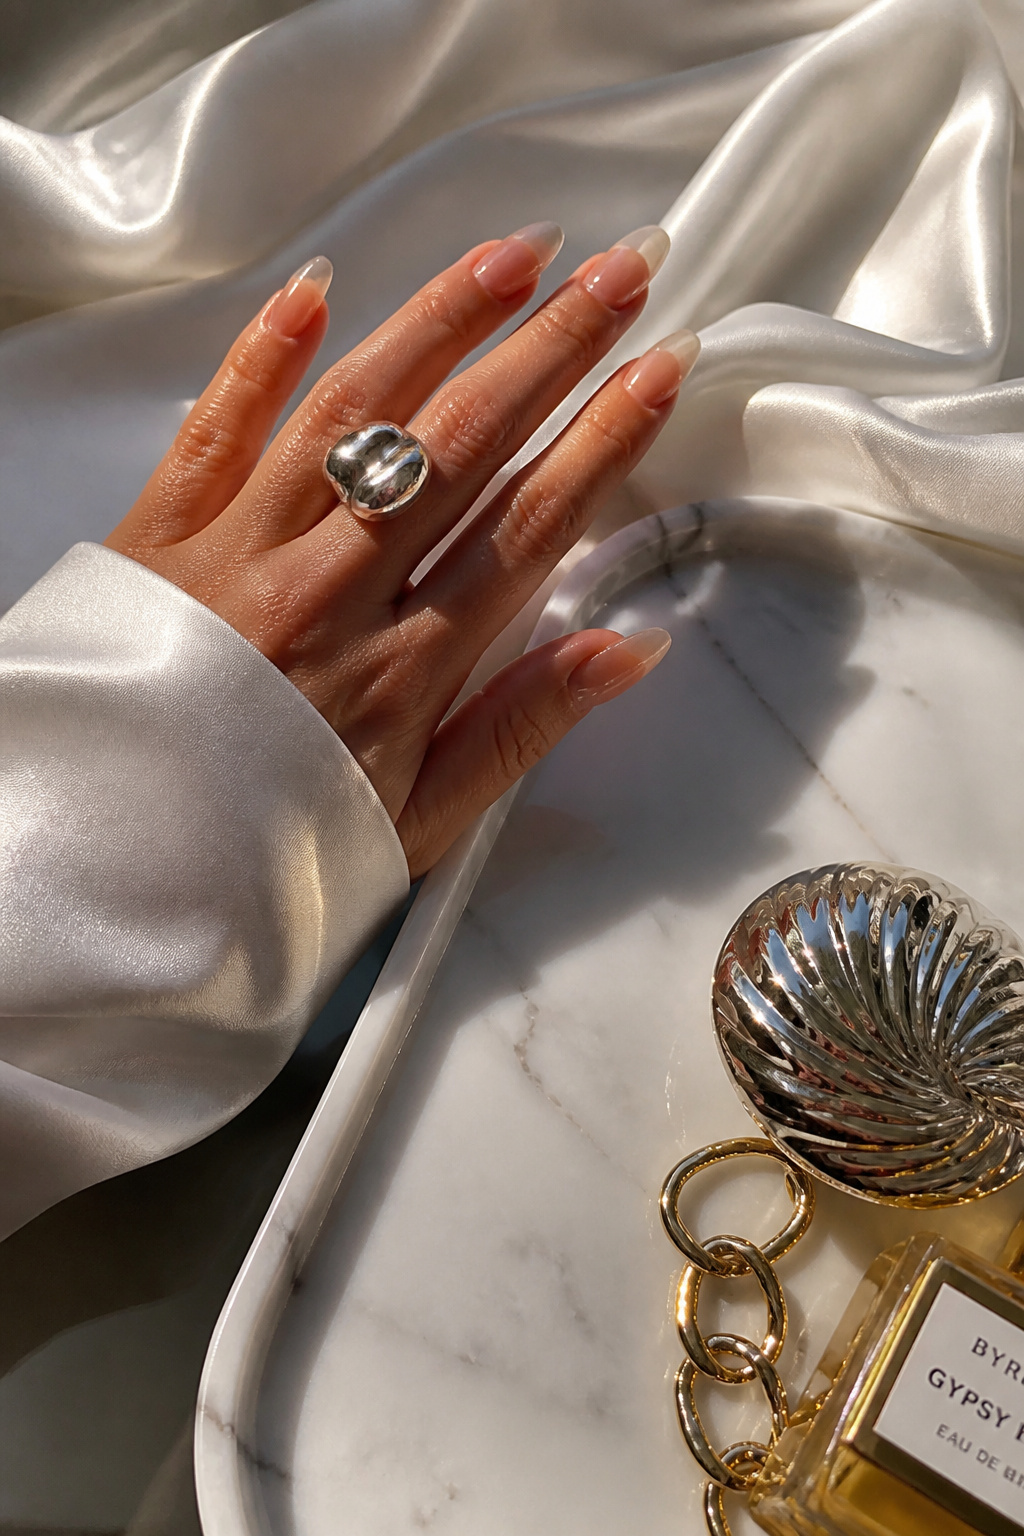

Result: glossy, high-impact, very editorial. I build with a clear builder gel for strength then finish with a mirror gloss. Use ultra clear builder gel 30ml around $40 to $120. Tip: long glass nails require maintenance and fills. Ugly truth: they look incredible but you will lose a ring now and then if you’re clumsy.
Shop this idea:
What You'll Need to Get This Look
Face & Base Essentials
- Clear top coat high gloss around $6 to $16
- Builder gel clear 15ml around $20 to $45
- Cuticle oil roller around $4 to $12
- Nail buffer block 4-side around $3 to $10
Eyes, Brows & Lips
- Mini LED lamp around $10 to $30
- Fine nail art pen black around $6 to $12
- Pearlescent top coat around $8 to $18
Clothing Staples
- Silk scarf neutral around $12 to $40
- Cashmere crewneck cream approx $60 to $120
- Tailored blazer black around $40 to $120
Shoes, Bags & Jewelry
- Gold chunky hoop earrings around $8 to $30
- Leather tote bag tan around $50 to $200
- Thin gold signet ring around $12 to $45
Budget Swaps
- Clear press-on nails medium around $12 to $25 (instead of salon)
- Quick-dry clear polish around $6 to $12 (drugstore swap)
- Micro glitter mix around $5 to $15 (budget sparkle)
Shopping Tips for These Looks
Buy the right base: Invest in a clear builder gel for long-term transparent looks, it holds better than drugstore topcoat. Try a builder gel clear 15ml around $20 to $45.
Time purchases around sales: Nail tools and press-ons often drop during Amazon Prime Day and seasonal beauty events, so save a list and buy then. See clear press-on nails medium.
Thrift and duet hack: Pair thrifted jewelry with clear press-ons for an editorial look on a tiny budget, then add a single luxe topcoat like pearlescent top coat.
Prep is non-negotiable: Oils break adhesion; wipe nails with isopropyl or nail cleanser before glue or gel. I learned this after repeated lifts. Use nail cleanser pad.
Follow 2025 trends: Expect more negative-space geometrics and glass finishes next season, so stock up on thin striping brushes and clear builder gels like gel brush set fine.
Frequently Asked Questions
Q: Are transparent nails durable enough for everyday wear?
A: Yes if you use a builder gel or quality topcoat and prep nails. For at-home, try builder gel clear 15ml. Extra tip: file and buff before application to avoid lifting.
Q: Can transparent nails yellow over time?
A: They can, especially with sun exposure or nicotine. Use a high-quality topcoat and avoid dark pigments for long periods. Consider high gloss top coat for protection.
Q: Do I need a lamp for these looks?
A: Most gel and builder finishes require LED curing. A compact lamp like mini LED lamp is worth it. For sheer polishes, no lamp required.
Q: What’s the easiest transparent look to start with?
A: A sheer nude gloss is fastest and forgiving. Use sheer nude nail polish and a clear top coat. Keep a small bottle in your bag for touch-ups.
Conclusion
Start with one simple transparent look, like a sheer nude gloss or milky almond, to see how it fits your daily routine. If you like low-effort polish, press-ons and quick-dry clear coats are your allies. Which transparent style from the 21 are you trying first, glass nails or minimalist nude? I want to hear which one you pick.
(Research notes: Rising interest in transparent and glass-style nail finishes has been noted by trend platforms such as Pinterest and industry reports from sources like Grand View Research and Statista, showing increasing demand for specialty nail finishes and tools.)


