
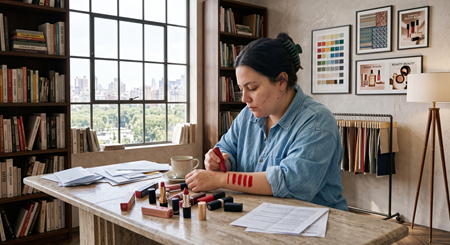


My tired 7 AM face used to read “I pulled an all-nighter.” Under eye concealer makeup became my fast fix. I tried everything, and these are the exact 11 tricks that actually hide creases, lift heavy shadows, and look natural on camera. Most tips are under $30, with a couple splurges I still wear daily.
I aimed this at clean-girl and soft-glam people, budget-conscious to mid-splurge. Most products are under $30, a few splurges around $48 to $95. Works for pale to deep skin tones, mature skin, and anyone who hates cakey creases.
1. Layered Hydration Before Concealer
Style: Clean Girl | Budget: Under $30 | Best For: Dry, mature under eyes
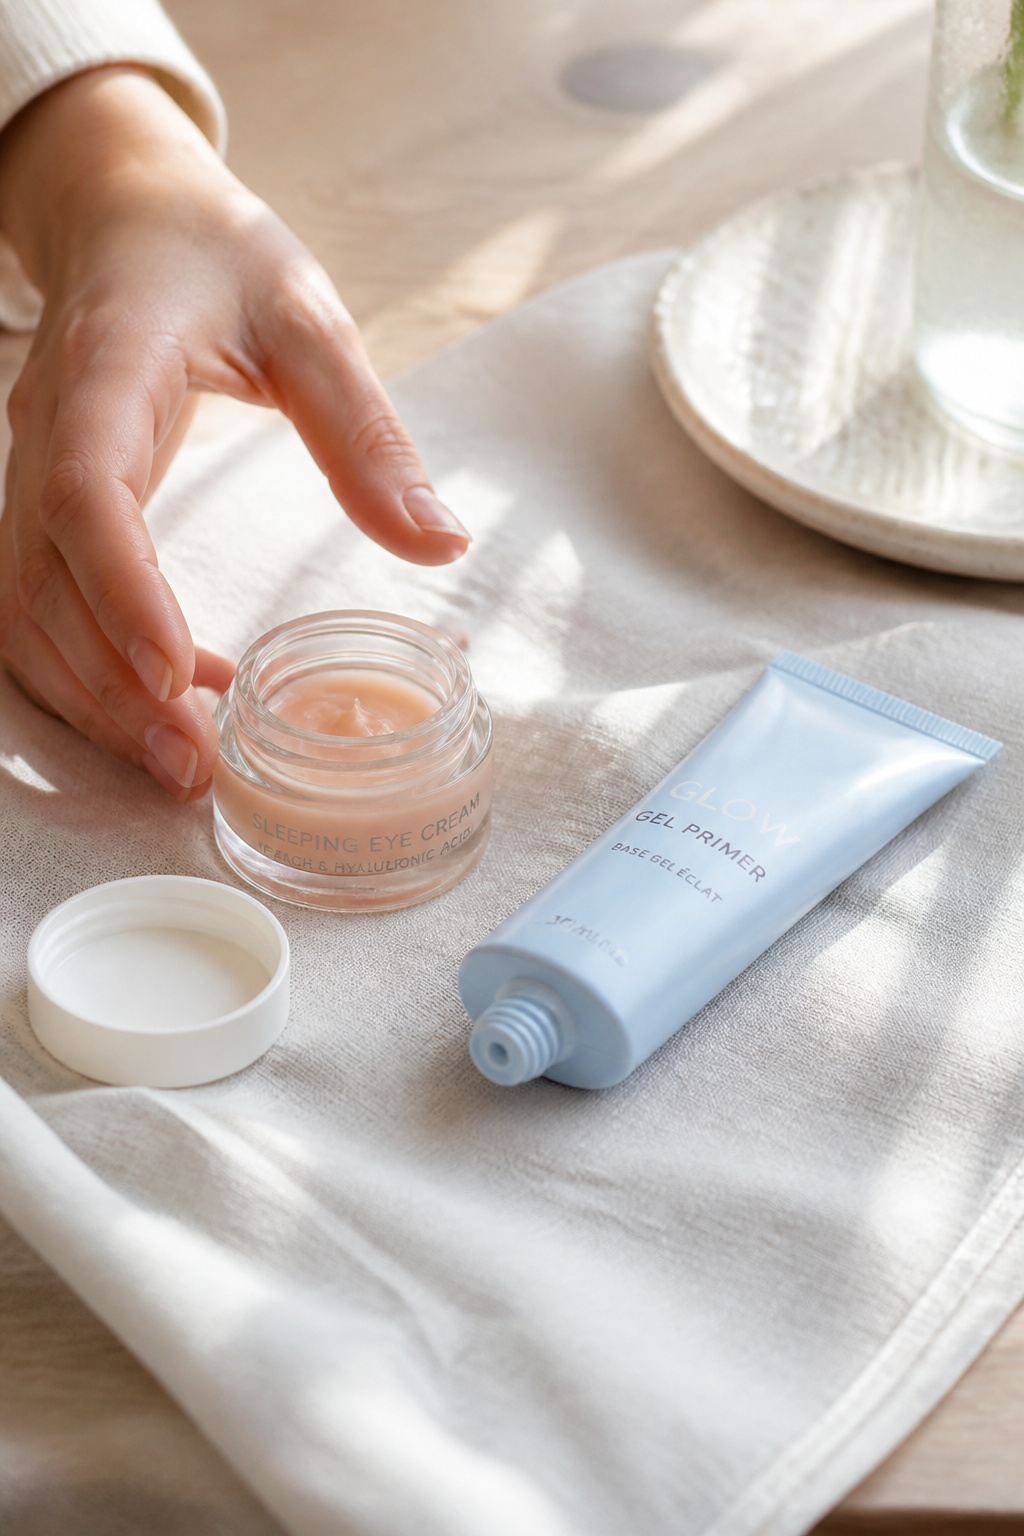

Hydration is result-first. The trick is a pea-size eye cream, tapped until absorbed, then wait 60 seconds. I use a caffeine eye gel to depuff and lock in moisture before any concealer. Too many people skip this and then blame the concealer for creasing. I pair it with a silicone-based primer for smoothing, around $8 to $22. I found my favorite on sale at Target and got a coworker compliment the next day.
Shop this idea:
2. Peach Corrector For Blue Shadows
Style: Soft Glam | Budget: Under $18 | Best For: Cool undertones, olive skin
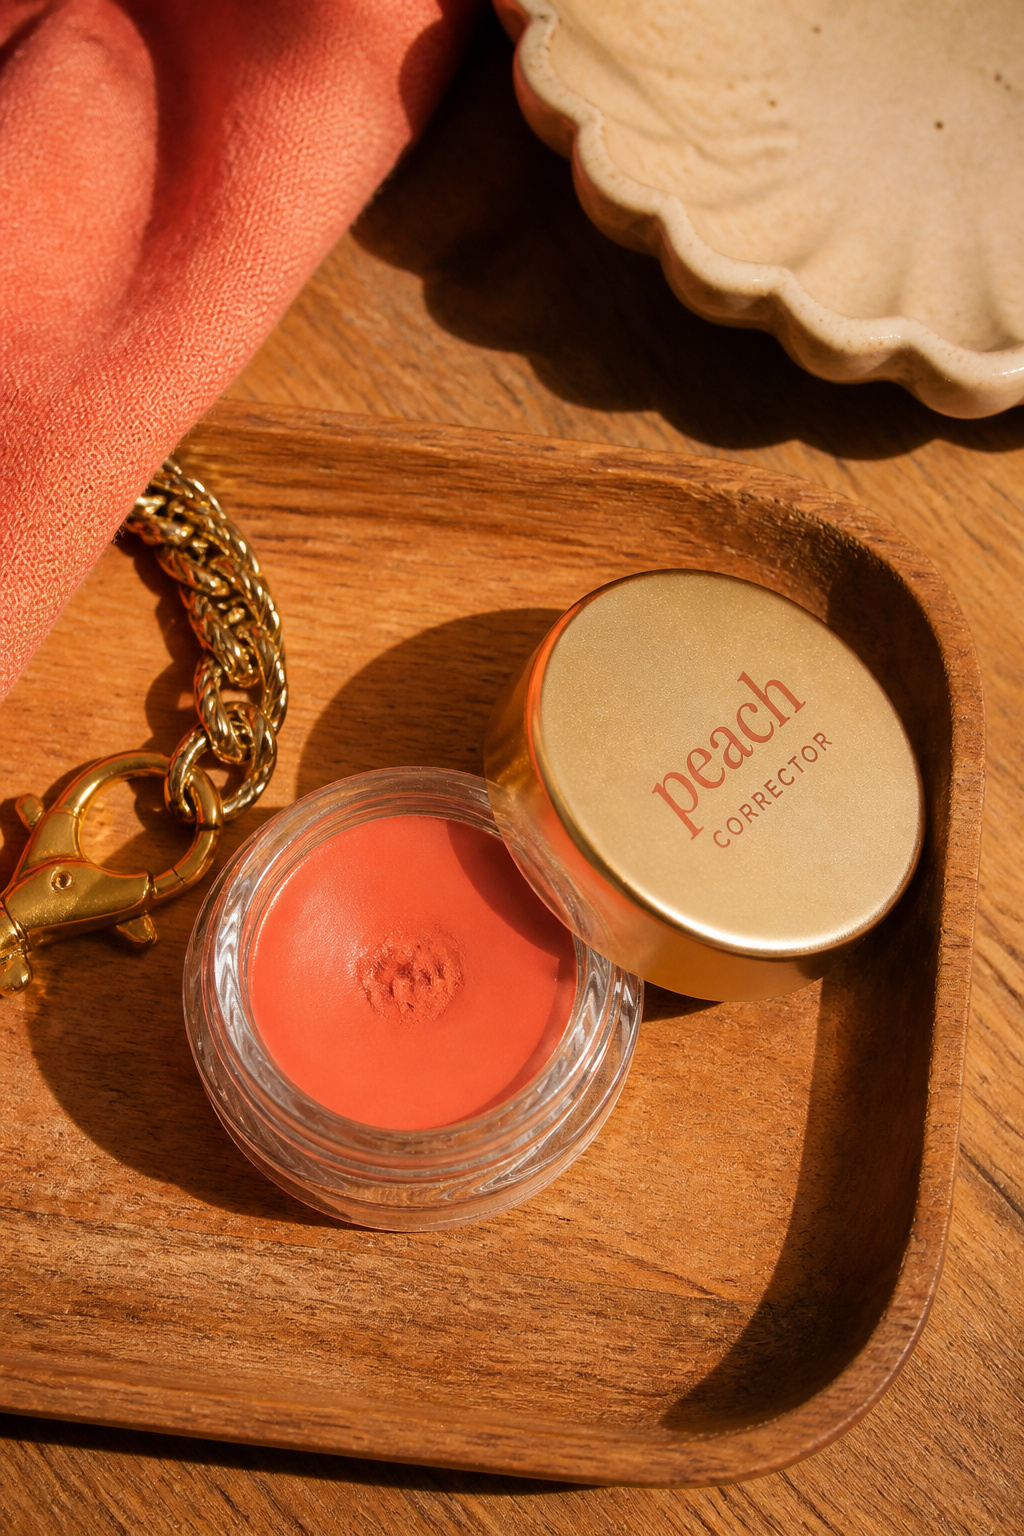

If your circles read blue, use a peach or salmon corrector under concealer. I dot a thin layer with a tiny brush, blend with my ring finger, then layer a light concealer. Using a pale, pinky concealer alone is an ugly truth; it brightens but leaves the blue showing. Try a corrector stick around $10 to $18, then a demi-matte concealer over it. Someone once thought I slept eight hours after I started this.
Shop this idea:
3. Use A Slightly Deeper Shade For Hollows
Style: Old Money Minimal | Budget: Under $28 | Best For: Deep-set hollows, mature skin


Hollows cast a shadow. Counterintuitively, a concealer one shade deeper than your skin can neutralize that shadow before a lighter brightener goes on top. I use a creamy, buildable formula so it never looks muddy. Over-trying to brighten with a too-light shade is an ugly truth that emphasizes texture. I paid $24 for a cream stick that lasts months and a friend asked if I’d “gone on a spa trip.”
Shop this idea:
4. Tap, Don’t Swipe: The Blending Rule
Style: Clean Girl | Budget: Under $20 | Best For: All skin types, combination skin
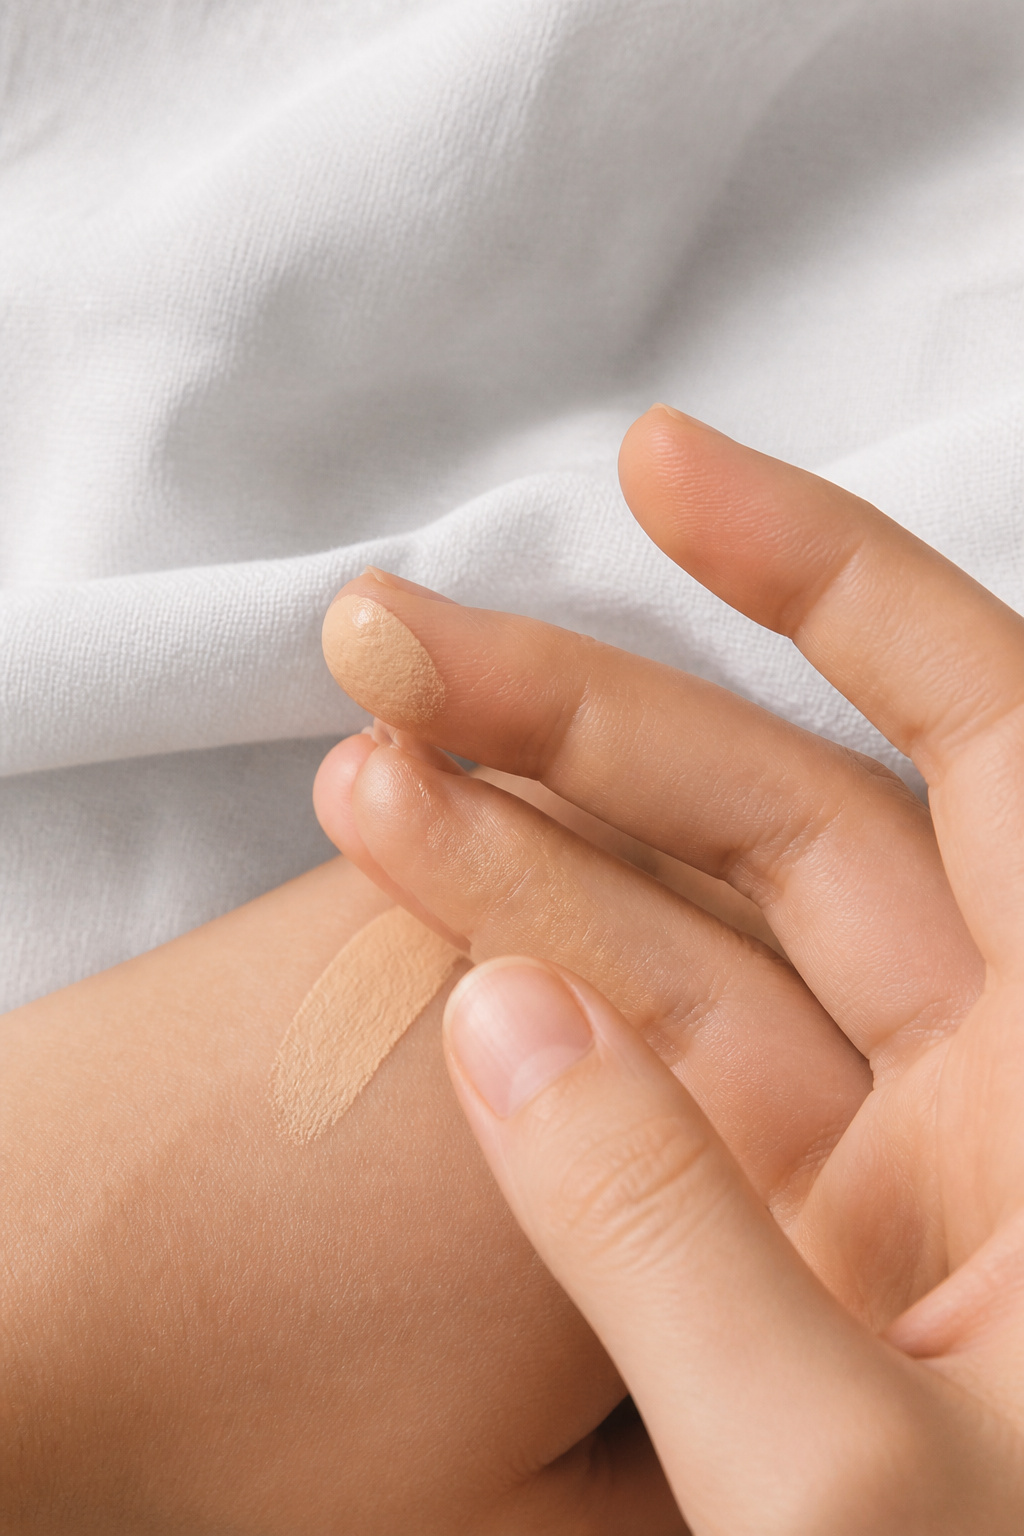

Swipe motion equals streaks and creases. I tap in thin layers with my ring finger or a small sponge, building coverage. The trick is less product per tap, more layers. Use a damp mini sponge for a skinlike finish. Years ago I used a full-sweep and ended up photographing with creases; never again. Try a mini blending sponge for around $6 to $12.
Shop this idea:
5. Heat Up Product For Creamy Finish
Style: Soft Glam | Budget: Under $30 | Best For: Dry or textured under eyes


Warm the concealer between finger and cheek for five seconds, then apply. Warming loosens the formula so it melts into skin instead of sitting on top. I do this on mornings when I’m truly lazy, and it still looks photo-ready. Avoid thick, matte formulas for this trick. A small multi-use tube runs about $12 to $22 and I keep one in my bag.
Shop this idea:
6. Tiny Brush For Inner Corner Precision
Style: Curated Minimal | Budget: Under $15 | Best For: Small eyes, hooded lids
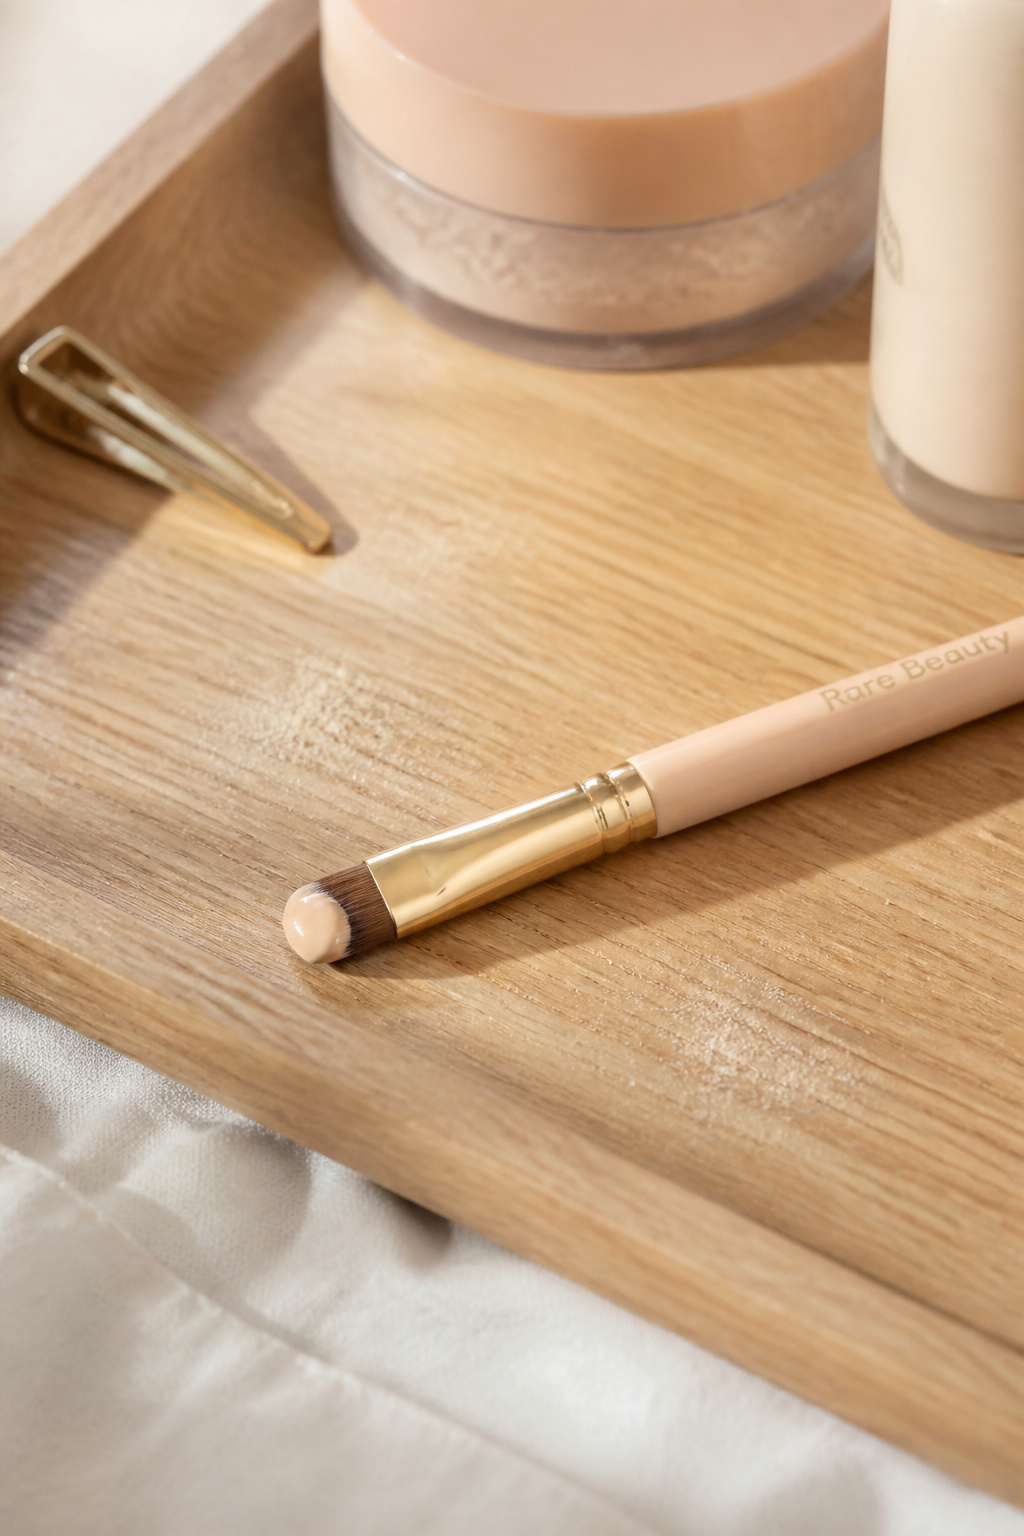

Use a 2 mm flat brush for the inner corner and bridge of the nose. That tiny placement prevents product from migrating into fine lines. I used a finger for years and learned the brush gives control and less waste. Pair with a light-reflecting concealer for morning brightness. The brush was $9 and I still carry it on flights.
Shop this idea:
7. Set Lightly With Translucent Powder
Style: Clean Girl | Budget: Under $20 | Best For: Oily under eyes, hot climates
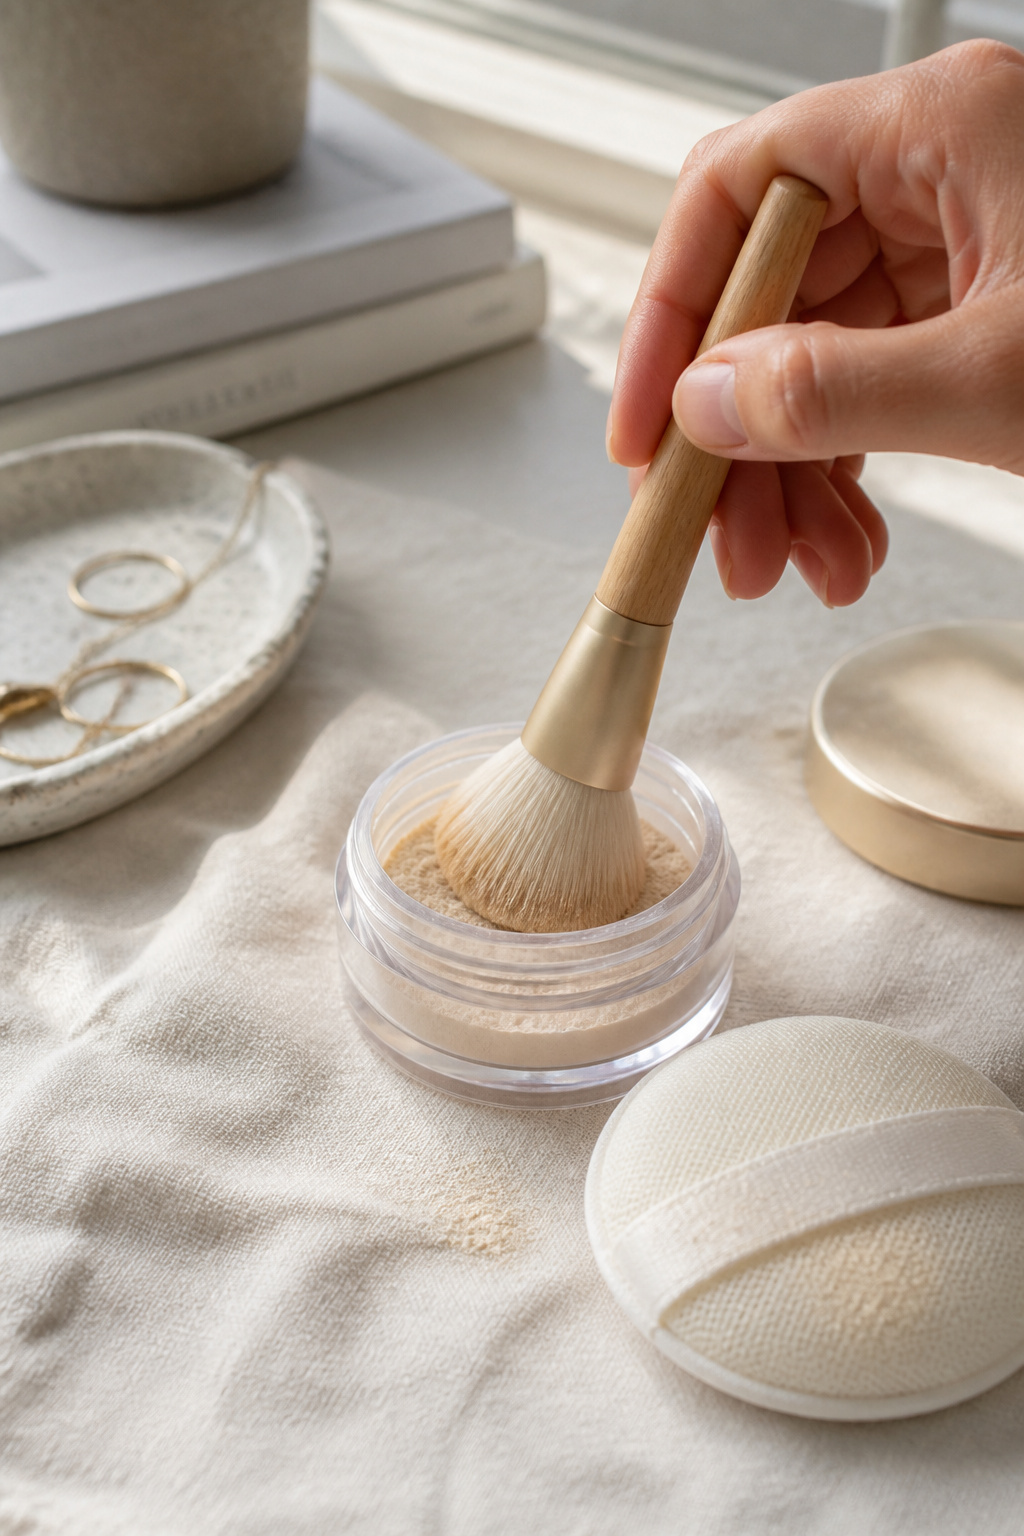

A light dusting of finely milled translucent powder stops creasing. I use a micro brush and press only on the outer half of the under-eye. The ugly truth is over-baking; a heavy layer creases and looks dry. Use a finely milled powder around $8 to $18. At a wedding I used this and the photos looked smooth for eight hours.
Shop this idea:
8. Brighten V Zone Not Whole Lid
Style: Soft Glam | Budget: Under $24 | Best For: Dark circles, thin eyelids
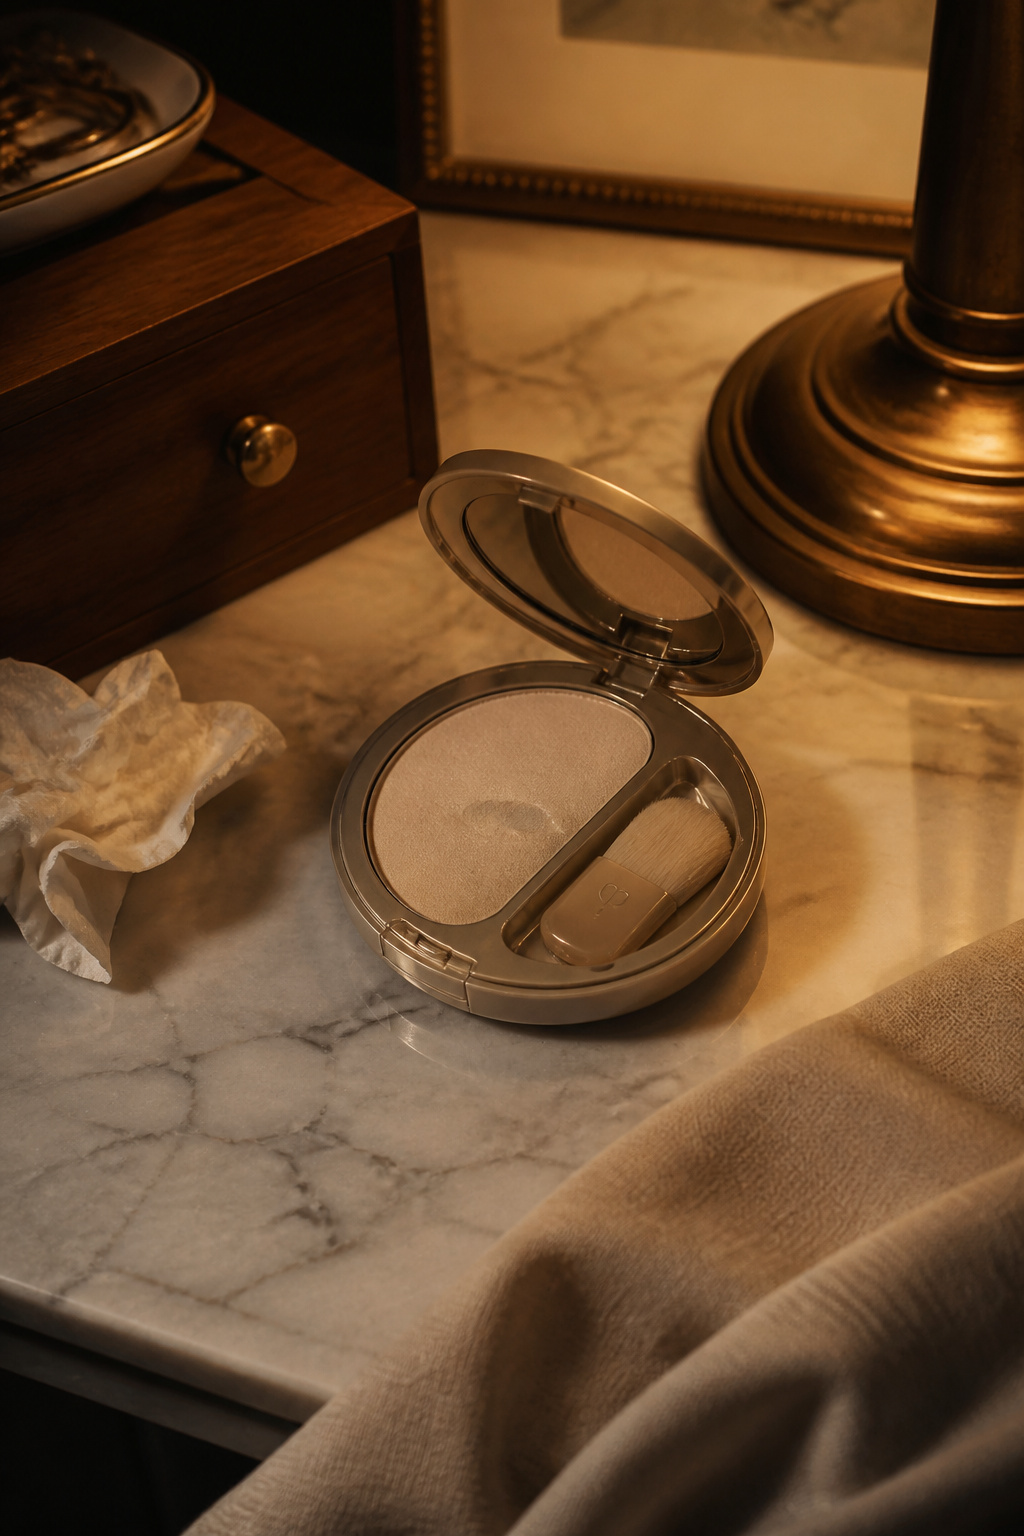

Put brightening powder only in a small V where light naturally hits, not across the entire lid. This prevents the flat, mask-like look. I got lazy once and powdered my whole lid; photos made me look flat and older. A tiny fan brush and a brightening compact around $12 to $24 fix mornings in two minutes.
Shop this idea:
9. Mix Concealer With Eye Cream For 7 AM Face
Style: Minimalist | Budget: Under $30 | Best For: No-makeup days, tired mornings
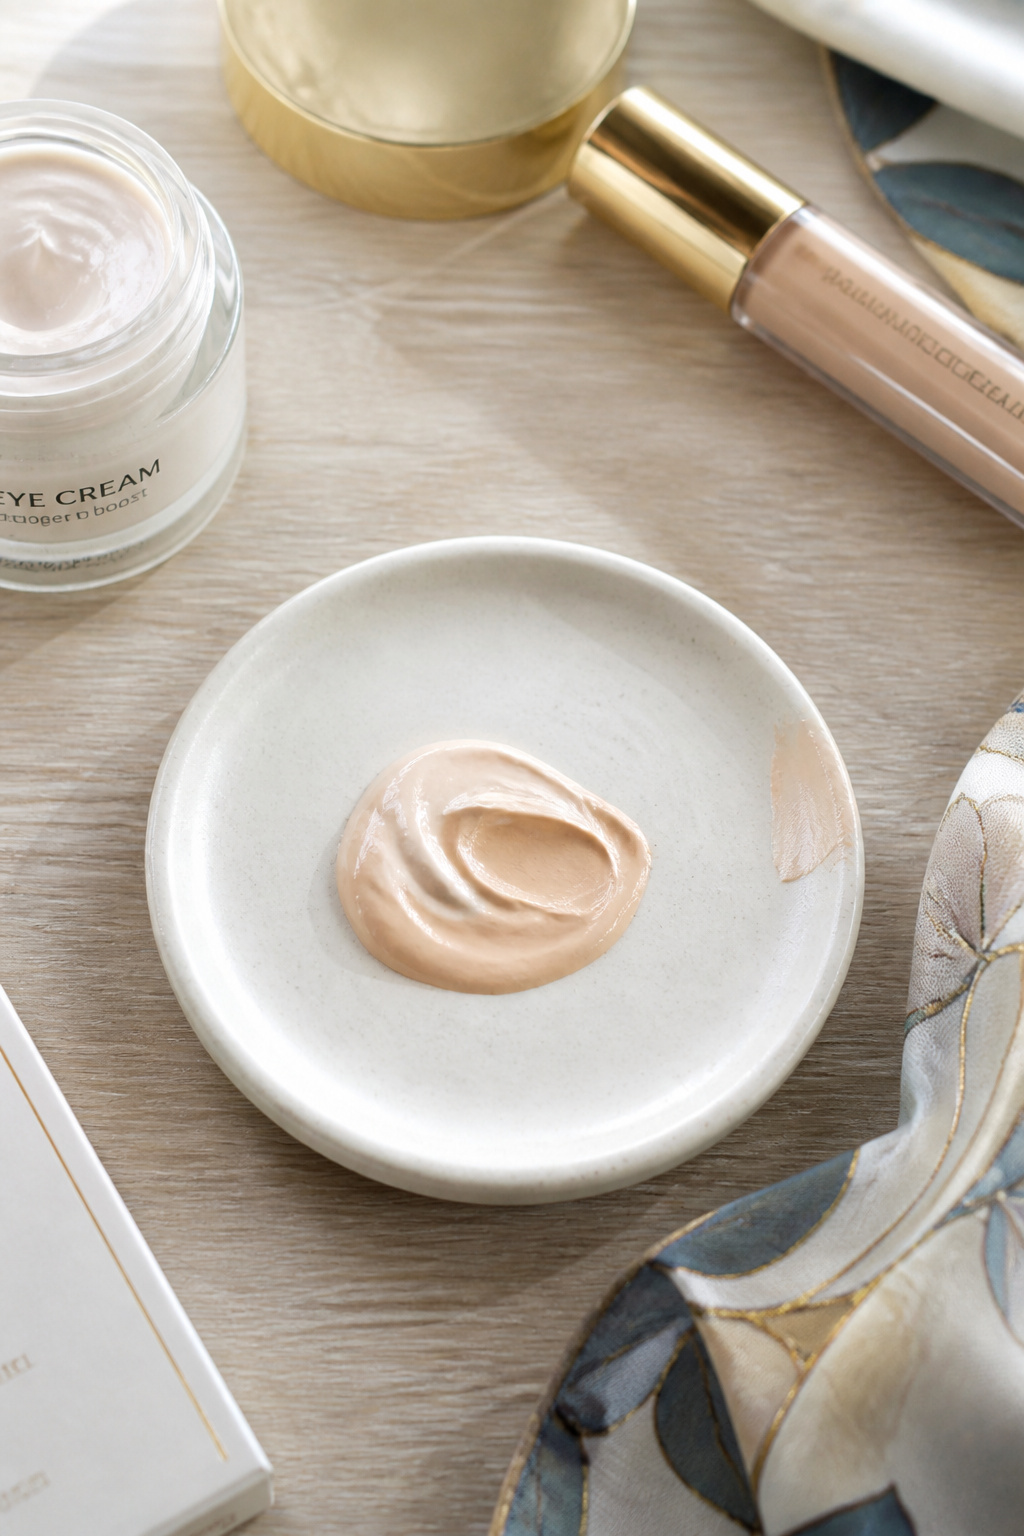

For that 7 AM “I look alive” face, mix a pea of concealer with eye cream on the back of your hand, then tap lightly. It gives dewy coverage and avoids creasing. The ugly truth is full-coverage formulas look heavy at dawn. I do this when I’m commuting, and my colleague asked if I’d slept more. Use a long-wear but lightweight concealer, around $9 to $20.
Shop this idea:
10. Use SPF Tinted Moisturizer On No-Makeup Days
Style: Clean Girl | Budget: Under $36 | Best For: Weekend skin, quick errands
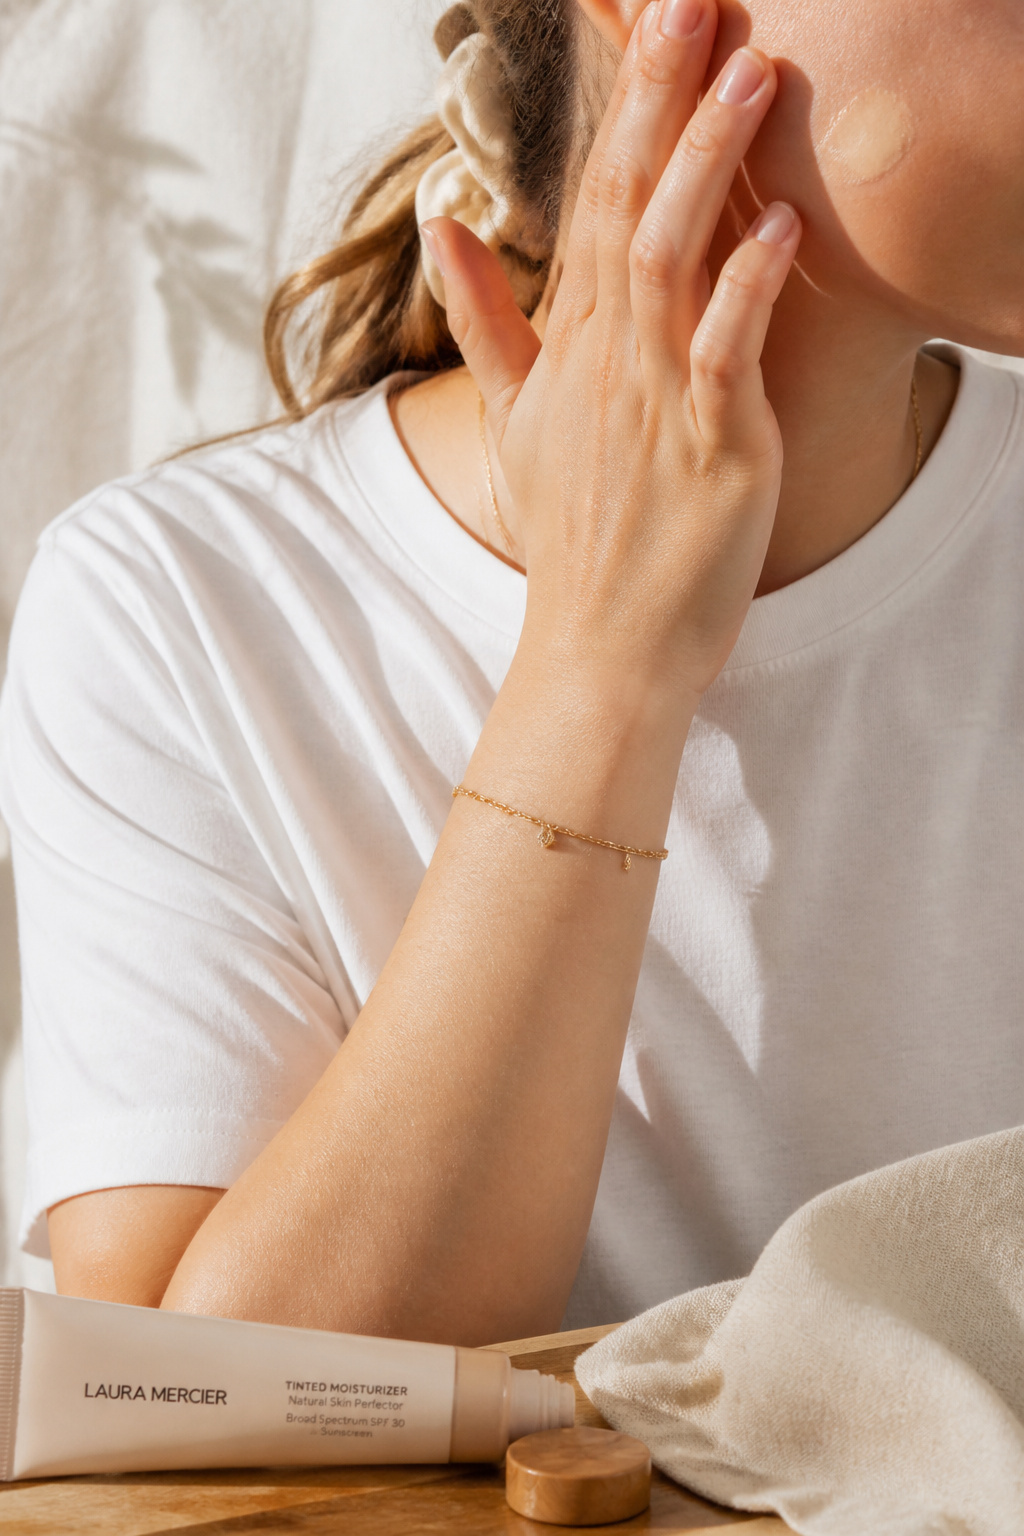

On no-makeup days I skip concealer and reach for an SPF tinted moisturizer. It evens tone and protects skin so you need less under eye cover. The reality is heavy concealer plus sun exposure ages skin faster. A tinted SPF around $18 to $36 is my grab-and-go. Once I wore only this and a gold hoop; my friend said I looked refreshed without obvious makeup.
Shop this idea:
11. Distract With Jewelry And Color Placement
Style: Curated Minimal | Budget: Under $50 | Best For: Evening outs, photos
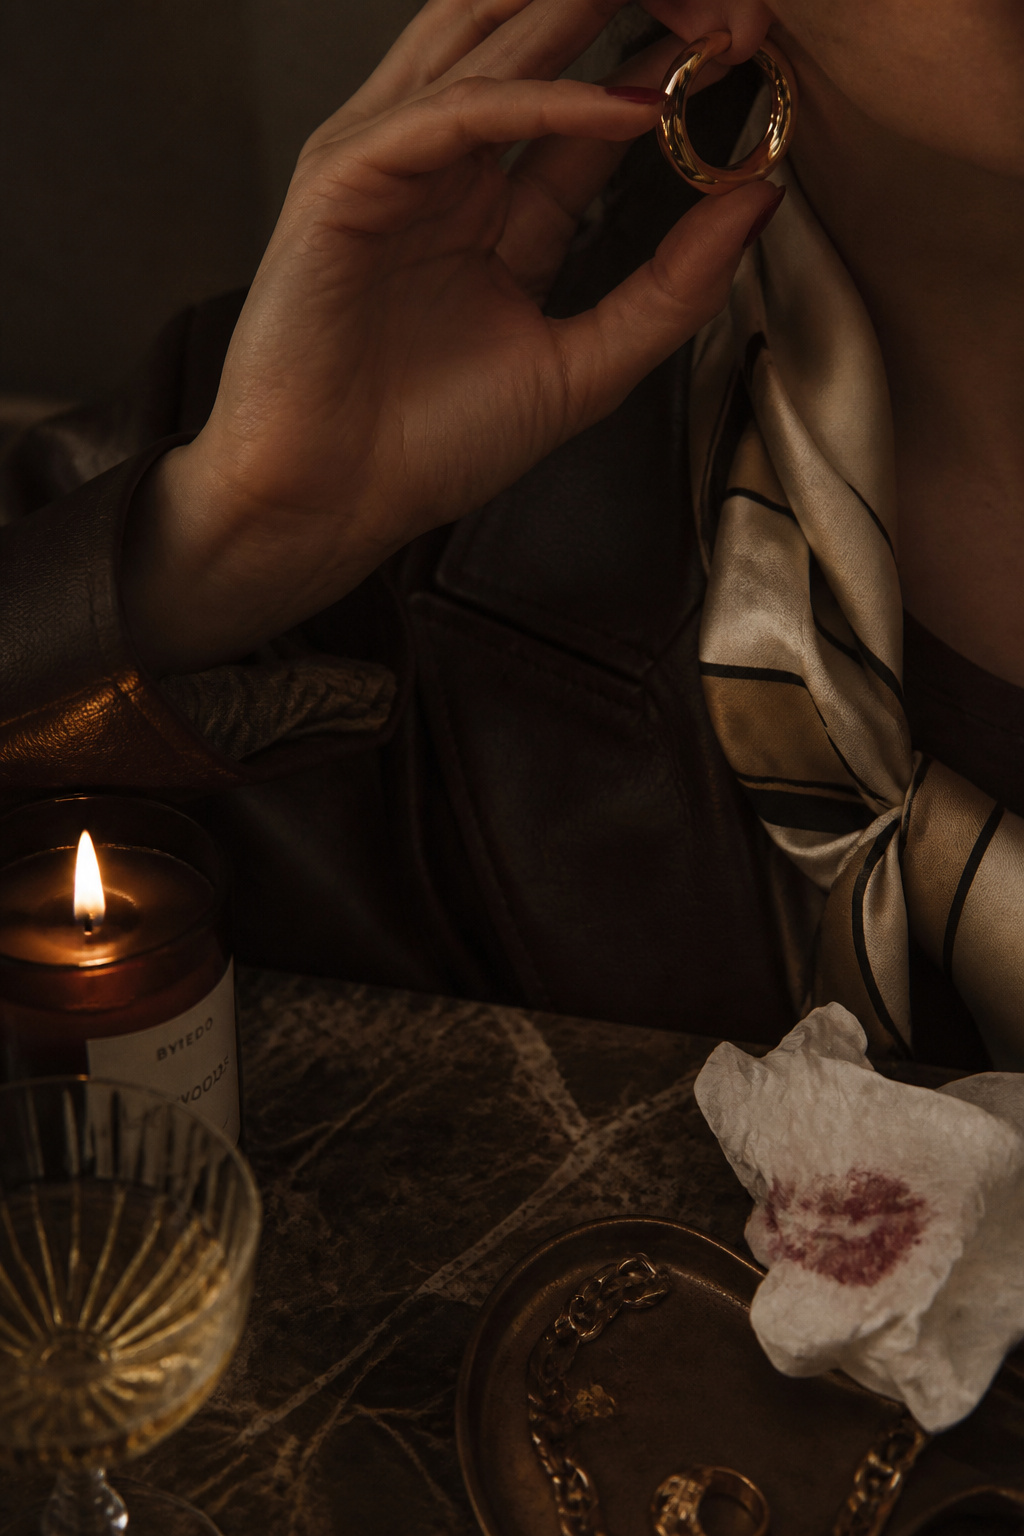

Sometimes concealer can only do so much. I redirect attention with a glossy lip or statement earring. A small pop of cherry lip and stacked rings draws eyes away from minor creases. This helped me at an evening event when my concealer separated under harsh lights. A curated accessory for around $12 to $48 makes a real difference.
Shop this idea:
What You'll Need to Get This Look
Face & Base Essentials
- Caffeine eye gel 0.5 oz around $8 to $18
- Hydrating concealer tube 0.5 oz around $9 to $24
- Peach color corrector stick around $10 to $18
- Translucent loose setting powder around $8 to $20
Eyes, Brows & Lips
- Mini makeup sponge damp around $6 to $12
- Cherry glossy lip oil around $10 to $22
- Small flat precision brush around $7 to $15
Clothing Staples
- Silk scarf small 90 cm around $12 to $48
- Cashmere crewneck sweater cream around $60 to $120
Shoes, Bags & Jewelry
- Chunky gold hoop 3 cm around $12 to $48
- Leather crossbody tan around $40 to $150
Budget Swaps
- Drugstore concealer 0.5 oz around $6 to $12
- Fast-fashion gold hoops set around $8 to $20
Shopping Tips for These Looks
Shop sales ahead of season: buy tinted SPF at spring sales, and concealer during beauty event days like Prime Day. Tinted SPF moisturizer often drops in price.
Thrift and refresh: thrift silk scarves and statement jewelry, then clean hardware with jewelry polish. Silk scarf small 90 cm
Trade texture for luminosity: if texture wins, skip matte concealer and use a hydrating formula. Hydrating concealer tube 0.5 oz
Time your powder: set only after your face oil has absorbed, usually five minutes post-moisturizer. Translucent loose setting powder
Follow 2025 trend cues: micro-tools and tiny brushes are trending, so invest in a small precision brush for long-term payoff. Flat precision concealer brush
Frequently Asked Questions
Q: How do I stop concealer from creasing all day?
A: Answer first: hydrate before you apply and use thin layers, not one thick layer. Try a silicone-based primer. Silicone eye primer travel size
Q: Which color corrector should I use for brownish circles?
A: Answer first: use an orange or deep peach corrector depending on depth and skin tone. Follow with a demi-matte concealer. Peach color corrector stick
Q: Is powder necessary under the eye?
A: Answer first: not always. For oily skin, a light dusting helps. For dry skin, skip powder or use a micro amount. Translucent loose setting powder
Q: Can concealer, not sleep, cause fine lines?
A: Answer first: frequent heavy coverage and sun exposure can emphasize lines. Use SPF and lighter formulas. Tinted SPF moisturizer 1.7 oz
Conclusion
Start with hydration and one small tool. The easiest change I made was warming my concealer on my cheek. Spend on a tiny precision brush, skip baking, and let accessories do some heavy lifting. Which trick are you trying first this week?