








White ombre acrylic nails were the first thing people noticed at a backyard BBQ. I booked the same salon 14 times in the last two summers and these are the exact white ombre acrylic nails I’d book again for summer. Expect short to long shapes, some splurge accents, most looks around $30 to $90 at a good salon.
These ideas skew clean and wearable. Most picks are under $60 for press-ons, a few salon splurges around $120. They work for clean girl, soft glam, petite hands, and deeper skin tones. I’ve noticed Google Trends shows searches for "ombre nails" spike in June and July, and Pinterest still favors tonal French and milky finishes.
1. Classic Soft White Fade, Short Coffin
Style: Clean Girl | Budget: Under $40 (press-on) | Best For: Short nails / busy hands
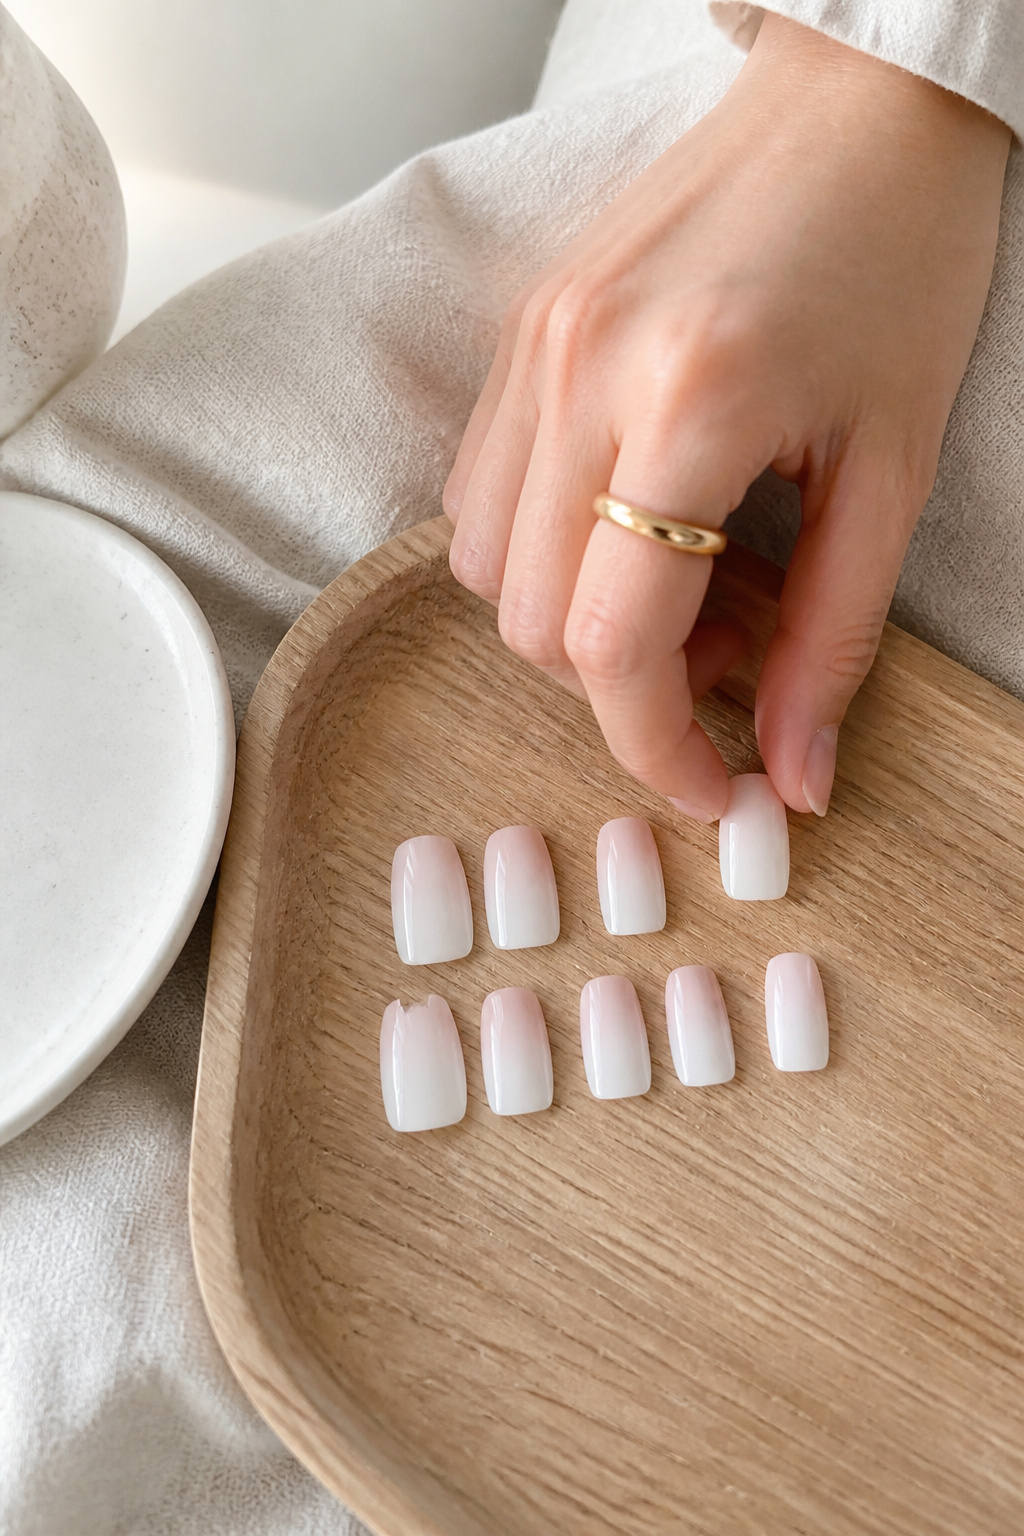

Result: polished, no-fuss nails that survive gardening and pool time. I first bought a press-on kit at Target for $18 and used it for a weekend trip. The trick is buffing the natural nail and using a firm glue for longevity. White shows growth line fast, so I schedule fills every 2 to 3 weeks when I get salon acrylics.
Shop this idea:
2. Milky Glass Ombre With Sheer Tip
Style: Minimal | Budget: Under $35 (press-on) | Best For: Pale to medium skin


This milky white ombre reads like cool glass in sunlight. I got it once as short acrylics and the translucence made my hands look cleaner. Tip: ask for a thin apex to avoid bulk. Price at a salon was $48 to $75 depending on length. I learned the ugly truth here, matte topcoats kill the milkiness, so stick to glossy.
Shop this idea:
3. Pearled Accent Ombre
Style: Elevated | Budget: $40 to $120 (salon) | Best For: Events / weddings
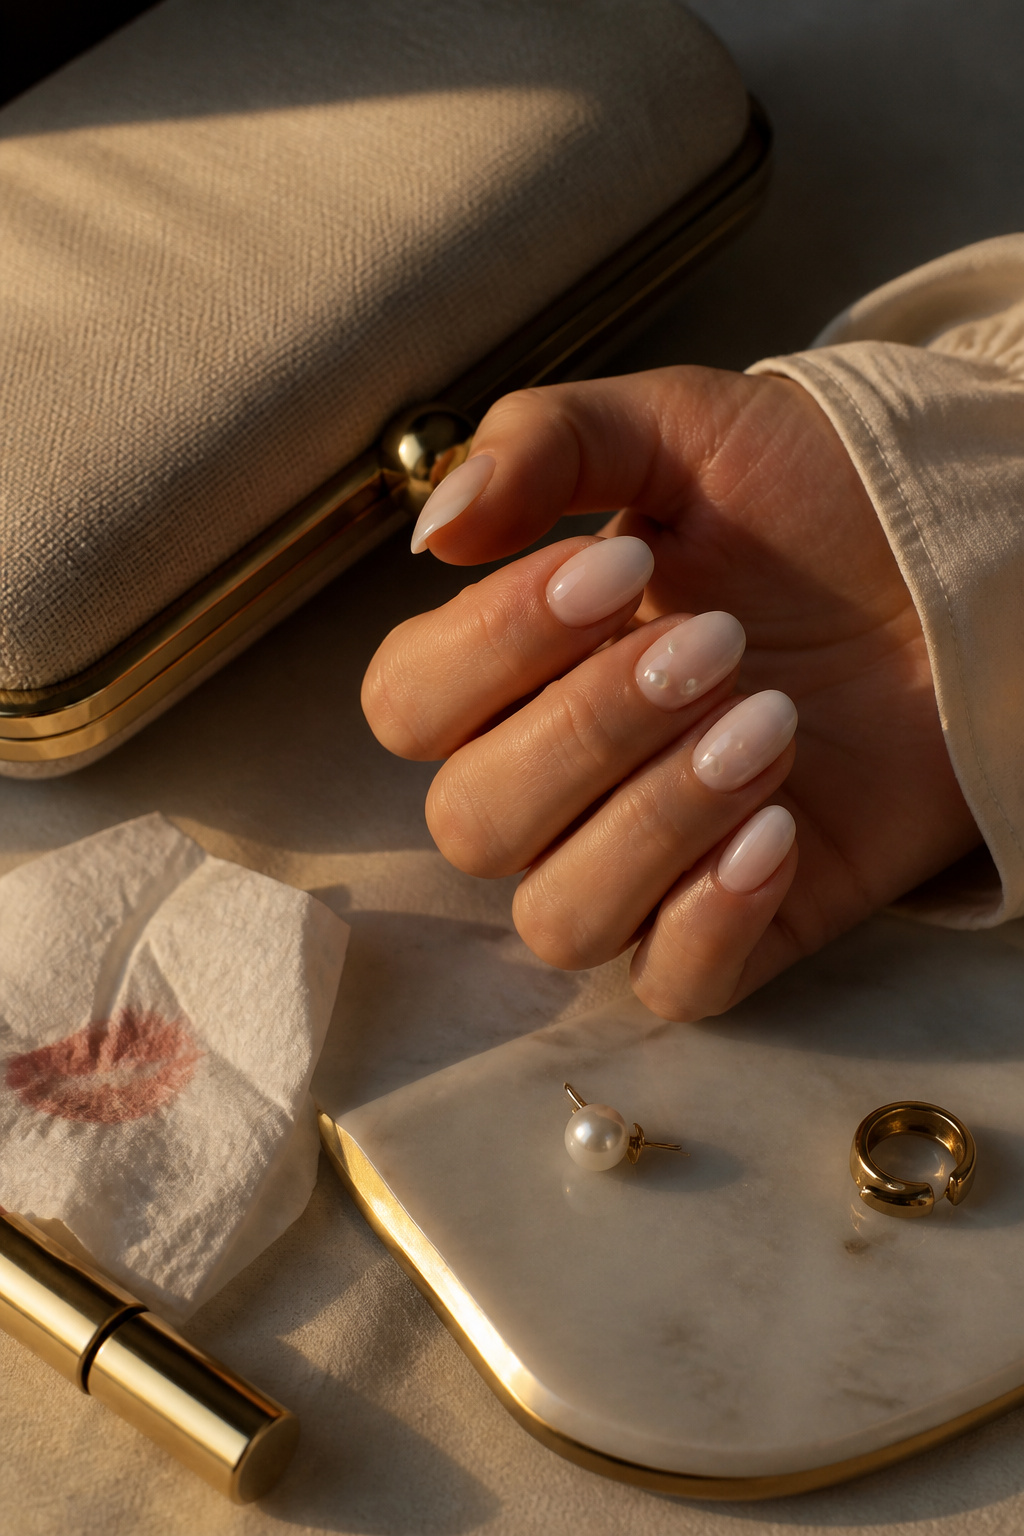

Pearl inlays lift a basic ombre to bridal-level polish. I paid $85 for a full set with tiny seed pearls sewn into clear gel. Practical tip: pearls can snag delicate fabrics, so ask for low-profile pearl studs. Ugly truth: pearls sometimes pop off after a week if the tech doesn’t seal them well.
Shop this idea:
4. Soft Pink Baby Boomer Fade
Style: Soft Glam | Budget: $35 to $70 (salon) | Best For: Bridesmaids / office
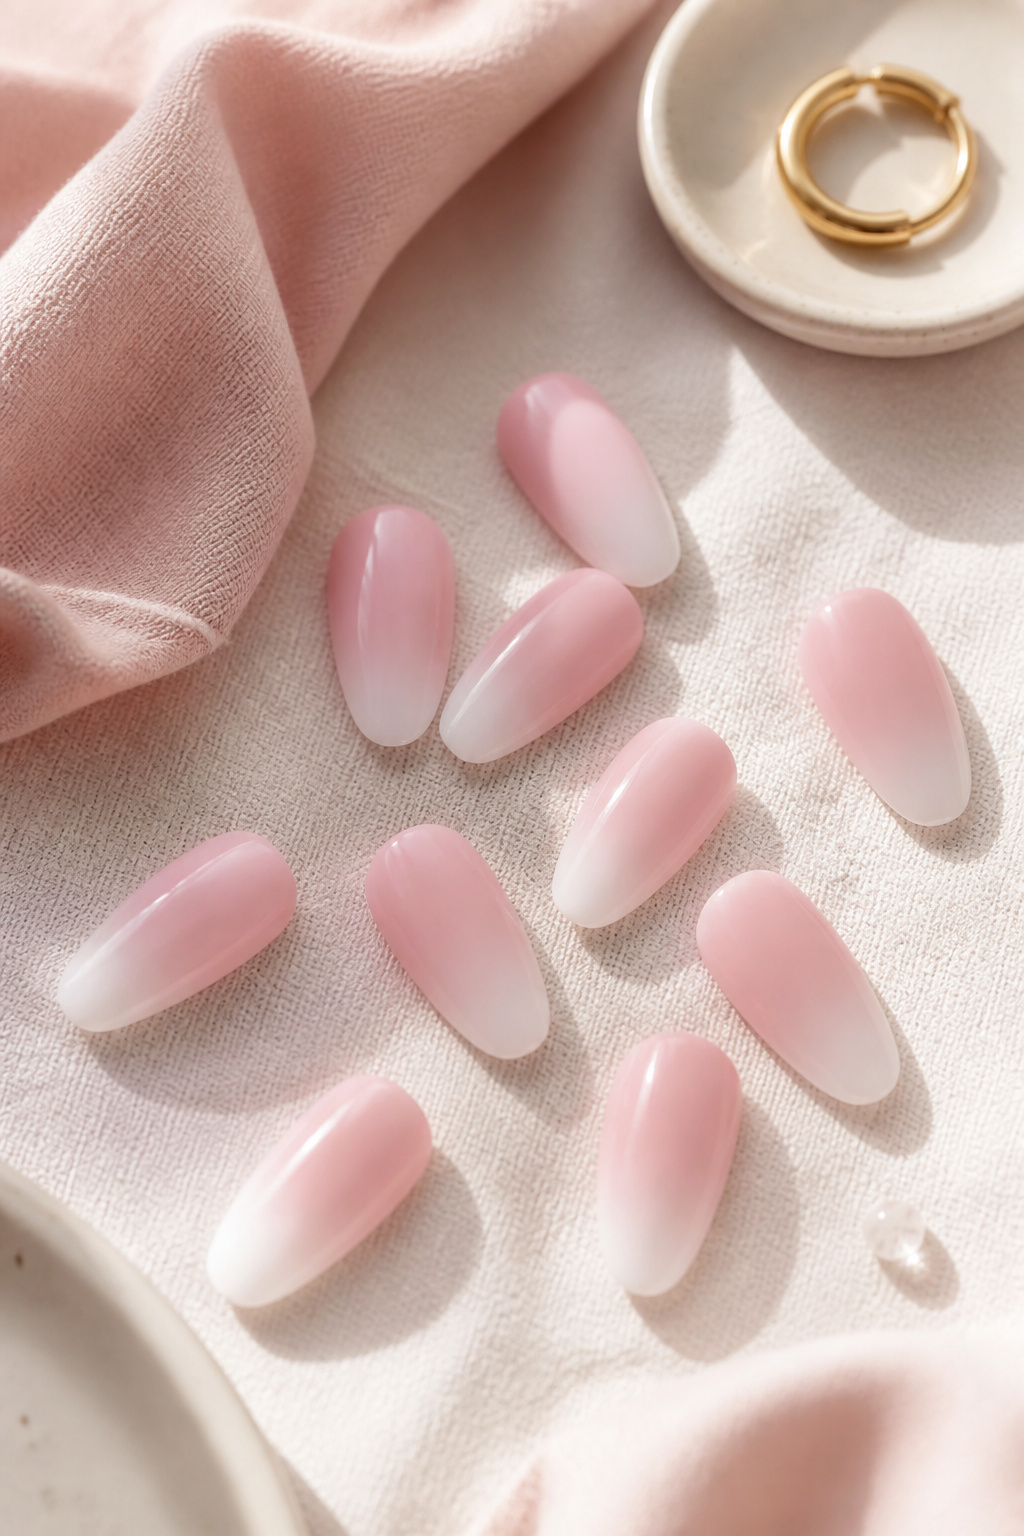

The baby boomer ombre is my go-to when I want soft and classic. I had this for an office conference and it read professional. Tip: request a sheer pink base, not a full opaque, to keep it fresh. Price can be lower with classic acrylics versus hard gels.
Shop this idea:
5. Matte White Ombre With Gloss Dot
Style: Modern Minimal | Budget: Under $50 (salon or press-on) | Best For: Matte lovers


Matte makes white feel modern. I asked my tech for one glossy dot per nail to avoid the chalky flat look. The ugly truth: mattes show oils and require more frequent touch-ups. My tip: carry a small matte-cleaning wipe or reapply matte top coat every 5 days.
Shop this idea:
6. Gold Foil White Fade
Style: Old Money Vibe | Budget: $60 to $120 (salon) | Best For: Evening / date night
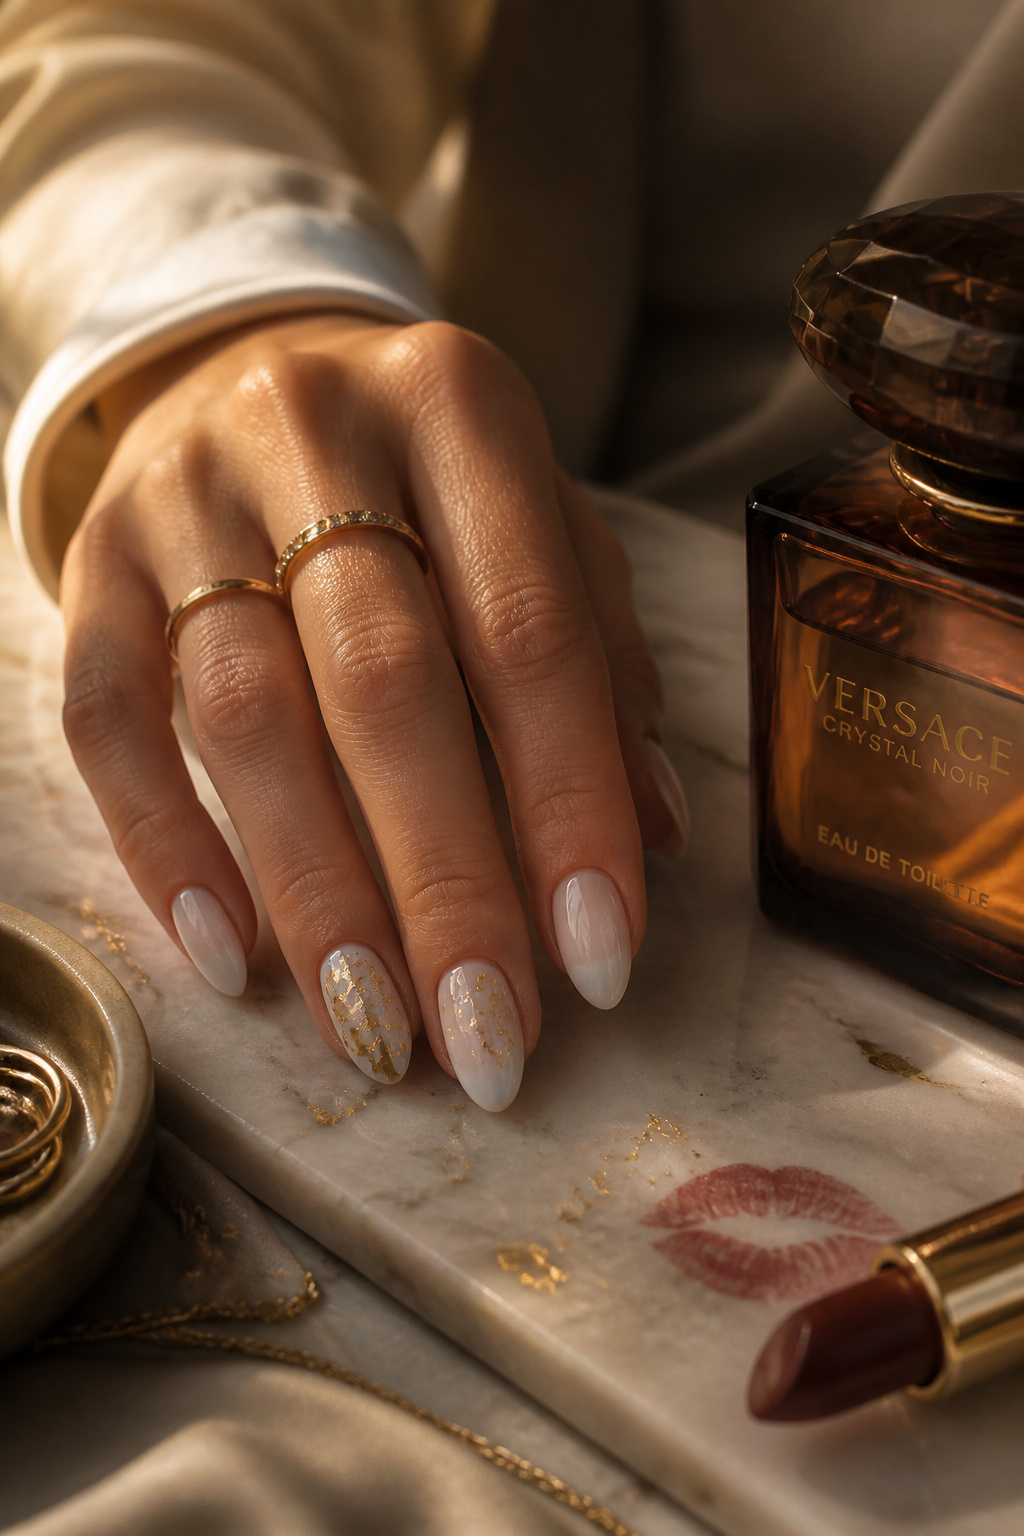

Gold foil is my shortcut to luxe. I did these for a summer wedding and kept staring at my hands. Tip: ask for sealed foil with a couple layers of clear gel so flakes don’t peel. A splurge but worth it for photos. Ugly truth: foil designs are hard to DIY cleanly at home.
Shop this idea:
7. Tiny Sparkle Ombre, Subtle Glitter
Style: Coquette | Budget: Under $50 (press-on) | Best For: Night outs
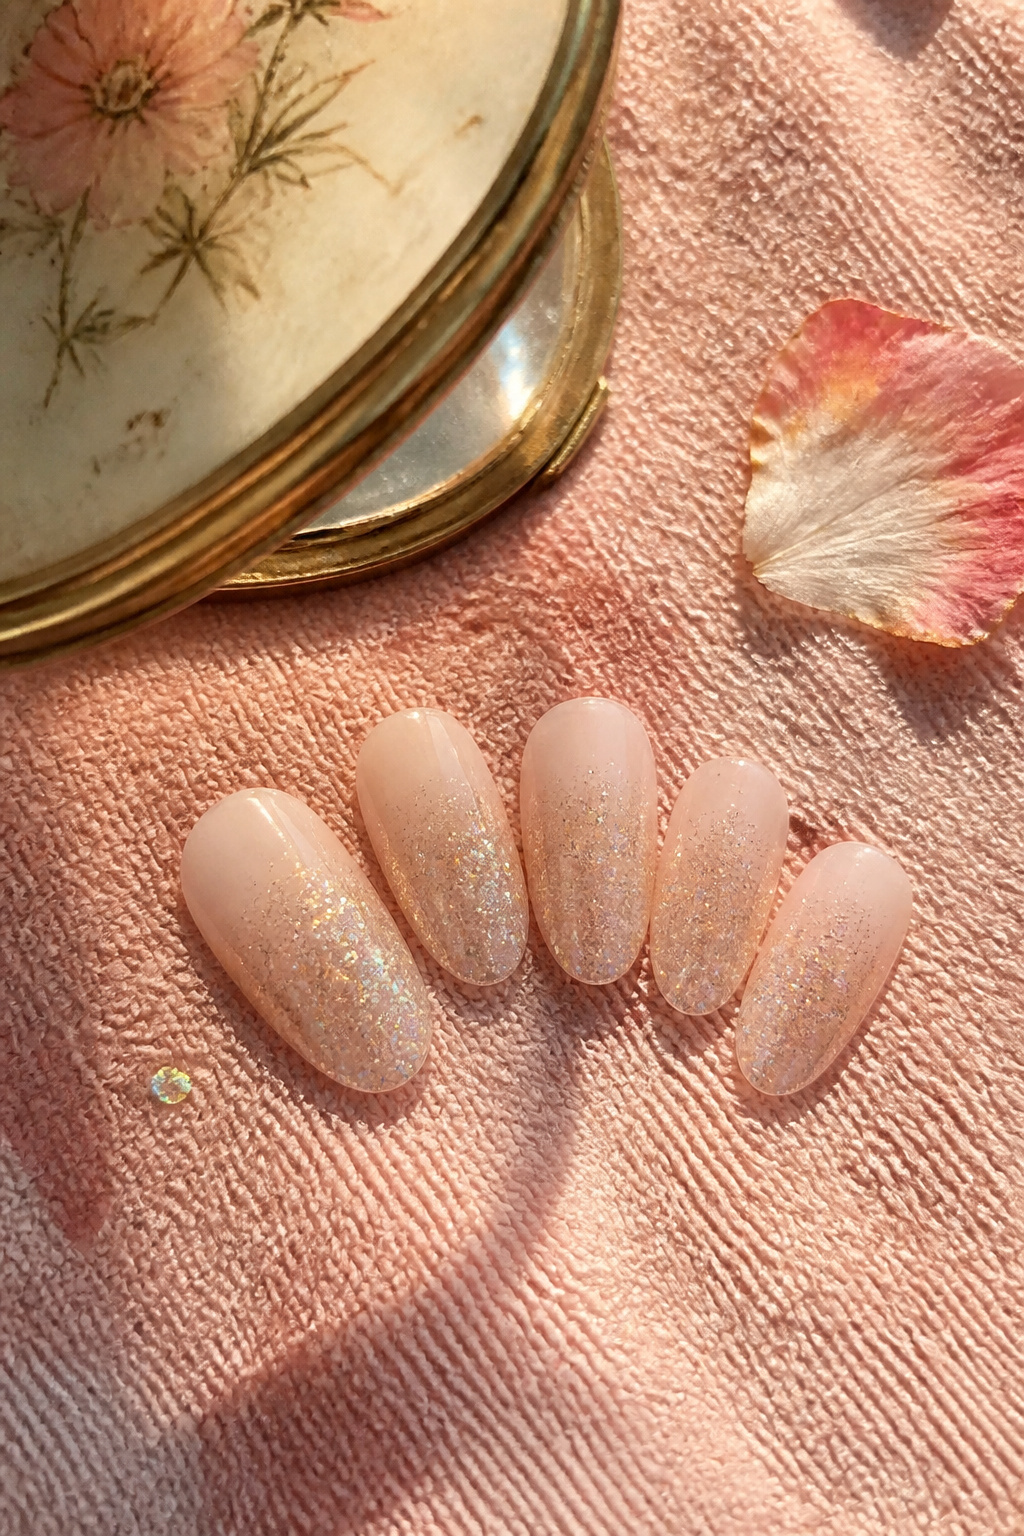

A dusting of iridescent glitter on white ombre keeps it fun without being over the top. I once added this to a short set before a concert and they lasted a week. Pro tip: use a fine glitter rather than chunky to stop snagging. Price is friendly if you DIY with a press-on base.
Shop this idea:
8. Negative Space White Fade
Style: Minimal Edge | Budget: $30 to $80 (salon) | Best For: Short to medium nails
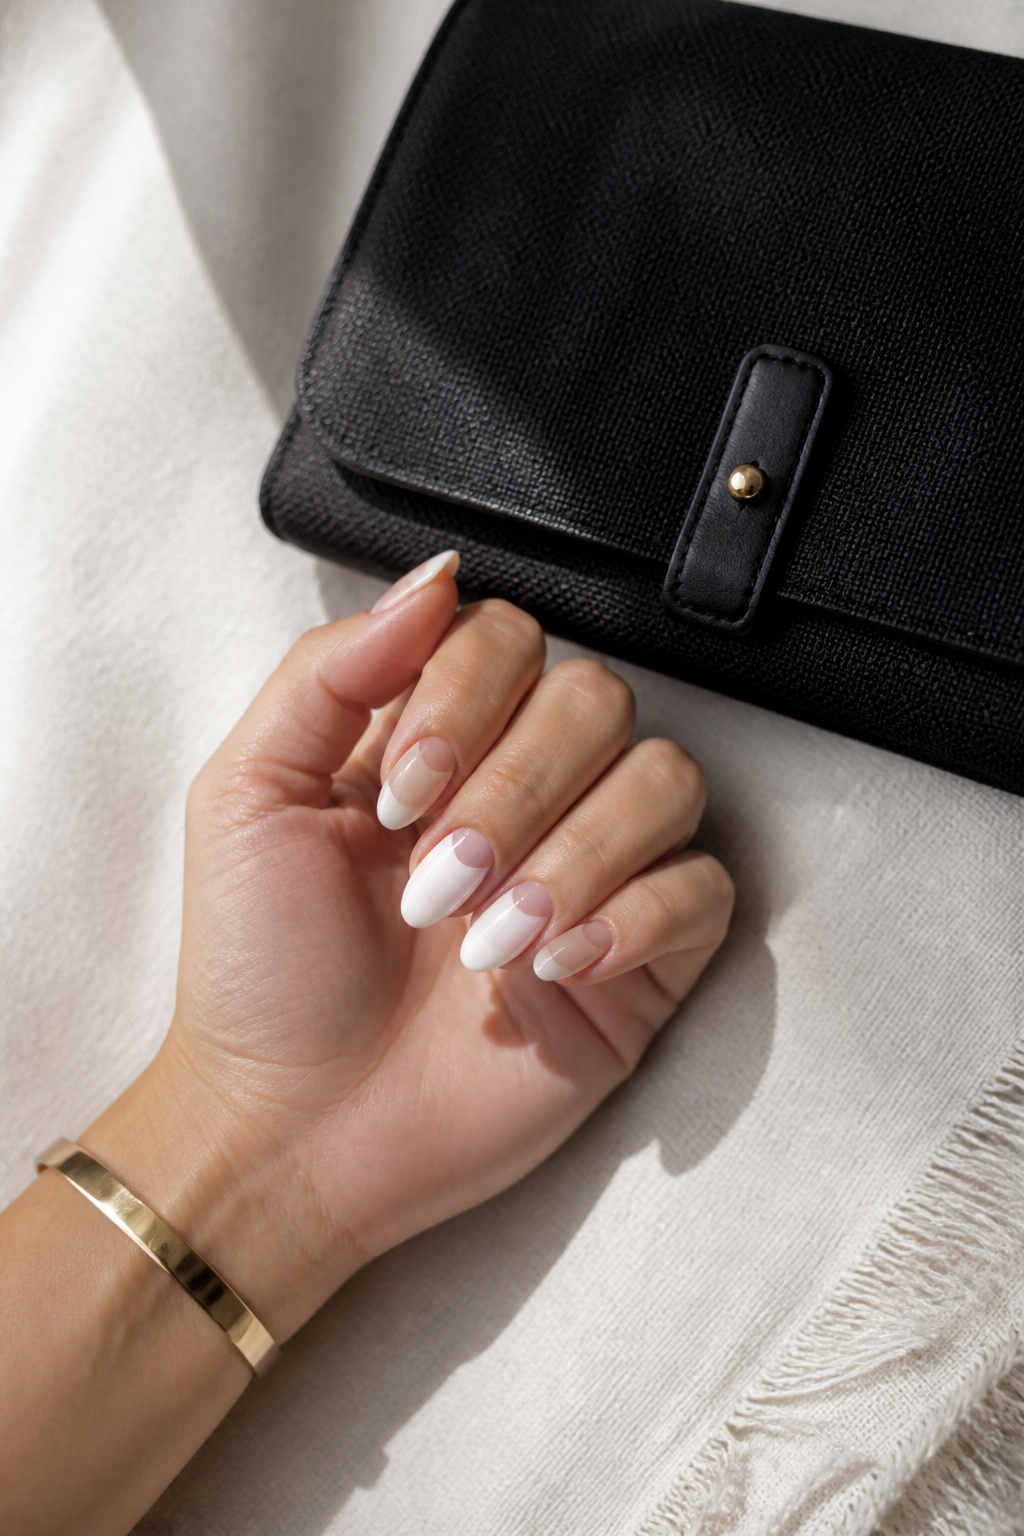

Negative space saves growth lines and looks intentional. I did this when I wanted low-maintenance salon visits. Tip: ask for a thin clear base so your natural nail peeks through cleanly. One awkward truth: not every nail tech executes crisp negative shapes, so check their portfolio first.
Shop this idea:
9. Almond White Ombre With Rhinestone Line
Style: Statement | Budget: $50 to $130 (salon) | Best For: Long nails / photos
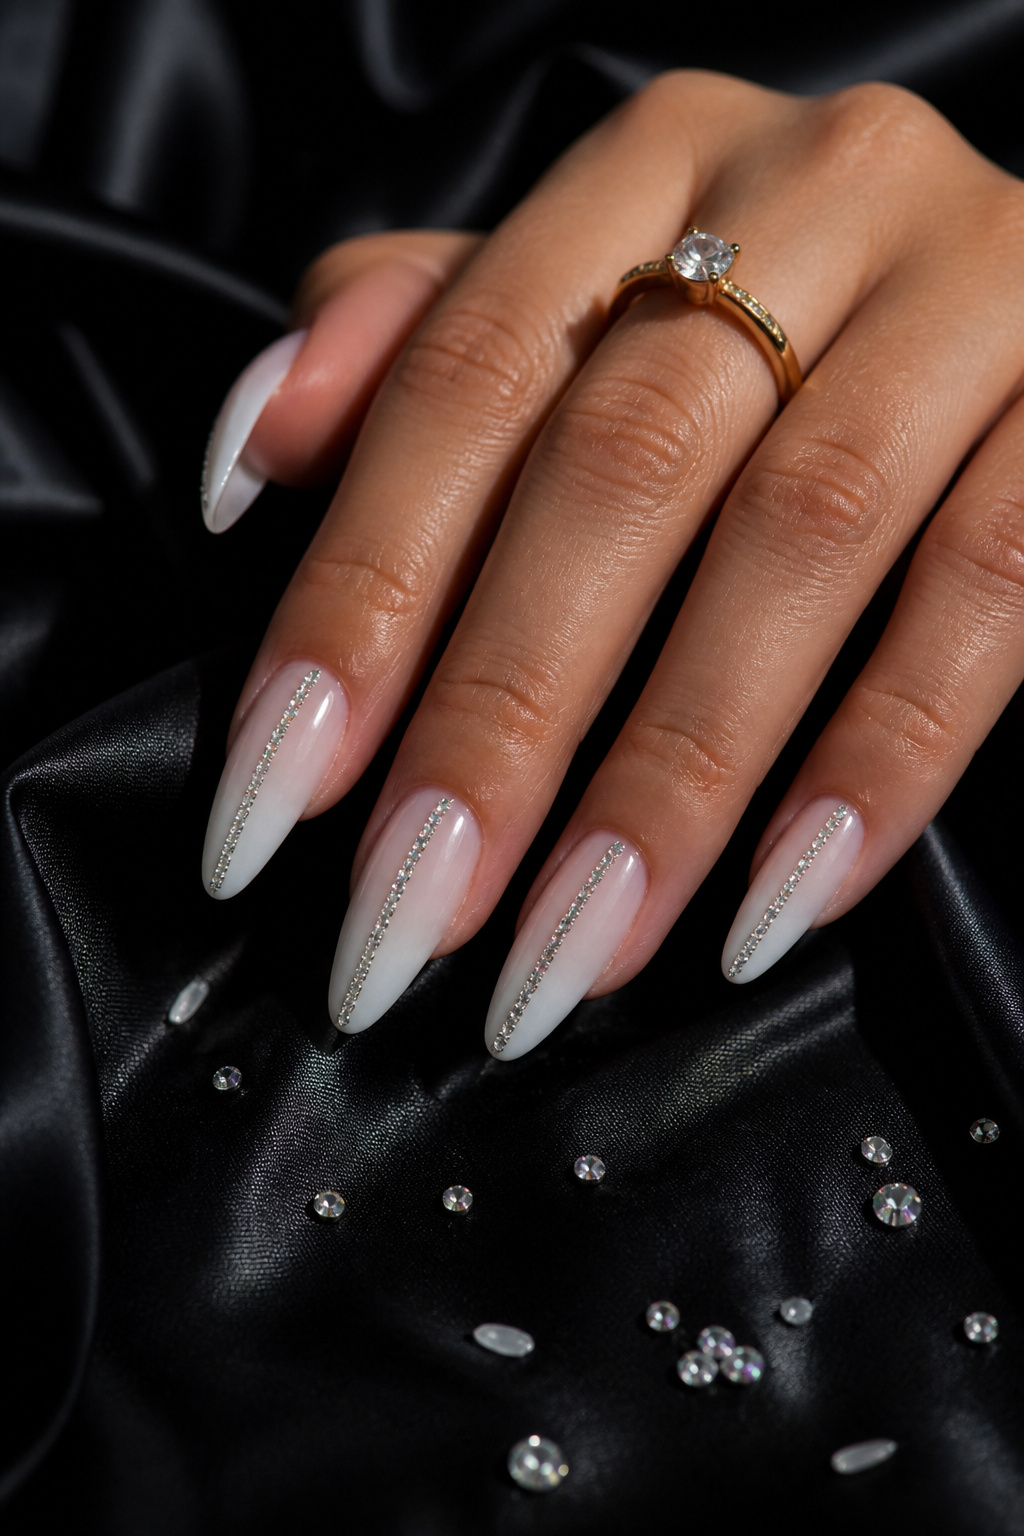

This one is for nights I want to slow-smile at my manicure. Rhinestones taped down by tech and sealed in gel survived one festival weekend. Practical tip: request smaller crystals and firm seals to avoid losing them. Ugly truth: rhinestones catch on hair and straps, so wear carefully.
Shop this idea:
10. French Twist Ombre With Nude Base
Style: Classic Reinvented | Budget: $30 to $70 (salon) | Best For: Work / interviews
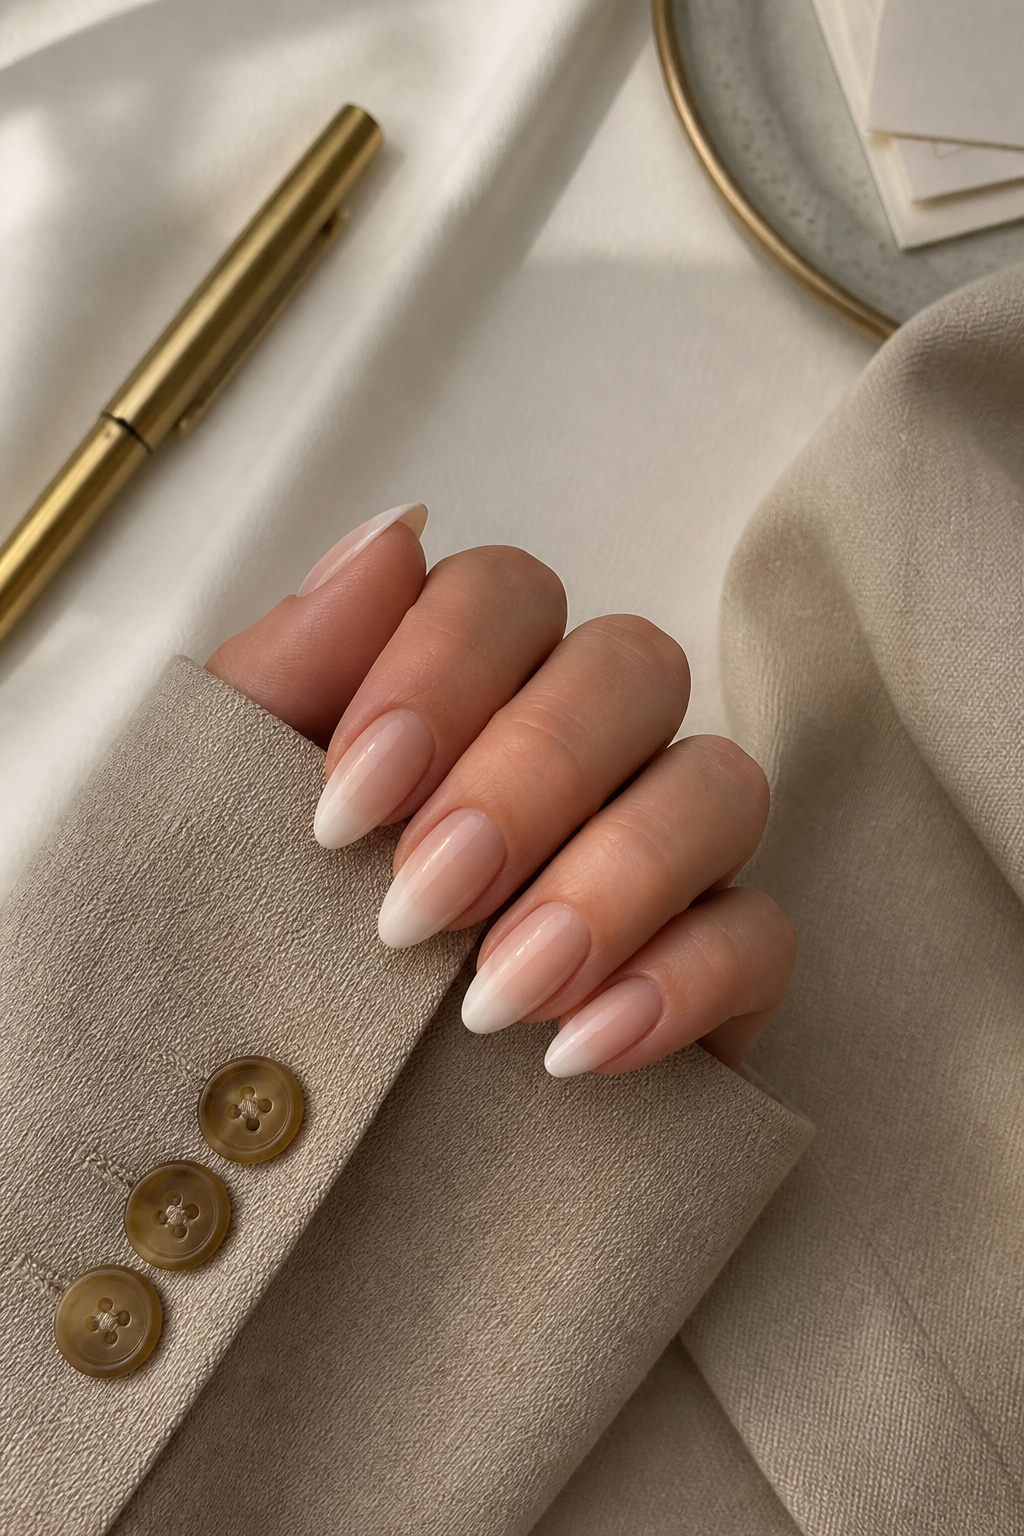

A French ombre makes nails look longer without drama. I wore these to a client pitch and got compliments that felt real. Tip: request a slightly nude base shade that matches your skintone. Salon price depends on overlay material; acrylics were cheaper than hard gel.
Shop this idea:
11. Long Coffin White Ombre With Matte Side
Style: Edgy Clean | Budget: $45 to $100 (salon) | Best For: Long nails lovers


Long coffin ombre reads high-fashion in sunlight. I tried this for a vacation and learned long shapes chip faster with acrylic. The tip is to keep lengths reasonable and reinforce the free edge with builder gel. Also, matte and glossy together look editorial when done right.
Shop this idea:
12. Iridescent Chrome Ombre
Style: Trendy | Budget: $50 to $120 (salon or UV chrome) | Best For: Bold color lovers


Chrome over a white ombre gives a holographic sun-catcher effect. I had this for a beach party and loved how the light hit it. Practical note: chromes require a flawless base and a proper lamp cure. Price varies with chrome powder and tech skill. Ugly truth: DIY chrome at home often looks streaky.
Shop this idea:
13. Subtle Chevron White Fade
Style: Playful Minimal | Budget: Under $50 (press-on or salon) | Best For: Short to medium nails
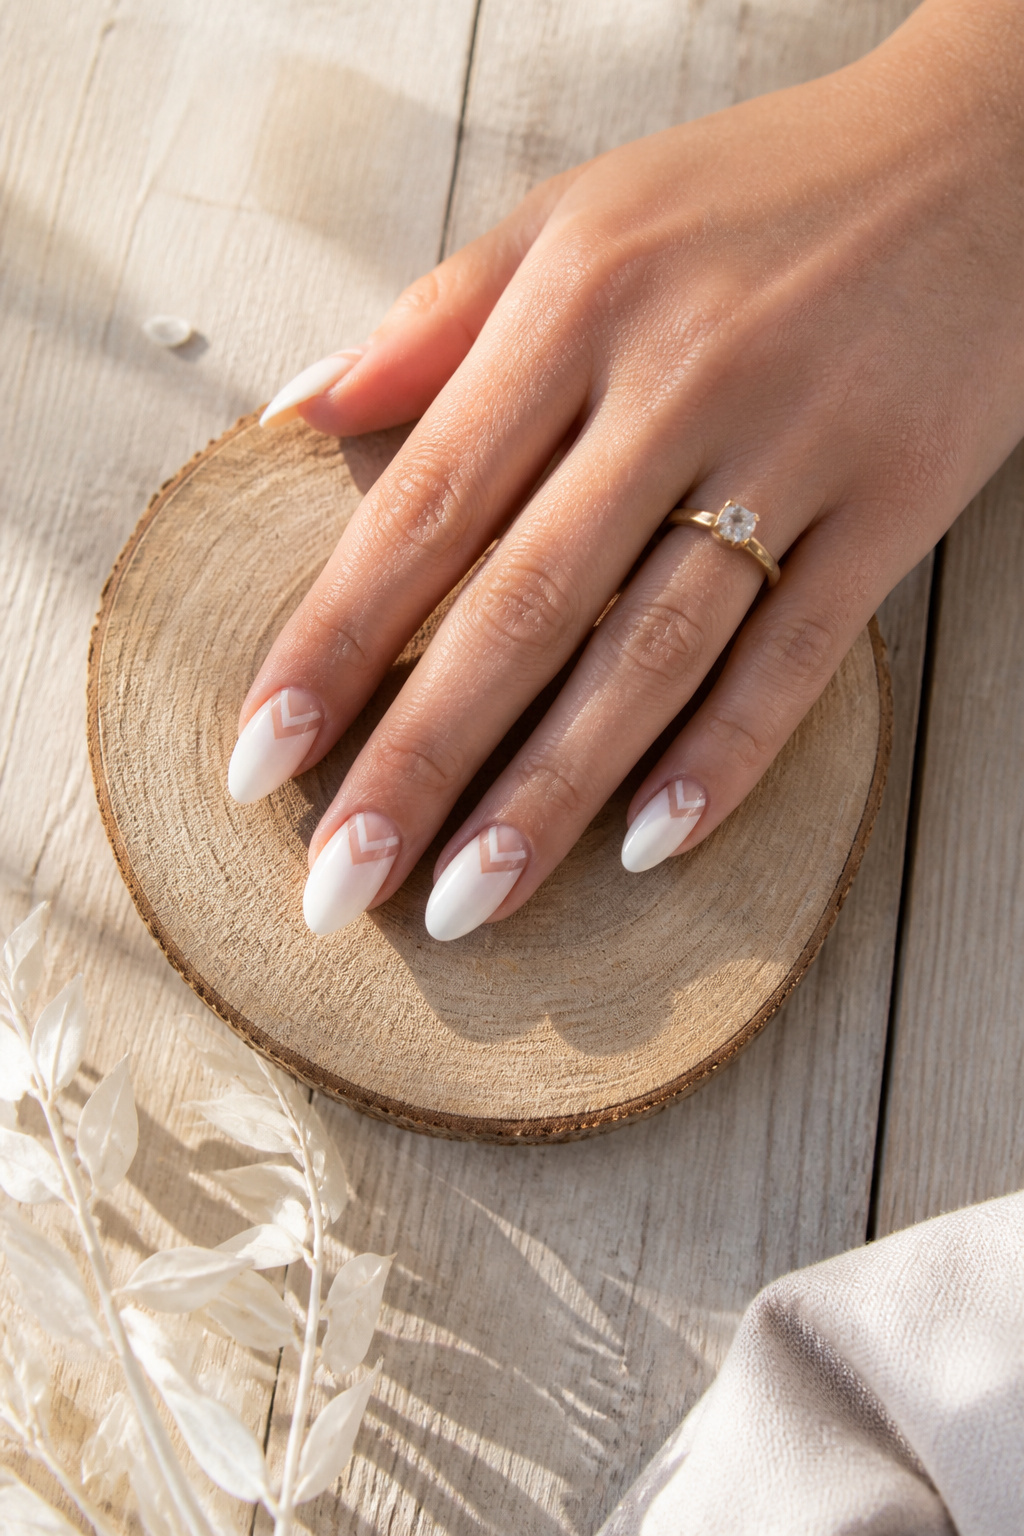

Chevron negative space keeps the look fresh without length. I did this with short acrylics and it read modern and tidy. Tip: get the chevron guides pre-cut so the lines are crisp. The price is salon-friendly and easy to maintain.
Shop this idea:
14. Tiny Heart Ombre Accent
Style: Sweet / Coquette | Budget: Under $40 (press-on) | Best For: Weekend dates
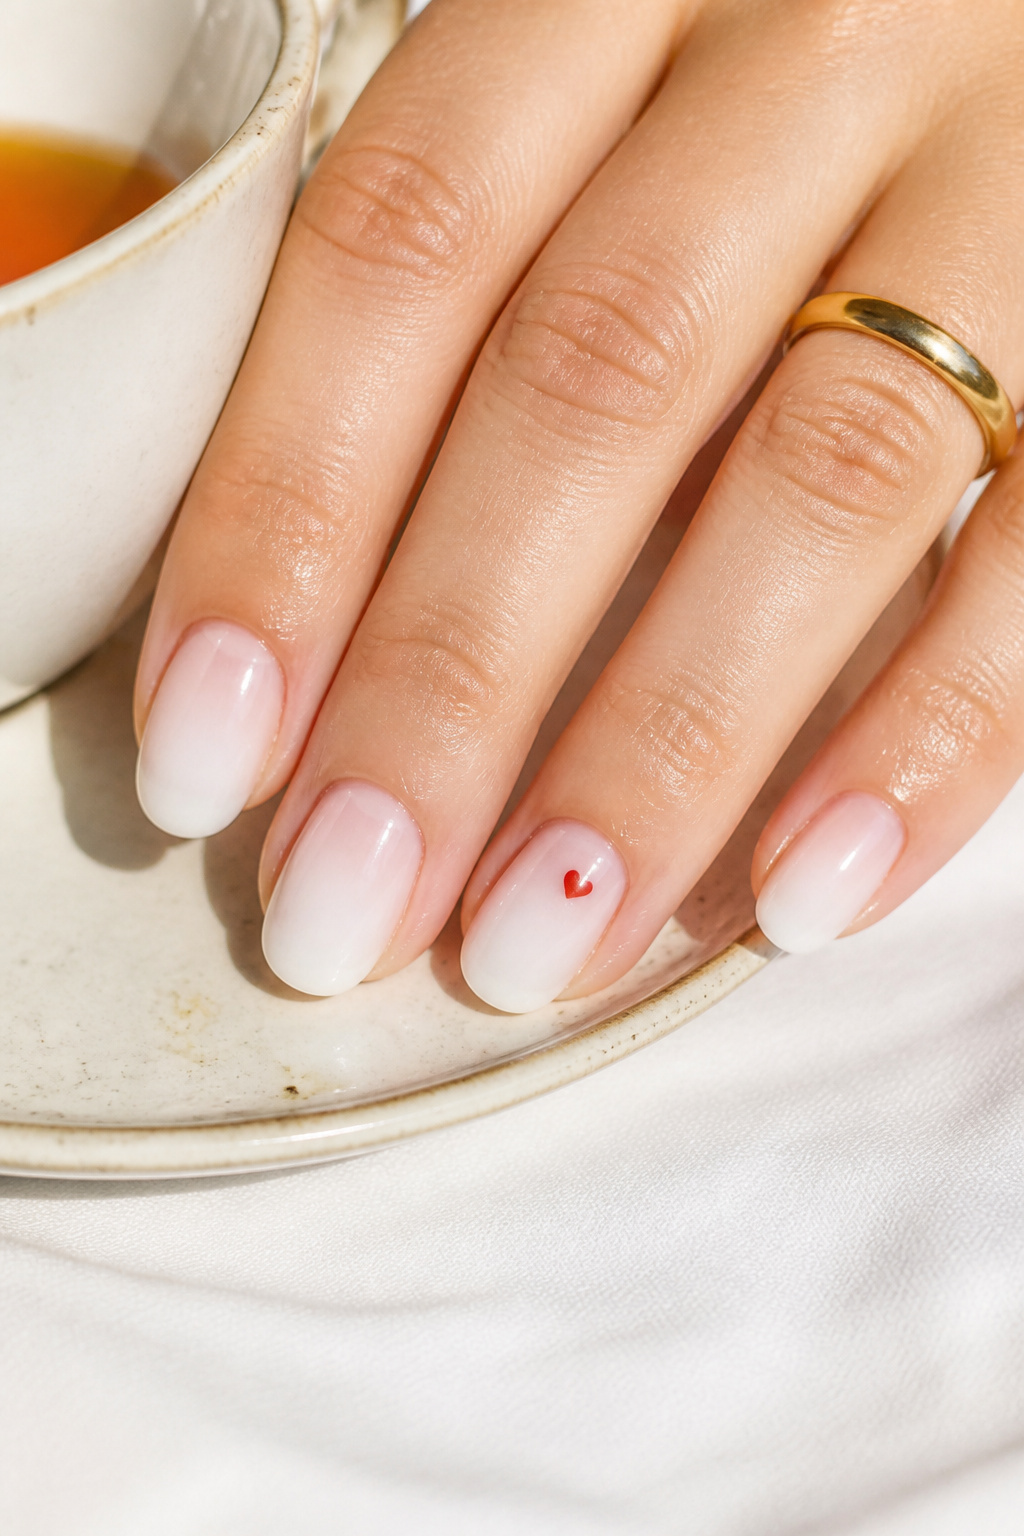

Micro heart accents make summer nails feel playful but not childish. I added a single heart to my ring finger for date night. Tip: tiny decals are cheap and can be sealed under gel for weekend longevity. Price friendly and easy to swap out between looks.
Shop this idea:
What You'll Need to Get This Look
Face & Base Essentials
- Cuticle oil rose scent around $6 to $18
- Nail buffer block medium around $4 to $12
- Sheer gel base coat around $8 to $22
- Nail top coat glossy around $6 to $20
Eyes, Brows & Lips
- Mini cuticle oil roller around $5 to $14
- Hand cream travel size around $3 to $12
Clothing Staples
- Linen midi dress cream around $25 to $80
- Structured white tee slim around $12 to $40
Shoes, Bags & Jewelry
- Gold chunky hoop 14k look around $12 to $45
- Tan leather slide sandal around $20 to $90
Budget Swaps
- White ombre press on nails around $8 to $35 (press-on alternative)
- Holographic chrome powder kit around $8 to $25 (DIY glam)
- Nail polish remover wipes around $4 to $12 (cheap cleanups)
Shopping Tips for These Looks
Book Midweek Appointments: Salons are less busy Tuesday to Thursday, and many offer 10% off midweek services, check local pages for deals and availability like salon sites or Yelp.
Bring Reference Photos: Exact ombre fades vary. Bring a photo to the salon and the exact length you want so the tech matches shape and apex. See examples like white ombre press on nails for reference.
Layer Small Accents: Add a pearl or micro gem rather than covering every nail. Smaller accents are cheaper and easier to maintain; search tiny pearl nail studs for options around $4 to $12.
Time Your Treatments: Nail searches peak in summer months per Google Trends, so book 2 to 3 weeks ahead for July weekends. Weekend spots fill fast during wedding season.
Thrift Your Nail-Day Look: Pair white ombre with a thrifted linen blazer or vintage gold signet for an elevated outfit without overspending; search linen blazer women secondhand or thrift finds.
Frequently Asked Questions
Q: How long do white ombre acrylic nails last?
A: Salon acrylics usually last 2 to 3 weeks before a refill; press-ons last one to two weeks depending on glue and activity. Try a medium coffin nail glue for longer wear.
Q: Can I swim with acrylic ombre nails?
A: Yes, but chlorine and salt can dry the acrylic and lift gems; reapply cuticle oil after swimming. I keep a mini cuticle oil roller in my beach bag.
Q: Are white ombre nails easy to DIY?
A: Basic press-ons are beginner-friendly, but chromes, foils, and pearls need practice. For DIY chrome, a holographic chrome powder kit yields the best at-home results.
Q: What’s the gentlest way to remove acrylics?
A: Soak in acetone with foil wraps and use a wooden pusher to gently remove softened acrylic. Use a hand cream travel size after removal for hydration.
Conclusion
Start with a short press-on white ombre if you’re unsure, then book a salon for custom shapes and accents once you know what you love. My final tip: pick one nail to play with details so you can change the vibe without a full redo. Which white ombre are you trying first this summer?


