






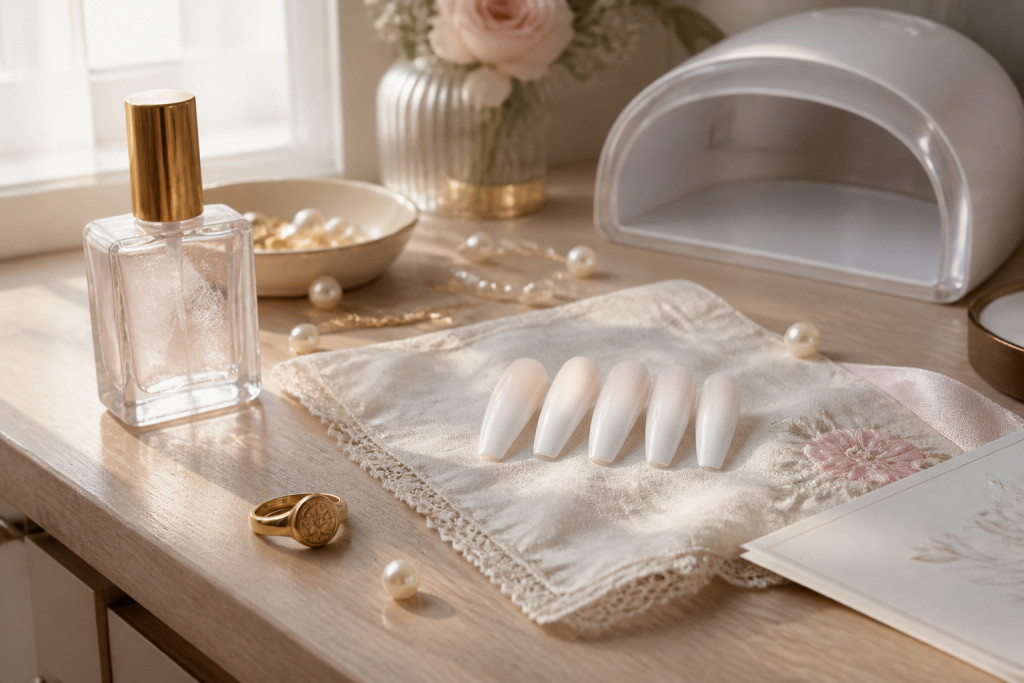

My crisp white ombre coffin nails got more compliments at one rehearsal dinner than my dress did. White ombre coffin nails are the perfect thing when you want bridal polish without overdoing it. Here are exactly 21 brides-to-be and nail-lovers ideas, most under $40, a few splurges around $120, that I actually wore, packed, and photographed for real.
I focus on clean, polished bridal vibes that read modern and timeless. Most looks use affordable polishes and a couple of builder gels, with items mostly under $30 and splurges around $90 to $120. These suit clean-girl brides, soft-glam lovers, and anyone who wants long-lasting, photo-ready nails this season. I’ve noticed Pinterest Predicts 2025 pushing minimalist bridal mani ideas hard.
1. Classic Baby Boomer White Fade
Style: Clean Bride | Budget: Under $30 | Best For: Cool to neutral skin tones
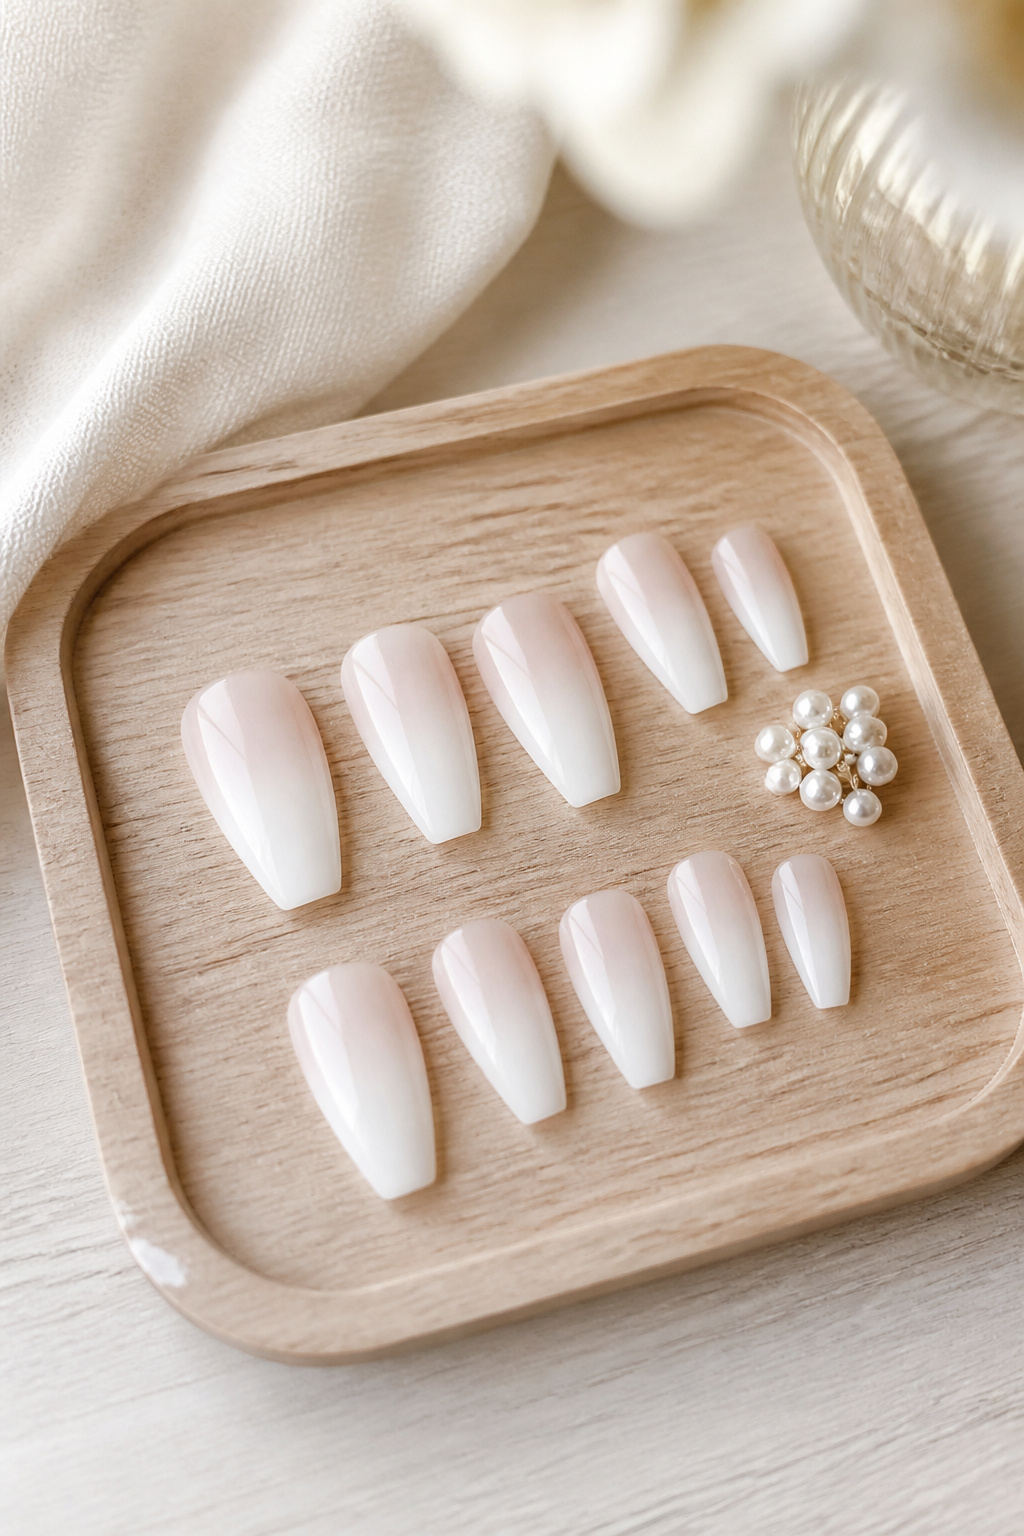

Result first: my go-to when photos need soft contrast. I use a sheer pink base and feather in opaque white toward the tips with a sponge. The trick is thin layers, cured between coats. I linked my favorite builder-free milky white polish below, around $8 to $14, that won’t yellow. I once skimped on base coat and stained my nails for a week, learn from that.
Shop this idea:
2. Pearlescent Mother-Of-Pearl Ombre
Style: Soft Glam | Budget: $20 to $60 | Best For: Warm and neutral tones


I layered an iridescent topcoat over a white fade for a pearly sheen that looks amazing in wedding photos. Use a thin pearlescent lacquer and seal with a glossy topcoat; it gives dimension without sparkle. I bought an iridescent topcoat at a bridal market for about $18 to $24; I linked a similar one below. Ugly truth: pearl topcoats show chip lines fast unless you buff and seal well.
Shop this idea:
3. Subtle Satin Matte Ombre
Style: Minimalist | Budget: Under $25 | Best For: Matte lovers, modern brides


The result is a polished yet lived-in look that photographs soft. I use matte topcoat over a glossy white fade for that satin effect, but I always carry a glossy topcoat for touch-ups because matte shows chips faster. I linked my favorite matte topcoat below, around $9 to $15, which I keep in my clutch for second-day touch-ups.
Shop this idea:
4. Micro-Gradient Milky Ombre
Style: Clean Girl | Budget: Under $20 | Best For: Short to medium coffins


This is the ombre I wear for rehearsal dinners when I want subtle, not statement. The micro-gradient uses a tiny makeup sponge and feathered strokes. I use a sheer nude base polish I found at Ulta for about $10 to $16. Tip: file to shape before applying ombre; it's almost impossible to reshape after gel cure. Learned the hard way at a last-minute bridal shoot.
Shop this idea:
5. White Ombre With Tiny Pearl Accents
Style: Romantic | Budget: $25 to $50 | Best For: Brides wanting texture
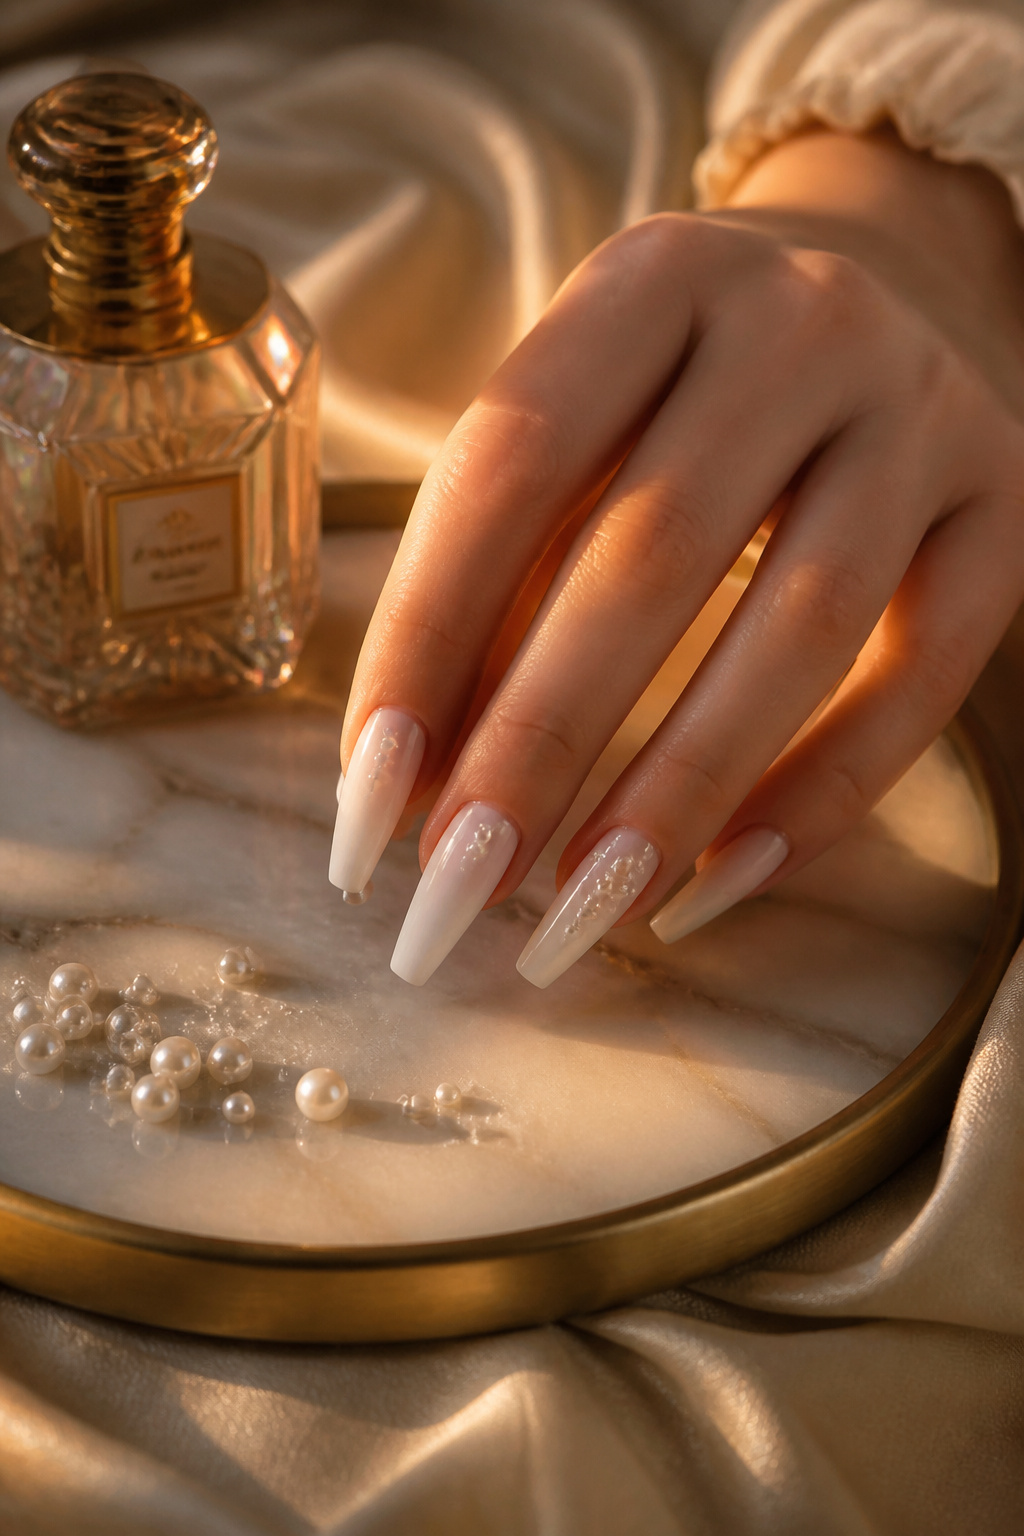

Pearls are wedding cliché for a reason. I glue tiny half-pearls near the cuticle on one or two accent nails for texture. Use small gel glue and primer; pearls snag if glued too far off the nail plate, ugly truth I learned when one caught on lace. I linked a micro-pearl nail pack below, about $8 to $16, perfect for DIY mani nights.
Shop this idea:
6. Sheer Pink-To-White Ombre (Baby Blush)
Style: Soft Bridal | Budget: Under $30 | Best For: Warm undertones
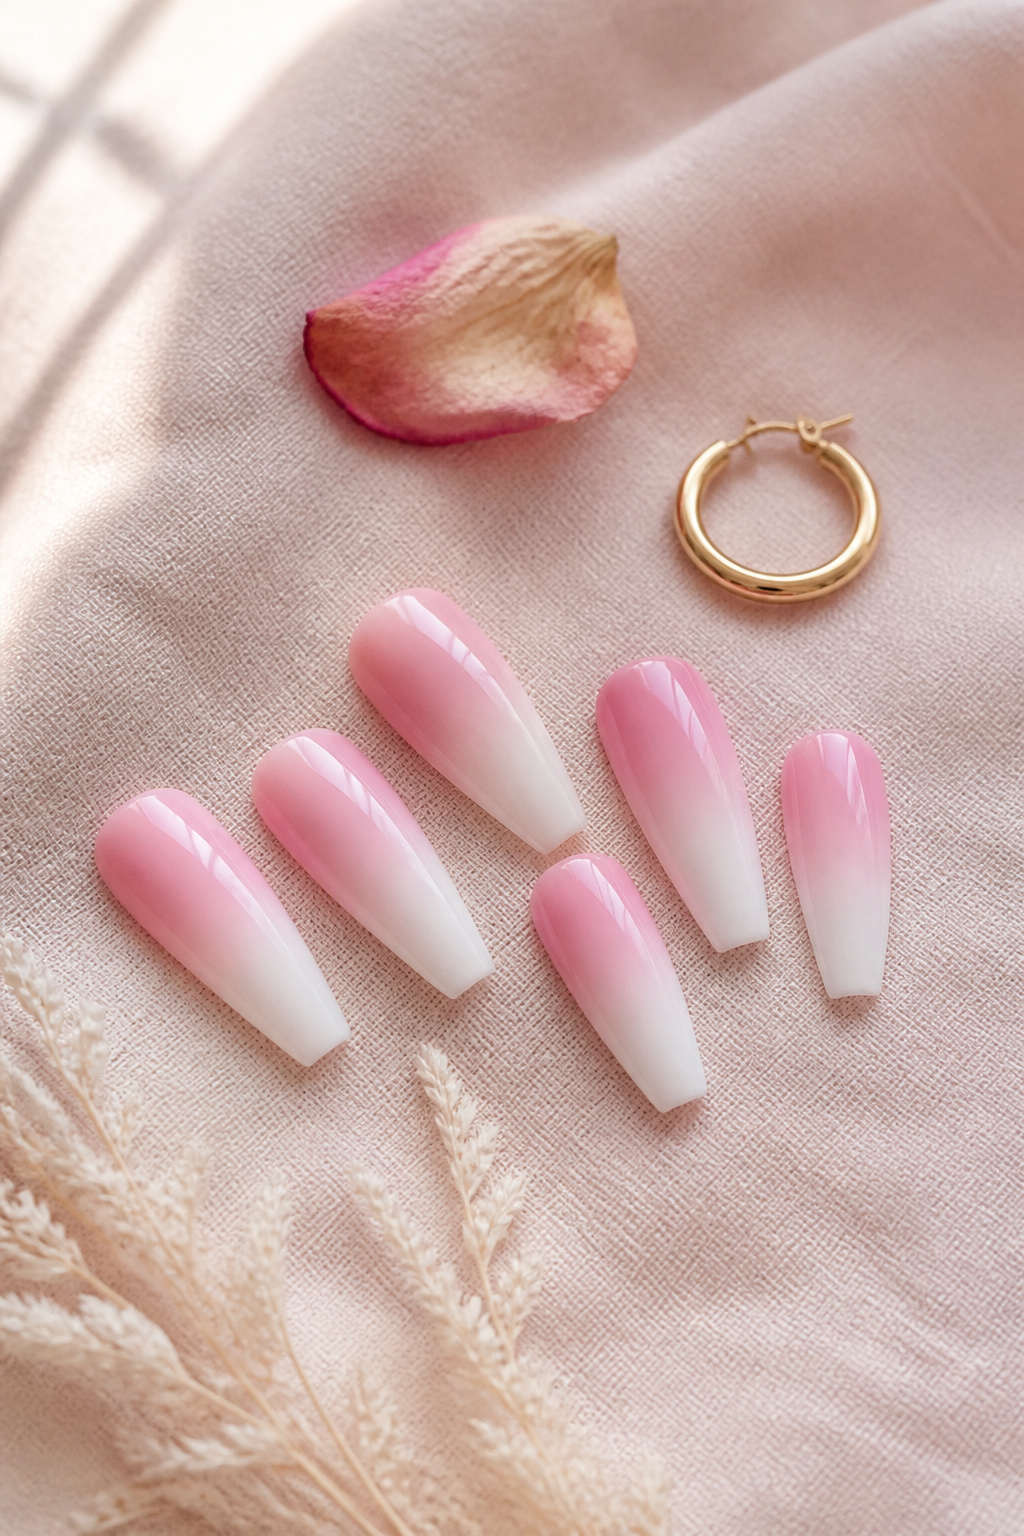

This keeps the ombre but reads warmer on camera. I start with a translucent blush base and sponge a milky white up the tip. Use a builder gel if you need strength; my preferred builder gel runs about $35 to $60 and lasts two to three weeks. Personal moment: wore this on my sister’s wedding day and a cousin asked for the exact shade.
Shop this idea:
7. Reverse Ombre White To Clear
Style: Modern Minimal | Budget: Under $25 | Best For: Short nails, petite hands
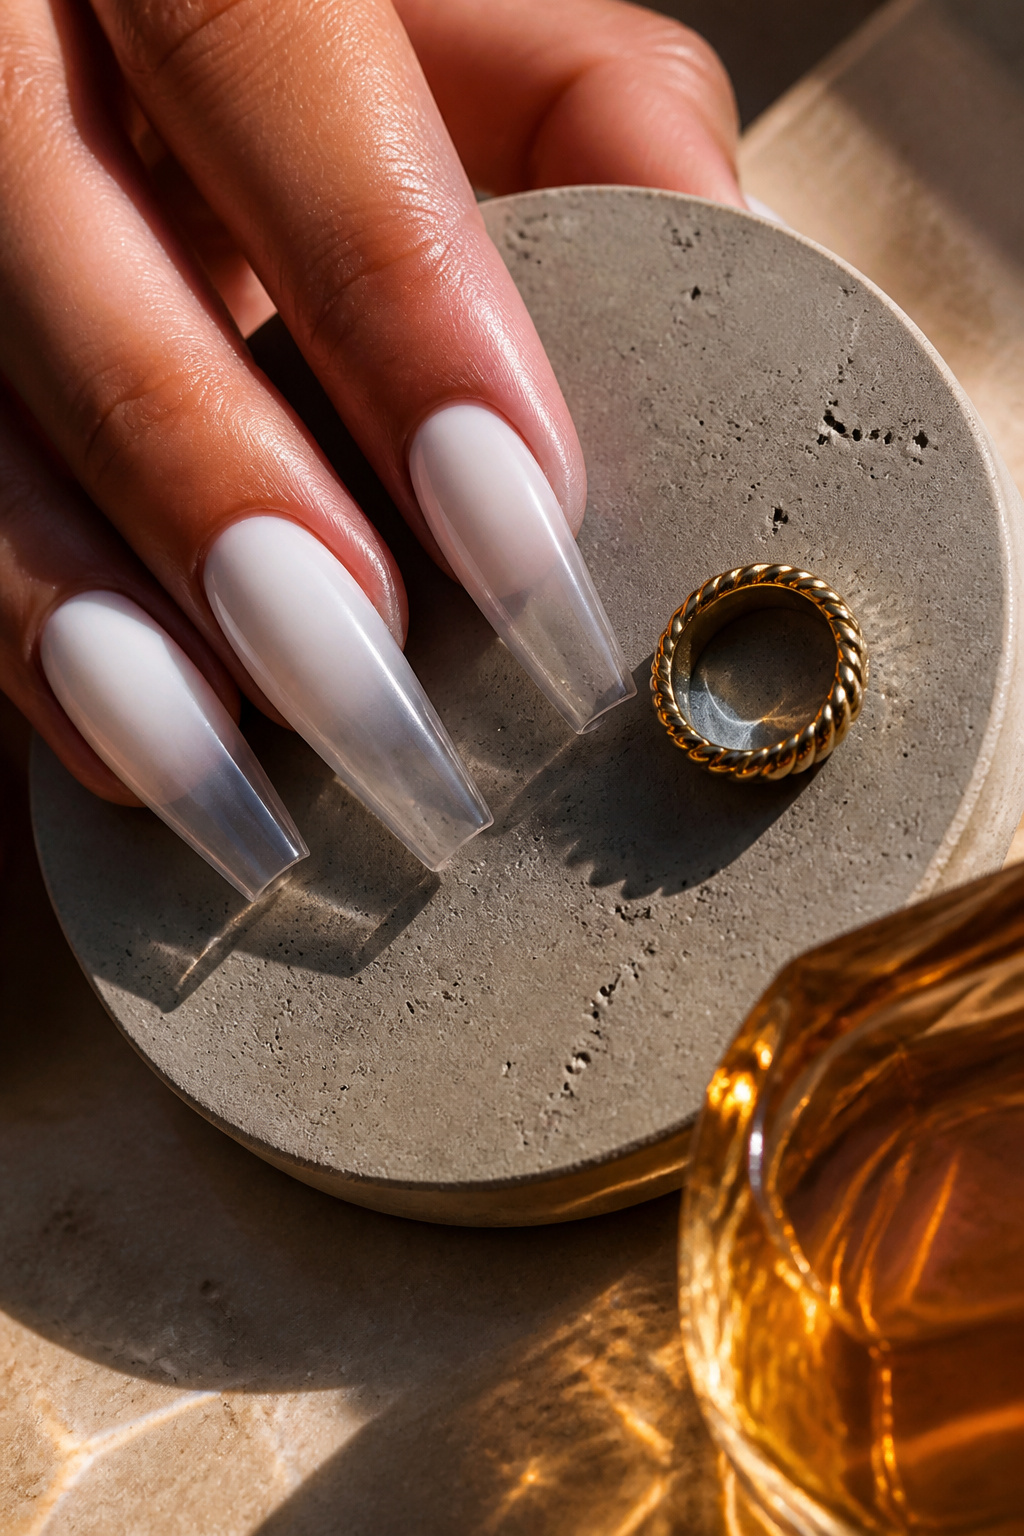

Reverse ombre puts the white at the cuticle for an unexpected twist. It reads fresh and elongates shorter nails. The trick is a micro-brush and super-thin white lacquer. I used a fast-dry formula around $9 to $12. Ugly truth: it can highlight cuticle dryness, so hydrate nails a day before application.
Shop this idea:
8. Lace-Stamped White Ombre
Style: Vintage Inspired | Budget: $30 to $70 | Best For: Bridal showers, photo shoots
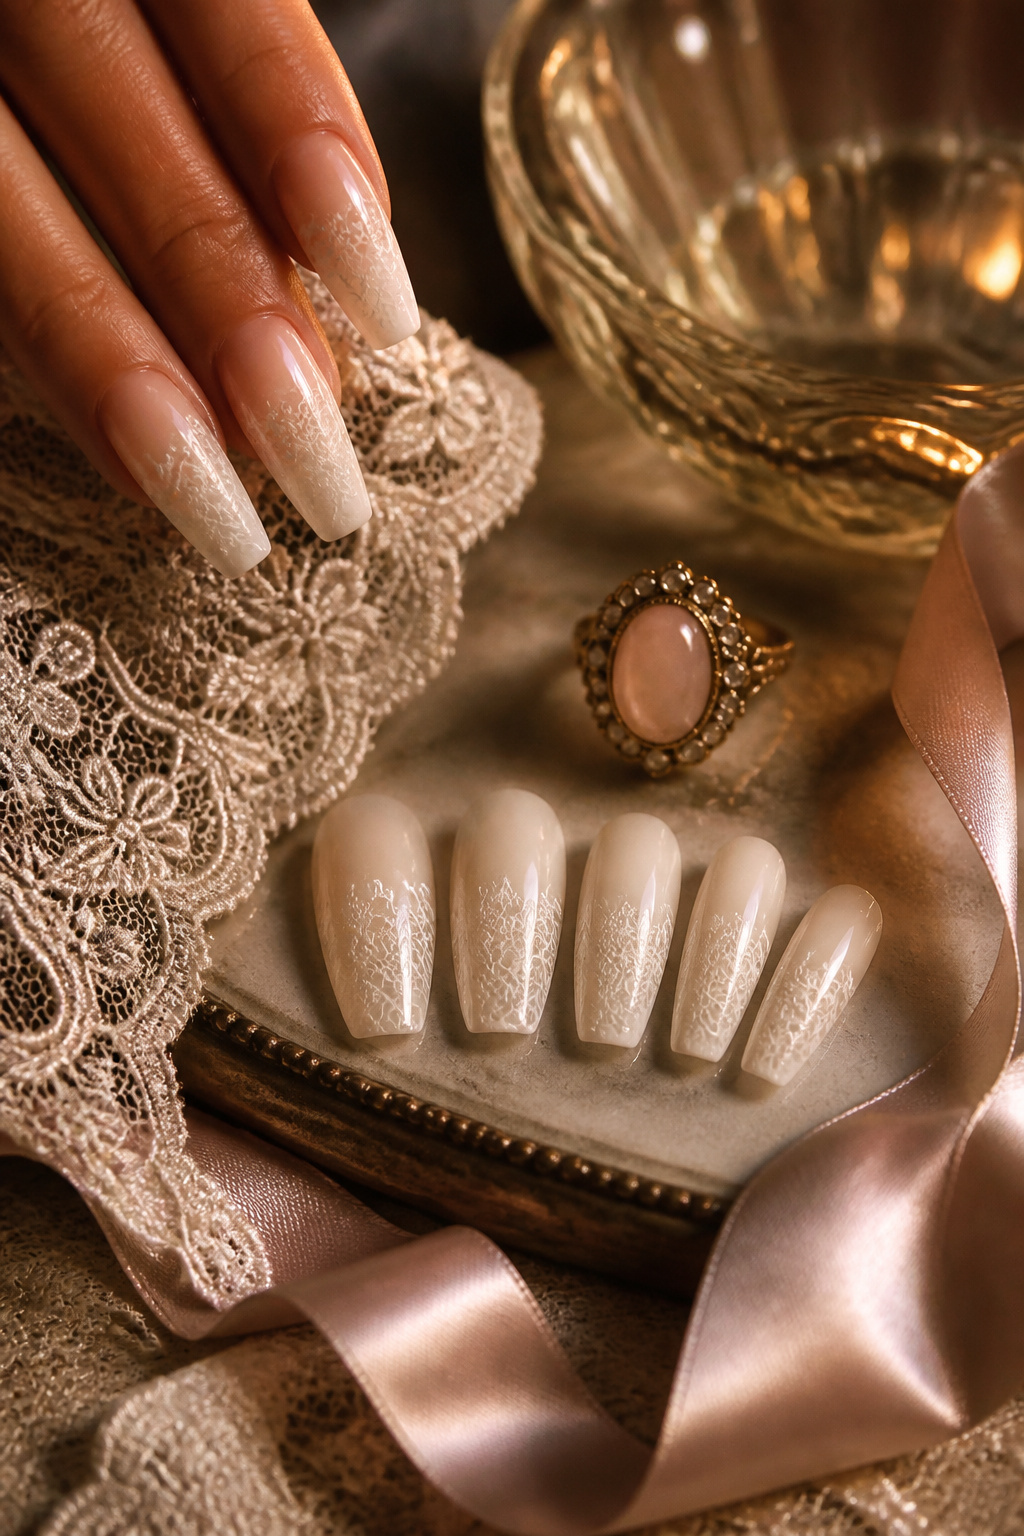

Lace stamping adds that bridal detail without heavy embellishment. I stamp a fine lace pattern across the fade using a stamping plate and white stamping polish. Buy a small stamping kit for about $12 to $20 and practice on tips first. Pro tip: seal with two thin topcoats so the pattern softens into the ombre rather than sitting on top.
Shop this idea:
9. Glitter-Fade White Ombre
Style: Glam | Budget: $15 to $35 | Best For: Reception nails, evening photos
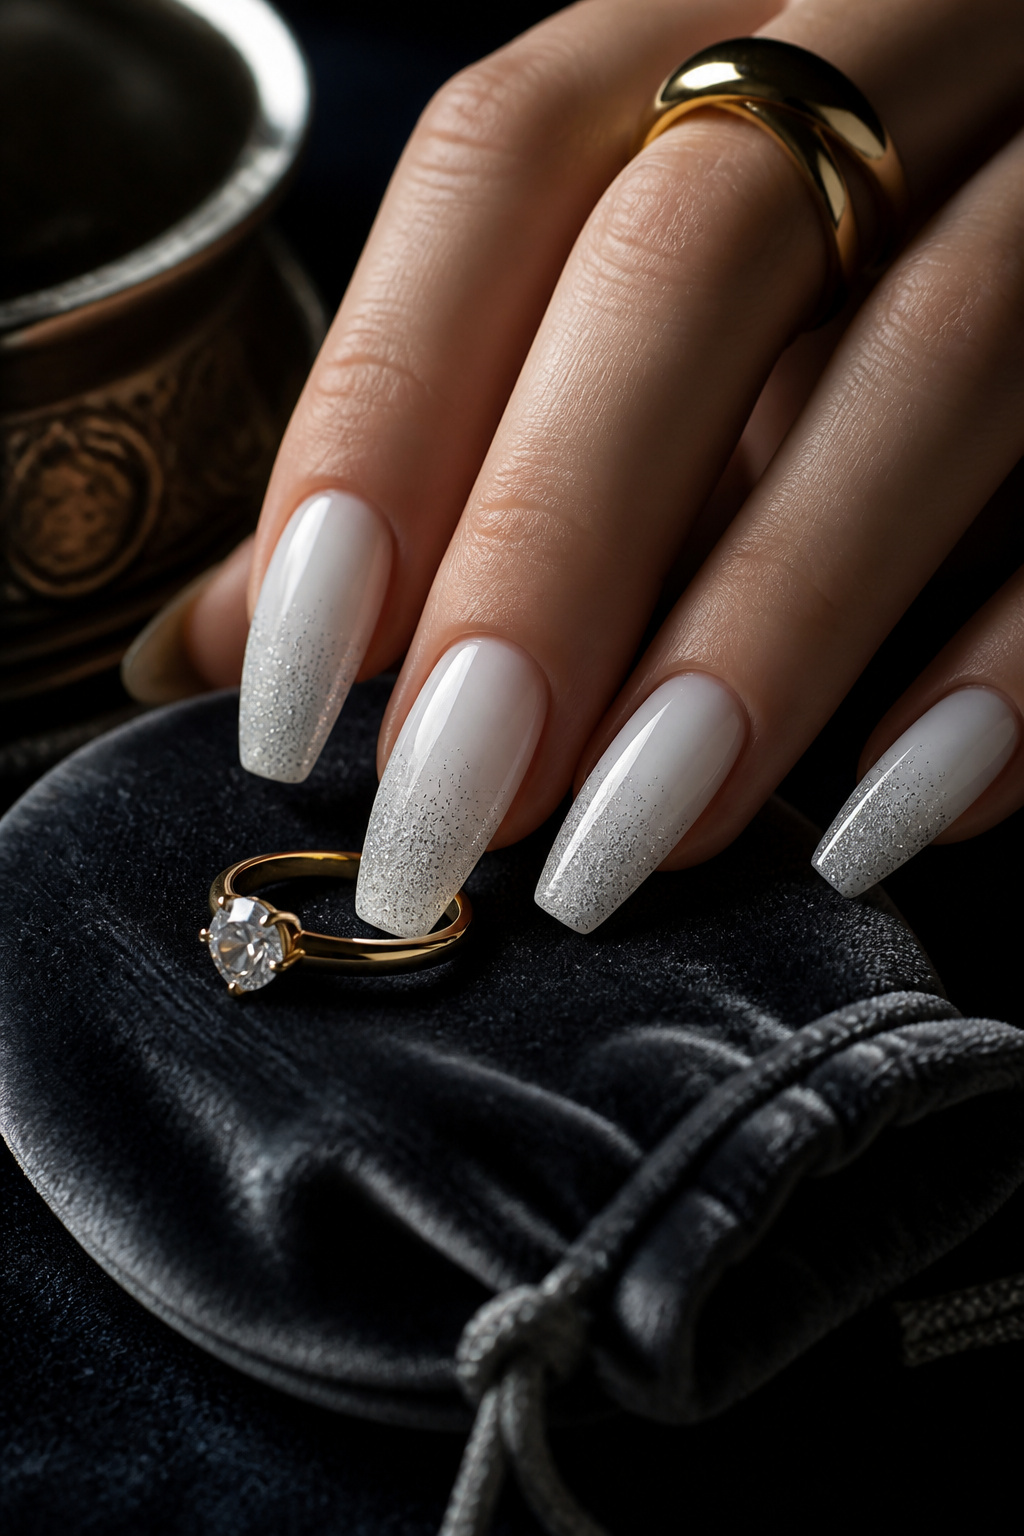

Glitter at the tip gives movement under event lights. I use ultra-fine glitter mixed into a clear builder gel at the tips so it doesn’t flake. I linked a fine loose glitter set below for $6 to $12. Real talk: glitter is clingy in dress photos, so test on a swatch before committing to full set.
Shop this idea:
10. French Smile Line Ombre
Style: Classic Twist | Budget: Under $30 | Best For: Timeless brides
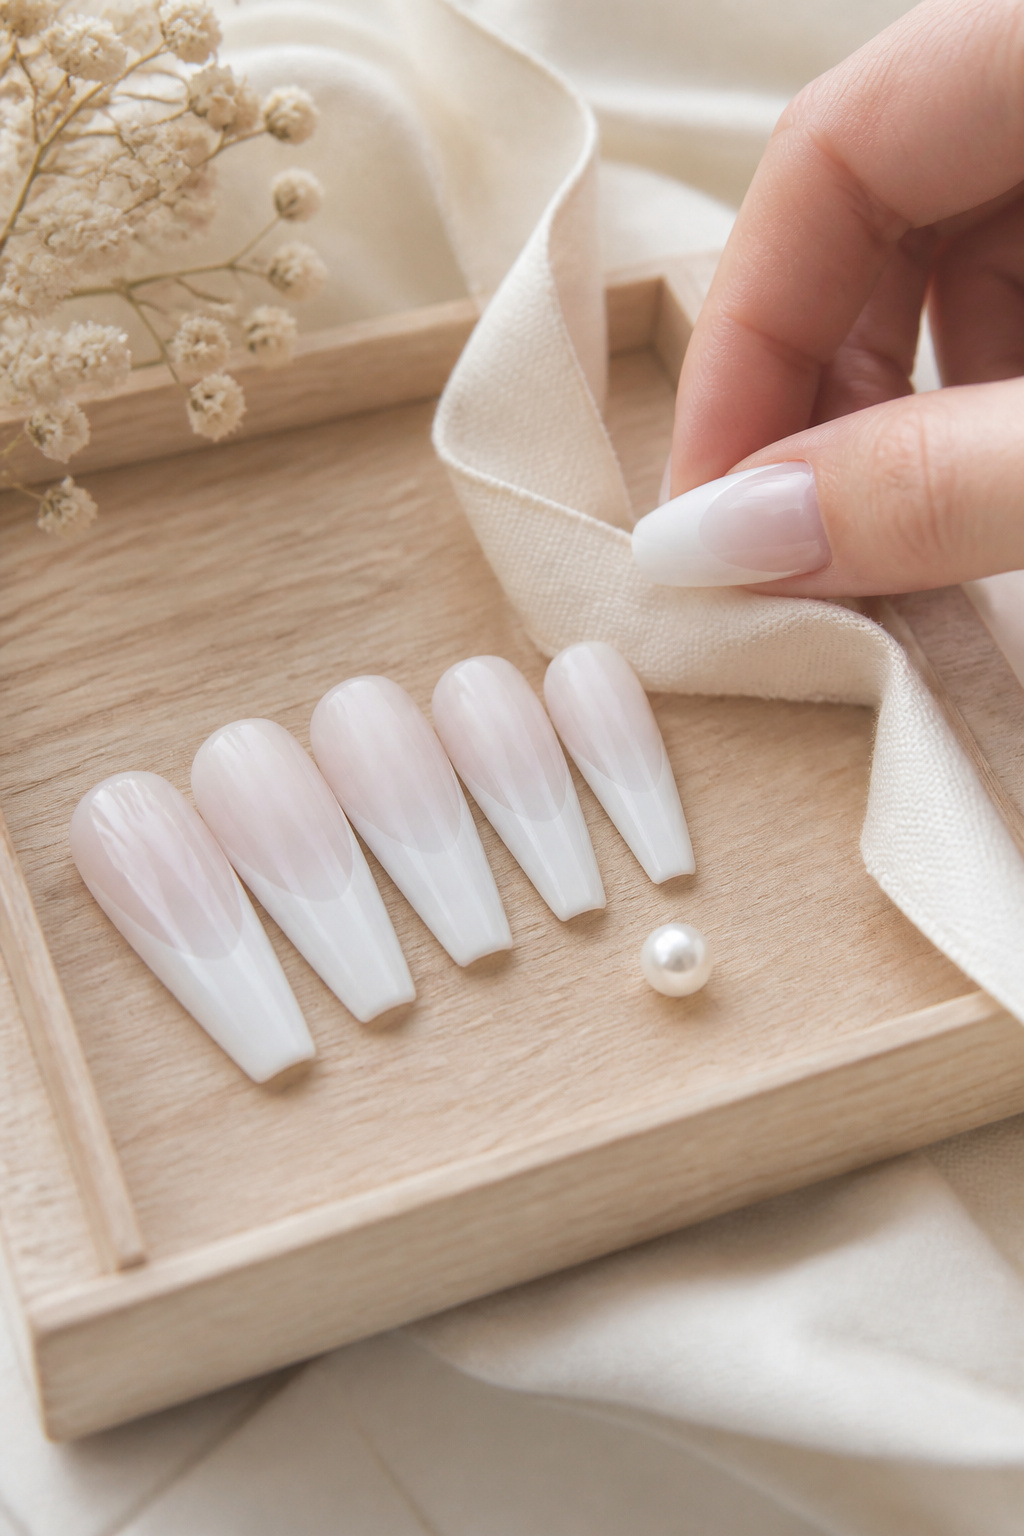

This combines French with ombre by adding a soft smile line where the ombre meets the nail bed. It makes nails look clean and structured in portraits. I use a fine brush and a steady hand; a French guide sticker helps. I linked a pack of guide stickers below, about $5 to $9, which saved me during DIY practice.
Shop this idea:
11. Iridescent Flake Ombre
Style: Ethereal | Budget: $20 to $45 | Best For: Photos with natural light
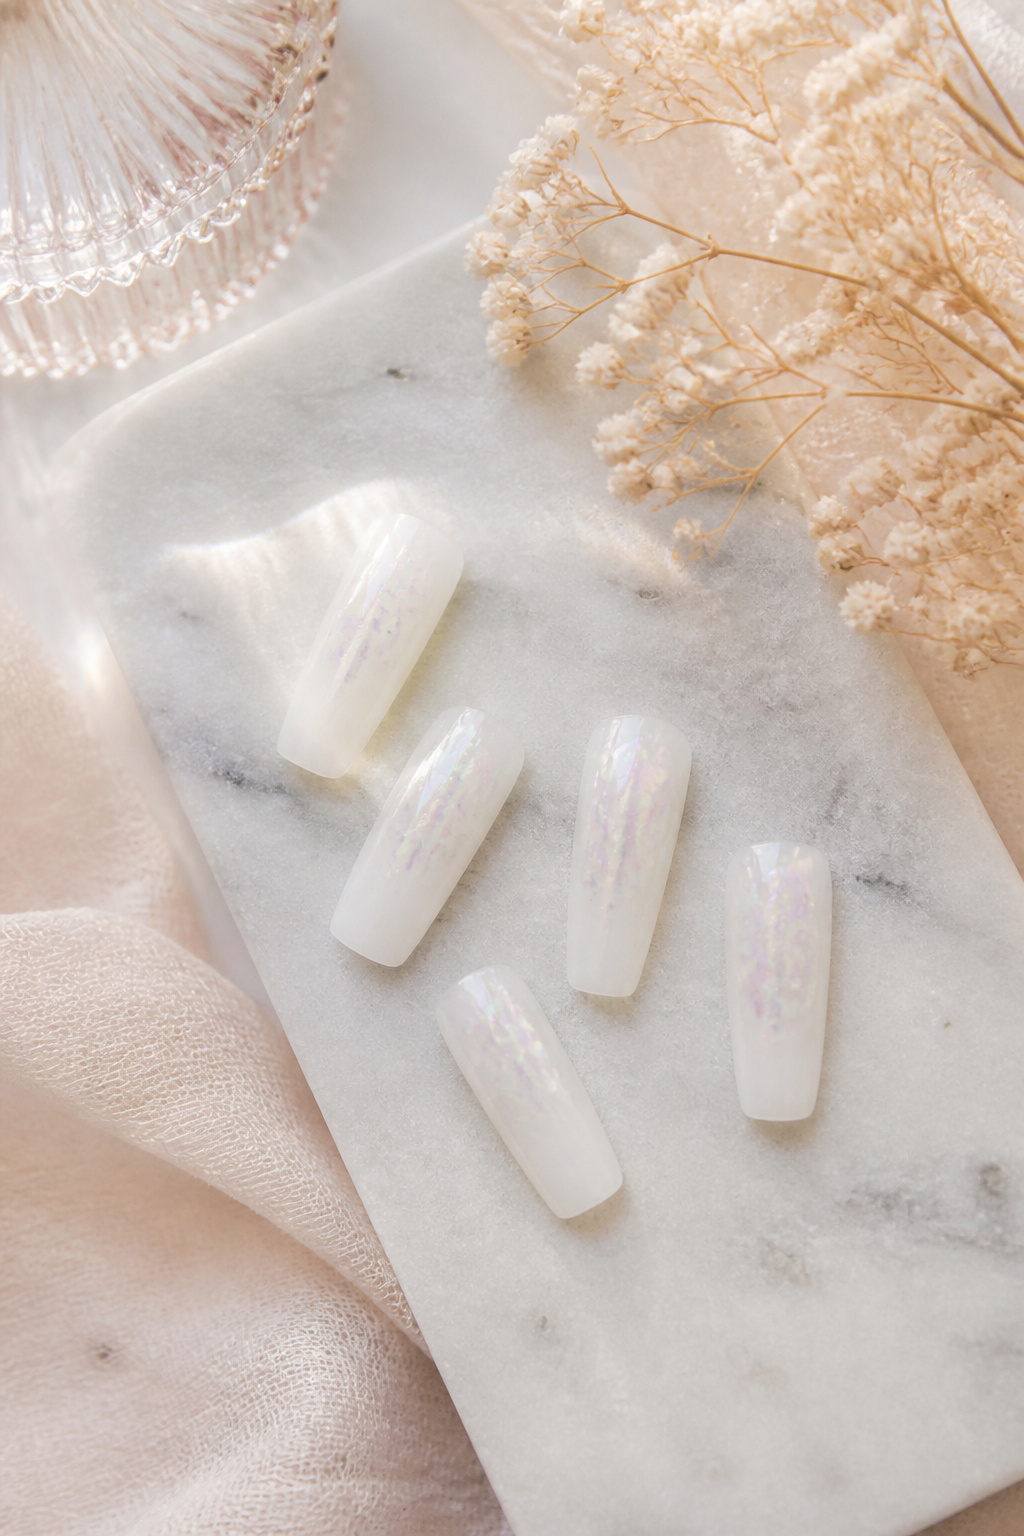

I used tiny iridescent flakes over a white tip for a mother-of-pearl effect. Apply with a sticky base coat and encapsulate in clear gel. I linked a flake mix below for around $8 to $14. Ugly truth: flakes can lift if you skip the encapsulation step, which causes them to snag on lace.
Shop this idea:
12. Champagne Sparkle Ombre Accent
Style: Reception Ready | Budget: $18 to $40 | Best For: Evening receptions


A single champagne glitter accent nail packs punch without stealing the show. I sprinkle ultra-fine champagne glitter into tacky gel and seal. Keep a small dotting tool handy; it’s how I stopped sticky messes. I linked a champagne glitter pot below, around $9 to $16.
Shop this idea:
13. Subtle Opal Chrome Ombre
Style: Modern Luxe | Budget: $25 to $90 | Best For: Trend-forward brides


Opal chrome over a white fade looks editorial in sunlight. I buff the cured white base lightly then rub chrome powder across the center to blend. Chrome kits run about $12 to $28 and an LED lamp helps the effect last. Ugly truth: chrome shows every uneven buff line, so prep the nail surface carefully.
Shop this idea:
14. Tiny Gold Pinstripe Ombre
Style: Minimal Luxe | Budget: $12 to $30 | Best For: Old money vibes


A tiny gold stripe lifts an otherwise soft ombre into tailored territory. Use a gold striping polish and steady micro-brush. I picked mine up for $6 to $12 and it lasted through several functions. Tip: seal with glossy topcoat to prevent the stripe from peeling when doing dishes.
Shop this idea:
15. 3D Floral White Ombre Nails
Style: Garden Bride | Budget: $30 to $80 | Best For: Outdoor weddings, boho brides


3D flowers give obvious bridal vibes so I only add them to one or two nails. They can snag dress fabrics, which is an ugly truth I learned after rehearsal. Use micro-acrylic petals and keep the petals small, then encapsulate with clear gel. A small acrylic flower kit runs about $12 to $28 and makes the look DIY-friendly.
Shop this idea:
16. Tinted Milk White Ombre
Style: Soft Editorial | Budget: Under $25 | Best For: Photogenic everyday nails


A tinted milk white base is my everyday bridal manicure: bright but not clinical. I tint a white base with a drop of sheer beige lacquer and blend. This creates warmth in photos and costs about $10 to $18 for the base polish. Pro tip: carry a tiny repair kit; milk whites can chip and look patchy in harsh light.
Shop this idea:
17. Matte Tip With Glossy Crescent
Style: Two-Texture | Budget: $20 to $40 | Best For: Statement brides


I alternate finishes to get editorial contrast. Matte tips with a glossy crescent near the cuticle read intentional and modern. Use two topcoats and cure the glossy section last if using gel. I found it easiest with a small silicone dotter; linked below around $6 to $10.
Shop this idea:
18. Sculpted Acrylic White Ombre
Style: Long Wear | Budget: $40 to $120 | Best For: Brides needing durability
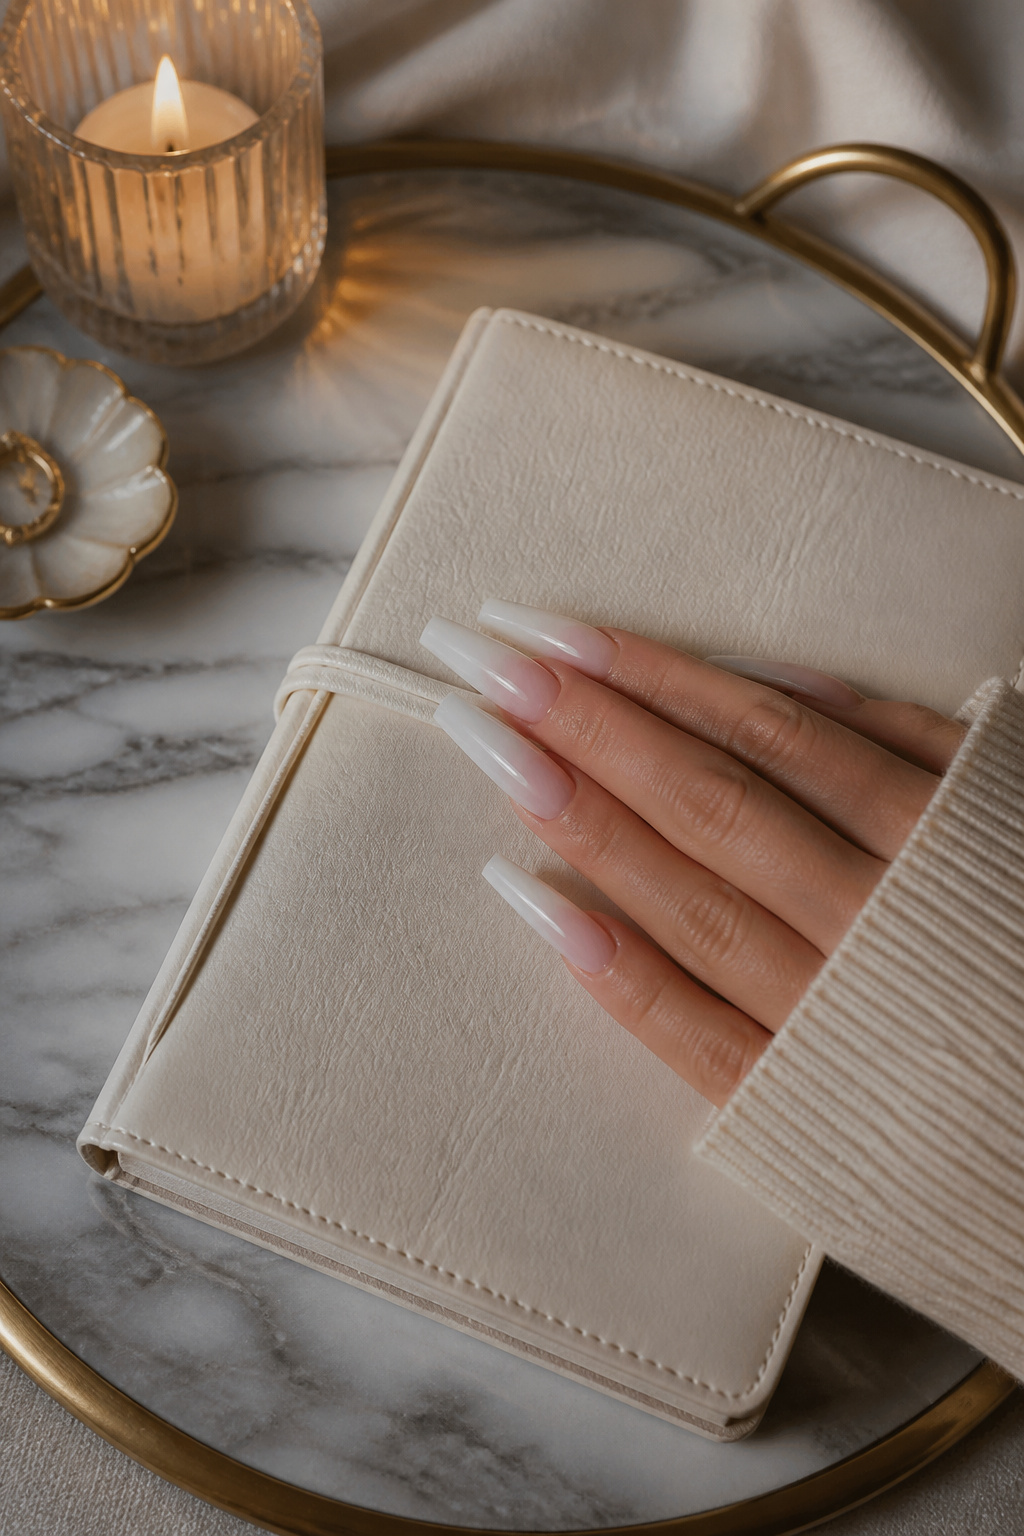

Sculpted acrylic gives the cleanest coffin shape and holds up through travel and dancing. I paid for a salon sculpted set once, about $85 to $120, and it lasted six weeks. If you choose acrylic, request a thin apex to avoid a bulky look. Ugly truth: poorly done acrylic looks fake in photos, so pick a skilled tech.
Shop this idea:
19. Short Coffin Clean White Fade
Style: Practical Chic | Budget: Under $25 | Best For: Active brides, hands-on jobs
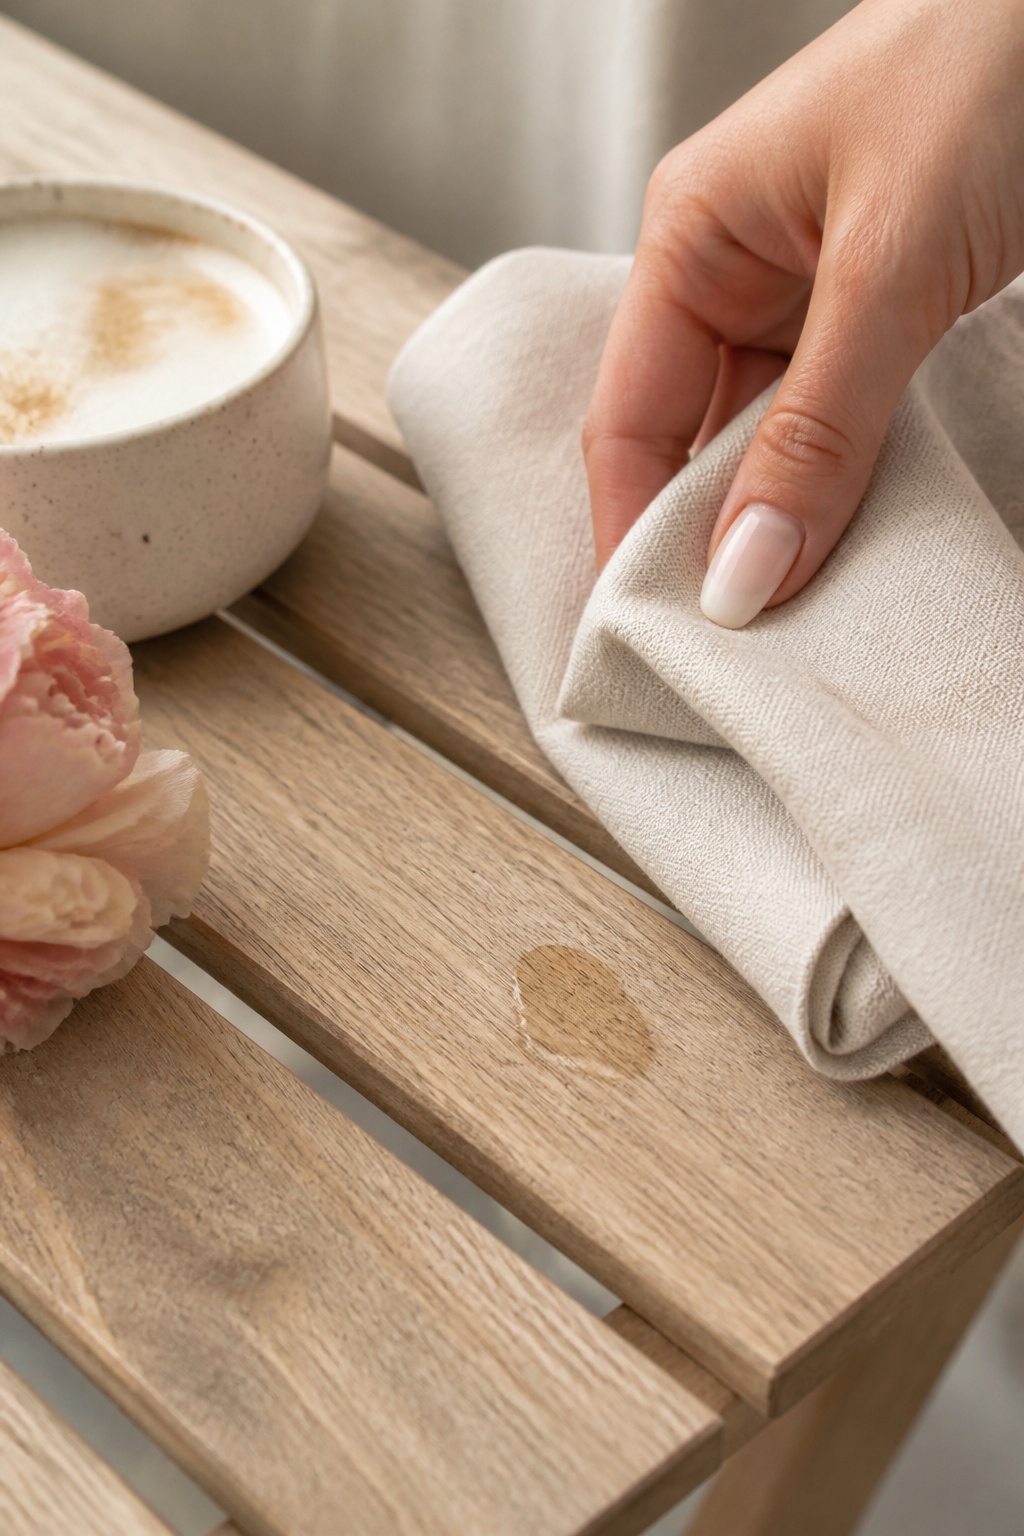

Not everyone wants long nails. Short coffin with a crisp white fade looks polished and is less likely to snag. I used a strengthener base and gel finish; my favorite strengthener runs $10 to $18. Tip: shorten daily tools and test how your keyboard and ring feel before committing to length at the salon.
Shop this idea:
20. Champagne Rose Gold Ombre Edge
Style: Modern Romantic | Budget: $20 to $45 | Best For: Blush-toned gowns


A rose-gold edge catches candlelight beautifully. I paint a fine metallic line along the tip after the ombre is sealed. A micro-striping brush and metallic polish about $8 to $14 do the job. Real note: metallics show tiny brush strokes, so use a calm hand and a glossy seal.
Shop this idea:
21. Repairable Gel Ombre For Travel
Style: Practical Luxe | Budget: $25 to $60 | Best For: Destination brides
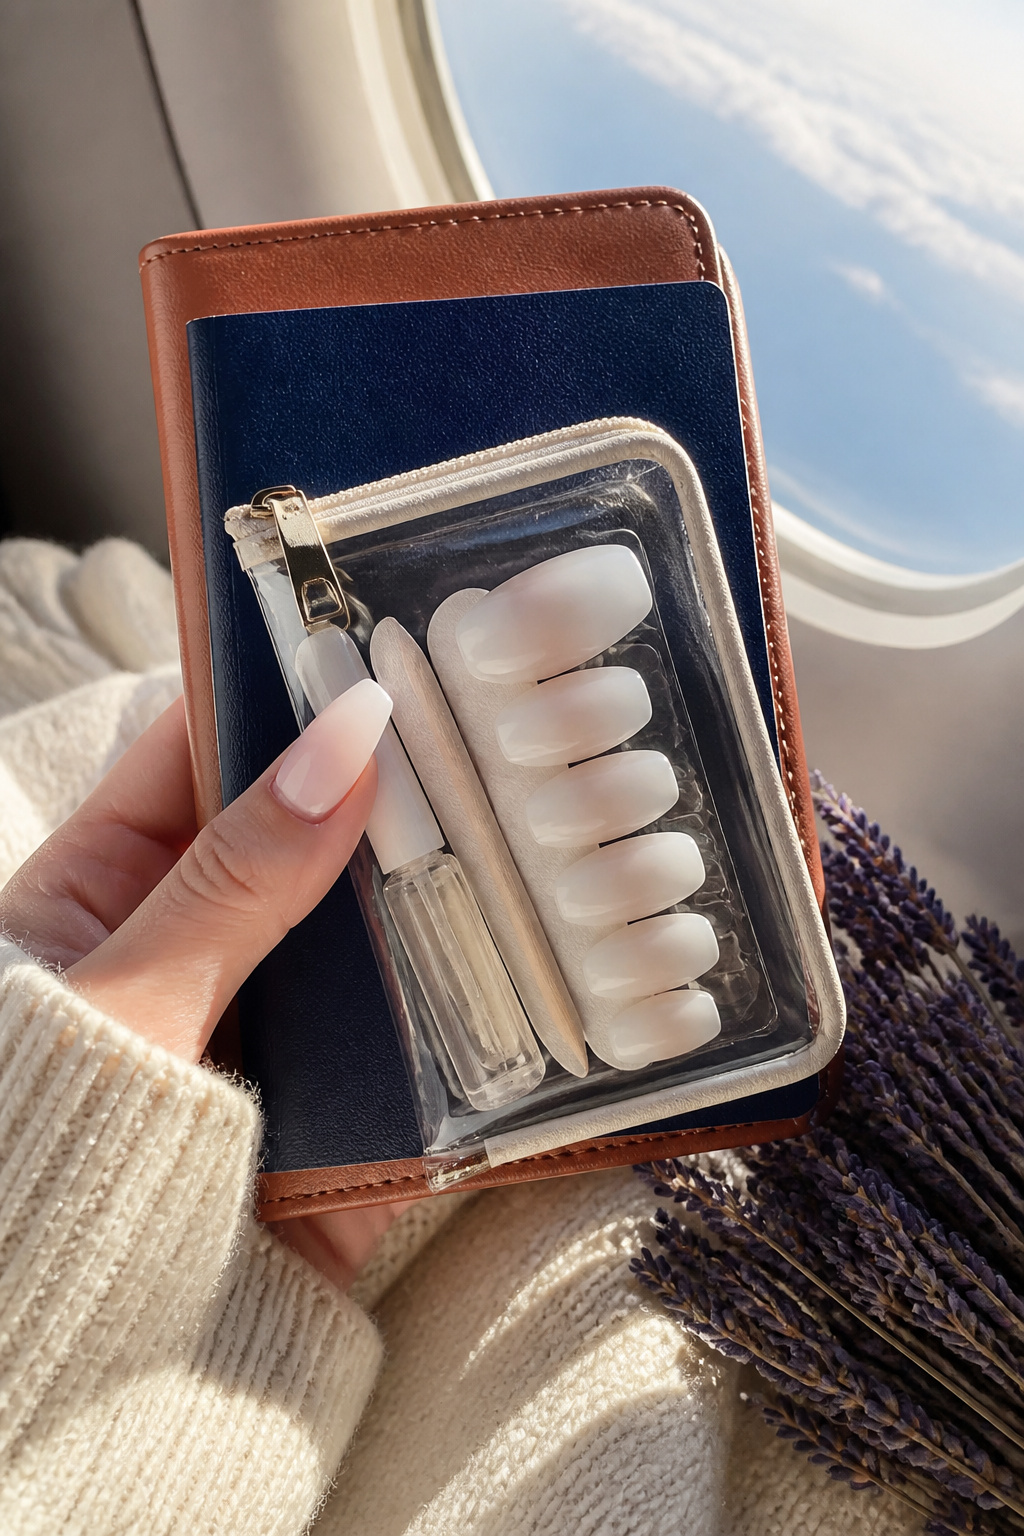

For destination weddings I always pack a mini gel repair kit: tiny white polish, clear builder gel, 2 cotton swabs, and a travel LED lamp. I once fixed a chip on a ferry with this kit. I linked a compact repair kit below, around $18 to $32. Tip: practice the repair once at home so you’re not fumbling on the day.
Shop this idea:
What You'll Need to Get This Look
Face & Base Essentials
- Sheer nude base polish around $8 to $16
- High-opacity white polish around $9 to $20
- Builder gel clear medium around $35 to $60
- Nail strengthener clear around $10 to $18
Eyes, Brows & Lips
- Satin matte topcoat small bottle around $9 to $15
- Iridescent topcoat pearly finish around $12 to $24
- LED nail lamp portable approx $25 to $70
Clothing Staples
- Silk scarf pale blush around $12 to $40
- Cream cashmere crewneck sweater approx $60 to $120
Shoes, Bags & Jewelry
- Gold chunky hoop earrings around $10 to $35
- Pearl stud earrings small around $8 to $25
- Leather clutch tan small approx $40 to $150
Budget Swaps
- Cream sheer base drugstore around $6 to $12
- No-brand nail glue pack around $4 to $10
- Mini repair kit budget around $10 to $22
Shopping Tips for These Looks
Plan Around Sales: Buy builder gel and LED lamp during Prime Day or Sephora events for better prices, I saved about $20 on a lamp last year with early access. LED nail lamp portable
Buy a Tiny Travel Kit: Pack a repair kit for destination weddings, it saved my rehearsal night. Compact nail repair kit around $18 to $32
Thrift & Splurge Mix: Match a thrifted veil or vintage ring with affordable ombre nails to keep the overall budget curated and intentional. I found a vintage ring at a local market and paired it with a $10 manicure.
Practice the Technique First: If you DIY lace stamping or chrome, practice on tips so you know how the product behaves; stamping can look harsh if over-inked. Nail stamping kit lace plate
Watch Seasonal Trends: Pinterest Predicts 2025 mentions minimalist bridal nail looks growing; buy neutrals and pearls now to stay ahead. Milky sheer pink base polish
Dupe Hack: For builder-gel strength without salon pricing, mix a hard-wearing clear polish with a gel topcoat for added durability. Builder gel clear medium approx $35 to $60
Frequently Asked Questions
Q: How long will white ombre coffin nails last?
A: With builder gel or properly applied acrylic, expect two to three weeks before a fill is needed. For DIY gel polish, plan on 7 to 14 days, and pack a Compact nail repair kit to fix chips.
Q: Do white nails yellow over time?
A: Yes, white polishes and acrylic can yellow from sun, smoking, and certain lotions. Use a quality base coat, avoid direct sun on fresh sets, and consider a UV-protective topcoat like Iridescent topcoat pearly finish.
Q: Can I do pearls and 3D flowers on my own?
A: You can, but small 3D pieces are fiddly and need secure adhesive and encapsulation. Try a Micro pearl nail kit and practice on tips first, then seal well.
Q: Which is better for bridal longevity, acrylic or gel?
A: Acrylic tends to hold shape longer and withstands travel, while gel polish gives a glossy finish and easier removal. If durability matters most, consider a salon acrylic set like those done with a Acrylic nail kit sculpting set.
Conclusion
Start with a soft milk-white ombre if you’re unsure, it’s the easiest to style with gowns and rehearsal looks. My final tip: always test your manicure with your veil and dress fabric to catch any snags. Which white ombre are you trying first for your big day?


