








White ombre nails stopped strangers in grocery store checkout lines for me. White ombre nails are soft, polished, and read expensive in daylight and candlelight. I tested 17 white ombre looks so you can pick one that fits your budget, from under $15 kits to splurges around $120. These are wearable, easy to maintain, and actually flattering on every nail length.
I’m aiming for clean-luxe vibes, mostly under $30 with a few pro tools near $120. These suit clean girl, soft glam, and minimalist wardrobes, and work on deep to fair skin. I’ve noticed pros are leaning into milky gradients and pearlescent finishes as we head into 2025 trends.
1. Milky Gradient With Pearl Sheen
Style: Clean Girl | Budget: Under $25 | Best For: Short to medium nails
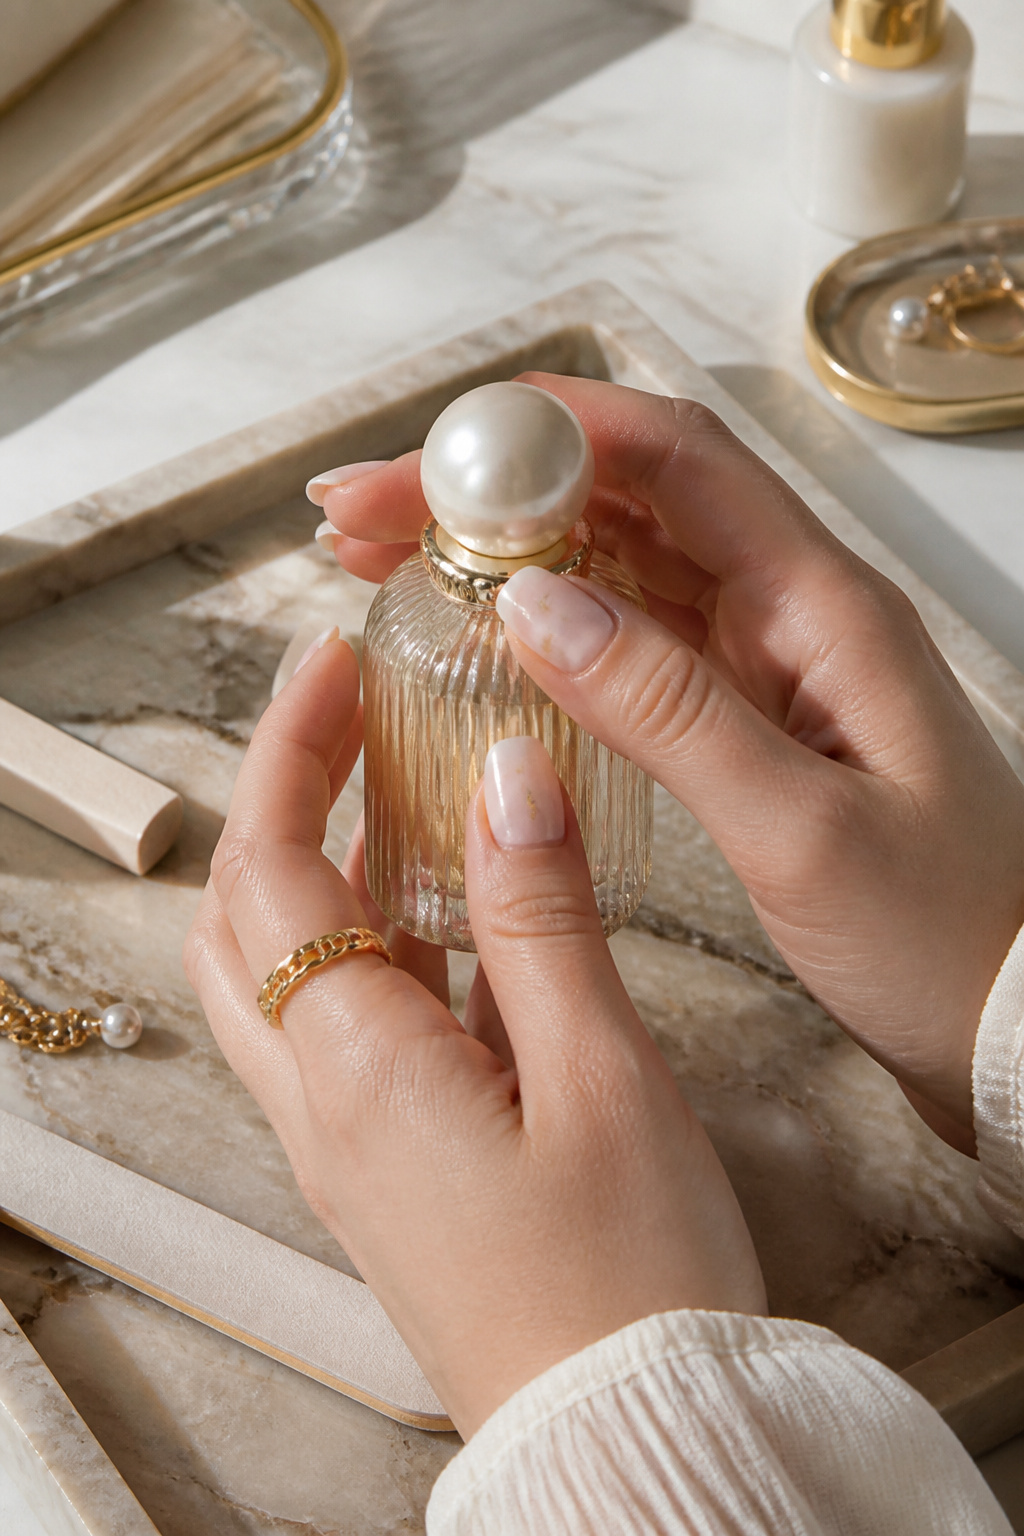

The result is soft and reflective without glitter. Use a sheer milky base and a pearlescent top coat for a subtle shift in light. The trick is thin layers and a small cosmetic sponge for blending near the tip. I learned the hard way that a chunky glitter topcoat ruins the gradient. Try this White ombre nail polish kit around $12 to $28.
Shop this idea:
2. Soft French Fade On Almond Nails
Style: Minimal | Budget: Under $30 | Best For: Almond shapes
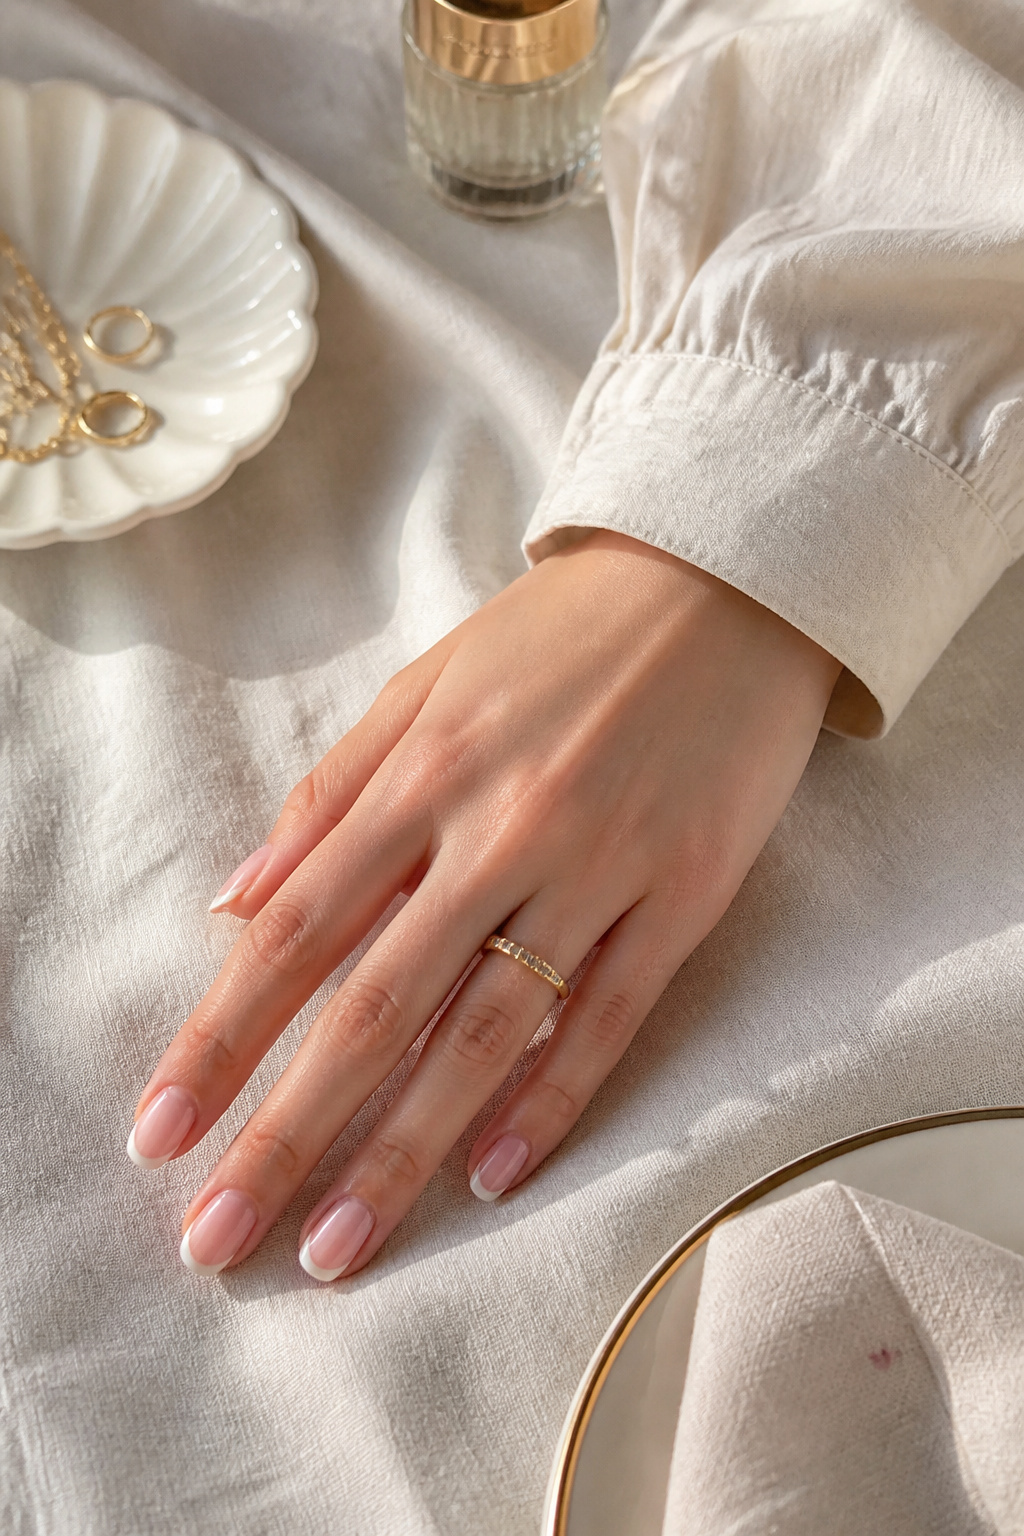

This is a grown-up French that reads high-end. Use a soft nude base then sponge on a milky white at the tips. My tip: press color in tiny taps rather than sweeping. I once sanded off a perfect fade by overbuffing the free edge. I use this Sheer nude base coat around $8 to $18.
Shop this idea:
3. Glossy Jelly Ombre On Short Nails
Style: Clean Girl | Budget: Under $20 | Best For: Short nails, practical hands


This is my go-to when I need nails that last through keyboard and dishes. A jelly finish makes the ombre look wet and luxe. Avoid thick coats, they pool at the cuticle. I once ruined a set by skipping a tack-free wipe, so always remove the tack layer. I recommend this Milky jelly nail polish around $7 to $16.
Shop this idea:
4. Satin Matte Fade For Soft Contrast
Style: Modern Minimal | Budget: Under $22 | Best For: Matte finish lovers
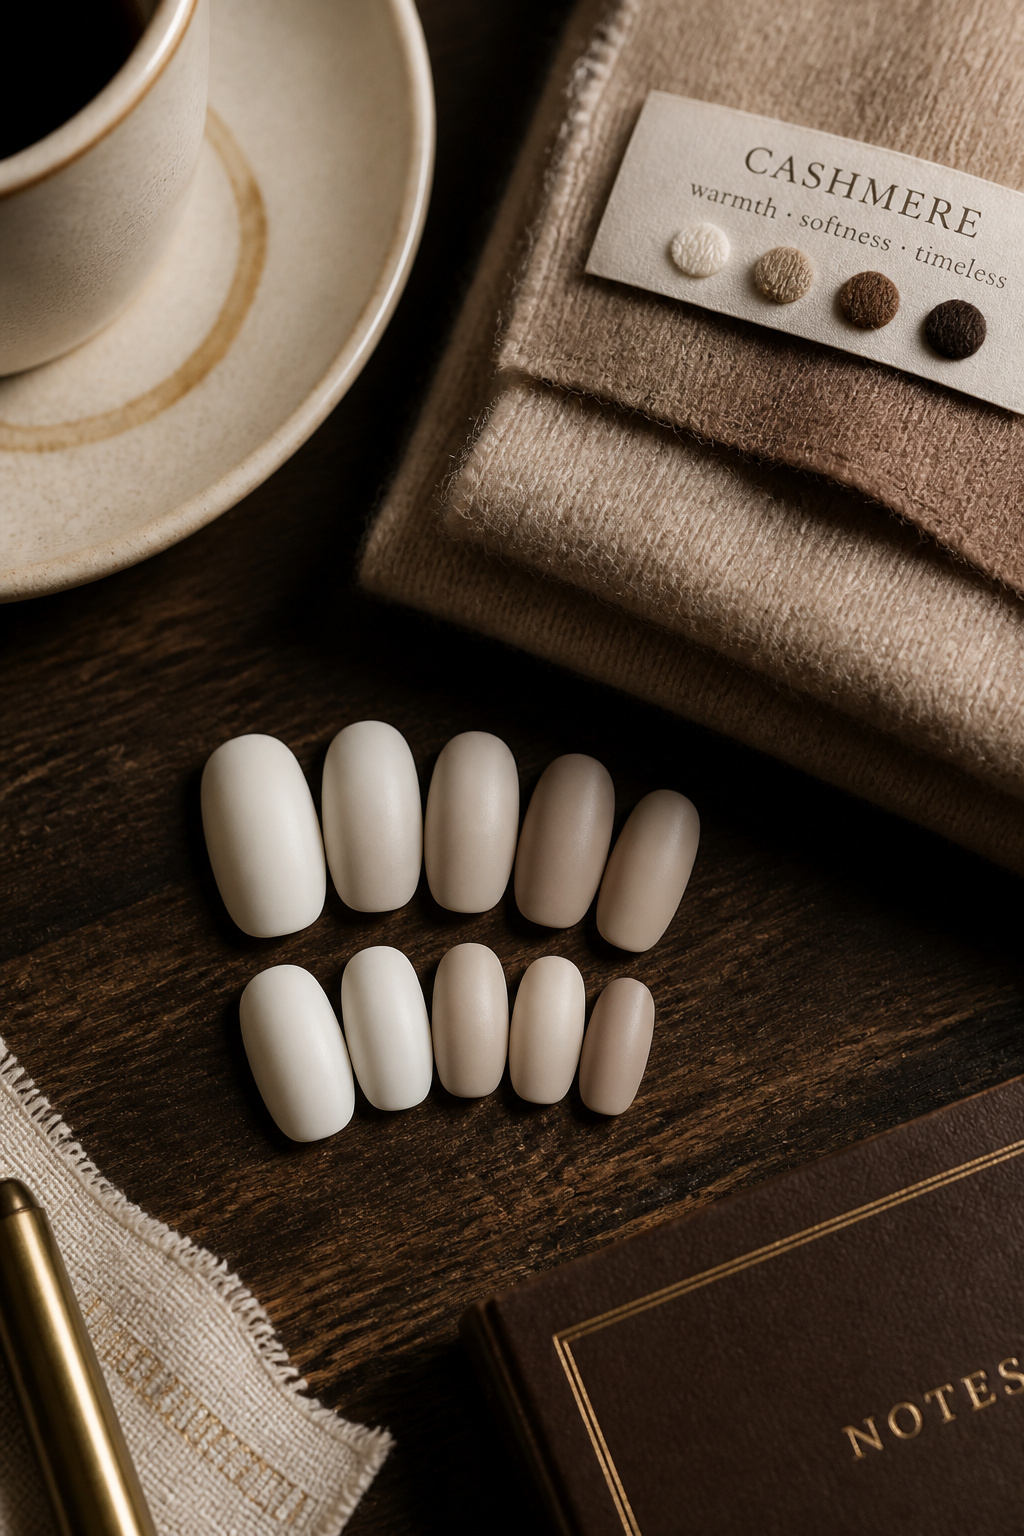

Matte makes white ombre feel editorial. Use a semi-matte top coat to keep some depth; fully flat can look cheap. The ugly truth is matte topcoats can show fingerprints instantly, so apply with clean hands. I patched this look after a coffee stain using a gentle lint roller. Use this Satin matte top coat around $9 to $18.
Shop this idea:
5. Pearly Ombre With Gold Foil Accent
Style: Soft Glam | Budget: $20 to $45 | Best For: Evening looks
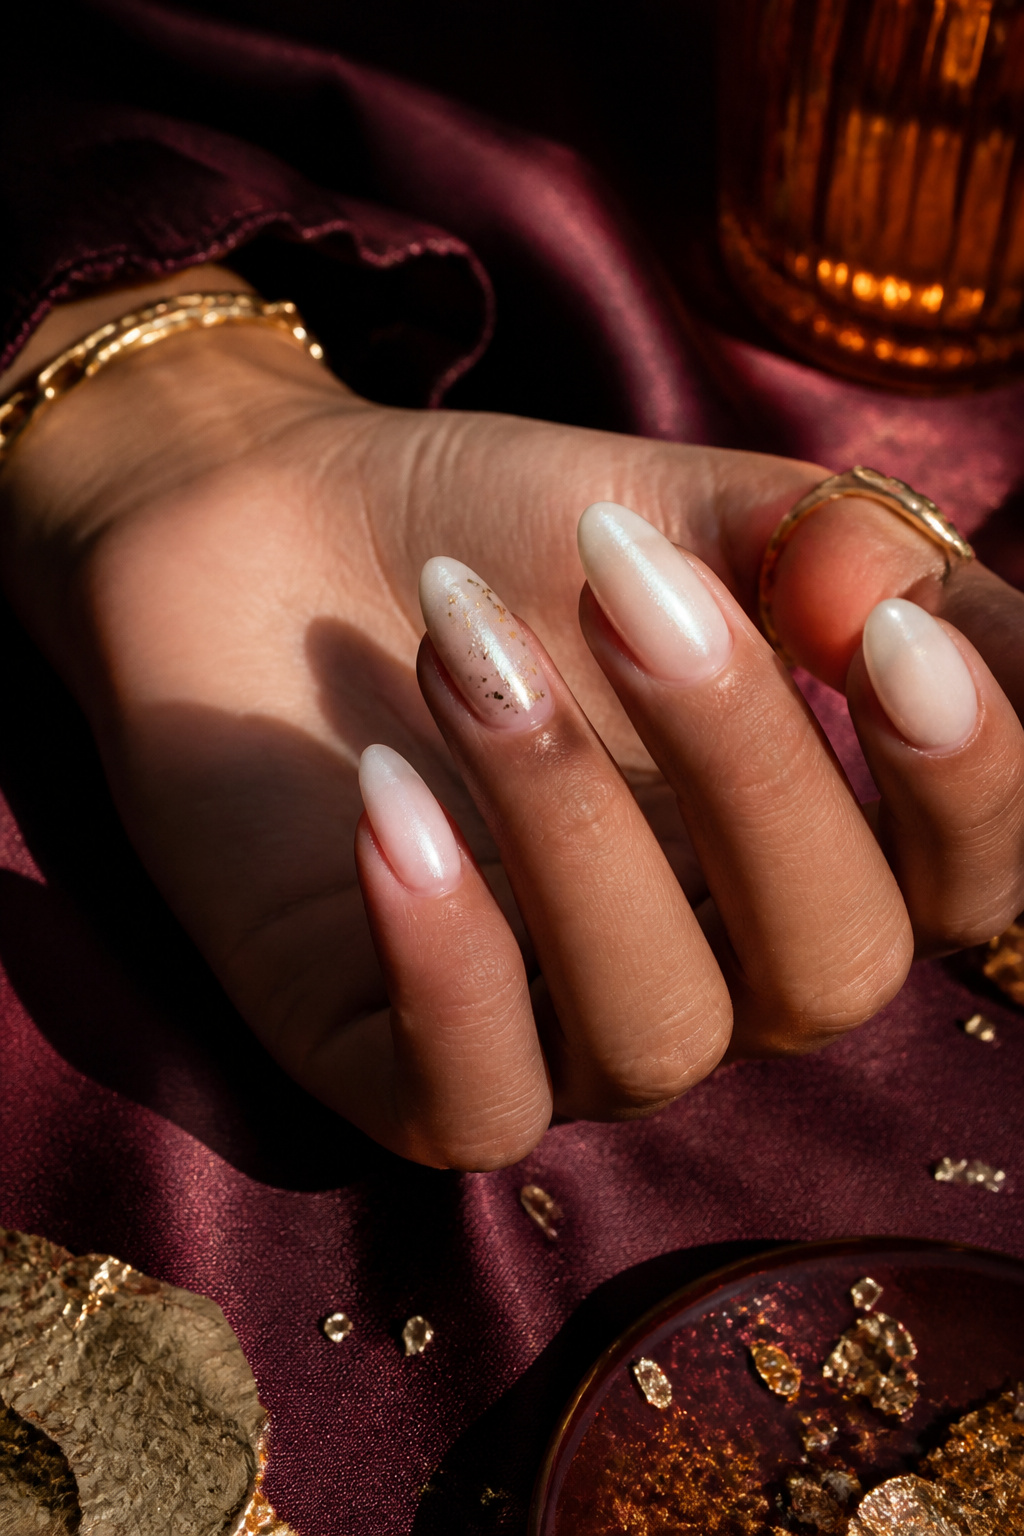

A single foil accent elevates simple ombre into something special. Apply foil sparingly on the ring finger, seal with two thin top coats. The ugly truth is cheap foil looks like confetti, so use fine leaf. I once used hobby foil and had flakes peel in two days. Get this Gold nail foil sheets around $6 to $15.
Shop this idea:
6. Soft Opal Ombre On Long Coffin Nails
Style: Luxe | Budget: $35 to $120 | Best For: Long press-ons or salon set


Opalescent pigments catch light for an expensive look. This works best on longer shapes where the color shift has room to read. Pro tip: mix a tiny pinch of opal pigment into clear top coat rather than applying thick pigment layers. I paid $95 for a salon version once and got the same effect at home with this Opalescent pigment jar around $8 to $20.
Shop this idea:
7. Sheer Milk Base With Satin Tip
Style: Minimalist | Budget: Under $18 | Best For: Natural nail enthusiasts


This is understated and timeless. Use a milk-white jelly base and a satin top for a soft tip fade. My practical tip is to file the free edge into a soft oval first; it helps the fade look natural. I learned that thick white polish makes nails look short, so keep layers thin. Try this Sheer milk base polish around $6 to $14.
Shop this idea:
8. Marble Ombre Accent Nail
Style: Curated | Budget: Under $28 | Best For: Accent nail lovers


Marble adds texture without being busy. Use a dot of grey and a very thin brush to feather veins across the ombre. The trick is one continuous motion, not patchy lines. I once overworked veins and ended with a muddy look. This Nail marble brush set around $7 to $18 helped me control the strokes.
Shop this idea:
9. Translucent White With Micro-Glitter
Style: Soft Glam | Budget: Under $25 | Best For: Party nights


Micro-glitter gives a hint of shimmer without becoming chunky. Mix a micro-glitter polish into the last gradient layer and seal tightly. Ugly truth: big glitter chips fast and looks cheap, so micro is the move. I wore this to a wedding and the light flattered photos. Use Micro-glitter nail polish around $9 to $20.
Shop this idea:
10. Press-On Milky Ombre For Instant Chic
Style: Practical | Budget: Under $30 | Best For: Travel, no-salon days


Press-ons are the fastest way to get an expensive gradient. Pick a set with varied sizes and a thin adhesive for a natural edge. My mistake once was filing press-ons too aggressively and shortening them too much. Keep an emergency glue tube in your bag. I used this Long-lasting press-on ombre set around $12 to $28.
Shop this idea:
11. Satin Iridescent Fade With Micro Pearls
Style: Romantic | Budget: $20 to $40 | Best For: Brunch or dates


Tiny pearls at the cuticle make an understated statement. Apply pearls on tacky top coat and seal well. The ugly truth is pearls fall off if not fully encapsulated, so double-seal. I learned to press pearls into the tacky layer rather than glueing them on top. Use Micro pearl nail beads around $5 to $12.
Shop this idea:
12. Icy Ombre With Silver Foil Tips
Style: Edgy Minimal | Budget: Under $30 | Best For: Cooler undertones


Silver foil at the tips creates an editorial edge. Lightly press foil at the tip only and smooth with a silicone tool. The trick is not to overdo the foil or it reads costume. I once left jagged edges and had to file them down. Try Silver foil nail accents around $6 to $14.
Shop this idea:
13. Creamy Ombre With Thin Gold Line
Style: Elevated Classic | Budget: $18 to $35 | Best For: Office to evening


A single thin gold line near the cuticle reads very curated. Use a gold striping polish or micro-foil hair and a steady hand. The ugly truth is thick metallic lines look dated, so keep them fine. I practiced on press-ons first and it saved a ruined salon set. Use Gold striping polish around $5 to $14.
Shop this idea:
14. Gradient With Matte Tip And Glossed Crescent
Style: Modern Edge | Budget: Under $28 | Best For: Small hands


Mixing matte and gloss adds dimension while staying minimal. Keep the crescent glossy at the cuticle to catch light. Tip: use a clear dot of top coat at the cuticle after matte application to avoid smudging. I once used a matte seal that dulled my glossy crescent; test products first. Use Clear glossy top coat around $8 to $16.
Shop this idea:
15. Toned-Down Ombre With Sheer Beige
Style: Old Money Minimal | Budget: Under $20 | Best For: Neutral wardrobes
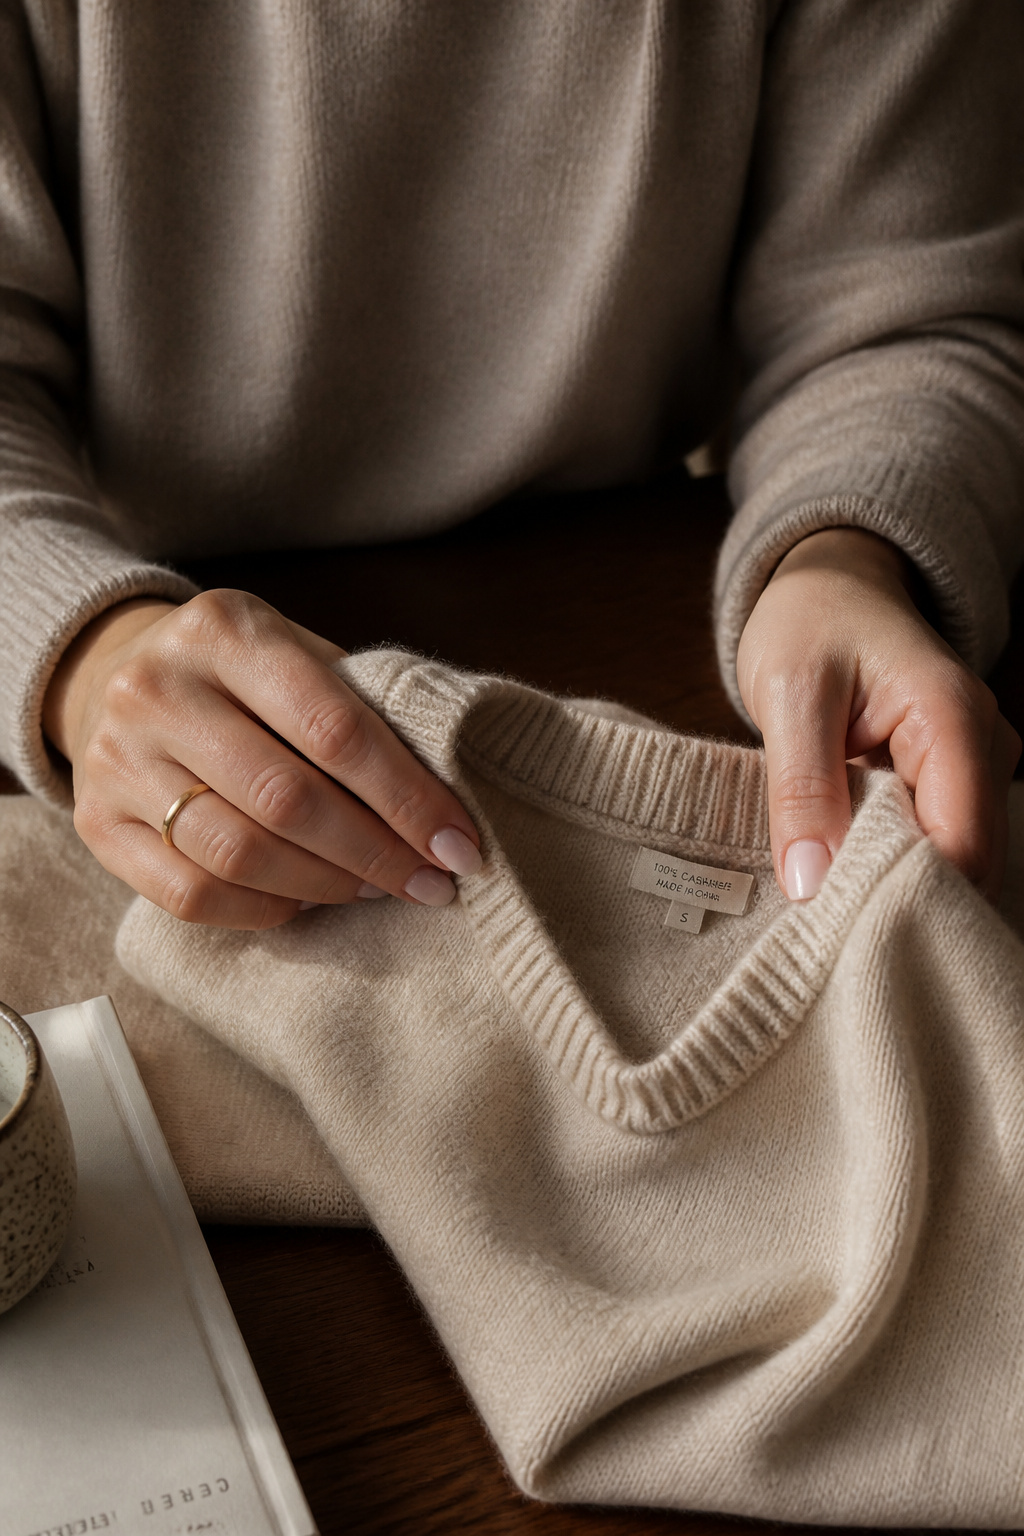

This is very wearable and matches neutral outfits effortlessly. Use a warm beige base then blend a soft white at the tip. The practical tip is to balance warmth with a slightly translucent white so it doesn’t scream painted. I bought a similar salon look for $65 and recreated it at home for under $20. Try Sheer beige nail polish around $6 to $14.
Shop this idea:
16. Sculpted Gel Ombre For Durability
Style: Pro Finish | Budget: $45 to $120 | Best For: Busy hands, long wear


Gel gives durability and a glassy gradient. If you’re new to gel, book one salon session to learn the layering before DIY. Ugly truth: over-curing can yellow the white, so follow lamp times exactly. I started with a salon course and then invested in this LED nail lamp professional around $30 to $120.
Shop this idea:
17. Pressed Pearl Ombre For Timeless Shine
Style: Classic Luxe | Budget: $15 to $40 | Best For: Bridal or formal


Pressing micro-pearls into an ombre creates a bridal-grade finish. Work on one nail at a time and seal completely with builder gel. The practical tip is to keep a small jar of pearls for quick repairs on the day. I wore a version of this to a friend’s wedding and it photographed beautifully. Use Pressed micro pearls for nails around $7 to $18.
Shop this idea:
What You'll Need to Get This Look
Face & Base Essentials
- Sheer nude base coat around $8 to $18
- Milky jelly nail polish around $7 to $16
- Builder gel clear around $15 to $45
Eyes, Brows & Lips
- Cuticle oil pen citrus around $5 to $12
- Cuticle pusher stainless steel around $4 to $10
Clothing Staples
- Cream cashmere crewneck sweater approx $60 to $120
- Silk scarf soft cream around $12 to $35
Shoes, Bags & Jewelry
- Gold signet ring small around $20 to $60
- Leather tote bag tan around $80 to $200
Budget Swaps
- Press-on ombre set budget around $8 to $22
- Drugstore pearlescent top coat around $5 to $12
- Affordable LED lamp compact around $20 to $40
Shopping Tips for These Looks
Buy basics in sets: Stock up on gradient sponge kits when they’re on sale, they last through many manis. I grab extras during big sales.
Timing matters: Many salons run midweek discounts and Ulta/Sephora rotate nail tools in their 21 Days of Beauty, check those windows for lamp and gel deals.
Thrift and refine: Thrift a vintage ring or compact to photograph your manicure; small heirloom pieces make nails read luxe. I found a perfect tray at a flea market for $12.
Dupe hack: For pressed pearls, a craft-store micro-bead can work; seal with builder gel so they don’t fall off. Test on a press-on first.
2025 trend note: Heading into 2025, I’m seeing milky, soft-focus nails and tiny accents in gold or pearl everywhere, so invest in versatile top coats like pearlescent top coat.
Frequently Asked Questions
Q: How long do white ombre manis last?
A: On natural nails with regular polish expect 5 to 10 days, with gel or press-ons it can be 2 to 3 weeks. For longer wear try builder gel clear and a professional cure time tip.
Q: Will white polish yellow over time?
A: Yes, sun and heat can yellow white polish and cheap formulas are worse. Use a UV-resistant top coat like pearlescent top coat and avoid over-curing.
Q: Can I do ombre on short, bitten nails?
A: Absolutely, milky jelly or sheer ombre is forgiving on short lengths and disguises imperfections. Press-ons are an instant fix, try press-on ombre set.
Q: Is gel ombre damaging?
A: Gel itself isn’t inherently damaging but improper removal and aggressive filing cause harm. Use a gel removal kit and soak carefully.
Conclusion
Start with one small change, like swapping a plain polish for a milky jelly top coat, and you’ll notice how much more polished your hands look. If you want a quick win, try a press-on ombre set for under $30. Which style would you try first, milky minimal or pearly glam?


