






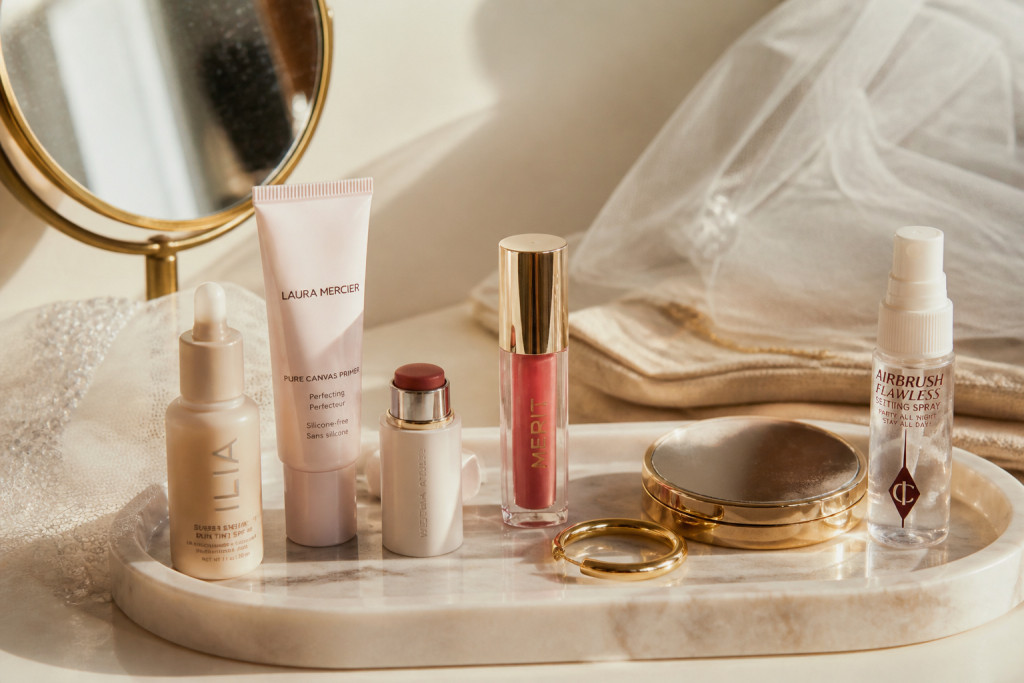

How to do bridal makeup that survives tears and dancing felt like witchcraft until my third wedding season. I had a foundation meltdown under vow-level sobbing and learned a compact truth: long-wear comes from smart layers, not heavy products.
You’ll learn a realistic kit you can build for about $80 to $180, which products I swear by, and the exact order I use so the makeup moves with you. This is for warm and neutral undertones, brides who want a fresh, lived-in look, and anyone tired of their mascara running by the first song.
1. Start with the Glow: Skin Prep and Sheer Base
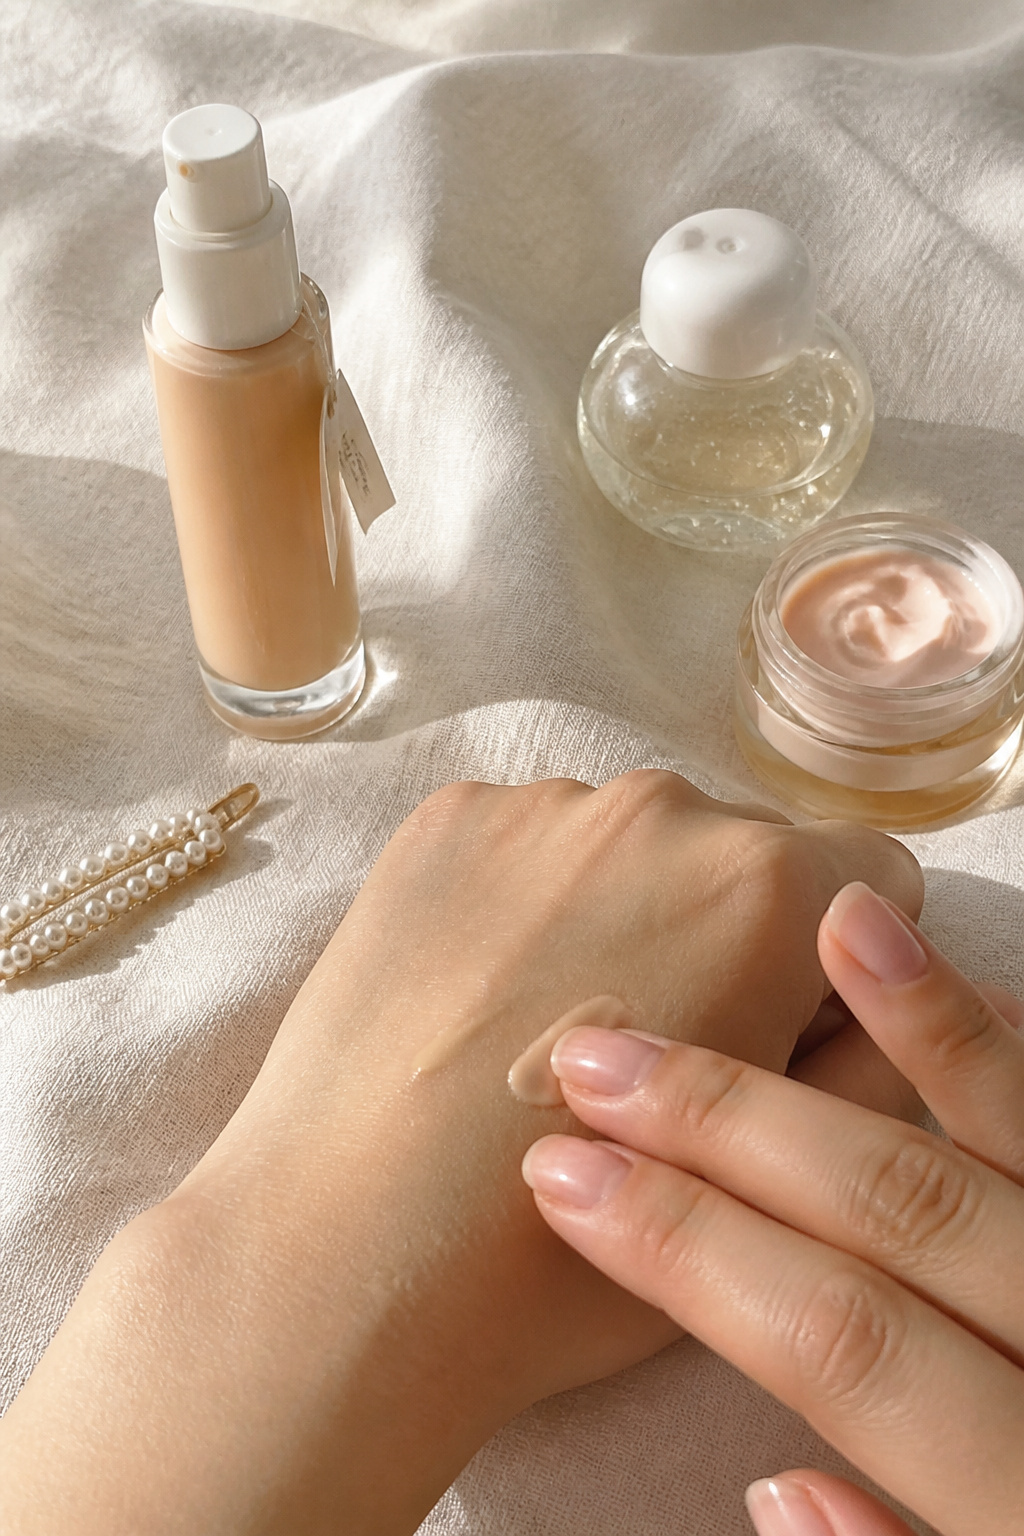

Start here because nothing masks melt like proper skin prep. I prime with a hydrating gel that minimizes sweat patches without silencing glow.
Try a lightweight skin tint that blurs but breathes. Tinted skin tint with light coverage around $18 to $38 and a hydrating primer for forehead and nose. Hydrating gel primer for long wear approx $12 to $36.
Visual principle: thin, even sheen reads as healthy in photos and won’t cake under flash. I pat, never rub, to keep coverage sheer and avoid overworking.
Mistake most brides make here is slathering full-coverage foundation to "cover" nerves. It creases and separates. Instead layer a tint, dab concealer where needed, and set strategically.
2. Layer Cream Color in Three Strategic Places
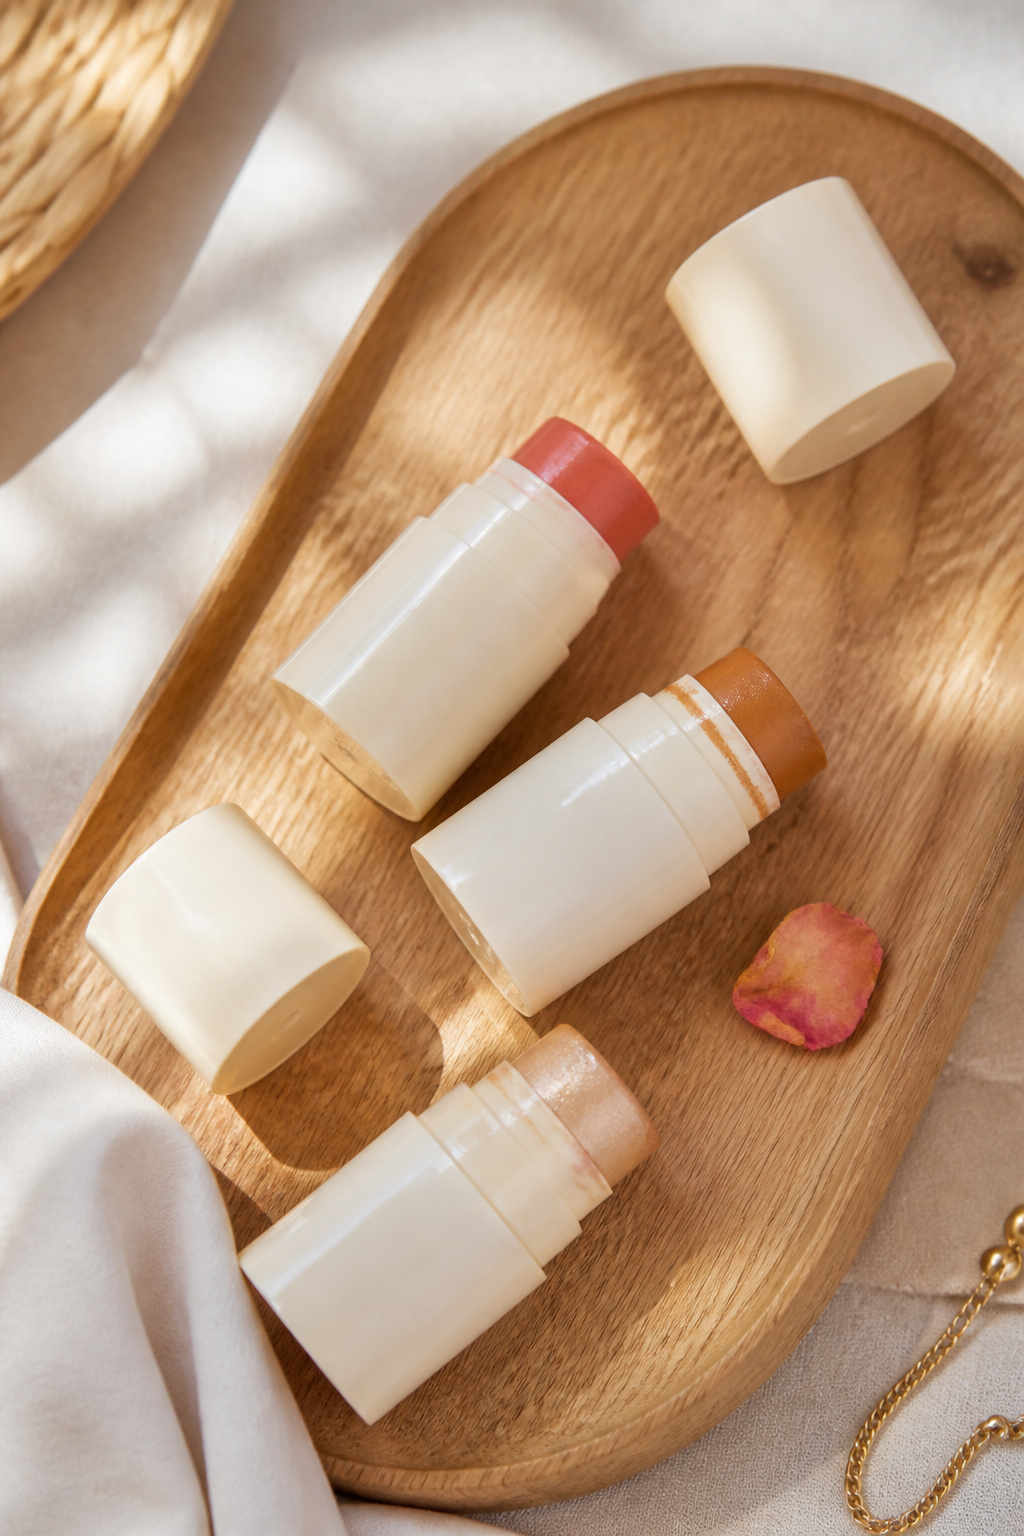

The trick is where you place cream products. I use three small dabs: cheekbone, bridge of nose, and lip base. This keeps everything tonal and kiss-proof.
My go-tos: Cream blush stick in warm peach around $14 to $24, Cream highlighter champagne stick approx $16 to $30, and Cream bronzer stick in warm caramel around $12 to $28.
Why this order: cream first, blend with fingers, then set the center of the face lightly. Color theory at play is tonal harmony. All pieces read like skin so photos stay natural.
Common misstep: powdering cream away. Tap a tiny translucent powder only on the center T and under eyes. That stops shine where you need it but keeps warmth.
3. Define Without Hardness: Soft Eye and Brow Work
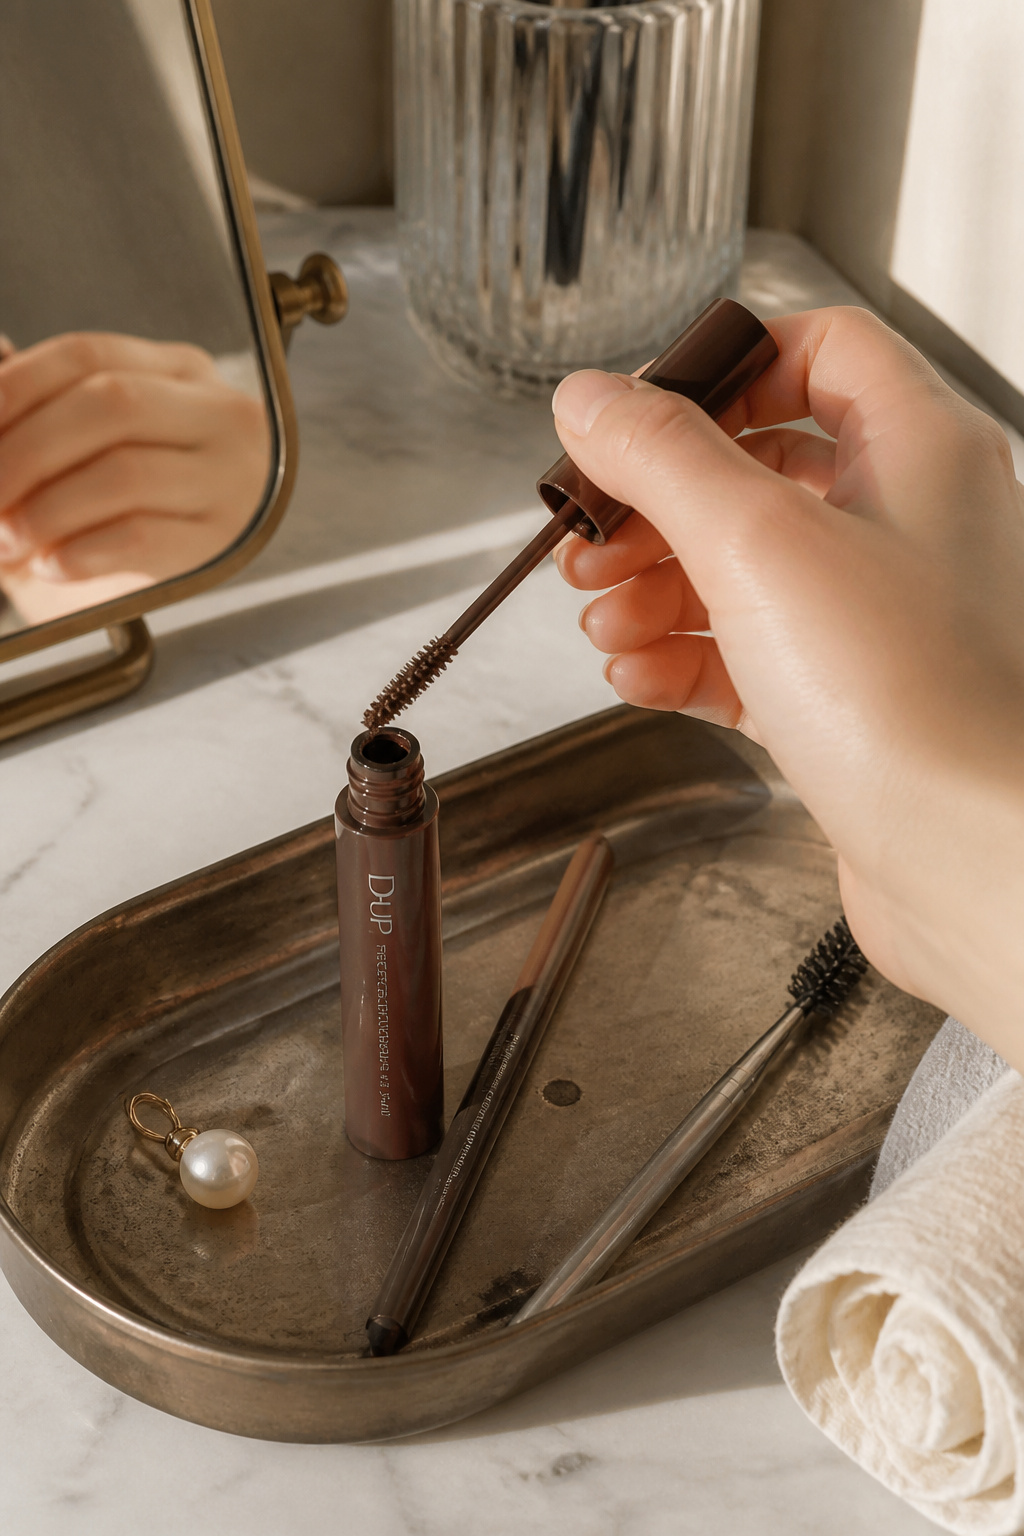

Eyes should survive a tear and look intentional without being sharp. I prefer brown waterproof formulas and a soft pencil smudged into the lash line.
My picks: Waterproof brown mascara lengthening around $10 to $26, Soft brown waterproof eyeliner pencil approx $8 to $20, and Tinted brow gel light to medium around $9 to $18.
The visual rule: softer contrast looks modern. Smudge the pencil, push a little product between lashes, then fluff brows upward. This frames the eye without looking heavy.
Ugly truth: dramatic liner melts into panda eyes. Use waterproof where it touches waterline and keep pigment warm, not black, for photos.
4. Finish with Tonal Lip and Subtle Setting
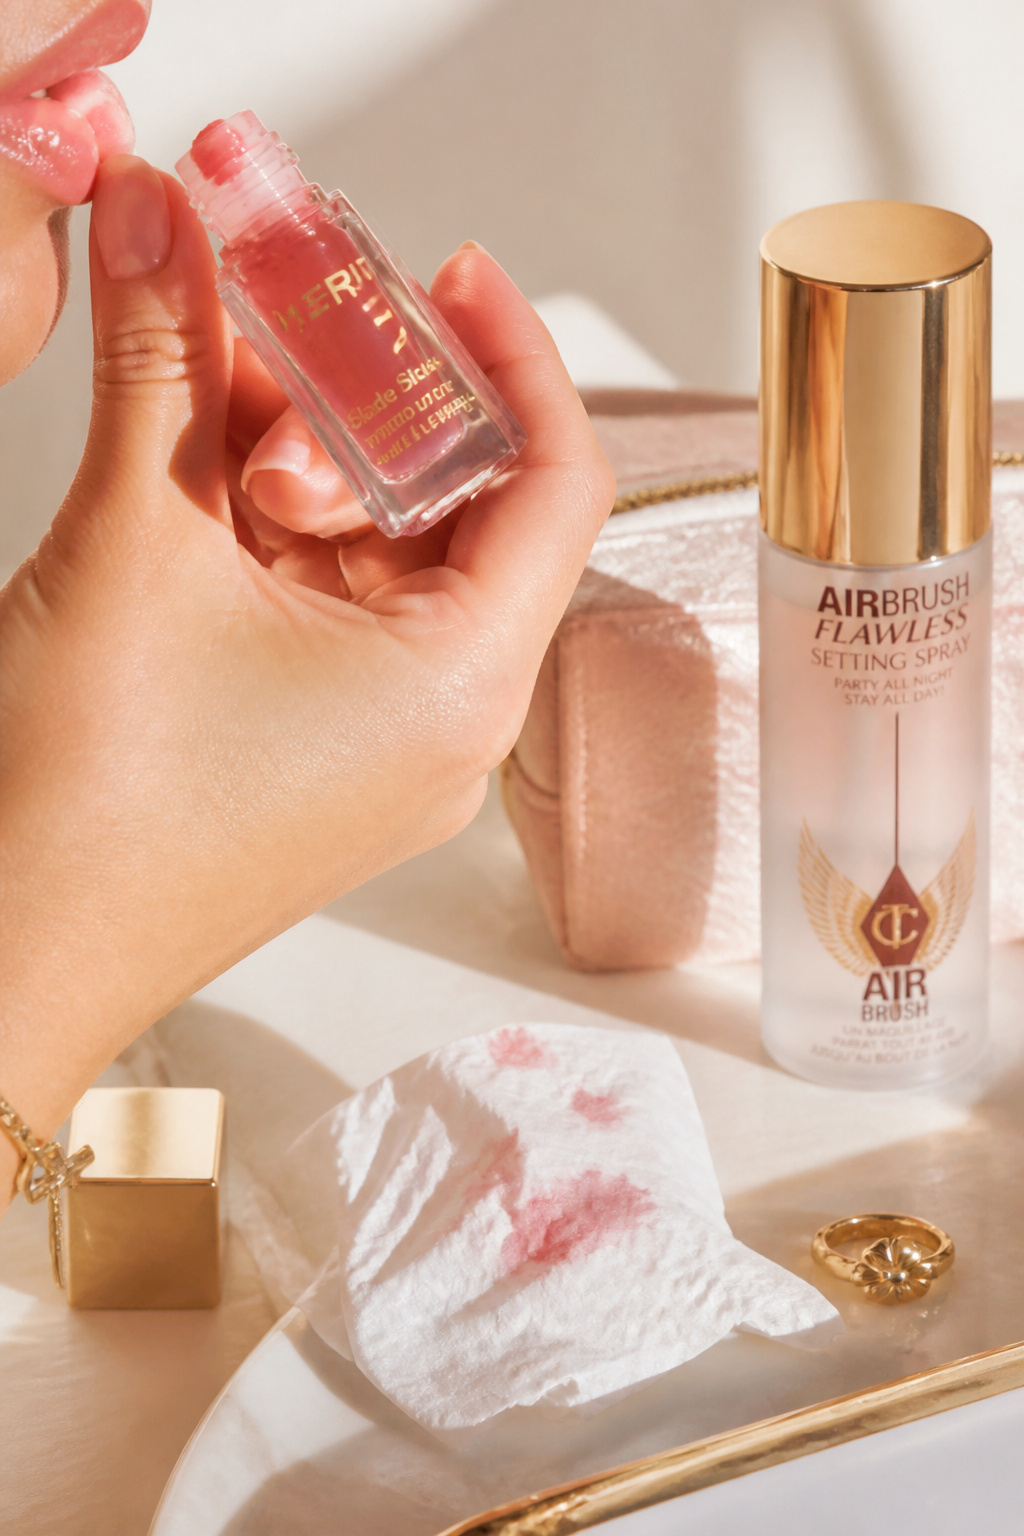

A tonal lip that moves is better than a fixed matte that flakes. I layer a long-wear tint then top with a hydrating tinted oil.
Favorites: Tinted lip stain long-wear rose around $12 to $24 and Tinted lip oil sheer rose approx $8 to $20. Finish with Fine mist setting spray for all-day hold around $10 to $30.
The visual principle: shine signals movement and life. A little gloss on the center of the lower lip catches wedding photos beautifully.
Most people over-spray. One mist holds. Two makes makeup migrate. I spray a tissue once and blot hands to check.
Common Styling Mistakes to Avoid
Mistake: Powdering the whole face to stop shine
Why it doesn't work: Dries cream products flat and creates texture in photos.
Do this instead: Lightly press translucent powder only on the T-zone. Translucent blotting powder around $10 to $22
Mistake: Matching foundation to the cheek only
Why it doesn't work: Makes the jaw look disconnected from the neck.
Do this instead: Match to the neck and test in natural light. Light coverage skin tint neck matching approx $18 to $38
Mistake: Heavy black liner on the waterline
Why it doesn't work: Emphasizes redness when you cry.
Do this instead: Use a waterproof brown pencil or tightline with a dark brown mascara. Waterproof brown pencil around $8 to $20
What You'll Need for This Look
Face & Base Essentials
Hydrating gel primer for long wear approx $12 to $36
Tinted skin tint with light coverage around $18 to $38
Cream blush stick in warm peach around $14 to $24
Eyes, Brows & Lips
Waterproof brown mascara lengthening around $10 to $26
Soft brown waterproof eyeliner pencil approx $8 to $20
Tinted lip oil sheer rose approx $8 to $20
Clothing Staples
Silk camisole ivory around $25 to $70
Shoes, Bags & Jewelry
Low block heel satin shoe champagne approx $40 to $120
Gold chunky hoop earrings 14k plated around $15 to $45
Budget Swaps
Drugstore long-wear setting spray around $8 to $16
Shopping Guide for This Look
Buy timing tip: Buy staples during wedding-season sales like Ulta 21 Days of Beauty. Tinted skin tint around $18 to $38.
Thrift hack: Find silk camisoles or veils at a thrift shop and pair with a new satin shoe. Silk camisole ivory approx $25 to $70.
2025 trend tip: Cream and hybrid products are the year’s directional move; they photograph warmer. Cream blush stick in warm peach around $14 to $24.
Splurge vs save: Splurge on a solid primer, save on tinted oils. Hydrating gel primer for long wear approx $12 to $36.
Conclusion
Start with one element that changes everything. For me that was switching to cream blush and a skin tint. It made photos softer and touch-ups easier.
Bring a small kit for touch ups: tint, cream blush, lip oil, blotting papers. Which part of the routine would you try first for your wedding day?


