








My first clean-glam looked like a filter gone wrong, and that cost me $120 in impulsive buys. The thing that helped was following clear, small lessons instead of frenetic trends. This list of 15 beginner makeup tutorials explains the stuff everyone skips, and yes I mean the tiny hacks that make a $20 product look luxe. Most builds here are under $30, a few splurges around $80.
I’m focused on polished, lived-in looks for busy people. Most items are under $30 to $60, with a couple splurges around $80. These work for clean girl, soft glam, and petite frames, and I’ve noticed cream textures and tonal dressing ruling 2025 feeds.
1. Cream Blush Trio For Lit-From-Within Glow
Style: Clean Girl | Budget: Under $30 | Best For: Dry to normal skin


Cream blush layered with a dab on the apples and swept up into the temple gives a skinlike glow most skip. The trick is fingertip warmth, not a brush. I use cream blush stick in warm peach around $14 to $24 and tap gently. I once overblended a coral and looked flushed for hours, so start light. Tip: blend before foundation sets.
Shop this idea:
2. Tinted SPF As Your First Layer
Style: Minimal | Budget: Under $30 | Best For: All skin types
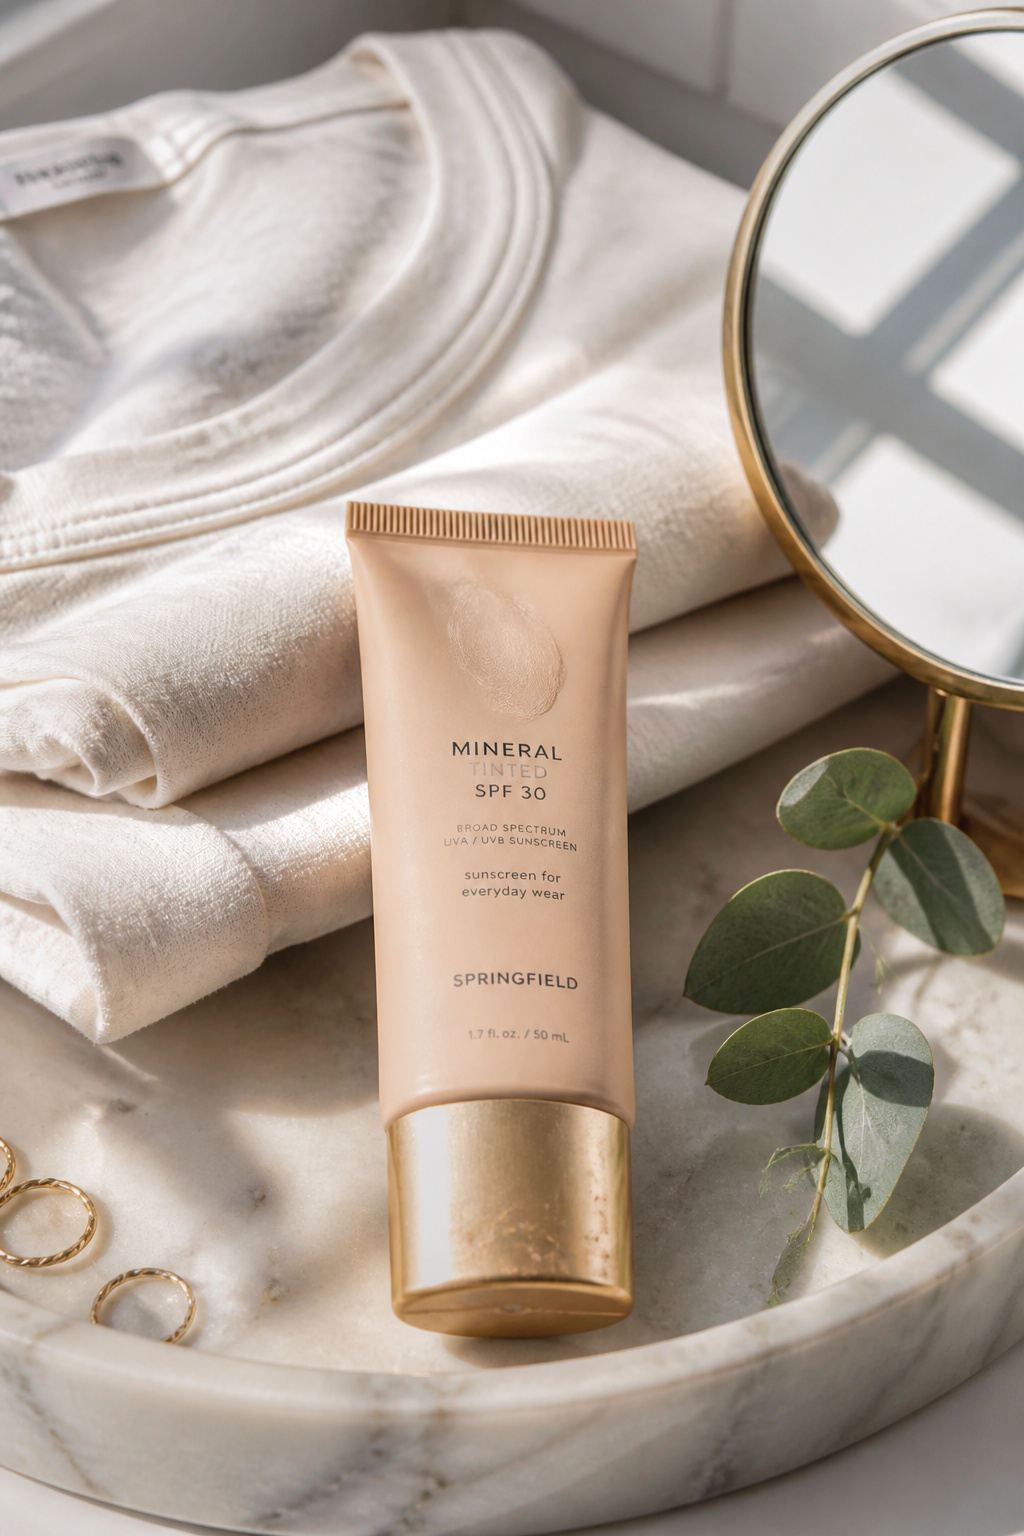

Sunscreen is non-negotiable. I layer tinted mineral SPF 30 around $12 to $28 under cream products for even tone. Dermatologists recommend daily SPF for skin health (American Academy of Dermatology). The skip I see: people apply too little. Tip: use a nickel-size amount and pat, not rub. Personal moment: I once blamed redness on foundation when it was sun damage.
Shop this idea:
3. Brow Soap To Sculpt Without Looking Drawn
Style: Clean Girl | Budget: Under $15 | Best For: Sparse to medium brows
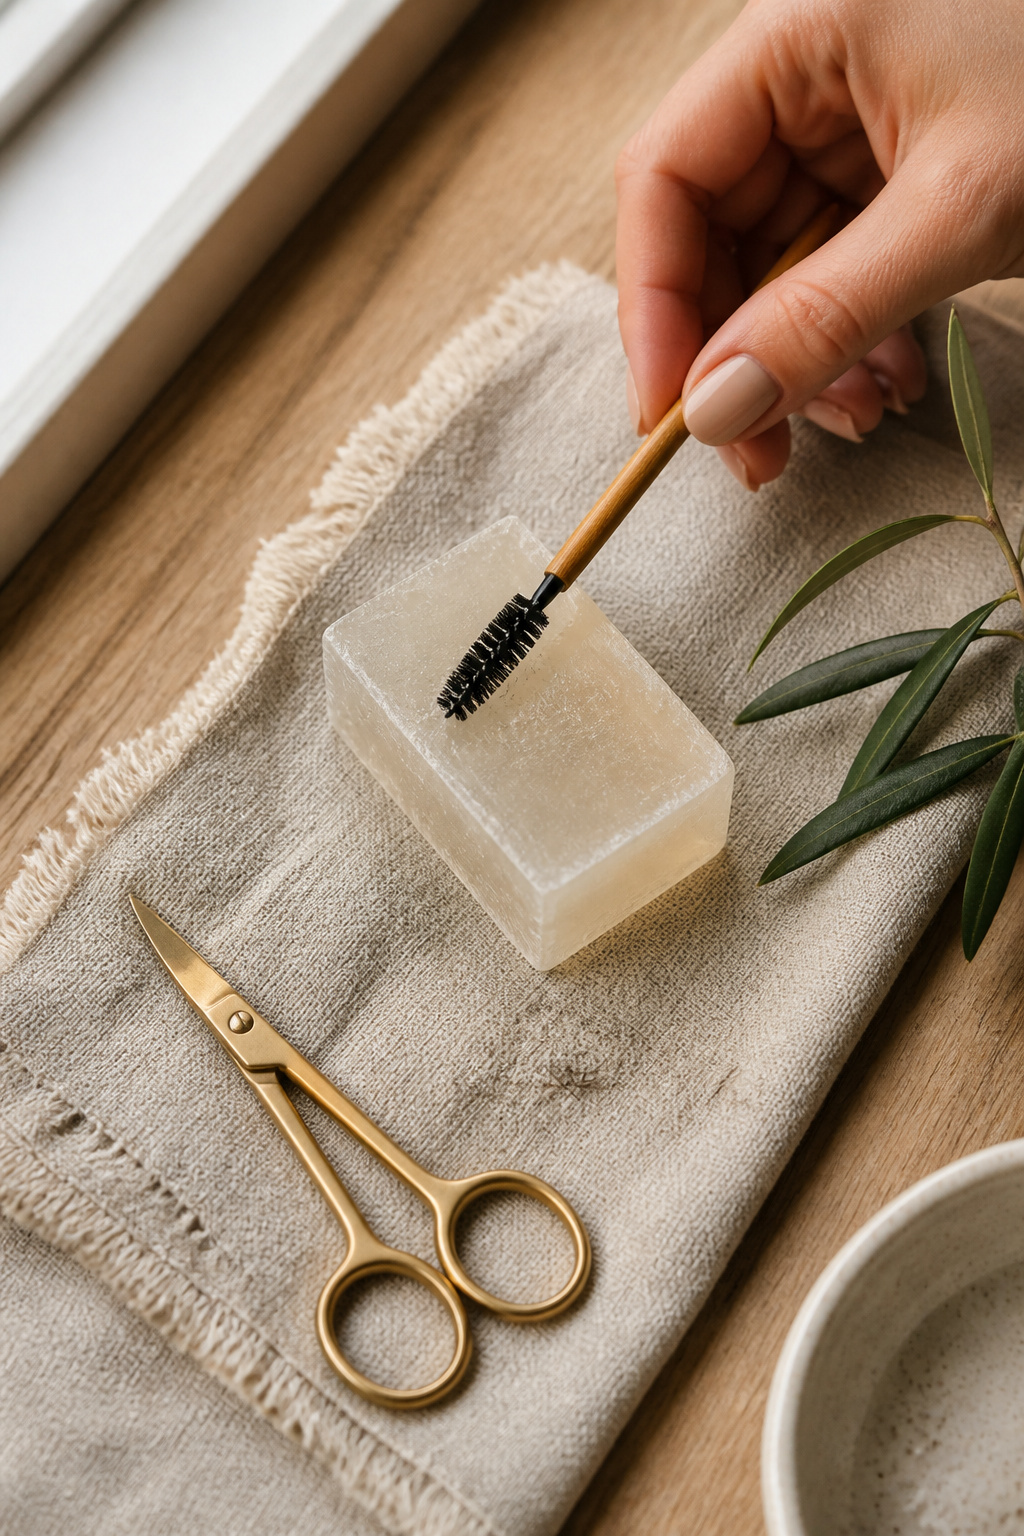

Soap brows give texture without drawn-on harshness. I mist my spoolie lightly then push hairs up with brow soap stick clear around $8 to $15. Most people use pencil and stop, which makes brows look painted. Tip: trim long hairs first and brush outward for a lifted look. I learned this after a too-thick pencil made me look surprised.
Shop this idea:
4. One-Brush Eyeshadow For Fast Definition
Style: Soft Glam | Budget: Under $25 | Best For: Hooded eyes / beginners
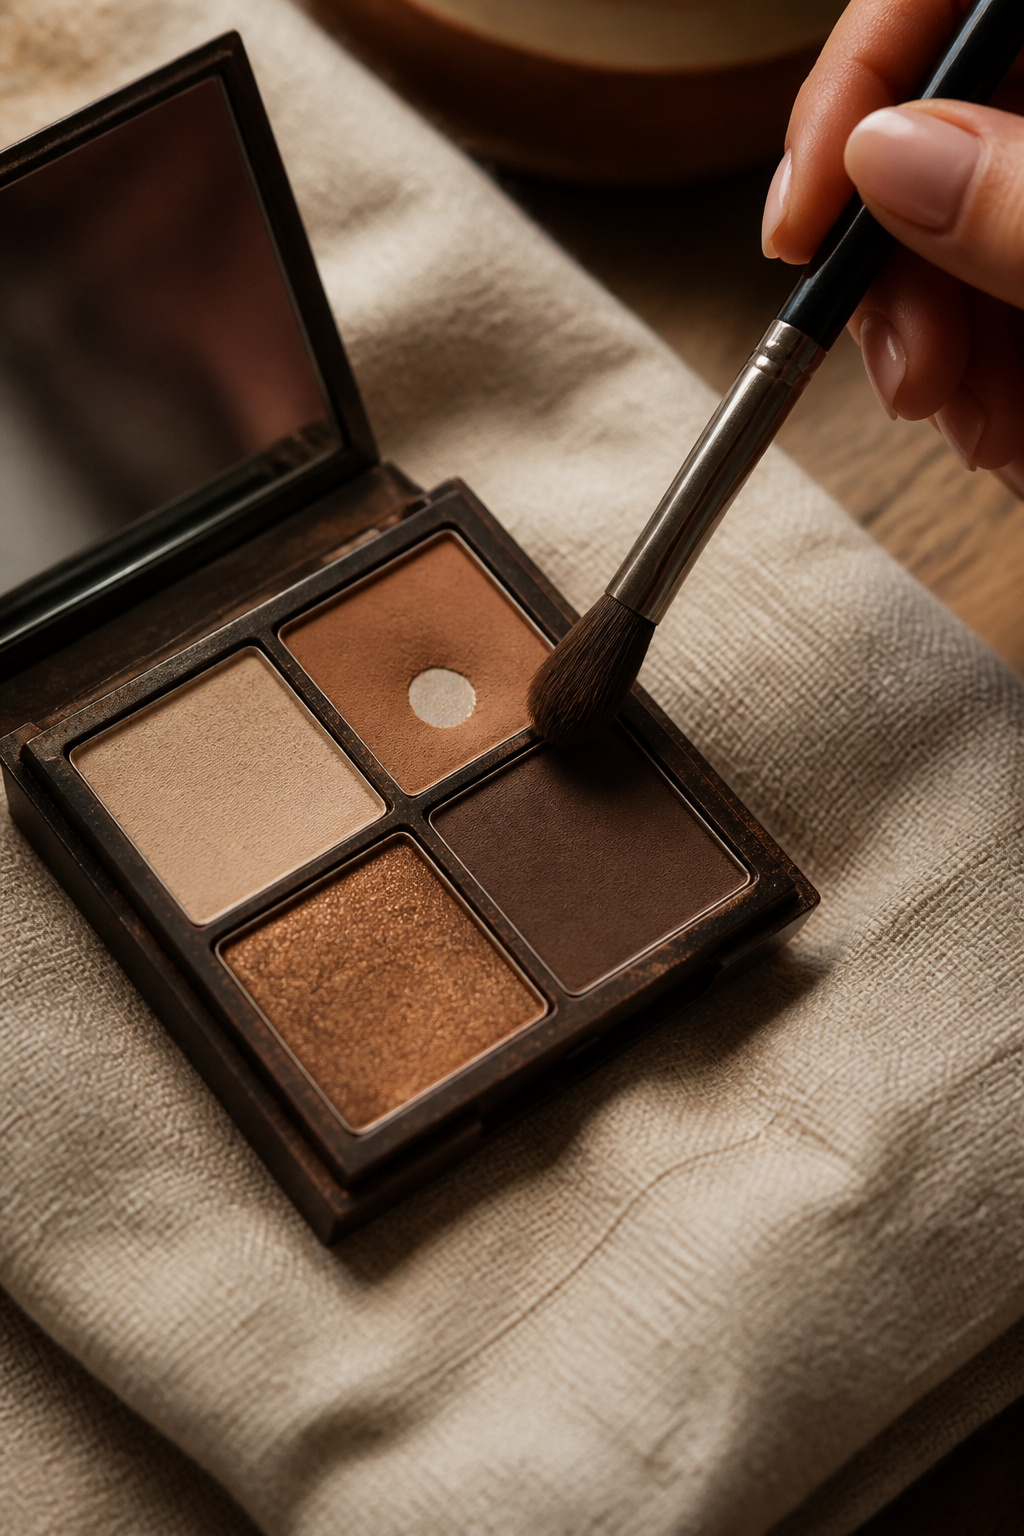

Use one warm matte as a crease wash, then add a slightly deeper shade at the lash line. I keep a small fluffy crease brush around $8 to $18 by the sink. The big skip is too many shades and over-blending until it muddles. Tip: press color into the lash line with the same brush for instant depth. Someone once complimented my eyes after doing this; I was shocked.
Shop this idea:
5. Brown Mascara To Soften Harsh Lashes
Style: Minimal | Budget: Under $12 | Best For: Daytime, blondes, fair lashes


Switching to brown mascara instantly softens the face. I learned this after my black mascara aged my soft looks. Try brown lengthening mascara around $9 to $16. Tip: wiggle at the base, then comb through to separate. Ugly truth: waterproof for every day damages lashes long-term, use it sparingly.
Shop this idea:
6. Concealer Only Where You Need It
Style: Natural | Budget: Under $18 | Best For: Combination skin, under-eye circles


Skip full-face concealing. I dot longwear concealer around $10 to $20 where redness or dark circles are worst, then blend with fingertips. The mistake I made was heavy under-eye concealer that creased and settled. Tip: set only the inner corner with a light dusting to prevent creasing. This took months to figure out.
Shop this idea:
7. Lip Oil Over Matte For Day
Style: Fresh | Budget: Under $12 | Best For: Dry lips, midday touch-ups


Lip oil makes the face look hydrated, even with minimal makeup. I pat tinted lip oil berry brown around $8 to $14 over a lip stain. The skip: matte liquid lipstick for day which can dry and highlight lines. Tip: blot once for transfer resistance. I once wore bright matte to brunch and felt like my lips were a desert.
Shop this idea:
8. Subtle Highlighter On The Inner Eye
Style: Soft Glam | Budget: Under $20 | Best For: Small or deep-set eyes
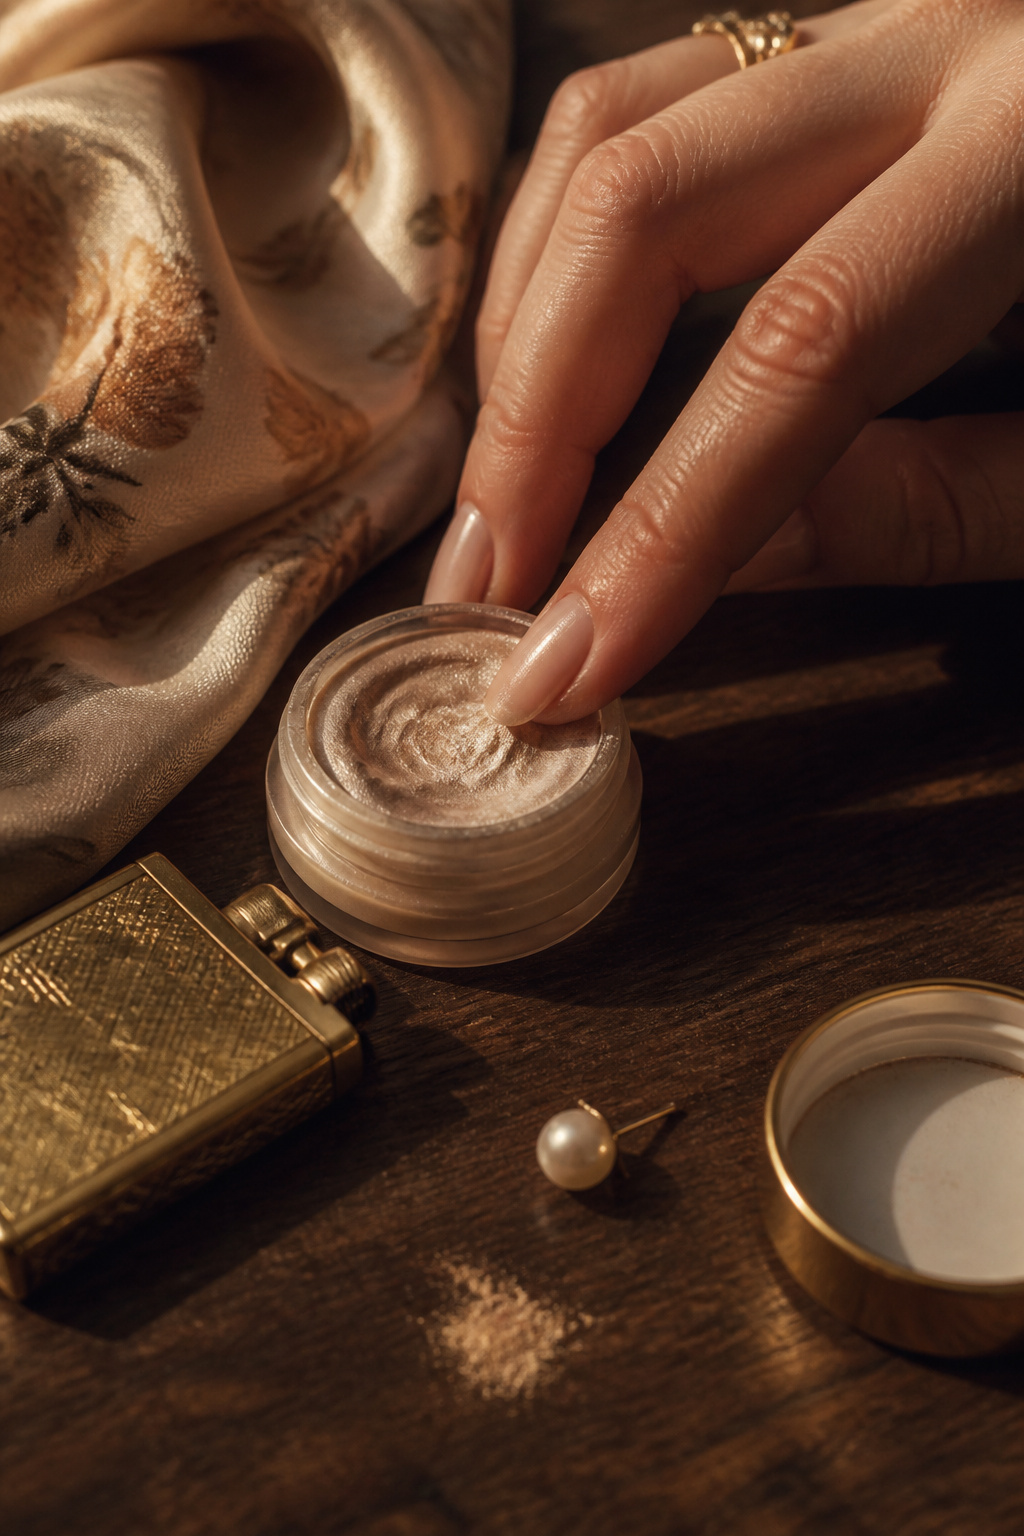

A dab of cream highlighter in the inner corner brightens without shimmer overload. Use a cream highlighter champagne around $10 to $22. Most tutorials skip inner-eye placement and instead overdo cheek glow. Tip: warm the product on your fingertip before pressing. My awkward glow days ended after this tiny change.
Shop this idea:
9. Soft Contour With A Matte Bronzer
Style: Tonal | Budget: Under $20 | Best For: Oval and round faces


Use a matte bronzer to subtly shape, not sculpt like Instagram contour. I sweep matte bronzer warm caramel around $10 to $22 where the sun naturally hits. Most beginners apply too heavy, creating a stripe. Tip: blend with a fluffy brush in circular motions. Ugly truth: harsh contour ages, softer is fresher.
Shop this idea:
10. Set Only The T-Zone For Longevity
Style: Clean | Budget: Under $15 | Best For: Oily to combo skin


All-over powder flattens skin. I lightly dust a fan brush with translucent setting powder around $9 to $18 across the T-zone only. The skipped step is setting strategically, not baking. Tip: press with a puff under the eye for one second, then brush away excess. Someone told me my skin looked alive not cakey after I learned this.
Shop this idea:
11. Match Blush And Lip Tone For Cohesion
Style: Tonal | Budget: Under $20 | Best For: Warm undertones


Matching the undertone of your blush and lip color makes a look feel intentional. I pair peach cream blush around $12 to $20 with a tinted balm. Beginners often mix opposite tones and look two-faced. Tip: test on your jawline in natural light. I found my best combo at an Ulta sale and wore it for weeks.
Shop this idea:
12. Single Gold Shadow For Quick Evening Sparkle
Style: Bold | Budget: Under $18 | Best For: Evening looks, hooded lids


A single pressed gold shadow at the center of the lid reads polished. Swipe metallic gold shadow pot around $10 to $18 with a dampened brush. The skipped step is prepping the lid with a thin cream base to avoid patchiness. Tip: blend edges with a matte brown for seamlessness. I wore this to a rooftop party and got asked for the brand.
Shop this idea:
13. Quick Brow Tint At Home For Polished Brows
Style: Classic | Budget: Under $25 | Best For: Light brows, low-maintenance


Tinting brows at home can last weeks and instantly frame your face. I used a gentle eyebrow tint kit medium brown around $12 to $25 once and it cut my morning routine in half. The skip is ignoring patch tests. Tip: follow the hold time precisely and clean edges with micellar water. I had one uneven tint and learned to section brows first.
Shop this idea:
14. Silk Scarf As A Headband To Hide Grease
Style: French Girl | Budget: Under $20 | Best For: Second-day hair
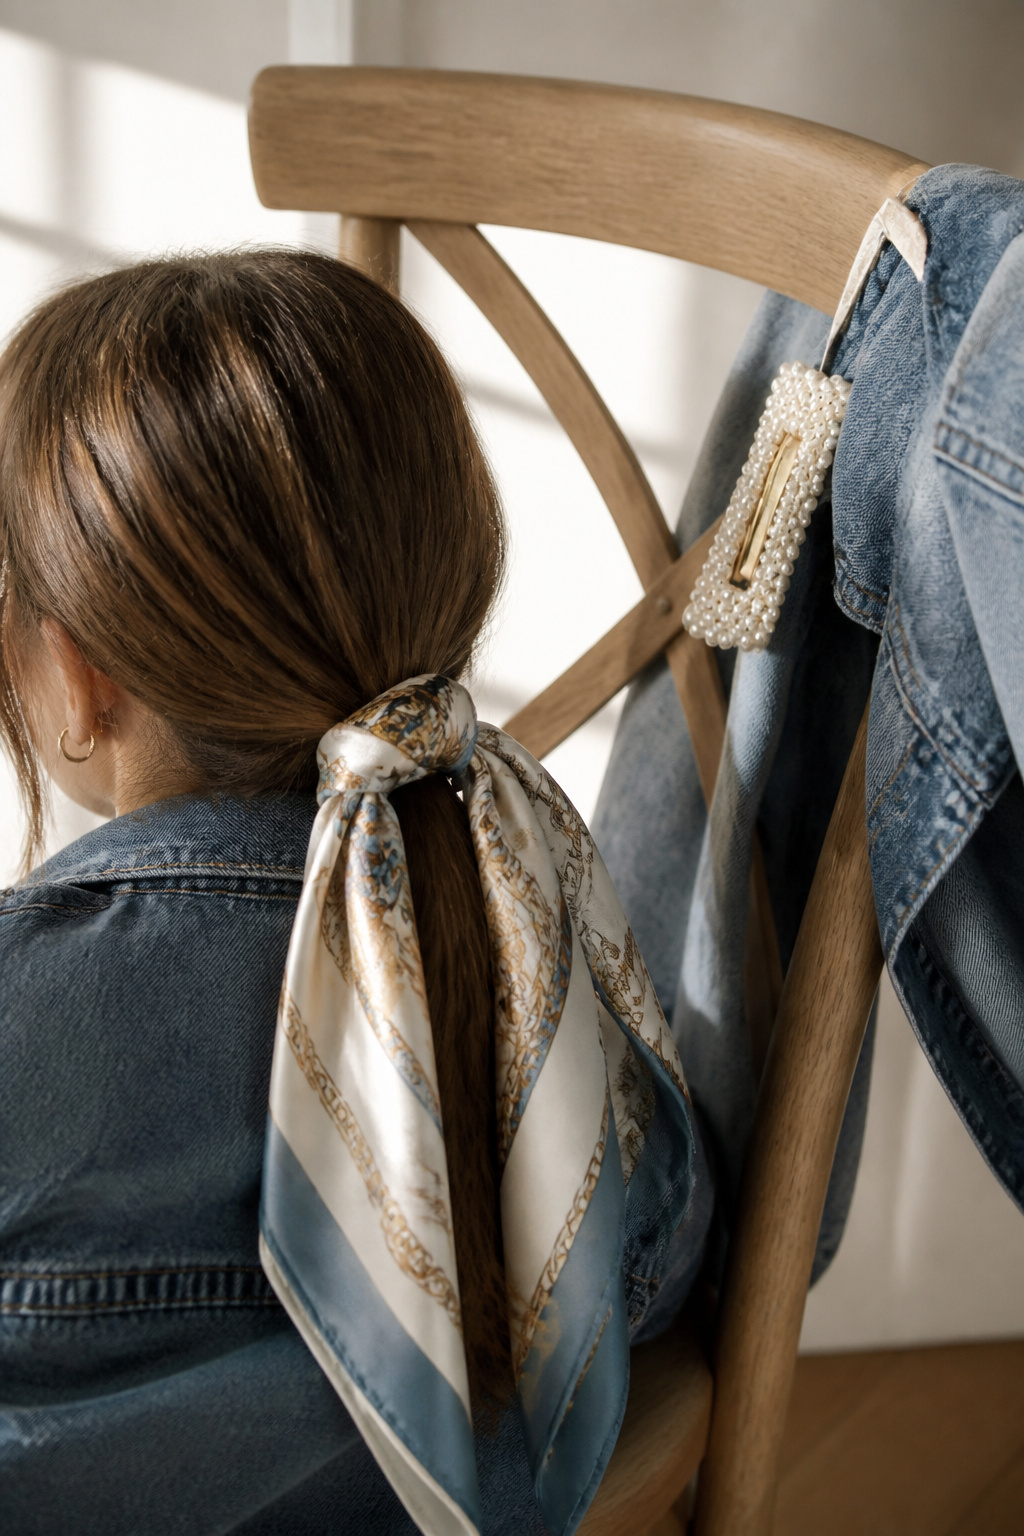

A silk scarf hides greasiness and elevates basics. I tie a small silk square scarf navy around $10 to $20 and pull out a few face-framing pieces. People assume messy hair needs heavy washing; sometimes accessories solve it. Tip: anchor with bobby pins at the nape. I once turned a "bad hair" afternoon into compliments.
Shop this idea:
15. One Jewelry Change To Elevate A Tee
Style: Elevated Casual | Budget: Under $40 | Best For: Capsule wardrobes


Swapping studs for a chunky gold hoop upgrades a plain tee instantly. I keep chunky gold hoop 30mm around $12 to $40 in my bag. The skip: layering too many necklaces that compete with a neckline. Tip: pick one statement piece and balance with simple studs. I got a compliment in line at the coffee shop once and felt oddly proud.
Shop this idea:
What You'll Need to Get This Look
Face & Base Essentials
- Tinted mineral SPF 30 around $12 to $28
- Longwear concealer around $10 to $20
- Cream blush stick in warm peach around $14 to $24
- Translucent setting powder around $9 to $18
Eyes, Brows & Lips
- Brown lengthening mascara around $9 to $16
- Brow soap stick clear around $8 to $15
- Tinted lip oil berry brown around $8 to $14
Clothing Staples
- Silk square scarf navy around $10 to $20
- Classic white tee oversized around $12 to $30
Shoes, Bags & Jewelry
- Chunky gold hoop 30mm around $12 to $40
- Leather tote bag tan around $80 to $200
Budget Swaps
- Cream blush dupe peach around $8 to $14 (drugstore)
- Faux leather tote small around $25 to $50
Shopping Tips for These Looks
Buy During Seasonal Sales: Many brands run spring and Black Friday events, snag the cream blush stick in warm peach on a rotating sale for the best price, usually around $14 to $18.
Thrift The Hardware: Look for vintage hoops and signet rings at thrift stores, then polish and use them with modern pieces, or search curated secondhand apps for classic gold hoops.
Try Small Sizes First: For skincare or tint kits, buy travel or sample sizes to test undertone compatibility; many Amazon listings have mini sizes in the product search.
Layer Smart For Season Changes: Swap liquid lip oil for a balm in winter. A tinted lip oil berry brown in fall, balm in winter, keeps the look cohesive.
Capitalize On 2025 Cream Trend: Cream textures are staying strong into 2025 for dewy, lived-in finishes. Look for multipurpose cream sticks in makeup searches to save money and time.
Frequently Asked Questions
Q: How often should beginners replace mascara?
A: Replace mascara every three months to avoid bacterial buildup. Try a low-cost option like brown lengthening mascara and discard after 90 days.
Q: Can I use cream blush as eyeshadow?
A: Yes, cream blush doubles as an eyeshadow for a tonal look. Warm peach works best; dab a fingertip of cream blush stick in warm peach and blend.
Q: Is brow soap safe for all skin types?
A: Generally, yes if used on hairs only and not skin; choose a gentle formula like brow soap stick clear. Patch test if you have sensitive skin.
Q: How much SPF should I apply under makeup?
A: Use roughly a nickel-size for face and neck combined. A tinted option like tinted mineral SPF 30 makes this easy to layer under makeup.
Conclusion
Start with one tiny swap, like tinted SPF or brown mascara, and build from there. My best tip is to treat makeup like tailoring: small adjustments create a polished result. Which of these 15 tiny lessons are you trying first, and do you want a short routine for mornings or evenings?


