








I ruined a $38 matte foundation the first time I tried full matte in humidity. The nose looked like powdered mountains by noon.
If you want to learn how to do matte makeup that stays smooth—no cake on the nose—this is the exact six-part routine I rely on. Budget: under $60 to start, $120 to build a full kit.
Statista estimates the global beauty market was about $510 billion in 2023, so brands keep pushing new mattes. I stick to what visually works: minimal powder on the nose, targeted oil control, and cream layers that look skinlike.
1. Start with the Glow: Skin Prep and Sheer Base
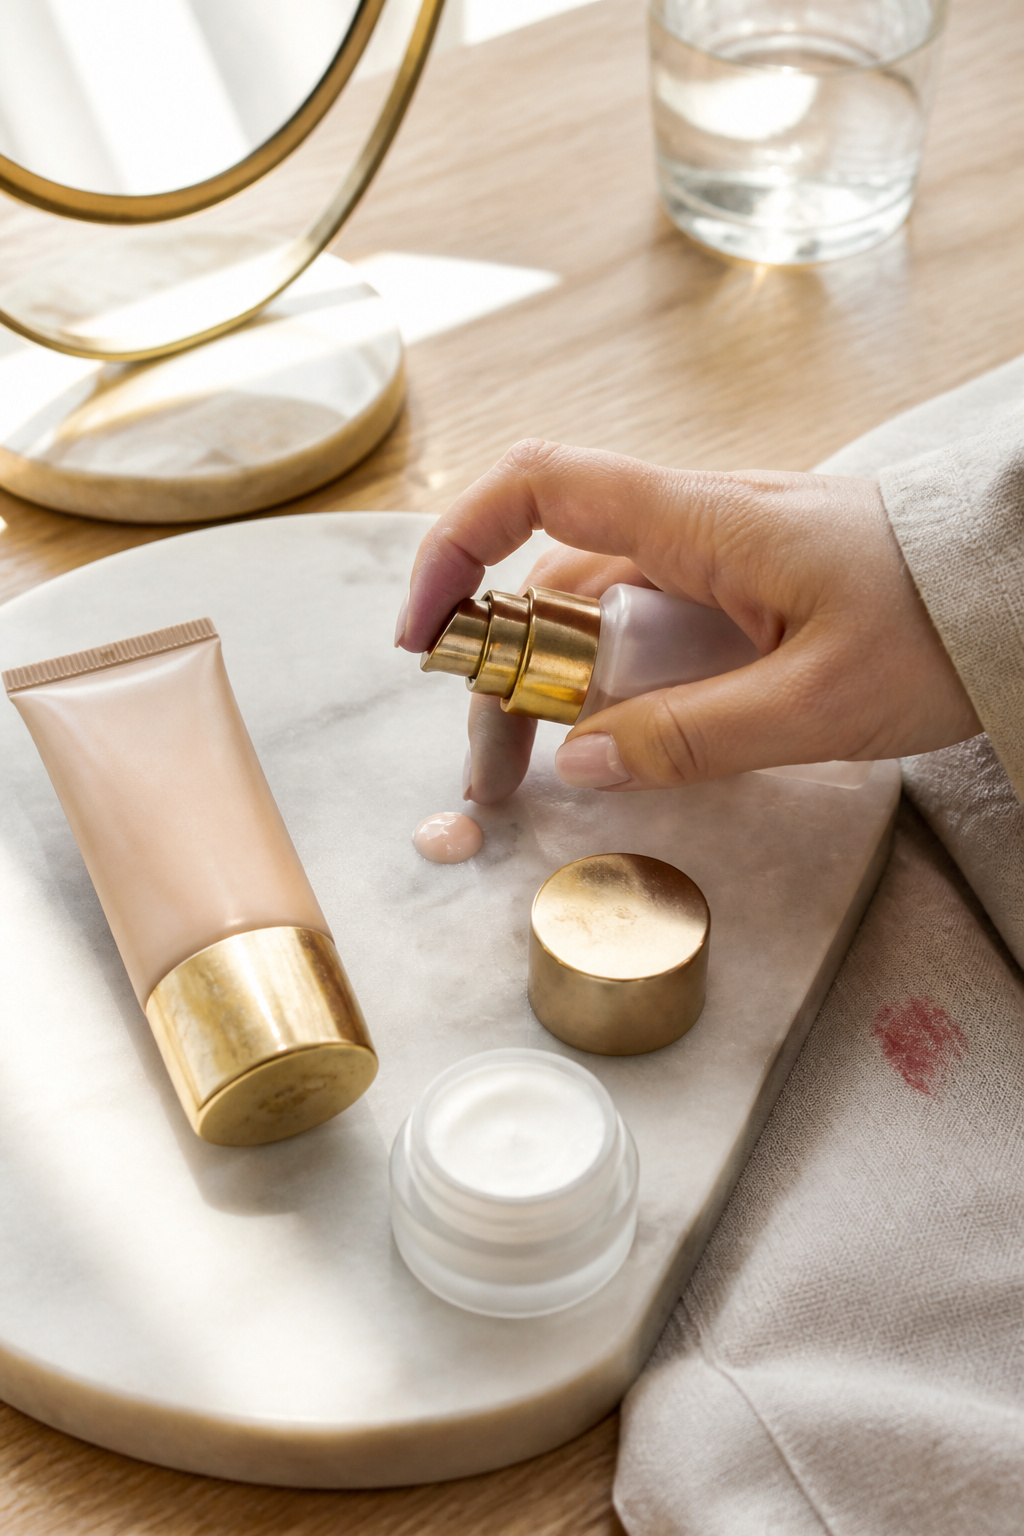

The trick is prevention. Oil and heavy powder fight, so start with skin that is hydrated but not slick.
Apply a lightweight sunscreen or hydrating tint first. I use a light-coverage tinted moisturizer with light coverage around $12 to $28 to even tone without a masky finish.
Next dab a pea-size of a silicone blurring primer only on the T-zone. I like a targeted mattifying silicone primer for T zone around $10 to $22 to smooth pores where powders want to cling.
Mistake most people make here is slathering primer all over. That seals powders in and makes them sit. Use small amounts, press with fingertips, and let it set 30 seconds. The result is a skinlike matte that won’t cake on the nose.
2. Layer Cream Color in Three Strategic Places


Powder accumulates around the nose because people over-powder to control shine. My fix uses cream color to add matte warmth without extra dust.
Tap a cream bronzer onto the hollows and hairline first. I reach for a cream bronzer stick warm caramel approx $9 to $20. Then place a cream blush stick in warm peach on the cheekbone and blend upward with a slightly damp beauty sponge mini around $5 to $12.
The visual principle is tonal layering. Creams sit closer to skin, so you get color and control without adding fine powder where the nose creases.
People try to buff cream into oblivion. Stop when edges are soft and skin looks seamless. The payoff is matte warmth without a powdery crescent on the nose.
3. Define Without Hardness: Soft Eye and Brow Work


If the eyes are too powdery, fallout lands on the nose and sets into fine lines.
Stick to creams or pressed mattes and apply shadow first before touching the base. A compact matte neutral eyeshadow palette around $12 to $30 avoids loose dust.
For brows, use a tinted gel rather than powder. I use a tinted brow gel medium brown approx $8 to $18 to lift without flaking.
Most people overblend matte shadows near the nose bridge. Tap, don’t sweep. Visual balance comes from soft edges and a little negative space around the nose so the face breathes.
4. Finish with Tonal Lip and Subtle Setting


This is where the look either holds or collapses into cakey disaster.
Skip heavy all-over loose powder. Instead, lightly press a tiny bit of translucent powder with a micro puff only on the sides of the nose where oil pools. I like a translucent micro powder puff around $6 to $14 for precision.
Use a few quick sprays of a mattifying setting spray about 8 to 10 inches away to lock everything. Keep a pack of blotting papers oil control around $4 to $10 in your bag for midday touchups instead of piling more powder.
The ugly truth: powders fix oil temporarily but build up. Using targeted tools gives a matte finish that reads natural from a foot away.
5. One Under-Covered Angle: Nose-Specific Techniques


Nobody tells you the nose needs different tools. I use fingertip warmth to melt product in, then press.
After cream layers, dab a dot of light-coverage concealer on the nose bridge only. Blend with the fingertip, then pat a micro puff with minimal translucent powder where shine is actually present.
Try a small dome sponge for the nostril sides rather than a big brush. It delivers control without clouding the entire nose.
Most tutorials treat the face as one surface. That causes powder to collect in nose creases. Treat the nose like its own zone and the result is smooth, matte skin that still looks alive.
Common Styling Mistakes to Avoid
Mistake: Powdering the whole face to control T-zone shine
Why it doesn't work: Powder builds up in nose creases and reads cakey.
Do this instead: Press tiny amounts of translucent pressed powder around $8 to $18 only where oil appears.
Mistake: Using heavy full-coverage matte foundation on top of creams
Why it doesn't work: Layers separate and highlight texture around the nose.
Do this instead: Mix a drop of lightweight foundation drop around $10 to $26 into your moisturizer for thin coverage.
Mistake: Relying on powders for midday touchups
Why it doesn't work: More powder equals more caking.
Do this instead: Blot with oil control blotting papers approx $4 to $10 and respray a mattifying setting mist.
What You'll Need for This Look
Face & Base Essentials
tinted moisturizer with light coverage around $12 to $28
mattifying silicone primer for T zone around $10 to $22
cream blush stick in warm peach around $9 to $20
Eyes, Brows & Lips
matte neutral eyeshadow palette around $12 to $30
tinted brow gel medium brown approx $8 to $18
tinted lip oil nude rose around $6 to $18
Clothing Staples
white cotton tee slim fit approx $12 to $30
Shoes, Bags & Jewelry
leather loafers tan women around $40 to $120
leather tote bag tan (price range $80 to $200)
gold chunky hoop earrings 14k look around $10 to $40
Budget Swaps
blotting papers oil control pack around $4 to $10
mini beauty sponge blending around $5 to $12
Shopping Guide for This Look
Buy targeted primers, not full tubes: A small mattifying silicone primer for T zone approx $10 to $22 lasts months because you use so little.
Thrift the jewelry, buy the basics new: Find a vintage pearl or gold hoop at a thrift shop, then pair with a new gold chunky hoop earrings 14k look around $10 to $40.
Shop cream makeup during beauty sales: Cream blush and bronzer often show up at Ulta 21 Days of Beauty; consider cream blush stick in warm peach approx $9 to $20 on rotation.
Splurge vs save: Splurge on a long-wear mattifying setting spray around $18 to $36, save on blotting papers oil control approx $4 to $10.
Conclusion
Start by swapping all-over powder for targeted pressing and blotting. That one change saved my midday skin.
One last visual rule to keep in your back pocket: if it reads textured up close, soften with fingertip warmth before powdering.
Which small swap will you try first to stop powder caking on your nose?


