






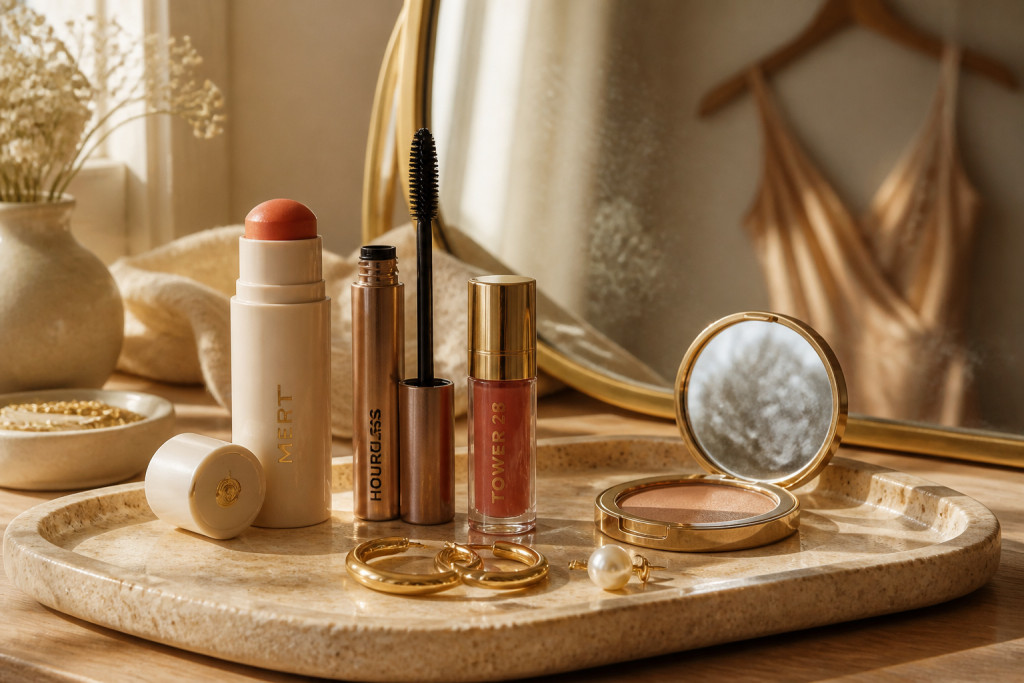

My sister cried during her vows. My mascara cried with her. Lesson learned: if you're asking how to do bridesmaid makeup that survives tears and photos, start with products built for moisture and movement, not just coverage.
This guide shows a polished, soft-glam bridesmaid look you can build for about $80 to $150, or under $40 for a starter kit. It suits warm and neutral undertones and small to plus sizes who want a lived-in glow. I’ve noticed the 2025 shift to cream colour and skinimalism makes this easier to maintain in photos.
1. Start with the Glow: Skin Prep and Sheer Base
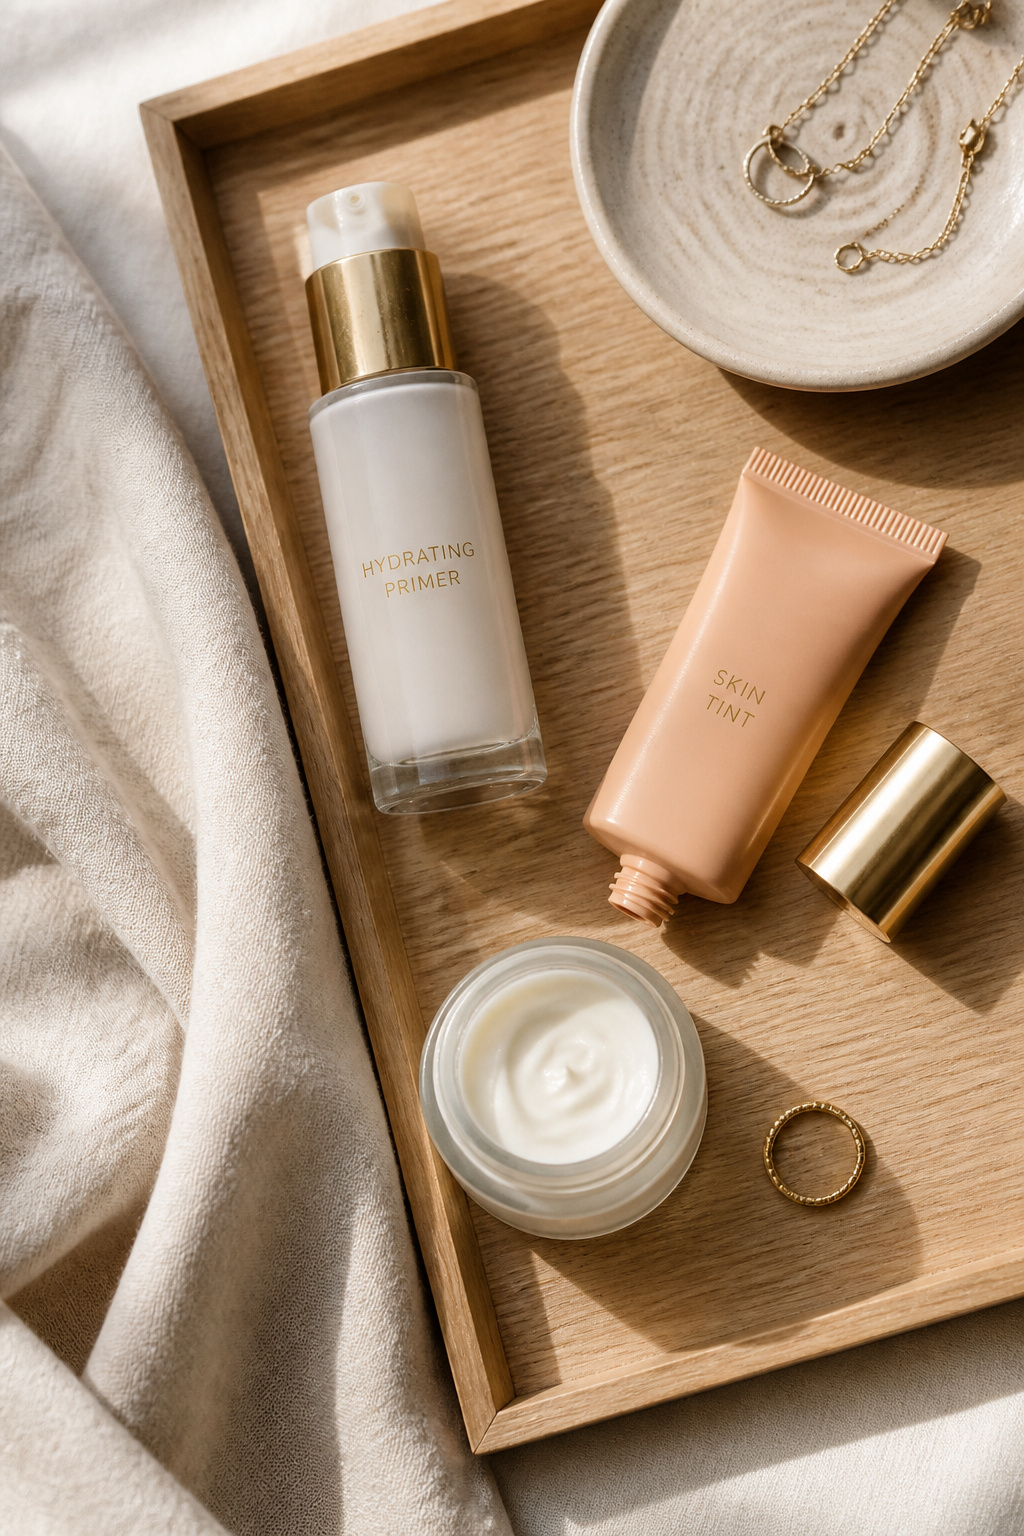

Good skin starts with moisture. The trick is barrier-first prep so a sheer base sits on skin, not in pores. Start with a lightweight moisturizer then a hydrating silicone-free primer to smooth without slip.
Use a Hydrating silicone-free primer and a Sheer skin tint medium coverage. Tap the tint with a small pointed sponge on the T-zone and cheeks, then press outward with fingers for a skinlike finish.
Visual principle: texture contrast. A dewy primer plus a light tint reads flattering in photos; heavy matte bases look flat at center frame. Avoid slathering full-coverage foundation across the face. Instead, spot-correct under eyes with a peach color corrector on bluish shadows and blend (peach cancels blue).
Ugly truth: heavy powder ages you fast in flash photos. Do less of it and only set the oily zones. This base keeps skin feeling like skin and photos looking natural.
2. Layer Cream Color in Three Strategic Places
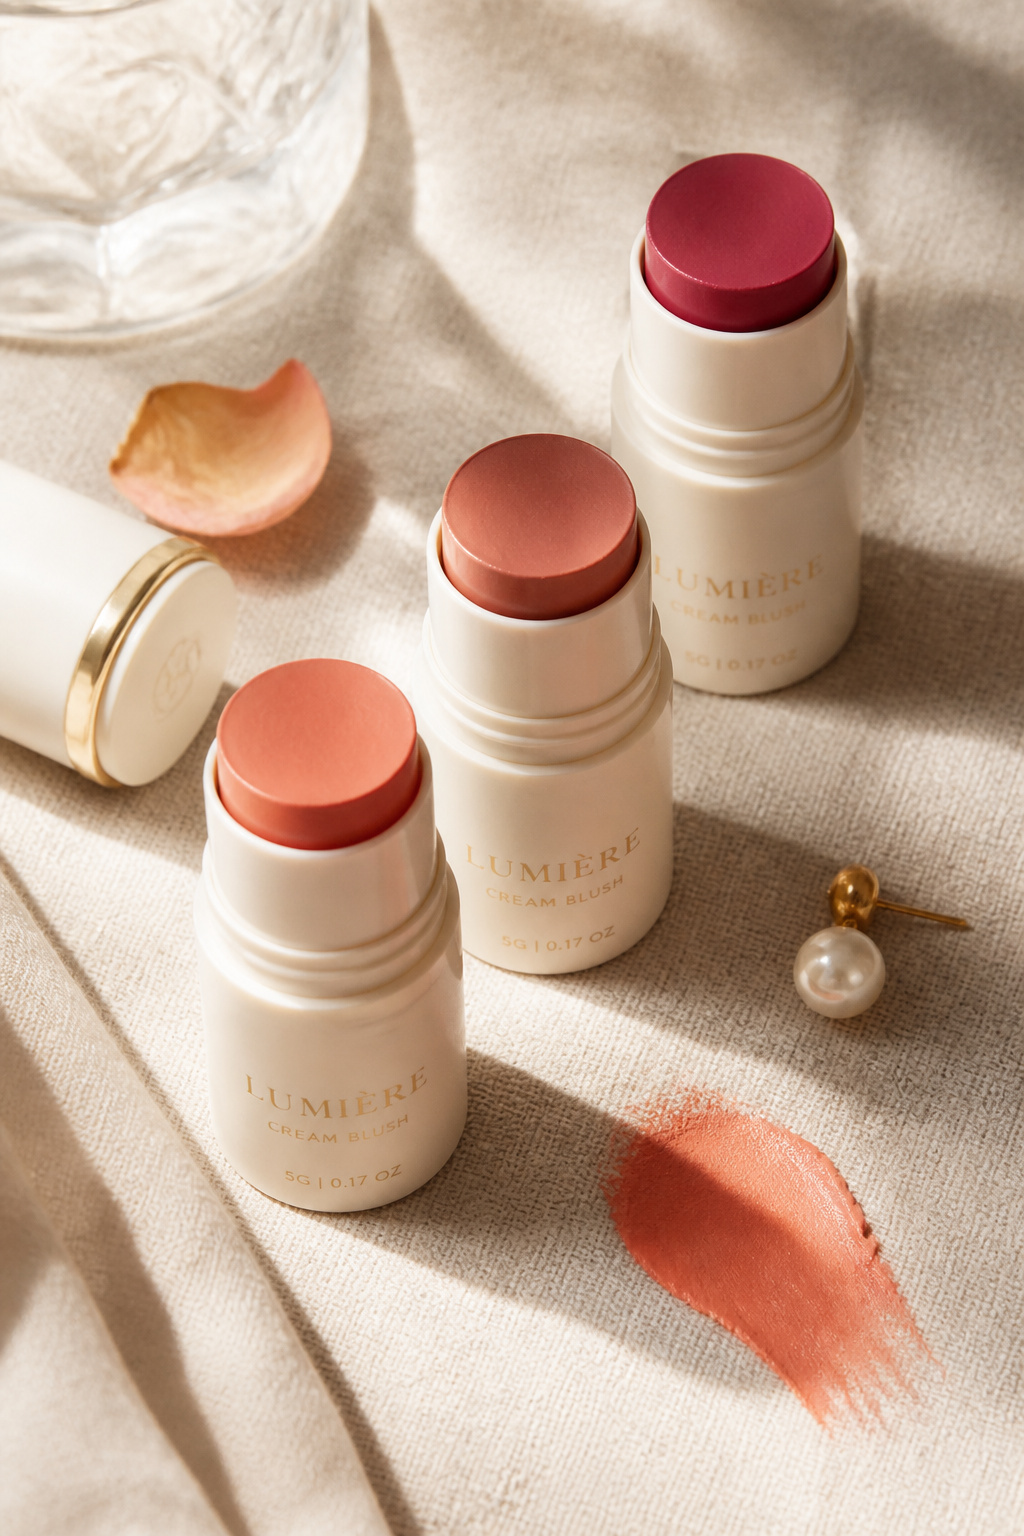

The easiest way to survive tears is to use cream products that move with skin. I place cream blush on the high cheekbone, a dab on the nose bridge, and a little on the chin for cohesion—the three spots read warm and emotional in photos.
I use a Cream blush stick in warm peach and a Cream highlighter champagne. Warm peach warms neutral-understated dresses; champagne highlighter adds a wet-sheen catch to photos.
Apply with fingertips: dot, then press and gently sweep upward. If you prefer tools, a Pointed blending sponge small diffuses edges without removing pigment.
Visual principle: tonal repetition ties the face together. Mistake people make is putting blush just on the apples; that reads childish and shifts when you smile. Place it higher and blend toward the temple for lift.
3. Define Without Hardness: Soft Eye and Brow Work
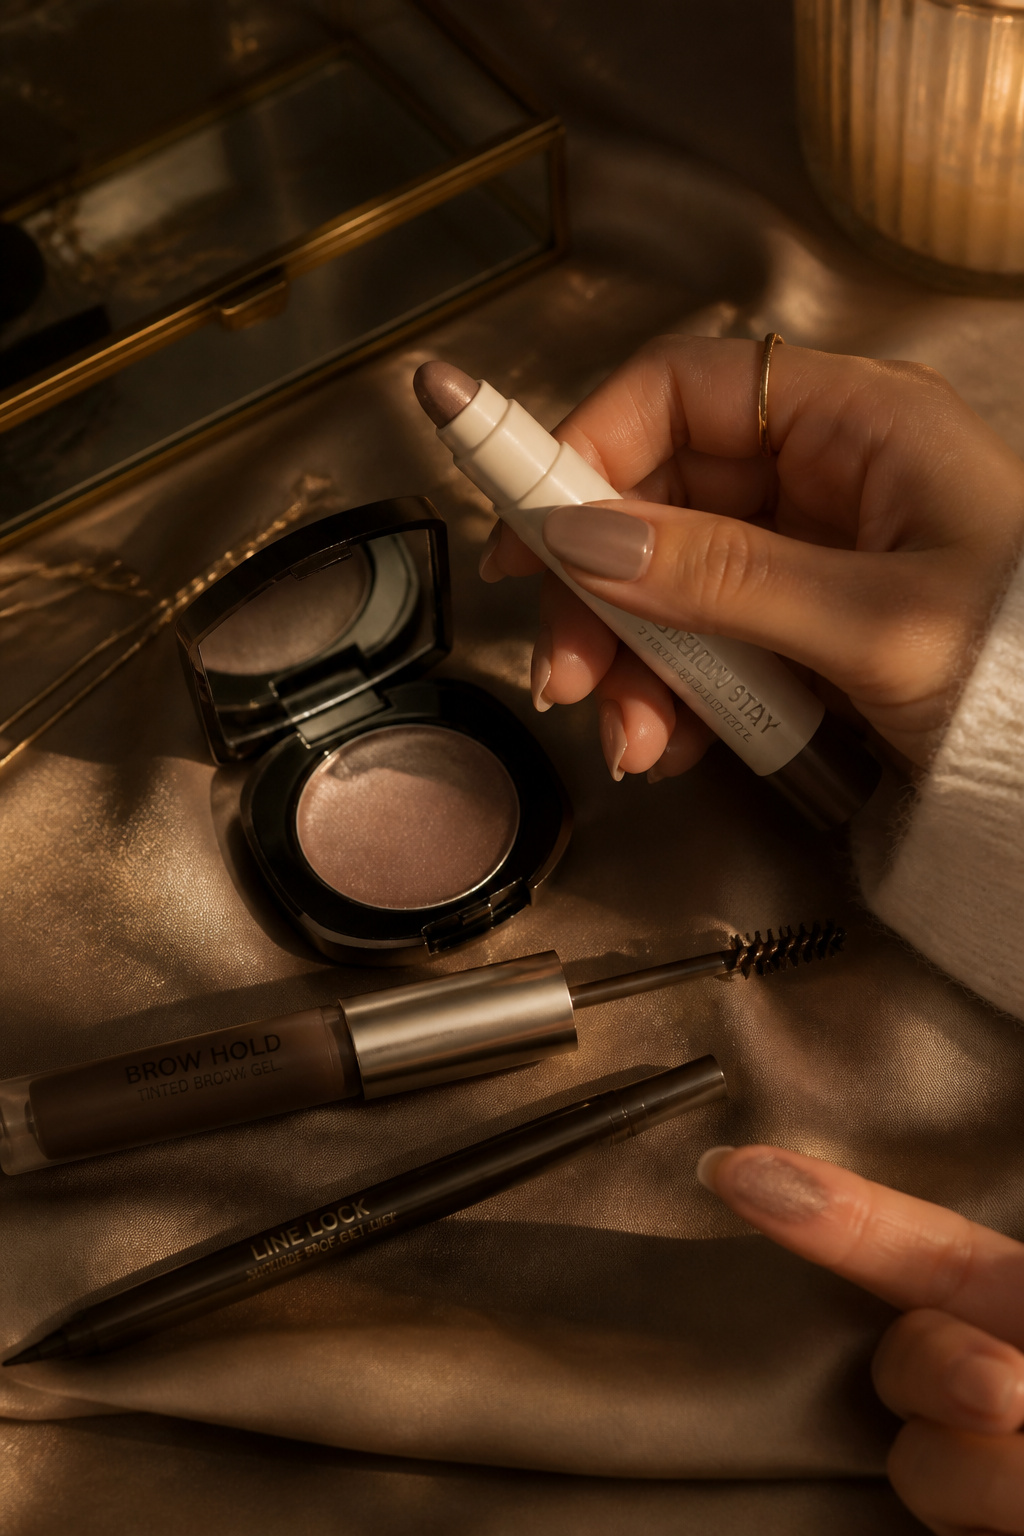

Sharp eyeliner can look dramatic in photos, but not always flattering in tight shots or with tears. I favor a soft smokey eye with waterproof essentials so the look survives humidity and emotion.
Use a Cream eyeshadow stick in warm taupe to sweep across the lid, then tap a Smudge-proof gel eyeliner brown softly into the lashline and smudge. Finish with a Waterproof lengthening mascara black and a quick coat on lower lashes only if you need definition.
For brows, brush up with a Tinted brow gel medium brown to anchor the face without heavy penciling.
Visual principle: soft contrast keeps expressions readable without harsh lines that streak. Ugly truth: waterproof mascara can clump if layered too thick. Do two thin coats and comb through while drying.
4. Finish with Tonal Lip and Subtle Setting
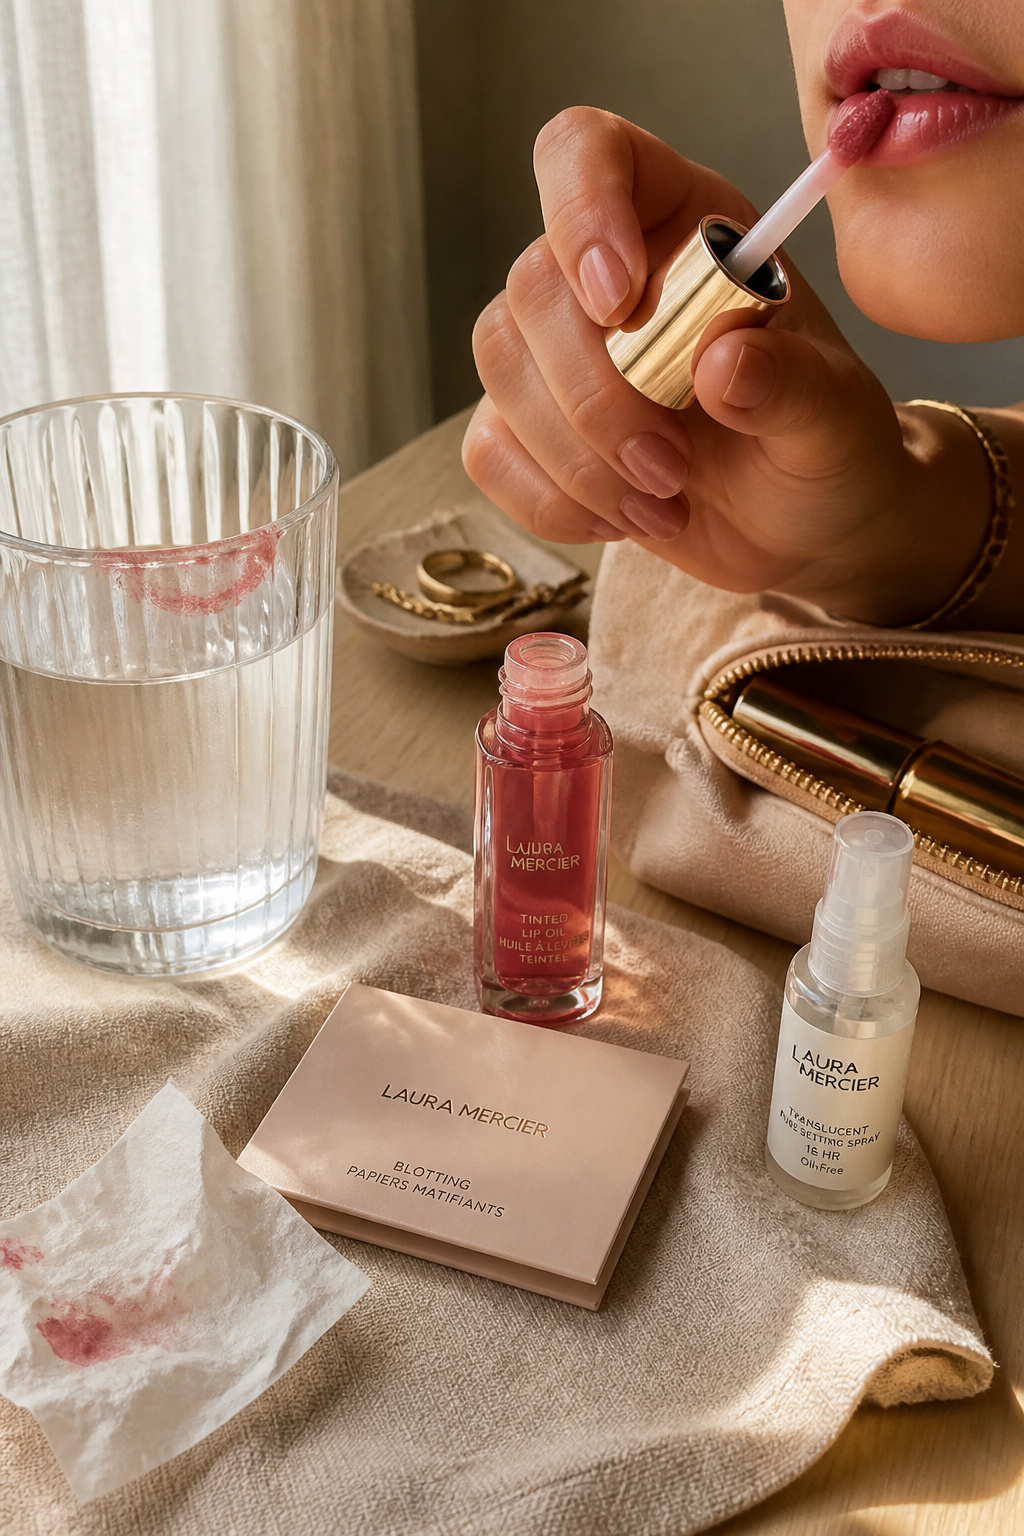

A tonal lip that fades evenly makes touch-ups painless. I use a long-wear tinted lip oil or stain for ceremony and a balm on top for shine.
Pick a Waterproof under-eye concealer full coverage to spot-correct before setting. Lock the face with a light dusting of Translucent baking powder fine only on the T-zone, then spritz a Long lasting setting spray matte.
Toss a pack of Oil blotting sheets pack in your clutch for mid-reception shine control.
Visual principle: controlled sheen. Mistake: oversetting the entire face with powder removes glow and creates flashback. Set selectively and refresh with blotting sheets plus a spritz.
Common Styling Mistakes to Avoid
Mistake: Matching foundation to your cheek only
Why it doesn't work: Creates a mismatched jawline in photos.
Do this instead: Match to your neck and test in natural light with a Foundation shade match guide.
Mistake: Powdering everywhere to combat shine
Why it doesn't work: Dries the skin and looks cakey under flash.
Do this instead: Use a compact only on the T-zone and carry Compact translucent press powder.
Mistake: Overlining lips heavily for more "definition"
Why it doesn't work: Can smear and look unnatural in close photos.
Do this instead: Use a tinted lip oil layered over a stain and keep a Waterproof mascara travel size for emergency lash fixes.
What You'll Need for This Look
Face & Base Essentials
Hydrating silicone-free primer around $12 to $30
Sheer skin tint medium coverage approx $10 to $36
Cream blush stick in warm peach around $8 to $26
Eyes, Brows & Lips
Waterproof lengthening mascara black approx $7 to $28
Smudge-proof gel eyeliner brown around $6 to $20
Tinted brow gel medium brown $6 to $18
Clothing Staples
Silk wrap midi dress champagne approx $45 to $150
Nude block heel sandal 2 inch around $30 to $120
Shoes, Bags & Jewelry
Gold hoop earrings 30mm about $10 to $60
Leather clutch bag tan approx $40 to $220
Pearl stud earrings small $8 to $50
Budget Swaps
Drugstore cream blush stick peach approx $6 to $14
Affordable tinted lip oil clear around $5 to $18
Shopping Guide for This Look
Buy for timing: Shop setting sprays and primers during spring sales or Sephora/Ulta events; try a Luxury setting spray large for ceremony.
Thrift vs new: Score a silk wrap or clutch at a thrift store, then pair with new Gold hoop earrings 30mm for polish.
2025 trend tip: Cream products and skin tint keep looks camera-friendly; stock up on a Cream highlighter champagne this season.
Splurge vs save: Splurge on a solid setting spray; save on blush sticks with a Drugstore cream blush stick peach.
Emergency kit: Pack a mini touch-up kit with blotting sheets, travel mascara, and a Mini makeup touch up kit for the reception.
Pro hack: Keep a small tube of Waterproof under-eye concealer full coverage in your clutch for vow photos.

Conclusion
Start with one thing: swap powder for a sheer tint and a cream blush. That single change kept my cheeks alive through vows and photos.
One last tip: test everything in natural light and in a few candid photos the week before the wedding.
Which part feels hardest for your crew—base, eyes, or touch-ups?


