






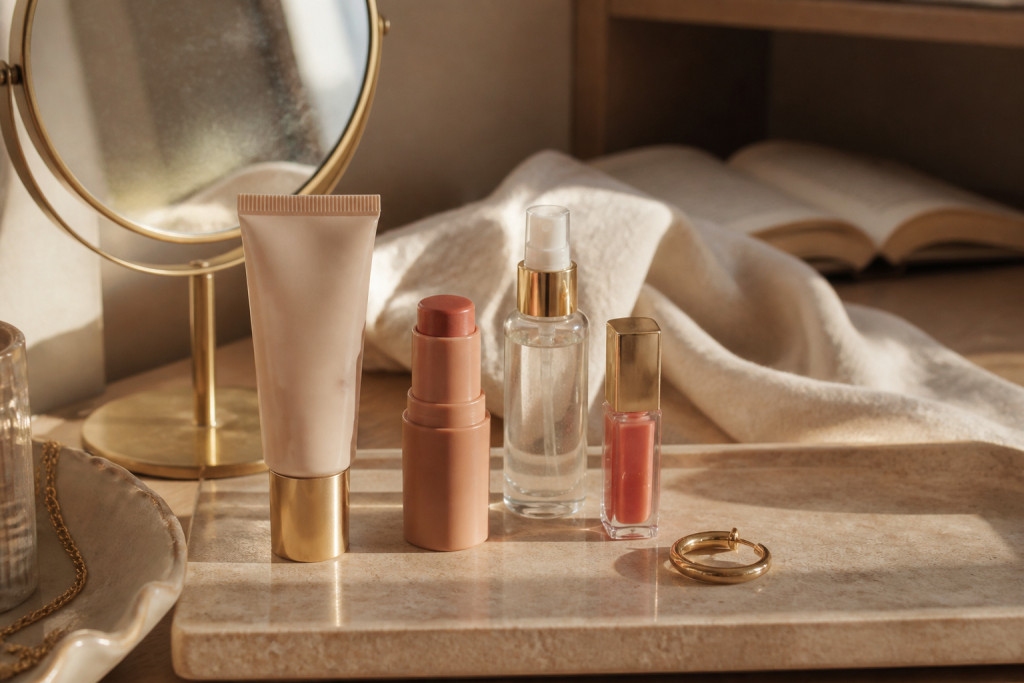

I ruined an interview once because my foundation separated into greasy patches by noon. That was the day I learned how to apply makeup for beginners with midday-proofing in mind.
You will get a lightweight, natural base that stays even until evening. Budget: under $40 to start, $80 to $150 for a fuller kit. This suits normal to combination skin and anyone who likes a soft, modern glow.
1. Start with the Glow: Skin Prep and Sheer Base


The trick is skin prep, not heavy coverage. Cleanse and apply a lightweight primer that controls oil in the T-zone without mattifying the whole face.
I reach for a silicone-free primer for daytime, then a sheer skin tint for a second-skin finish. Try Tinted skin tint hydrating sheer and Silicone free primer for oily skin for a natural hold.
Why it works: thin layers let the product meld with skin oils instead of sliding. Press the tint on with a damp Bouncy makeup sponge small to avoid streaks.
Mistake people make: layering thick foundation to hide redness. That yields midday patchiness. Use targeted concealer only where needed and keep the rest sheer.
2. Layer Cream Color in Three Strategic Places
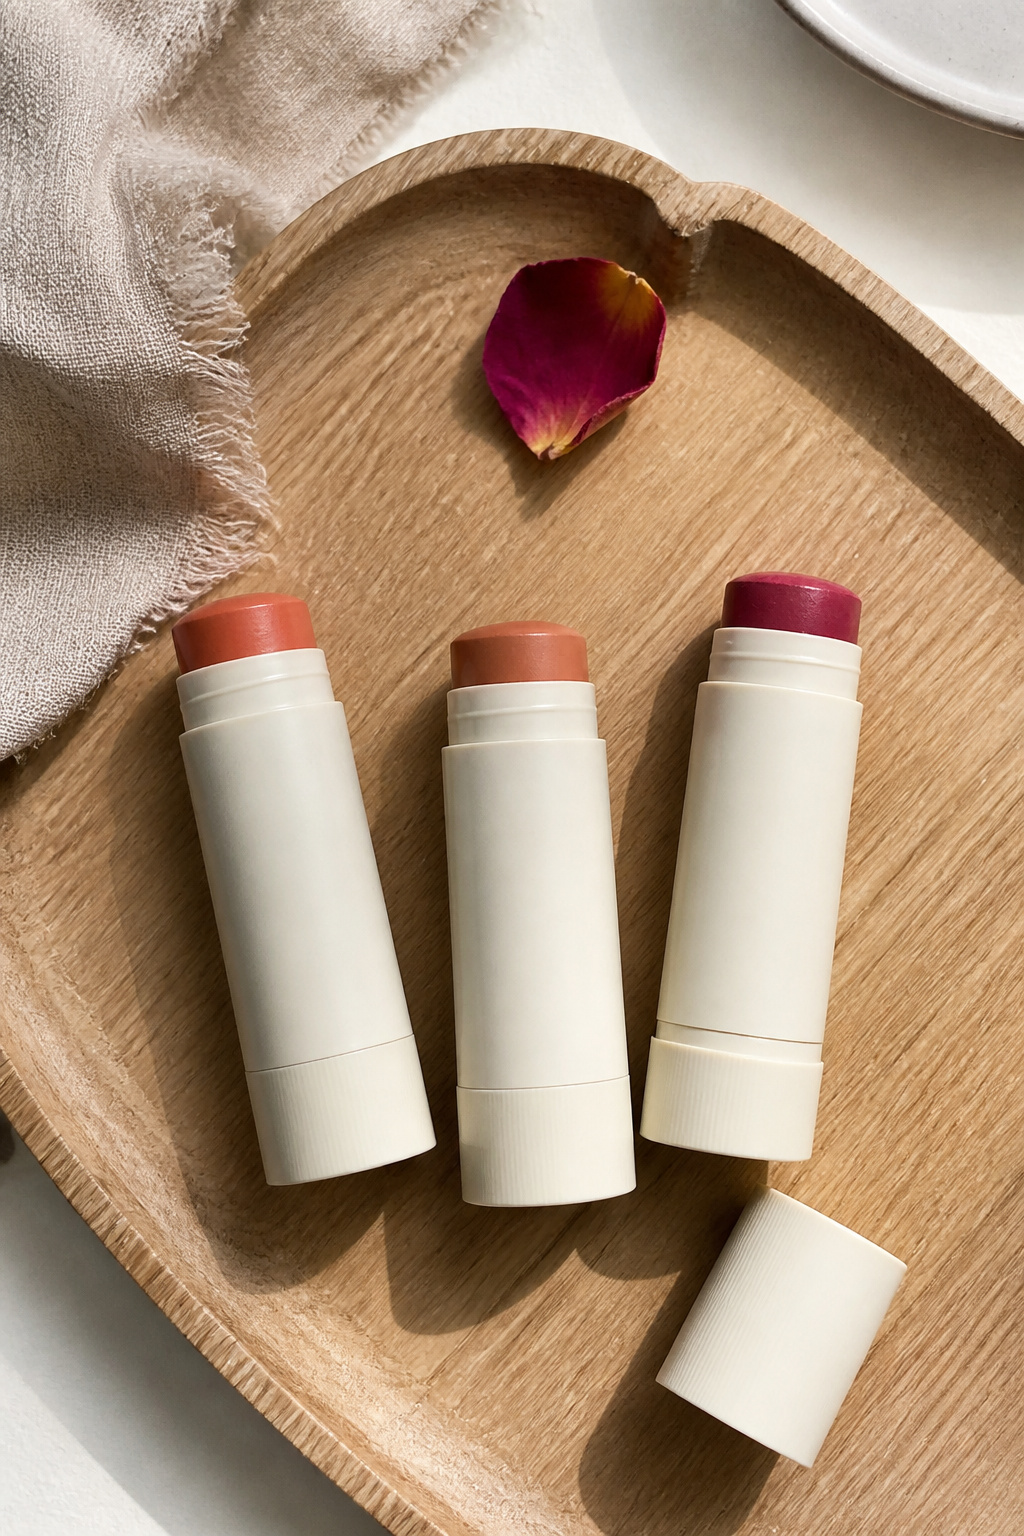

Creams are the secret to non-patchy midday color. I use one multi-use stick for cheeks, temples, and a whisper on the nose bridge.
Try Cream blush stick in warm peach and Cream bronzer stick warm caramel. Tap with fingers, then blend outward so the edges are sheer.
Visual principle: cream + warmth = skin-like depth. Place blush on the high cheekbone, not the apple, to lift. Add bronzer under cheekbones and along hairline for balance.
Common error: rubbing cream into powder. That creates patches. Instead, apply creams, let them settle, then only lightly dust translucent powder where oil forms.
3. Define Without Hardness: Soft Eye and Brow Work
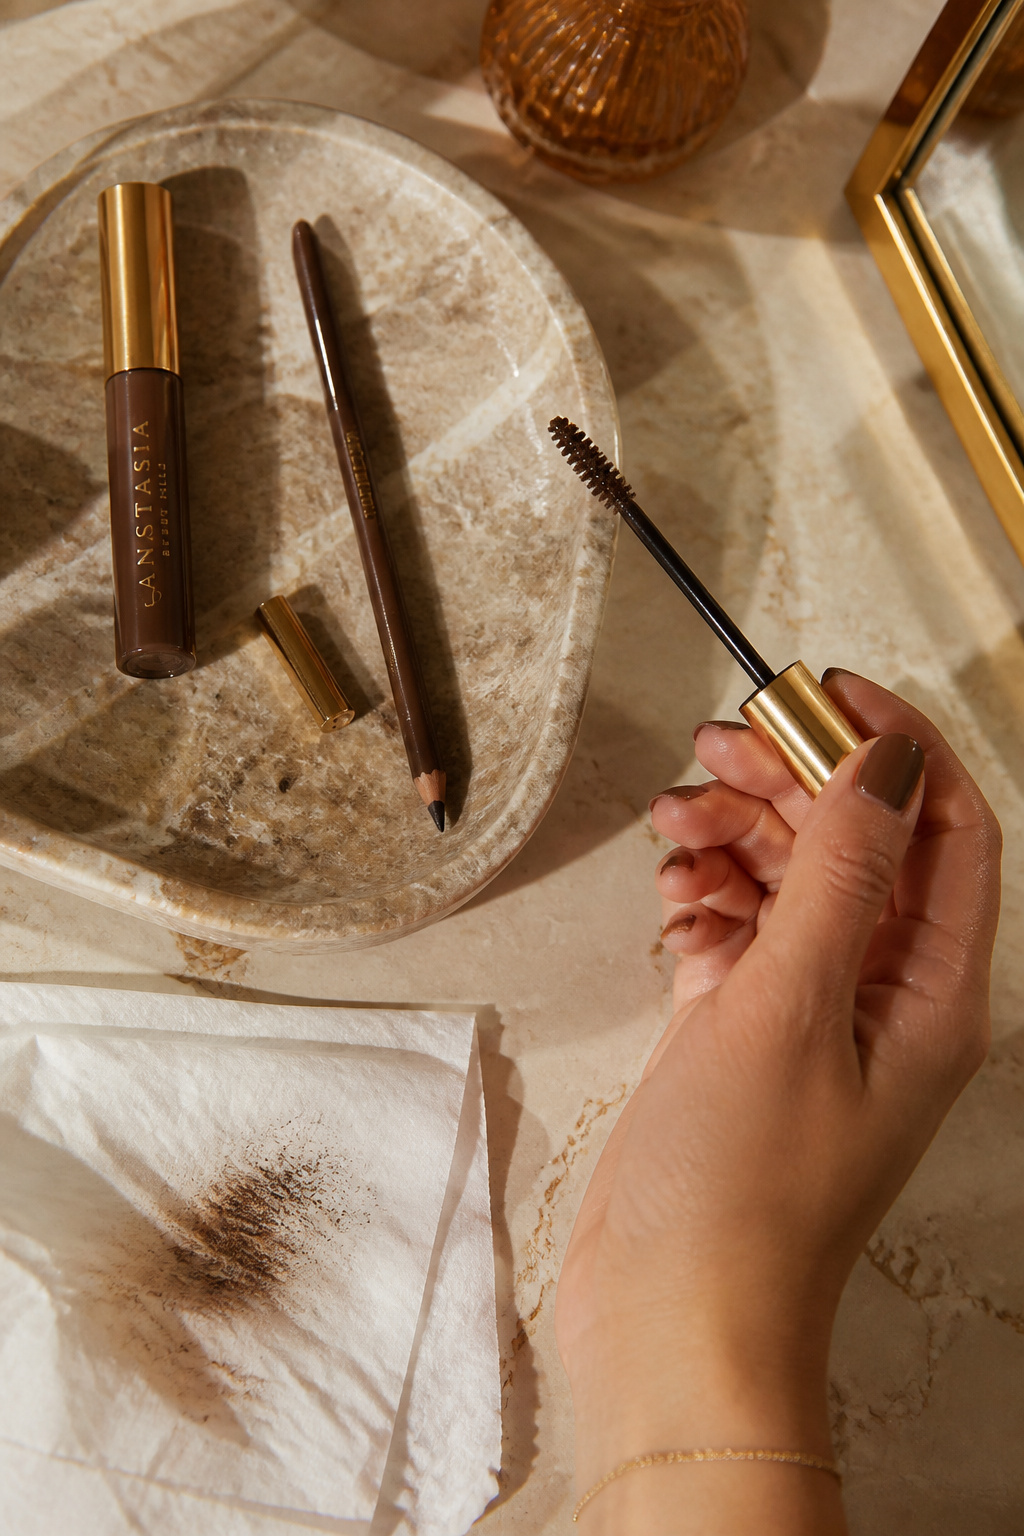

Sharp eyes can highlight patchiness. I keep lids soft and brows brushed for structure that reads well in photos and real life.
Use a brown Tinted brow gel tinted brown and a smudgy Soft brown eyeliner pencil. Lightly shadow the lash line and run a spoolie through brows for texture.
Why it works: soft edges prevent contrast lines that show separated base. Short strokes mimic hair and keep the look natural.
Mistake: overdrawing brows and lining lids in black. That makes makeup look layered and shows oil breaks. Stick to warm browns and subtle smudging.
4. Finish with Tonal Lip and Subtle Setting
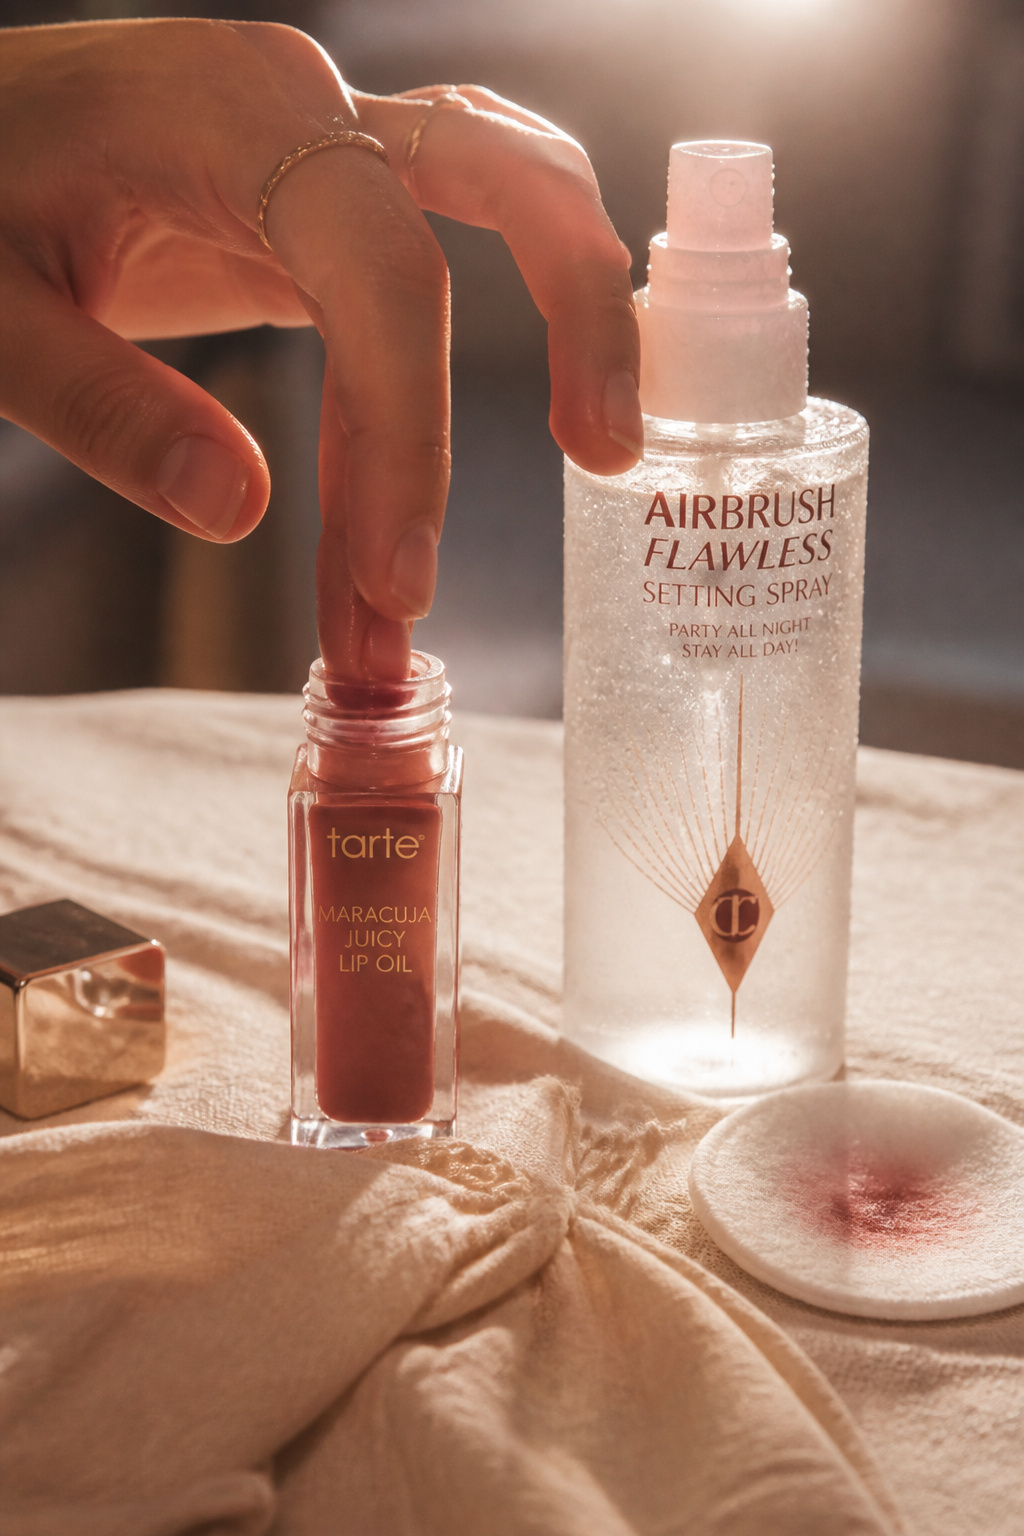

Final layers decide whether makeup survives lunch. I use a tinted lip oil and a light spritz of setting spray for longevity without caking.
Try Tinted lip oil sheer rose and Dewy setting spray long wear. Press the spritz onto a sponge and dab where you get oily.
Visual principle: moisture seals creams into skin. Apply setting spray through the hairline and cheeks, not in a beam straight at the face.
Ugly truth: setting powder alone cannot stop midday oil. Use blotting papers during day and a light spray to re-fuse products.
Common Styling Mistakes to Avoid
Mistake: Over-powdering the whole face
Why it doesn't work: Makes skin look flat and can cake mid-afternoon.
Do this instead: Medically light touch only where needed with Translucent setting powder lightweight around $6 to $28.
Mistake: Matching foundation to the lighter part of your jawline
Why it doesn't work: Creates a mask effect and visible line.
Do this instead: Match the neck and test in natural light with Tinted skin tint hydrating sheer.
Mistake: Applying blush only to the apple of the cheek
Why it doesn't work: Can read toddler-like and slide into a patch.
Do this instead: Sweep cream blush on the high cheekbone with Cream blush stick in warm peach.
What You'll Need for This Look
Face & Base Essentials
Tinted skin tint hydrating sheer around $12 to $28
Silicone free primer for oily skin approx $10 to $30
Translucent setting powder lightweight around $6 to $28
Eyes, Brows & Lips
Tinted brow gel tinted brown approx $8 to $22
Brown mascara lengthening brown around $6 to $24
Tinted lip oil sheer rose approx $6 to $18
Clothing Staples
White crewneck tee cotton around $12 to $40
Straight leg high waist dark wash jeans approx $30 to $120
Shoes, Bags & Jewelry
Leather loafer tan around $40 to $180
Leather tote bag tan approx $60 to $200
Gold chunky hoop earrings 14k plated around $12 to $60
Budget Swaps
Cream blush dupe warm peach stick drugstore approx $6 to $14
Drugstore tinted lip oil sheer rose around $4 to $10
Shopping Guide for This Look
Buy primers on sale: Look for Ulta or Sephora promotions and snag Silicone free primer for oily skin during events, price around $10 to $30.
Thrift + new mix: Find a vintage tote at a thrift shop and pair with Leather tote bag tan for a polished capsule.
Follow cream makeup trend: Cream formats are growing in 2025; try Cream blush stick in warm peach around $14 to $24.
Splurge vs save: Splurge on a good skin tint, save on mascaras. Compare Tinted skin tint hydrating sheer to drugstore tints for coverage and finish.
Conclusion
Start with one high-impact swap: trade heavy foundation for a good skin tint and a cream blush. That single change fixed my midday patchiness and made my routine faster.
One tip to keep: less is layered intentionally, not blended into oblivion. Which one product would you try first—tint, cream blush, or setting spray?


