








Homecoming makeup is wildly different in photos than in person, and I learned that after one washed-out Polaroid and a ruined eyeliner attempt. I tested 15 looks that actually photograph well, from dewy cream bases to juicy lips, and kept most items under $40 with a couple of splurges around $120. Expect practical fixes, easier touch-ups, and products that saved my photos that night.
I focused on clean-to-soft-glam vibes that work for teens and young adults. Most picks are under $30, with a few splurges around $85 to $120. These ideas suit warm and cool tones, petite frames, and people who want camera-ready skin with lived-in texture. I've noticed everyone is leaning into cream formulas and tonal makeup this season.
1. Cream Blush Trio For Lit-From-Within Glow
Style: Clean Girl | Budget: Under $25 | Best For: Dry or normal skin
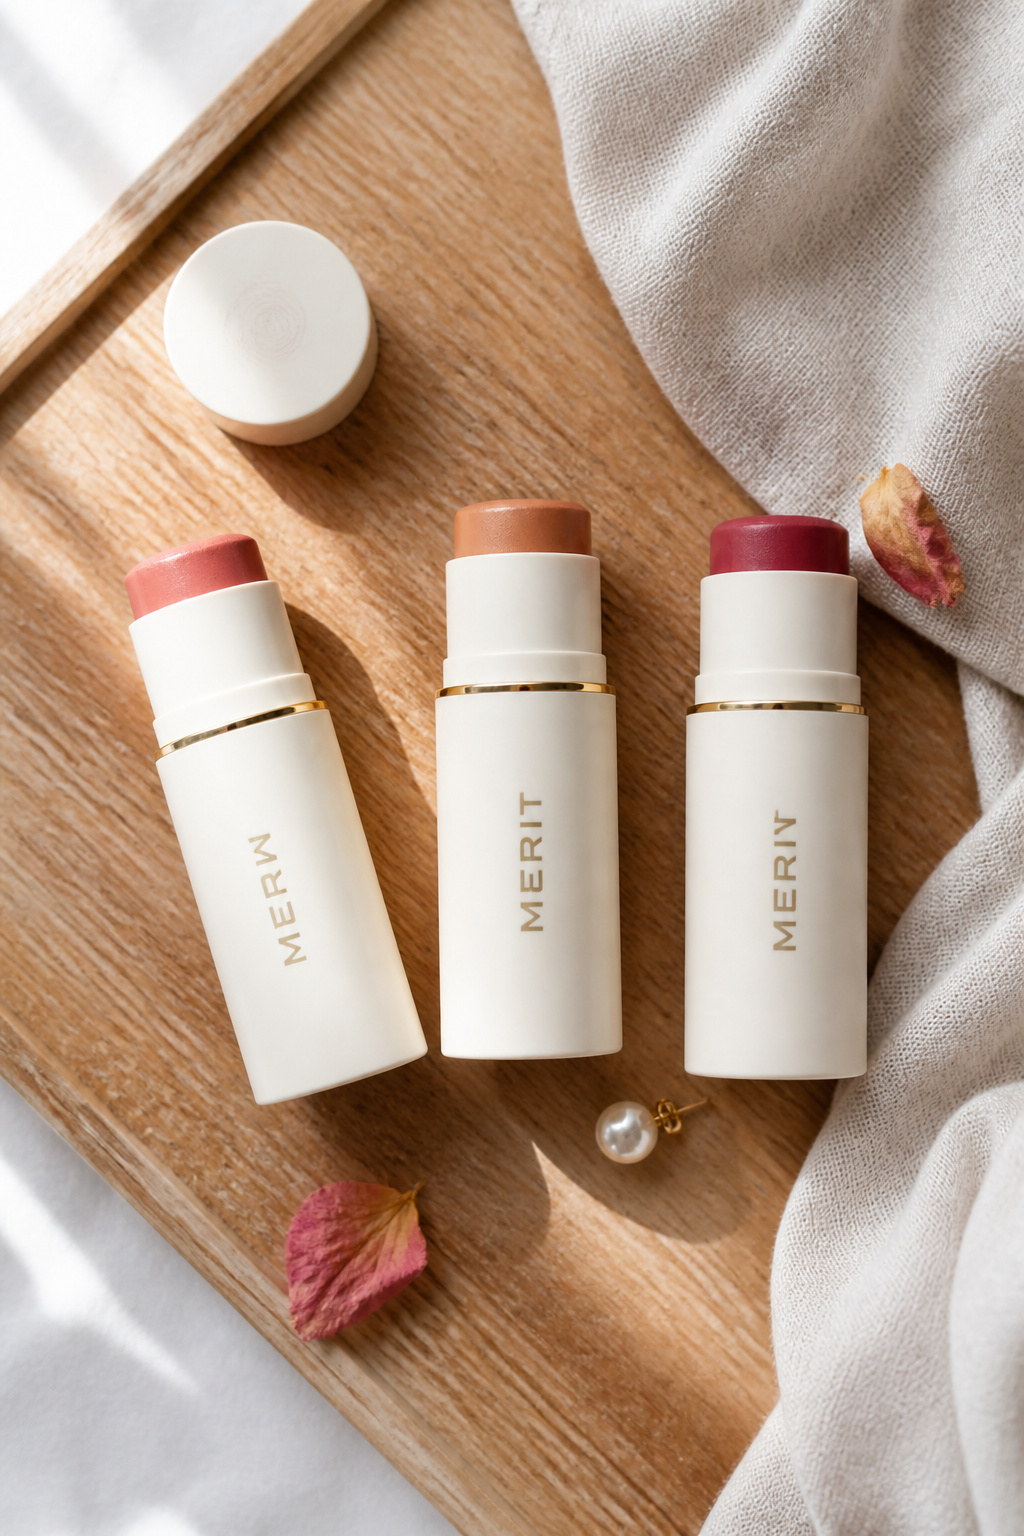

Cream blush is the trick that saved my photos when flash tried to flatten me. I pat peach on the apples, then add a touch of berry near the temples for dimension. The cream blends with fingertips and avoids the cakey look powder gives under flash. Try Cream blush stick in warm peach around $14 to $24, and keep a travel sponge for quick evening touch-ups after dinner. I found my favorite at Ulta on a weekend sale and got compliments all night.
Shop this idea:
2. Bronze Shimmer Smokey Eye, Subtle Edge
Style: Soft Glam | Budget: Under $35 | Best For: Medium to deep skin tones


A mini bronze smoky eye reads warm and dimensional in photos without looking heavy. The trick is creamy bronze on the lid, blended matte in the crease, and a touch of gold in the inner corner. I use Cream bronze eyeshadow stick in molten gold around $12 to $20 for quick application. Ugly truth: dragging black liner across the lid often looks harsh in flash, so smoke it out instead. My date leaned in and asked if I’d been on a beach the whole summer.
Shop this idea:
3. Glass Skin Base With Light Coverage
Style: Minimal Polished | Budget: Under $40 | Best For: Combination skin
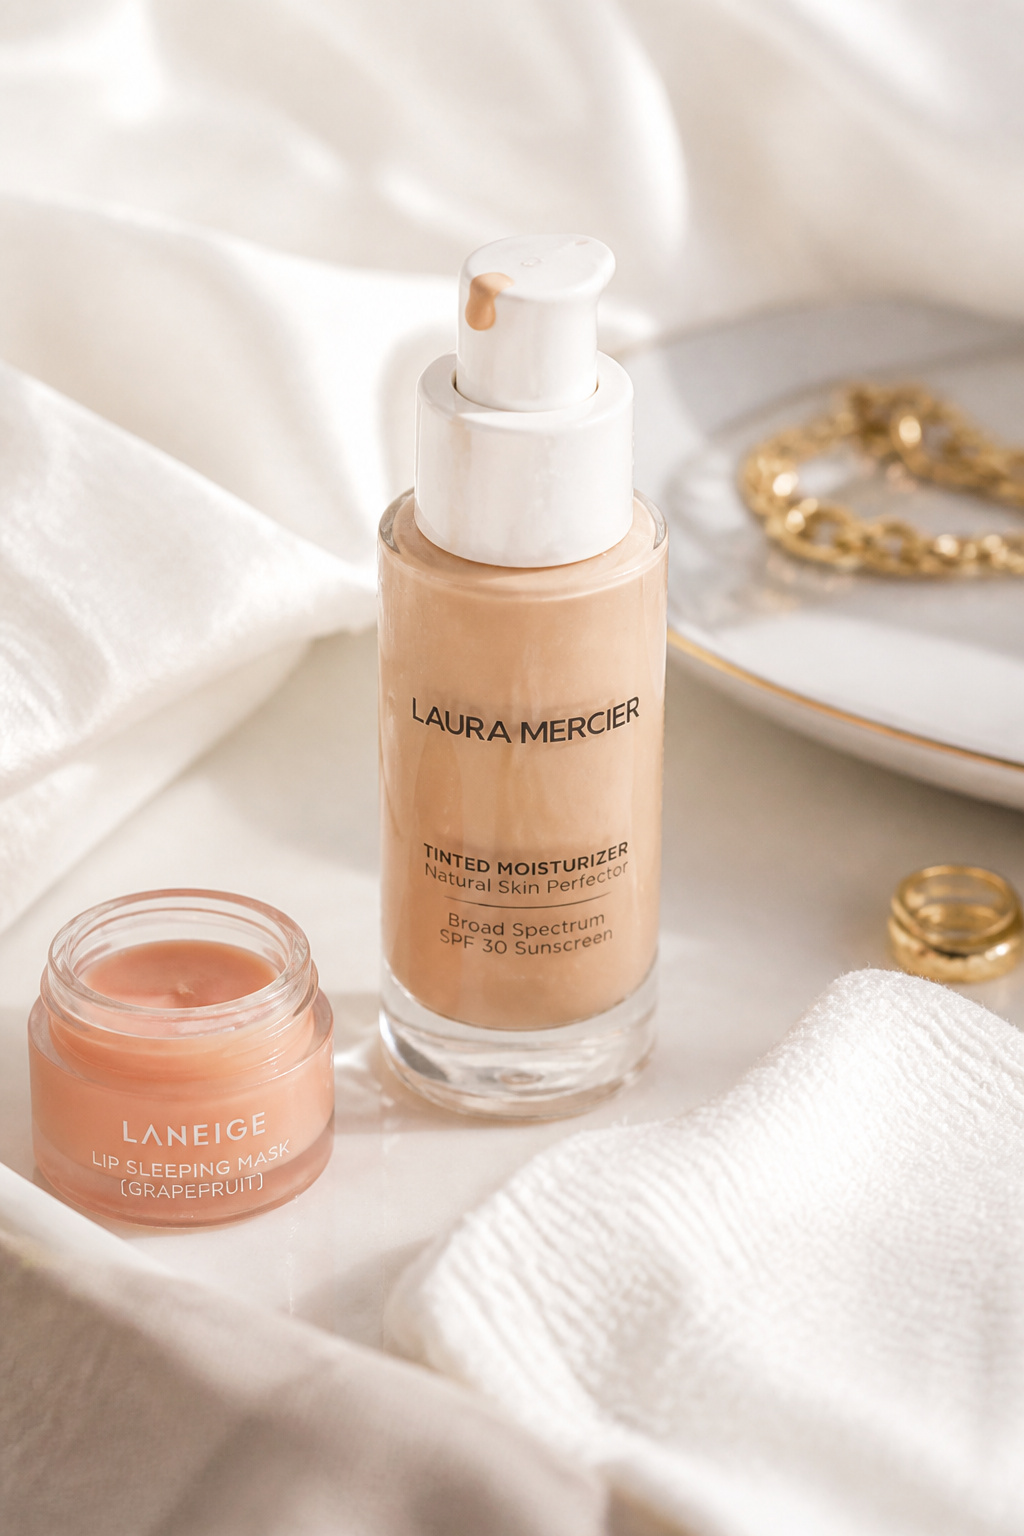

I swapped heavy foundation for a tinted serum and noticed my photos looked fresher and less filtered. Start with a hydrating primer, press tinted serum where coverage is needed, then set only T-zone with a light translucent powder. My go-to was Tinted serum foundation light beige around $28 to $38. Ugly truth: too much powder erases your natural glow in flash. I learned that after a school photo mishap.
Shop this idea:
4. Glossy Lid With Matte Crease Combo
Style: Trendy Elevated | Budget: Under $30 | Best For: Hooded or monolid eyes
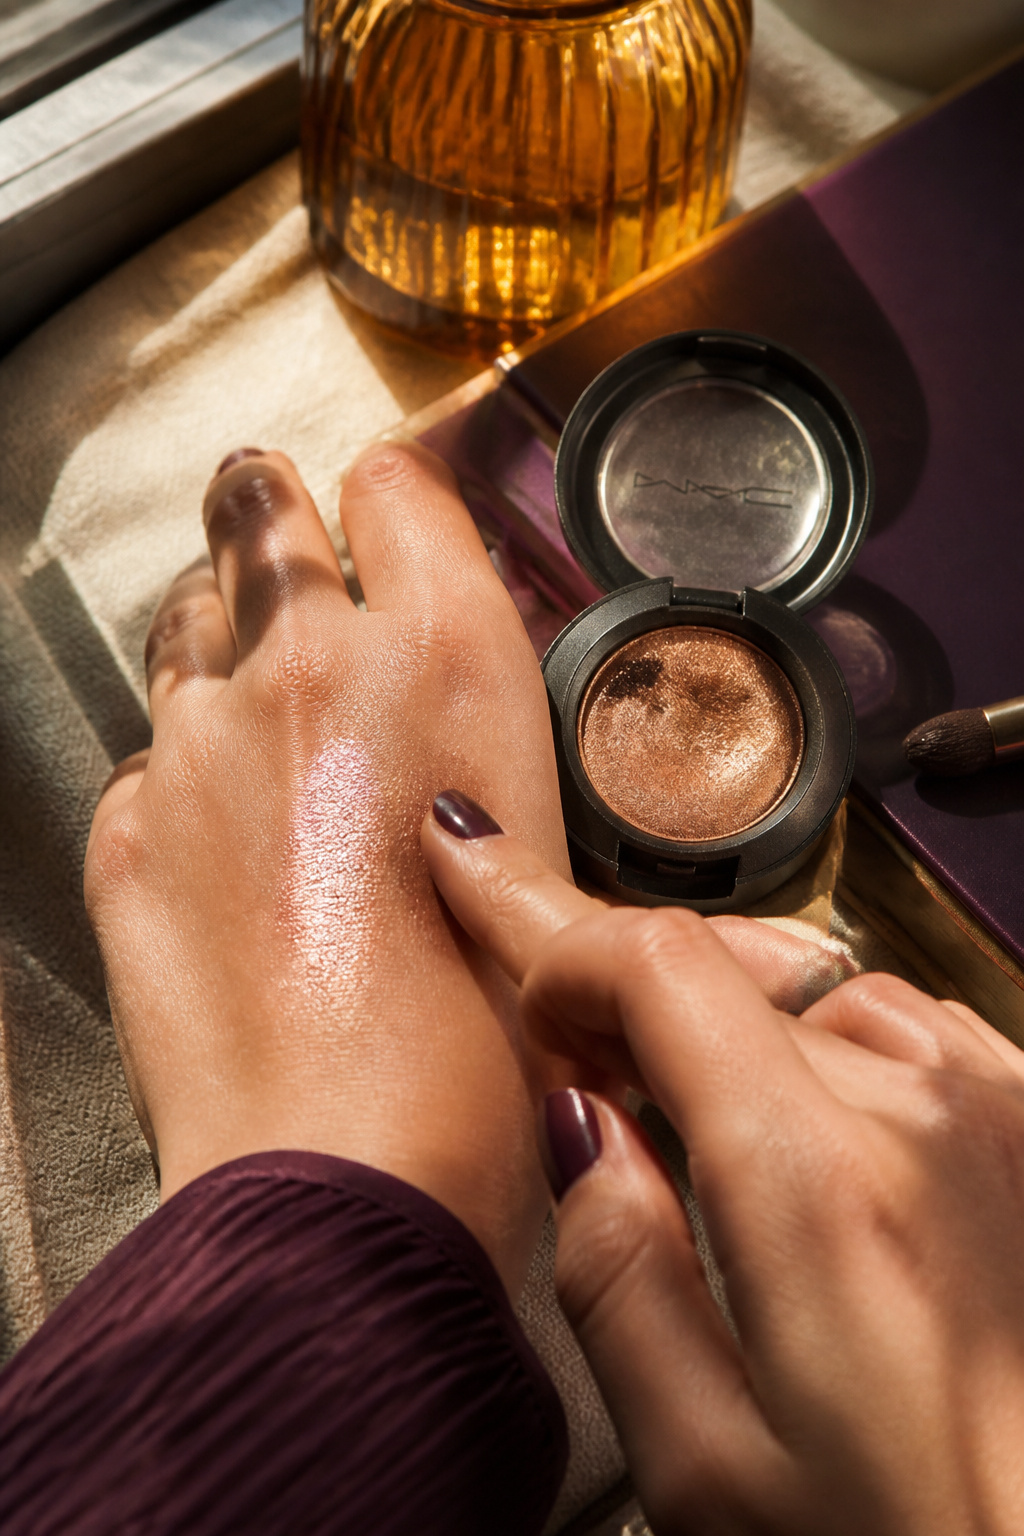

Glossy lids read modern in vertical photos when balanced with a matte crease for shape. Use a cream shimmer on the lid and blot lightly to avoid transfer. I love Sheer glossy lid topper warm gold around $10 to $18 for quick sparkle. Practical tip: press product with fingertip, do not rub. My friend warned me gloss creases, so I keep a tiny blotting paper to manage shine between dances.
Shop this idea:
5. Dewy Highlight With Champagne Tones
Style: Romantic Glow | Budget: Under $30 | Best For: Fair to medium skin tones


A champagne highlight catches camera light better than stark white. I sweep it on cheekbones, nose bridge, and inner eye corner. Use a cream-highlighter stick for that lit-from-within finish. I linked Cream champagne highlighter stick around $12 to $22. Tip: layer sparingly and blend edges well, or flash will reveal glitter. I once over-applied and a close-up photo looked frosted, not flattering.
Shop this idea:
6. Tinted Lip Oil For Kissable, Photogenic Pout
Style: Youthful Gloss | Budget: Under $16 | Best For: All skin tones
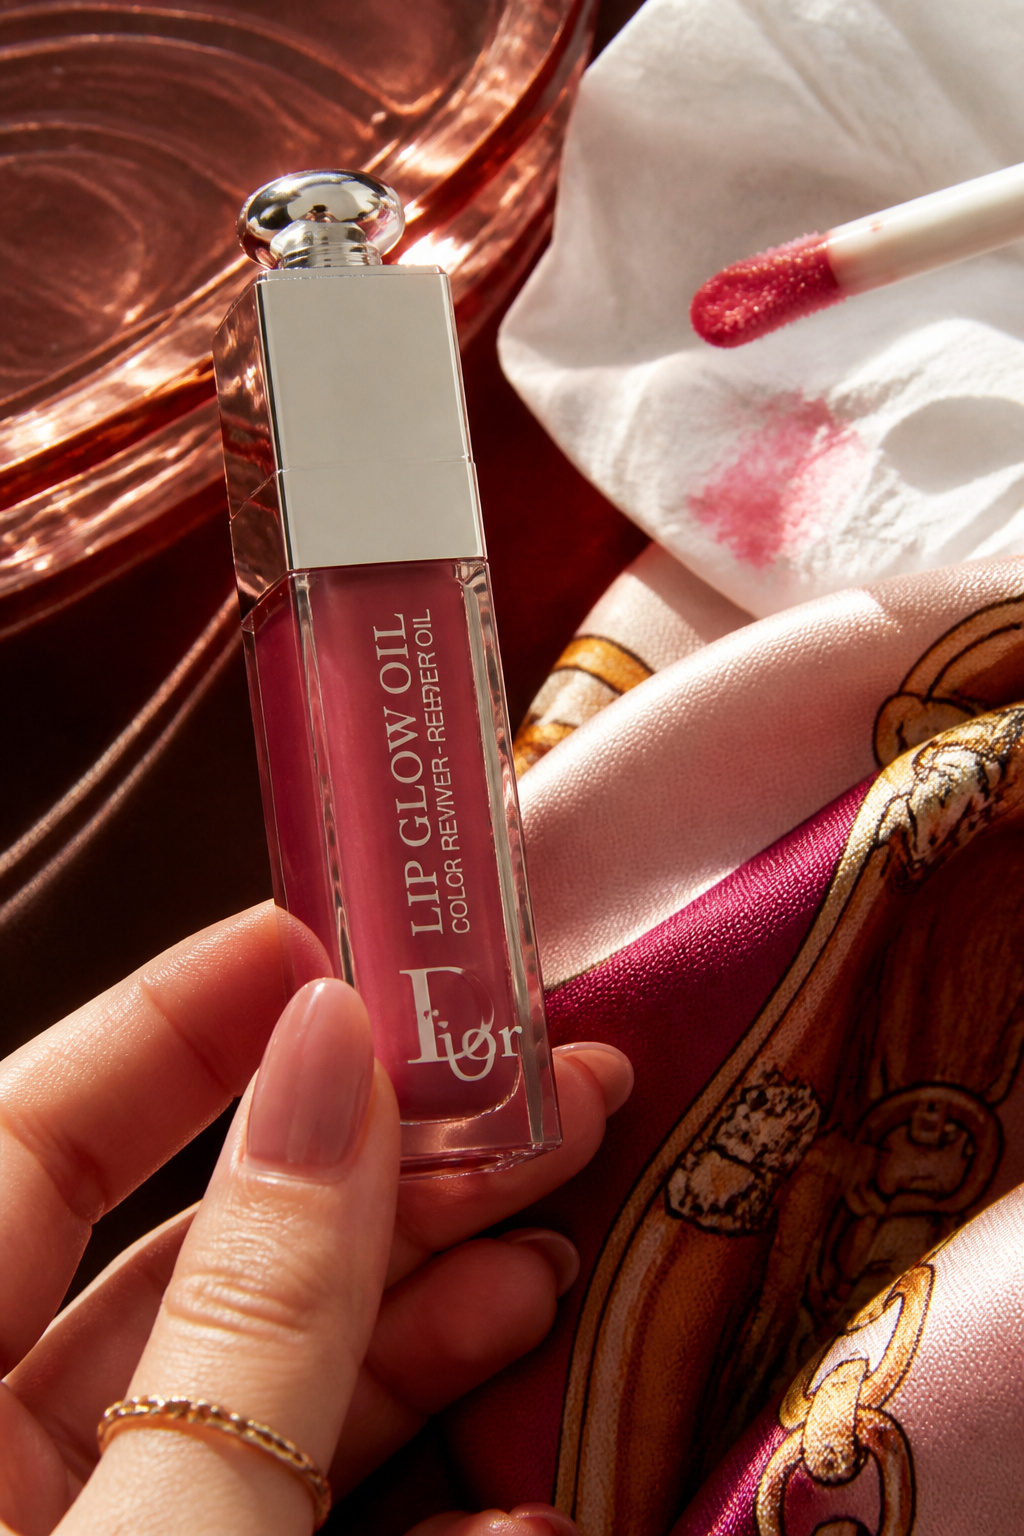

Tinted lip oil gives shine without being sticky in photos. One coat for daytime, two for fuller color. My favorite is Tinted lip oil berry brown around $8 to $14; it lasted through small bites and still looked great. Ugly truth: heavy matte lipstick disappears in low light photos, so save matte for rehearsals. My friend asked what filter I used while I was just reapplying this oil.
Shop this idea:
7. Soft Brown Lash Look Instead Of Harsh Black
Style: Natural Glam | Budget: Under $18 | Best For: Light-colored lashes


Brown mascara looks softer and more flattering in photos than aggressive black. It lengthens without creating harsh contrast around the eyes. I used Brown lengthening mascara waterproof around $10 to $18 and layered two thin coats. Tip: curl lashes before mascara and press wand at base to avoid clumps. I learned the hard way that heavy black can make eyelids look smaller in flash.
Shop this idea:
8. Monochrome Peach Look From Eyes To Lips
Style: Tonal Peach | Budget: Under $30 | Best For: Warm undertones


A tonal, monochrome palette makes photos feel cohesive and polished. I used a peach cream on lids, cheeks, and lightly on lips for that unified glow. Try Peach cream multipurpose stick around $12 to $22. Practical tip: warm the product on the back of your hand first for easier blend. I once matched my dress to my cheek color and the photos looked editorial, not costume-y.
Shop this idea:
9. Defined Brows Without Overdrawing
Style: Classic Polished | Budget: Under $20 | Best For: Sparse to medium brows


Overfilled brows can look harsh in photos. I fill sparse spots with a short, feathered pencil and set with a tinted brow gel for hold plus soft color. The product Tinted brow gel medium taupe around $10 to $16 keeps hairs tidy all night. Tip: brush hairs up first to avoid a flat drawn-on look. Someone told me my brows looked "so natural," which was my goal.
Shop this idea:
10. Satin Lipstick With Lined But Blended Edges
Style: Soft Glam | Budget: Under $22 | Best For: Long-wear needs


Matte lips can disappear on camera, but satin keeps color visible and soft. I line lightly with a lip pencil close to natural lip color then fill with a satin formula for a plump look. I reach for Satin lipstick dusty rose around $12 to $22. Application tip: blot then reapply a thin second layer for longevity. Ugly truth: heavy lip liner that sits on top of lipstick looks dated in photos.
Shop this idea:
11. Subtle Wing With Brown Liquid Liner
Style: Clean Edge | Budget: Under $18 | Best For: Almond-shaped eyes


A thin brown wing lifts the eye without looking too severe on camera. The trick is a short flick, not an elongated cat eye, then smudging slightly with a pencil. I used Brown liquid liner pen fine tip around $10 to $16 for precision. Practical tip: keep Q-tips and a small concealer brush for cleaning the edge. I practiced in my bathroom mirror for five minutes and it made a big difference.
Shop this idea:
12. Face Framing Soft Curtain Bangs And Gloss
Style: Vintage-Modern | Budget: Under $25 | Best For: Oval to heart faces


A soft curtain bang frames the face and looks great in portraits. Add a little hair oil at ends and a silk scrunchie for photos when you push hair back. I use Lightweight hair oil travel size around $8 to $18 to tame frizz. Ugly truth: heavy hairspray makes movement stiff in photos. My hair stylist taught me to style with fingers, not a brush.
Shop this idea:
13. Pearl Accent Jewelry For Soft Reflections
Style: Old Money Inspired | Budget: Under $50 | Best For: Classic dresses


Pearl studs catch light softly in photos, adding a polished touch without competing with makeup. A single pearl stud and a thin gold chain keep the look elegant and camera-friendly. I bought Pearl stud earrings small freshwater around $18 to $35 and wore them with a silky dress. Tip: fasten earrings before finishing hair to avoid tugging. My grandmother complimented my choice and I felt more put together instantly.
Shop this idea:
14. Statement Satin Scrunchie And Low Bun
Style: Romantic Classic | Budget: Under $20 | Best For: Dresses with neckline detail
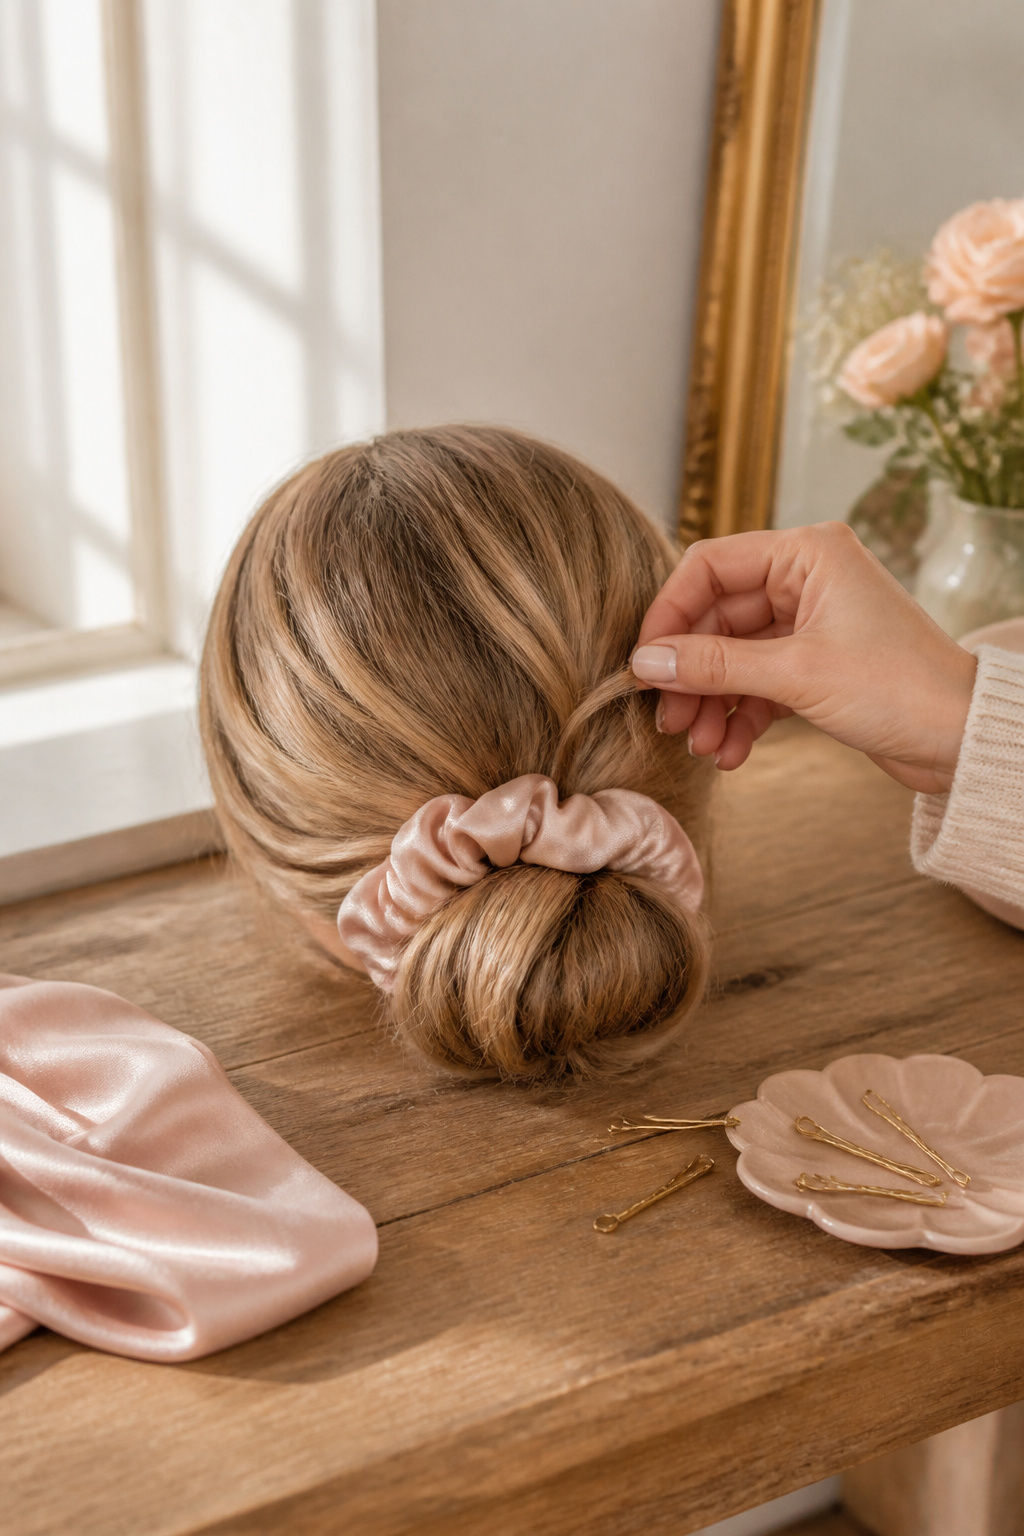

A low bun with a satin scrunchie reads intentional and photographs beautifully from every angle. Pull a few tendrils loose for softness. I used Satin scrunchie blush large around $8 to $14 and pinned stray hairs with hidden bobby pins. Tip: spray a light mist to tame frizz, not freeze motion. My hair stayed neat after dancing and I loved the side profile shots.
Shop this idea:
15. Subtle Contour With Warm Taupe Powder
Style: Sculpted Natural | Budget: Under $30 | Best For: Round or full faces


A gentle contour creates shape without harsh lines that photographs amplify. Choose a warm taupe powder and blend upward for a lifted look. I keep Warm taupe contour compact around $12 to $24 in my bag for quick touch-ups. Practical tip: buff with a fluffy brush and step back to check symmetry. I used to contour too dark; a friend’s candid shot taught me to tone it down.
Shop this idea:
What You'll Need to Get This Look
Face & Base Essentials
- Tinted serum foundation light beige around $28 to $38
- Hydrating primer mini around $8 to $16
- Cream blush stick warm peach around $14 to $24
- Translucent travel powder around $8 to $18
Eyes, Brows & Lips
- Cream bronze eyeshadow stick around $12 to $20
- Brown lengthening mascara around $10 to $18
- Tinted brow gel medium taupe around $10 to $16
- Tinted lip oil berry brown around $8 to $14
Clothing Staples
- Satin scrunchie blush around $8 to $14
- Thin gold chain necklace around $20 to $60
Shoes, Bags & Jewelry
- Pearl stud earrings freshwater around $18 to $35
- Small clutch bag satin around $25 to $70
Budget Swaps
- Drugstore cream blush stick peach around $6 to $12 (dupe for splurge cream formulas)
- Travel size tinted serum around $10 to $18 (swap for full-size)
Shopping Tips for These Looks
Shop sales by season: Stock up in August and September since retailers rotate prom/homecoming kits; check Sephora seasonal sale for similar items around $10 to $40.
Try cream formulas in-store: Cream blends differently on skin, so test on jawline where you’ll photograph, not wrist. See In-store tester tips.
Thrift and restyle jewelry: A thrifted pearl pin plus a new chain reads elevated; thrift peaks in late summer markets. Look for Vintage jewelry finds.
Timing trick for long wear: Apply lip oil over a thin stain, blot, then gloss for long shine; shop Tinted lip stain longwear.
Follow 2025 textures trend: Creams and satin fabrics are trending for their photo sheen; try Satin top ivory.
Bring a mini kit: Pack blotting papers, a mini translucent powder, and a lip oil for quick refresh; grab Blotting papers pack around $4 to $10.
Frequently Asked Questions
Q: How do I prevent makeup flashback in photos?
A: Use products labeled low-reflective and skip SPF-heavy primers right before photos. Try Translucent travel powder to set without flash. Extra tip, test a photo with your phone camera in similar lighting.
Q: What's the easiest way to make my skin look glowy in pictures?
A: Layer a hydrating primer under a tinted serum and add a cream highlighter on high points. I recommend Cream champagne highlighter stick for targeted glow.
Q: My lashes disappear in photos. What should I do?
A: Use a lengthening brown mascara and curl lashes before application. A good pick is Brown lengthening mascara for a softer look that still reads on camera.
Q: Can I wear glitter to homecoming photos?
A: Small controlled shimmer is fine on lids or inner corner, but chunky glitter can reflect light unpredictably. Try Sheer glossy lid topper warm gold for safe sparkle.
Conclusion
Start with one small change, like swapping powder blush for a cream stick, and see how your photos improve. I still carry blotting papers and a tinted lip oil in my clutch for quick fixes. Which look are you trying first, a glossy lid or a satin lip?


