






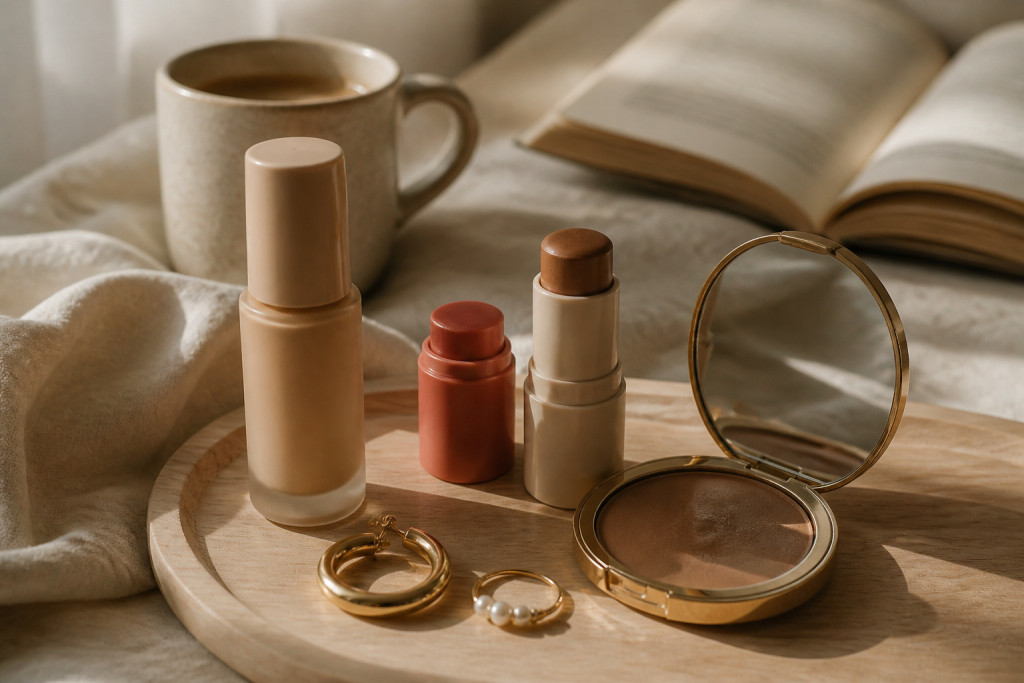

How to contour with makeup so it reads as lifted skin, not stripes.
I learned this the hard way after a party photo where my cheek looked sculpted like a barcode. The trick is vertical placement, cream products, and balanced warmth.
You’ll learn a no-fuss routine for a lifted look using mostly cream products, about $40 to $140 to build the basics, and easy swaps if you want to start under $25.
This suits warm or neutral undertones, everyday soft-glam, and people who hate hard lines. Lately I’ve noticed everyone moving to cream textures for that skin-first finish.
1. Start with the Glow: Skin Prep and Sheer Base
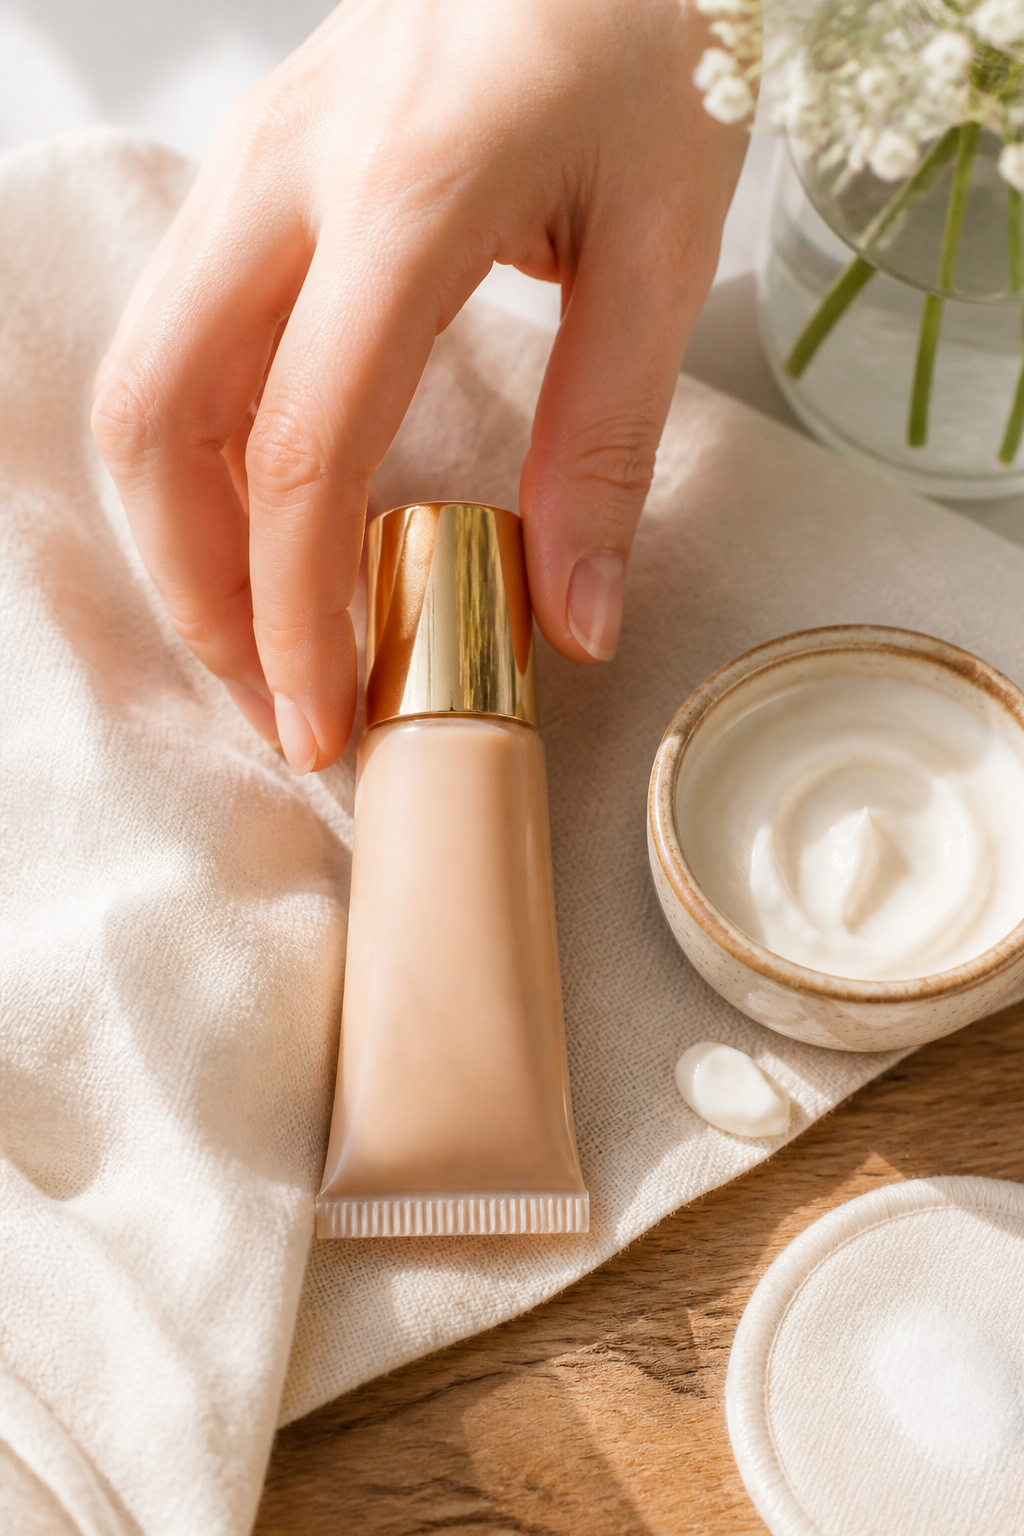

Begin here because foundation controls everything. A sheer, hydrating skin tint evens tone while keeping skin luminous, so cheek shading blends into skin instead of piling on top.
I use a light hand and warm water on a sponge. Try a Tinted skin tint with sheer coverage around $16 to $36 for a natural base. For extra luminosity, add a dab of Luminous primer radiance around $18 to $42 into the center of the face.
Visually, the principle is skin continuity. When the base is sheer and slightly dewy, cream contour sits like shadow not paint. Apply primer to the T-zone and cheeks, then buff tint with a Beauty sponge mini around $6 to $18.
Common mistake: putting full-coverage foundation first. That creates a mask and resists blending. Use thin layers and build where needed.
2. Layer Cream Color in Three Strategic Places
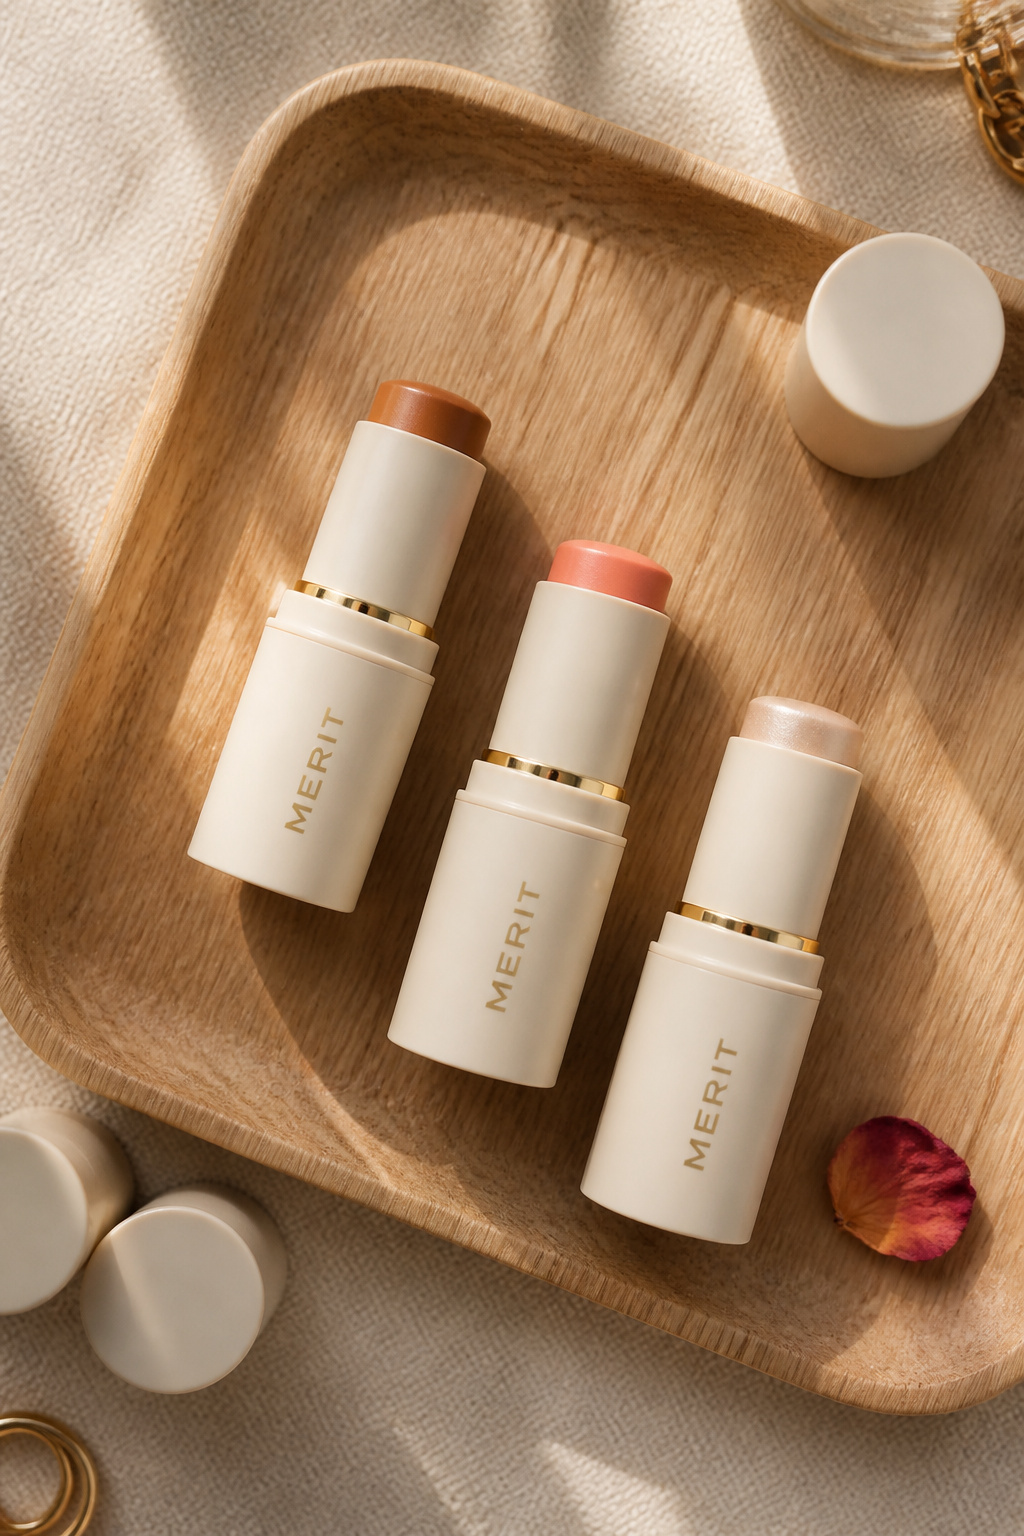

Skip the heavy contour line. I place cream bronzer in an elongated C from the temple down under the cheekbone toward the jaw. That creates lift by shadowing the face vertically.
Use a Cream bronzer stick warm caramel around $12 to $28 and a Cream blush stick in warm peach around $14 to $24. Tap both with fingertips, then blend with a Blending sponge duo around $8 to $20.
Visual principle: vertical strokes lengthen and lift. Place blush higher on the cheekbone near the temple, not the apple. Add a tiny touch of Cream highlighter pearl around $10 to $26 on the high point of the cheekbone and brow bone for a soft lift.
Mistake people make: smudging bronzer across the apple. That drags the face down. Keep bronzer toward the hairline and under the cheek, then blur upward.
3. Define Without Hardness: Soft Eye and Brow Work
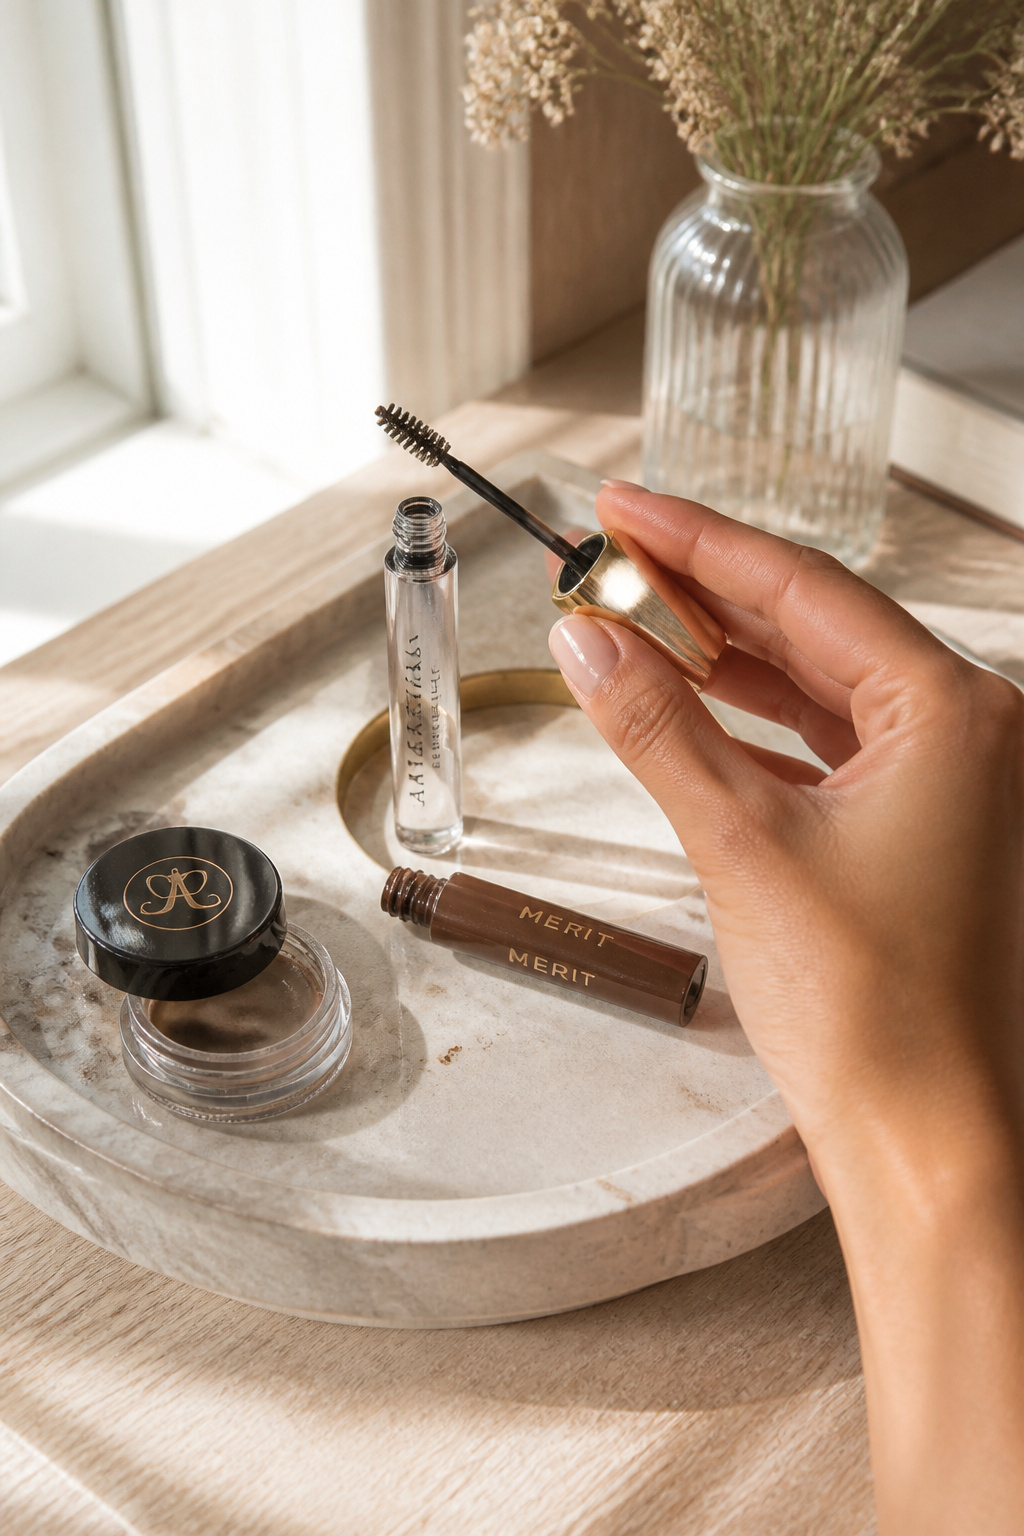

Brows and lashes frame the lifted finish. A brushed-up brow creates an instant open look without sharp lines.
Use a Brow gel clear around $8 to $22 to set hairs upward, then coat lashes with a Brown lengthening mascara around $9 to $26. For hooded lids, a soft warm wash along the socket in buff tones lifts the eye visually.
The principle is contrast and direction. Upward strokes on brows and lashes counterbalance shadow under the cheek, so the face reads lifted. Avoid drawing a heavy brow arch. That looks drawn and can pull attention away from cheek placement.
What I do instead: use short feathering strokes with the brow gel and layer mascara in thin coats for separation, not volume that creates heaviness.
4. Finish with Tonal Lip and Subtle Setting


A tonal lip and a dewy set keep the face cohesive. Match lip warmth to your cheek color for continuity.
Try a Tinted lip oil nude rose around $8 to $22 and finish with a Dewy setting spray luminous finish around $10 to $30. Lightly mist from arm’s length focusing center of face.
Visual principle: tonal harmony. When cheek, lip, and skin share temperature and sheen, the face reads intentional and lifted. Mistake: mattifying everything at once. That can flatten your work. Leave sheen on the high points and dust a tiny Setting powder translucent around $8 to $28 only where needed like the smile lines.
Common Styling Mistakes to Avoid
Mistake: Drawing a dark stripe under the cheek.
Why it doesn't work: Looks forced and flattens the cheek.
Do this instead: Blend cream bronzer vertically with a Soft angled fluffy brush around $8 to $34.
Mistake: Blush on the apple only.
Why it doesn't work: Makes cheeks rounder, not lifted.
Do this instead: Tap blush up toward the temple using a Cream blush stick in warm peach.
Mistake: Matching powder to the face only.
Why it doesn't work: Creates a mask and visible edge at the jaw.
Do this instead: Match to the neck and jaw with a Hydrating skin tint with undertone guide around $14 to $40.
What You'll Need for This Look
Face & Base Essentials
Tinted skin tint with sheer coverage around $16 to $36
Cream blush stick in warm peach around $14 to $24
Dewy setting spray luminous finish around $10 to $30
Eyes, Brows & Lips
Brow gel clear around $8 to $22
Brown lengthening mascara around $9 to $26
Tinted lip oil nude rose around $8 to $22
Clothing Staples
White tee classic cotton around $12 to $40
Straight leg high waist dark wash jeans around $30 to $120
Shoes, Bags & Jewelry
Leather loafers tan around $40 to $150
Leather tote bag tan around $60 to $200
Gold chunky hoop earrings 14k around $18 to $80
Budget Swaps
Drugstore cream blush dupe around $6 to $14
Vintage blazer thrift style around $15 to $60
Shopping Guide for This Look
Shop the base first: Buy a Tinted skin tint with sheer coverage around $16 to $36 so your colors match the finish.
Wait for beauty events: Ulta and Sephora sales often discount cream products; pick up a Cream bronzer stick warm caramel around $12 to $28.
Thrift plus key new piece: Pair a thrifted blazer with a Gold chunky hoop earrings 14k around $18 to $80 for polish.
Splurge vs save: Splurge on a true skin tint, save on a Drugstore cream blush dupe around $6 to $14.
Conclusion
Start with one change. Swap powder contour for a warm cream bronzer and place it in a vertical C. You’ll see lift in photos and in person.
If you want to try just one product first, grab a Cream blush stick in warm peach around $14 to $24.
Which part sounds easiest to try this week?


