








I learned how to do bridesmaid makeup that survives tears and photos the hard way at my sister's wedding.
She cried during vows. My mascara ran. The photos lived forever. After redoing three faces in the bridal suite I found a formula that actually lasts and looks natural on camera. This guide shows the look, an emergency kit under $30, and where I splurged.
This is a soft-glam, tonal bridesmaid vibe that reads warm and radiant in photos. Total kit around $80 to $150 depending on whether you splurge or shop drugstore.
It suits warm and neutral undertones, petite and tall frames, and bridesmaids who want a camera-ready face without a heavy feel. Lately I’ve noticed everyone favoring cream textures over powder for a lived-in glow.
1. Start with the Glow: Skin Prep and Sheer Base
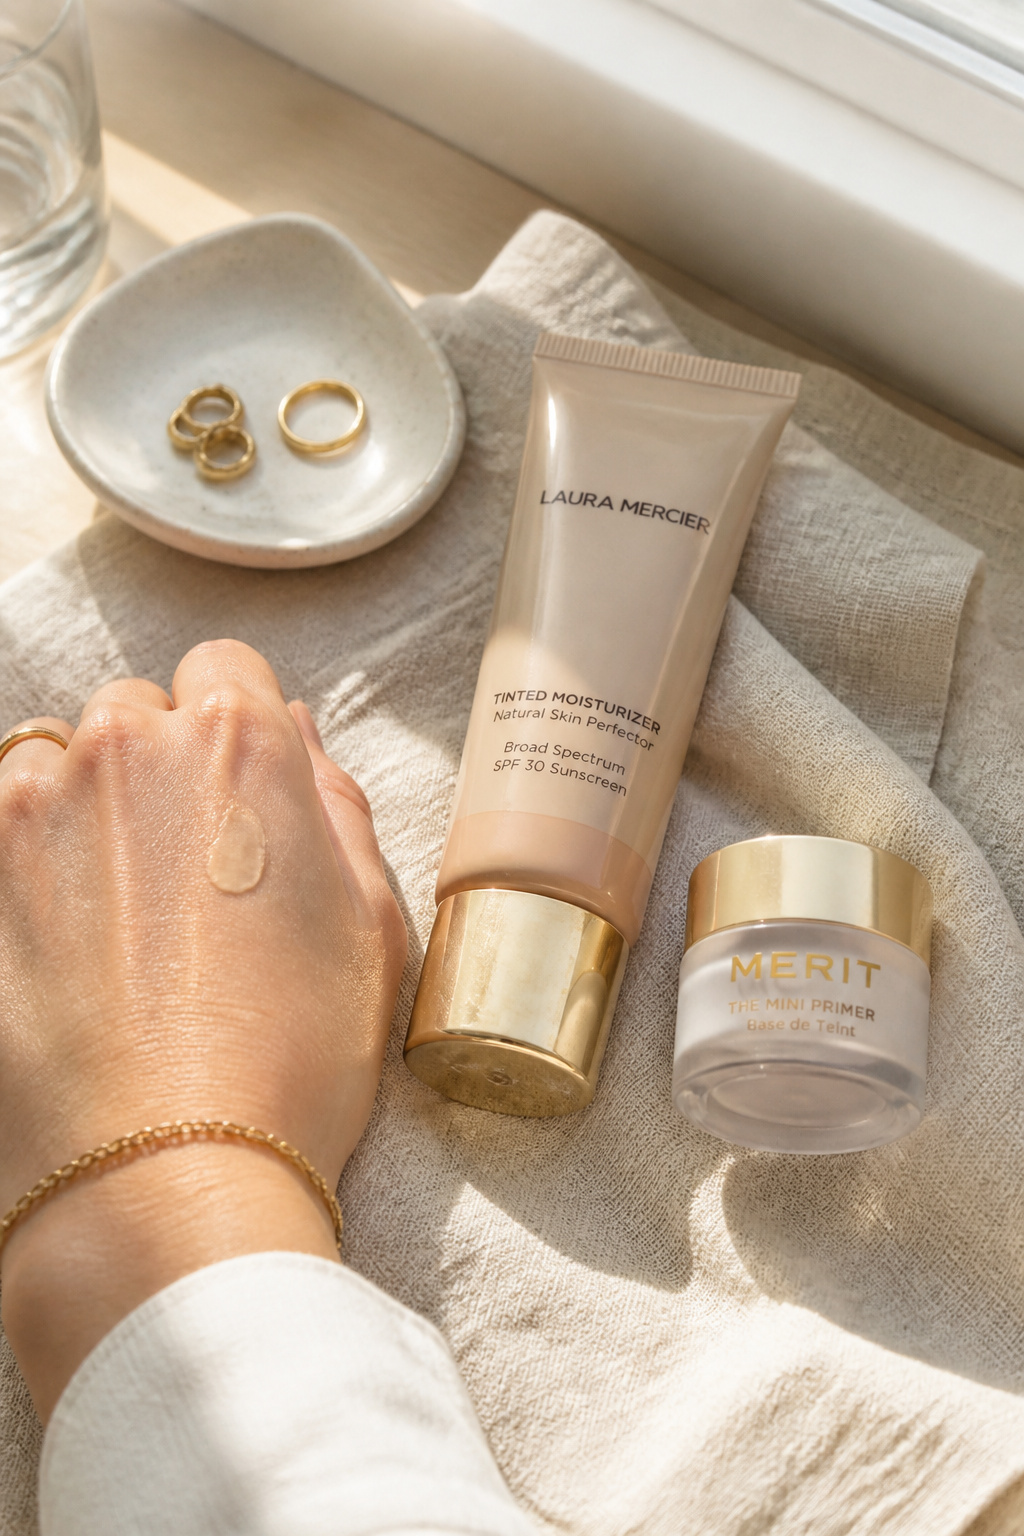

Good skin is the whole point. Start with a lightweight primer to blur pores, then a sheer tinted base so photographs pick up natural skin texture.
I use a Tinted skin tint medium neutral around $18 to $28 and a Blur smoothing primer lightweight 30ml approx $12 to $26. Apply the primer only where texture shows: cheeks and sides of nose.
The visual trick is skin continuity. Match neck and chest tones, keep coverage thin, and let your natural pores show a little so photos read real. Too much full-coverage powder creates a flat, photo-mask.
Common mistake: over-powdering at this stage. It mattifies the glow and catches flash. Instead, set only oily zones with a tiny dusting of a translucent powder.
2. Layer Cream Color in Three Strategic Places
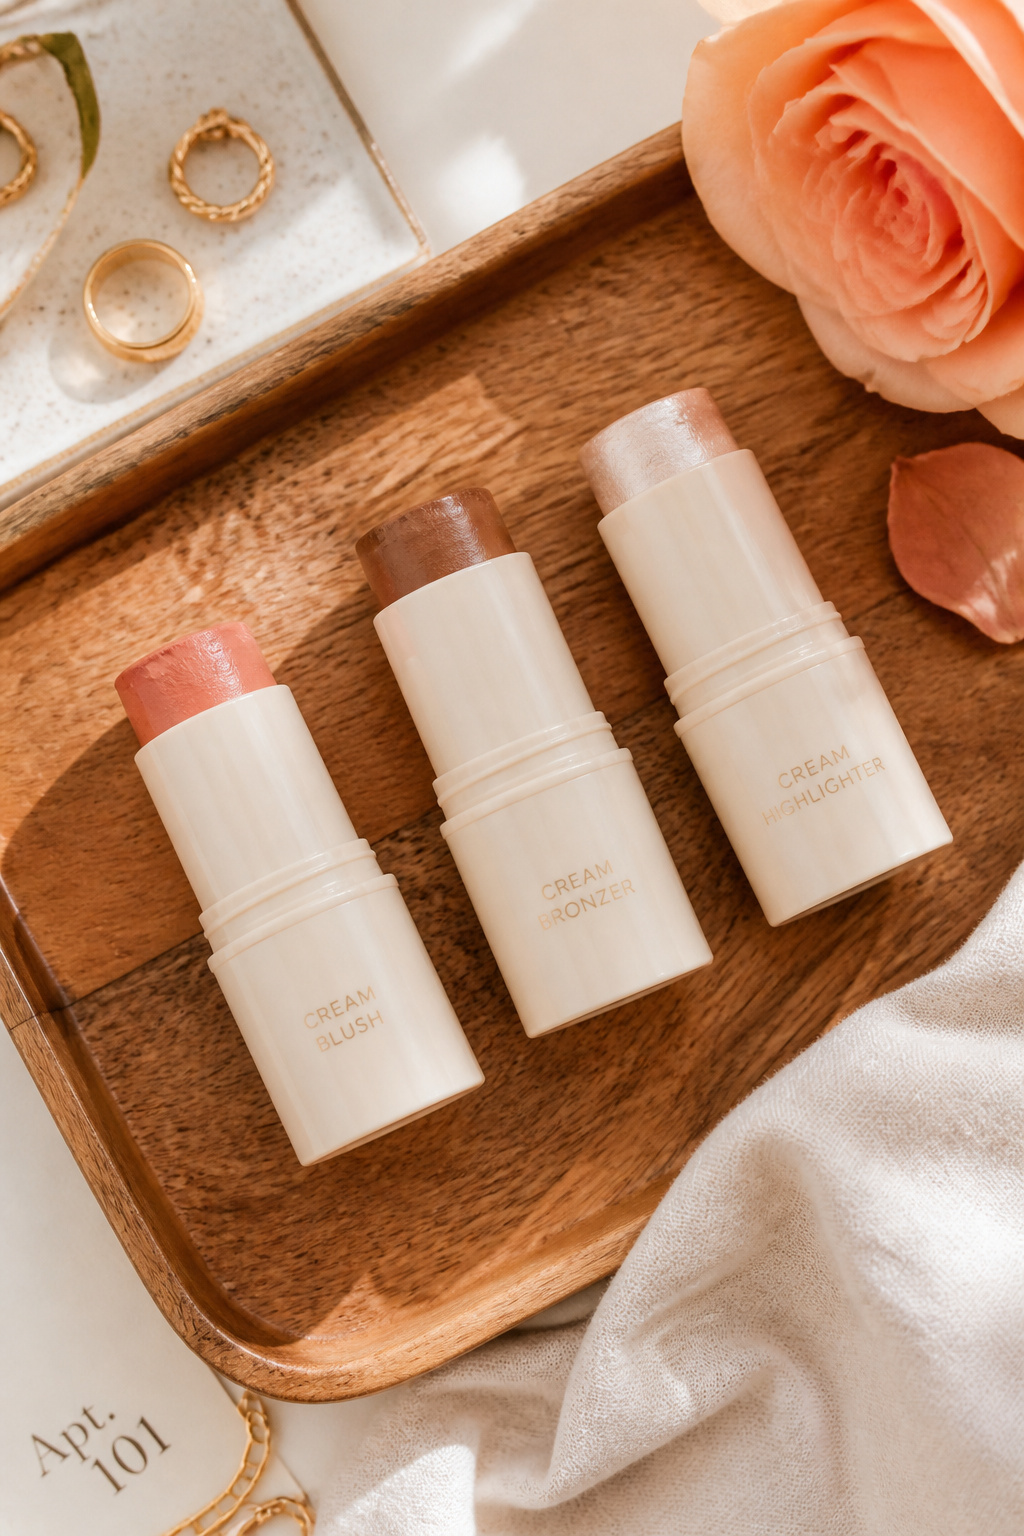

The trick is placement not amount. Use cream color on cheekbone, temple, and bridge of nose to read in photos and under tears.
I dab a Cream blush stick warm peach around $14 to $24 and a Cream bronzer stick warm caramel approx $12 to $22. Tap with fingertips and blend upward for lift.
Color theory: warm peach and soft caramel pair for flattering contrast on warm and neutral undertones. Texture mixing—creams on top of tinted base—keeps the face from reading flat at a distance.
Most people swipe blush on the apple. On camera that can look round and juvenile. I place it higher and sweep toward the ear for structure that still looks natural.
3. Define Without Hardness: Soft Eye and Brow Work


Eyes should read defined but not harsh. Waterproof mascara is nonnegotiable for vows and humid receptions.
I layer a Waterproof mascara smudge-proof black around $9 to $24 and use a Tinted brow gel medium brown approx $10 to $20 to keep arches soft.
Skip heavy black liner on the lower lash line; it can smudge and enlarge tear tracks. Instead, run a soft brown gel liner tight to the upper lash root for depth.
Good Housekeeping notes that waterproof mascaras resist smudging in humidity better than standard formulas. My ugly truth: waterproof can flake if you layer too many coats. So one coat to separate, one to amplify is enough.
4. Finish with Tonal Lip and Subtle Setting
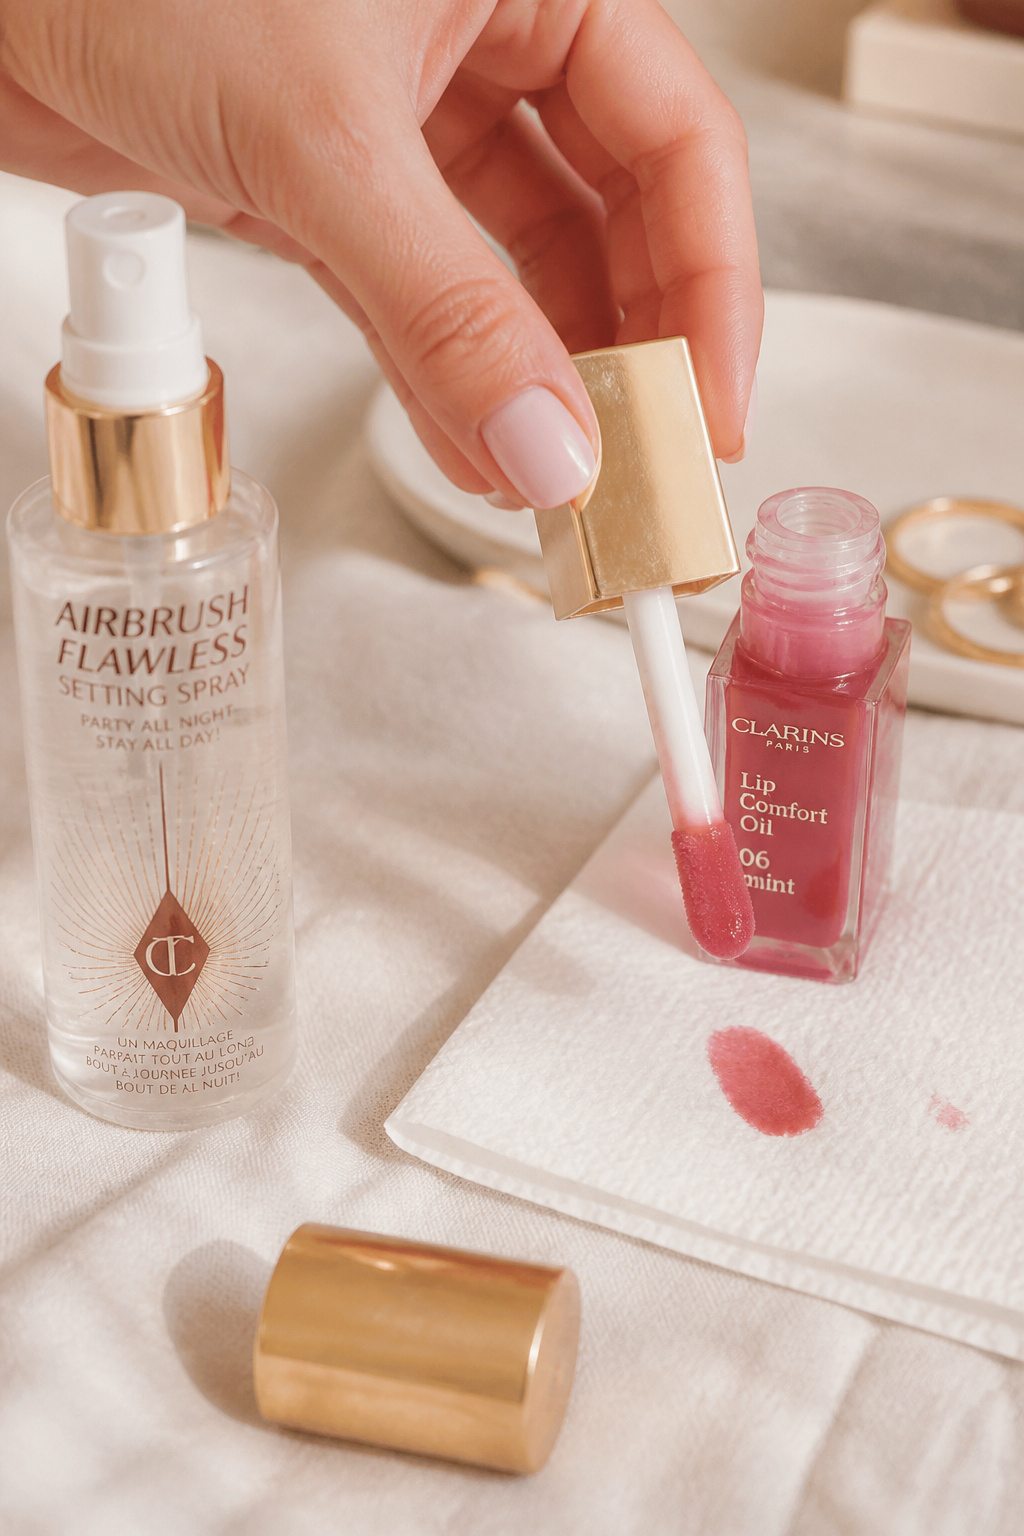

A tonal lip keeps the face cohesive and survives kisses and crying. Pick a cream or oil that refreshes without sticking to petals.
My pairings: Tinted lip oil sheer rose around $10 to $20 and a Longwear transfer-proof lipstick matte rosewood approx $12 to $28 for touch-ups.
Finish with a fine mist Fine mist setting spray longwear 100ml around $9 to $30. Spray twice from 10 inches away, left then right.
Mistakes here: heavy powder over the lip makes color patchy. Do a single blot, then reapply lip oil for a fresher look. A small bottle of setting spray in your clutch saved me more than once.
Common Styling Mistakes to Avoid
Mistake: Matching foundation only to the cheek
Why it doesn't work: Creates a masked jawline and odd color in photos.
Do this instead: Match to the neck with a Tinted skin tint medium neutral around $18 to $28.
Mistake: Over-highlighting for the camera
Why it doesn't work: Reflects flash and looks greasy in close-ups.
Do this instead: Use a small swipe of a Cream highlighter pearl stick approx $10 to $22 on the high points only.
Mistake: Relying on non-waterproof mascara
Why it doesn't work: Tears ruin lower lashes and photos.
Do this instead: Switch to a Waterproof mascara smudge-proof black around $9 to $24.
What You'll Need for This Look
Face & Base Essentials
Tinted skin tint medium neutral around $18 to $28
Blur smoothing primer lightweight 30ml approx $12 to $26
Cream blush stick warm peach around $14 to $24
Eyes, Brows & Lips
Waterproof mascara smudge-proof black around $9 to $24
Tinted brow gel medium brown approx $10 to $20
Smudge-proof gel eyeliner deep brown around $8 to $18
Clothing Staples
Silk slip dress dusty rose small approx $40 to $120
Matching chiffon bridesmaid robe small to medium around $18 to $45
Shoes, Bags & Jewelry
Leather ballet flats nude 7 approx $30 to $120
Structured clutch bag taupe around $25 to $80
Gold hoop earrings medium 20mm approx $12 to $40
Budget Swaps
Drugstore cream blush stick peach around $6 to $12
Affordable setting spray 50ml around $6 to $14
Shopping Guide for This Look
Time your buys: Buy skin tint and primer during Ulta or Amazon Prime sales; I found my cream blush at an Ulta sale. Try a Travel-sized setting spray 30ml approx $6 to $12.
Thrift + sparkle hack: Hunt for vintage hoops and pair with a new clutch for polish; search Vintage gold hoop earrings 20mm approx $10 to $40.
Trend watch 2025: Cream textures keep winning for photos; stock a Cream blush stick warm peach around $14 to $24.
Splurge vs save: Splurge on a longwear lipstick for photos, save on robes; compare Luxury longwear lipstick rosewood approx $28 to $48 vs Affordable setting spray 50ml around $6 to $14.
Pack smart: Keep blotting papers and a mini of your Fine mist setting spray longwear 100ml in the clutch; try Mini blotting papers travel pack approx $4 to $10.
Conclusion
Start with one change: swap powder blush for a cream stick. It made my bridesmaids look less made-up and more present in photos.
One final rule I live by: plan for tears and motion. Waterproof mascara, tonal creams, and a tiny setting spray bottle are the minimum.
Which bridesmaid moment worries you most—tears, humidity, or dancing?


