






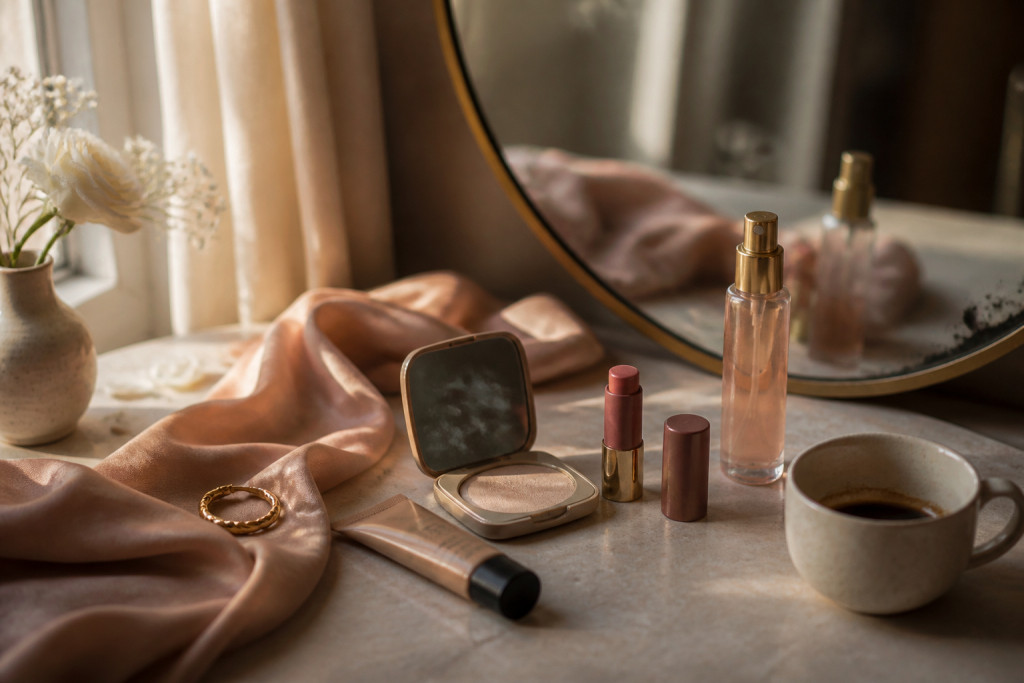

My friend asked me, out loud, how to do bridesmaid makeup that would survive real tears and a hundred photos.
I told her the result first: soft, tonal, photo-friendly skin that still looked like her. Expect to spend about $60 to $140 for the kit I use, less if you pick drugstore swaps.
This works best for warm and neutral undertones, and for anyone who wants soft glam without a cakey finish. I’ve noticed cream blush and glossy lips keep coming back in 2025 beauty chats.
Brides magazine and wedding planners say emotional moments are common on wedding days, so waterproof and blendable products are nonnegotiable.
1. Start with the Glow: Skin Prep and Sheer Base
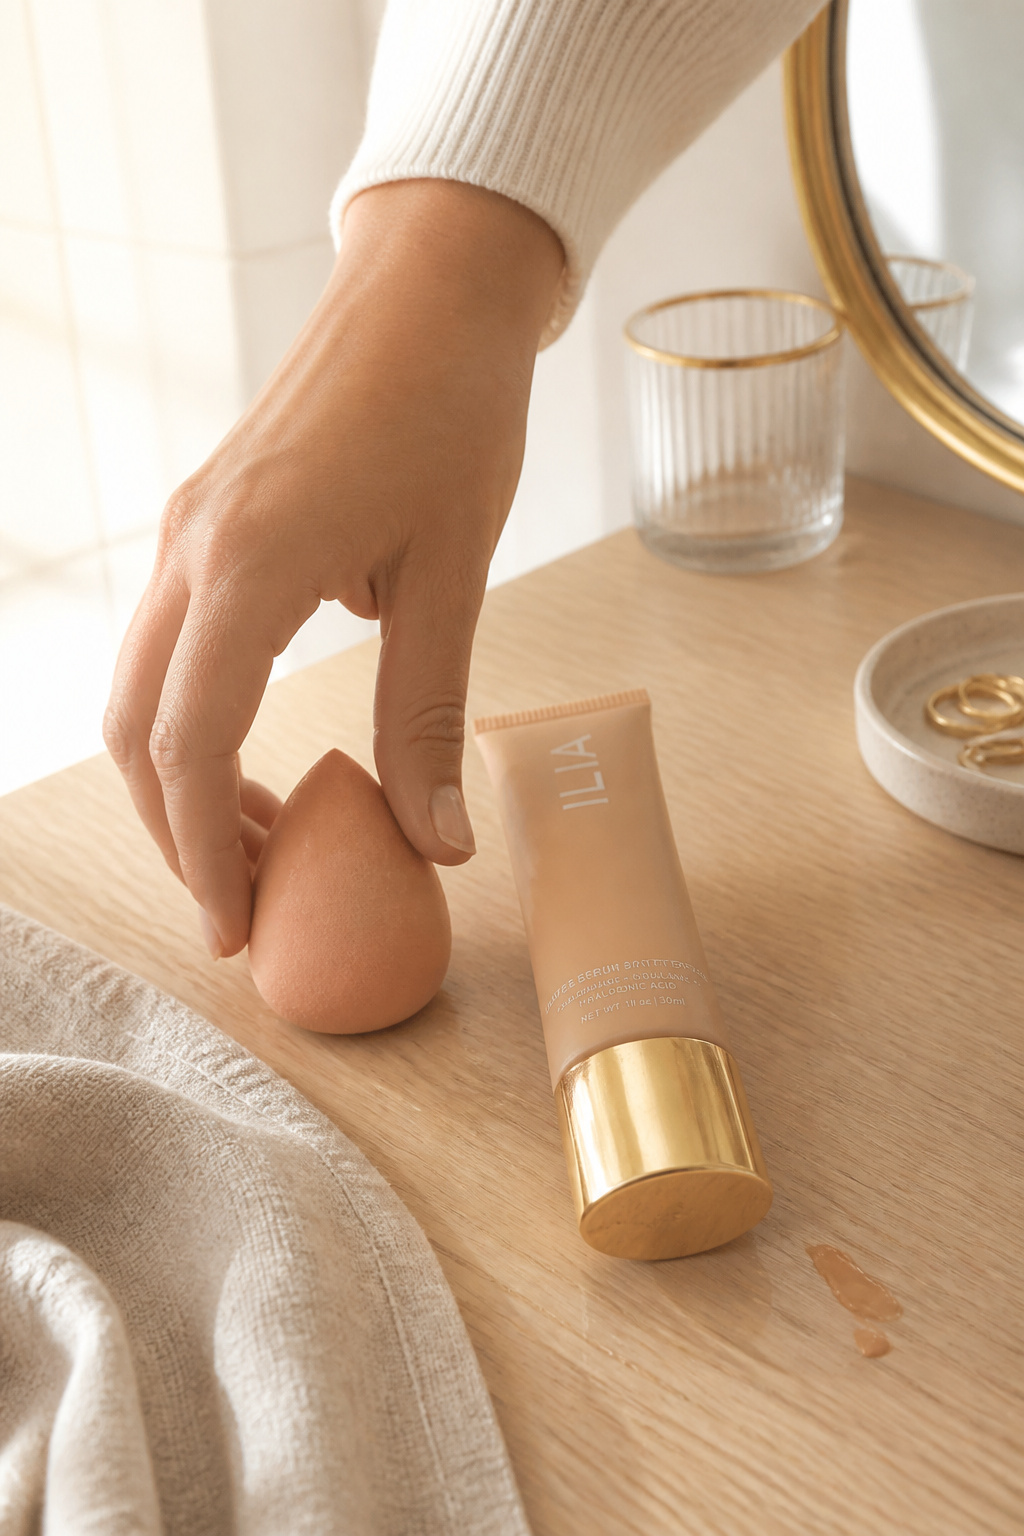

Good skin prep makes every photo easier. I mean it: hydrate, prime, and use a sheer skin tint so sweat and tears move with the skin instead of sitting on top.
I reach for a hydrating primer and a Tinted skin tint medium 30 ml around $18 to $36 to keep the base thin but even. Add a dab of creamy concealer for under-eye and blemishes.
The visual trick is skin texture, not coverage. Sheer, glowy finishes read better in flash than matte pancake.
Common error: powdering the whole face. Instead, set only the T-zone with a light Translucent setting powder small jar around $12 to $28 to avoid flashback and heaviness.
Do this and you’ll keep natural highlights where photos want them.
2. Layer Cream Color in Three Strategic Places
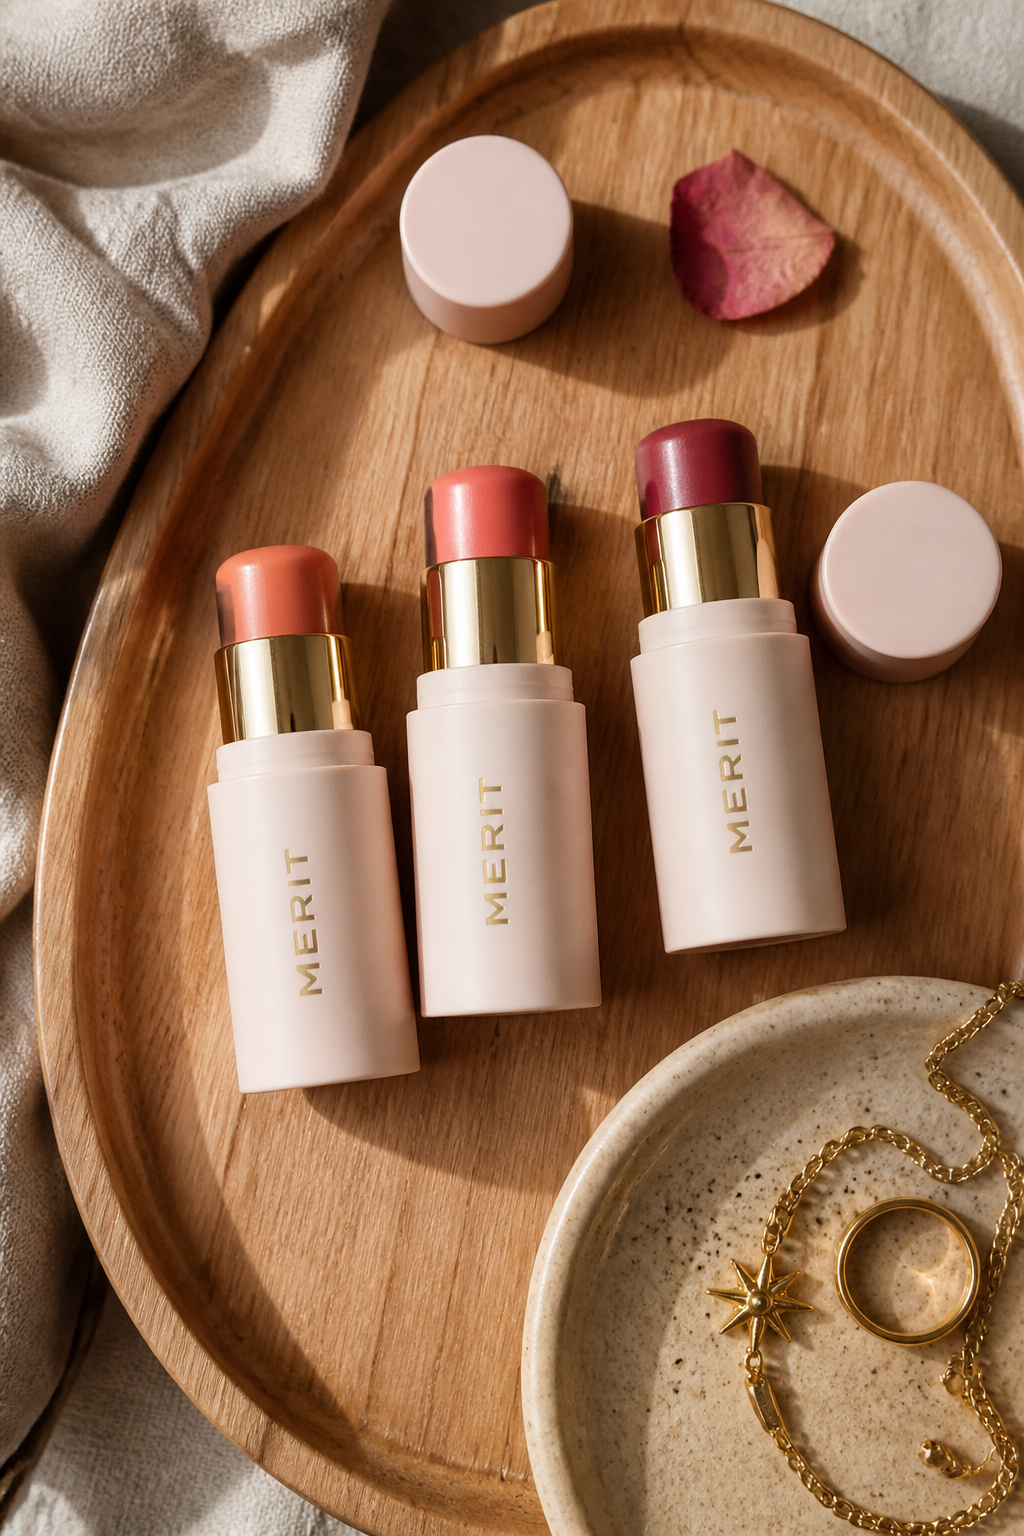

The trick I use is one cream color in three spots: apples of cheeks, bridge of nose, and a tiny touch on eyelids.
I apply with fingers. My go-tos are a Cream blush stick in warm peach around $14 to $24 and a Cream bronzer stick in warm caramel around $16 to $30.
This creates cohesion between skin, eyes, and lips. Tone matching keeps the look tonal and photo-friendly.
People often slap blush on the apple only. Try placing it higher on the cheekbone and blend outward for lift. A small dot on the lid avoids heavy eyeshadow.
Finish with a light dab of cream highlighter center cheek in a Sheer cream highlighter around $12 to $26 for a lived-in glow.
3. Define Without Hardness: Soft Eye and Brow Work
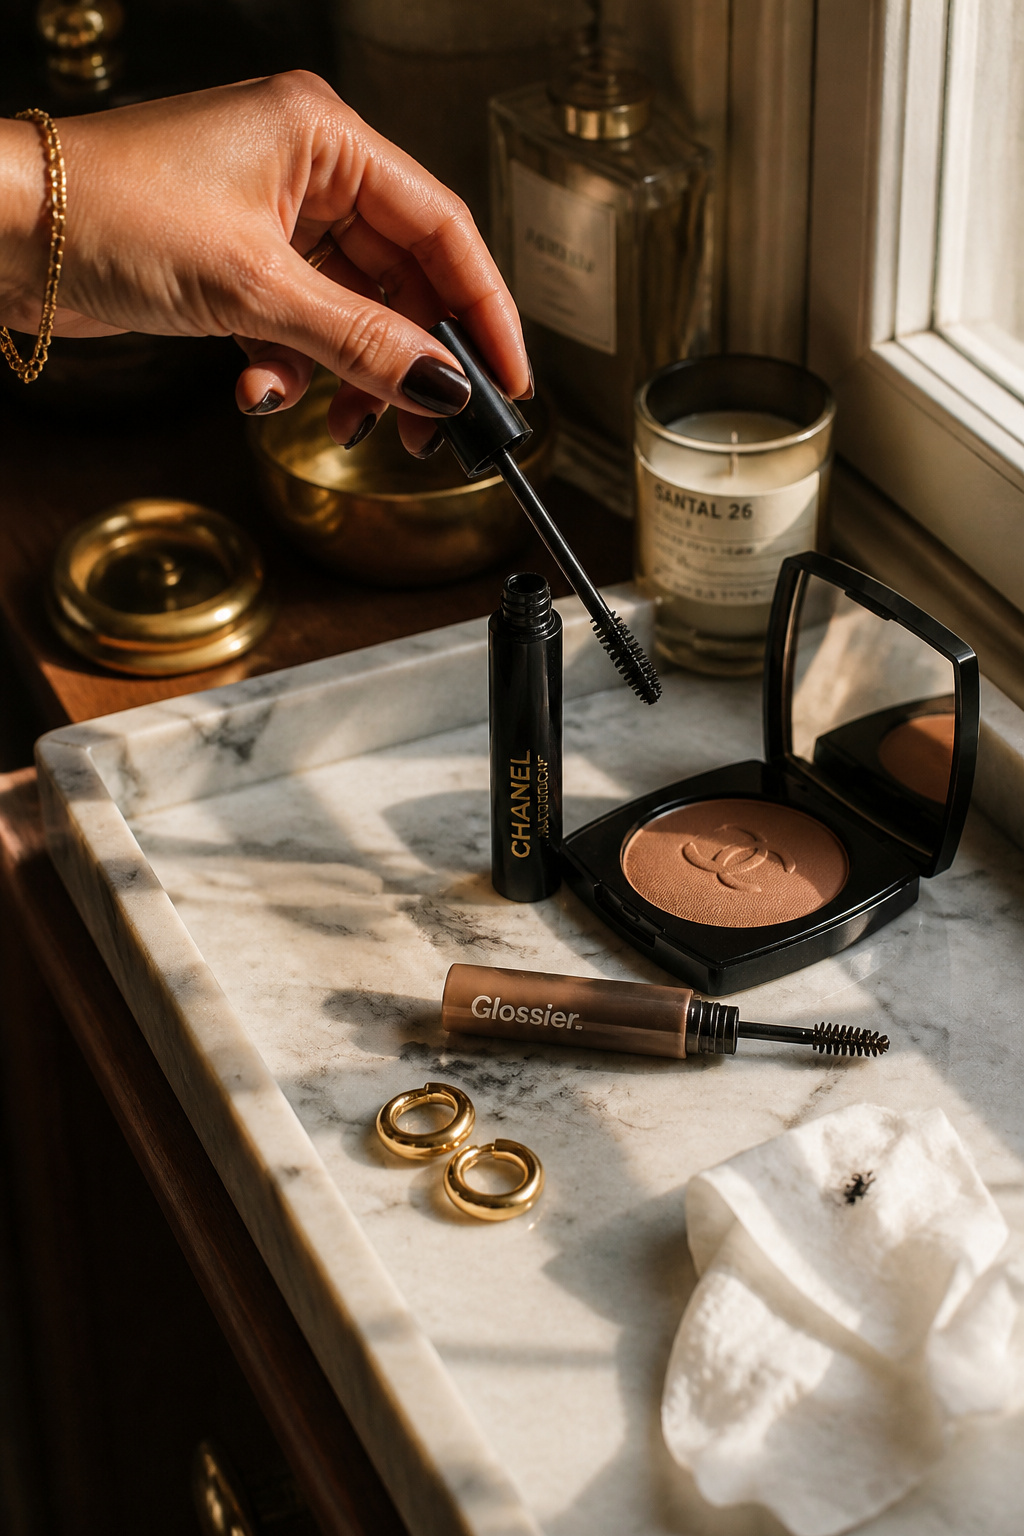

Eyes should read clearly in photos but stay soft when you blink. My rule: waterproof where it matters, cream where it lifts.
Start with a neutral cream shadow in Cream eyeshadow stick soft taupe around $10 to $22 under the brow bone and on the lid.
Layer a waterproof mascara for the outer lashes only. I use Waterproof lengthening mascara small tube around $9 to $25 so tears don’t paint trails.
Brows are micro-sculpted, not carved. Use a tinted Brow gel in soft brown around $8 to $20 and brush upwards for a lifted frame.
Mistake: heavy liner on the inner rim. It can close the eye and smear. Instead, tightline very subtly and keep liner smudged and soft.
4. Finish with Tonal Lip and Subtle Setting
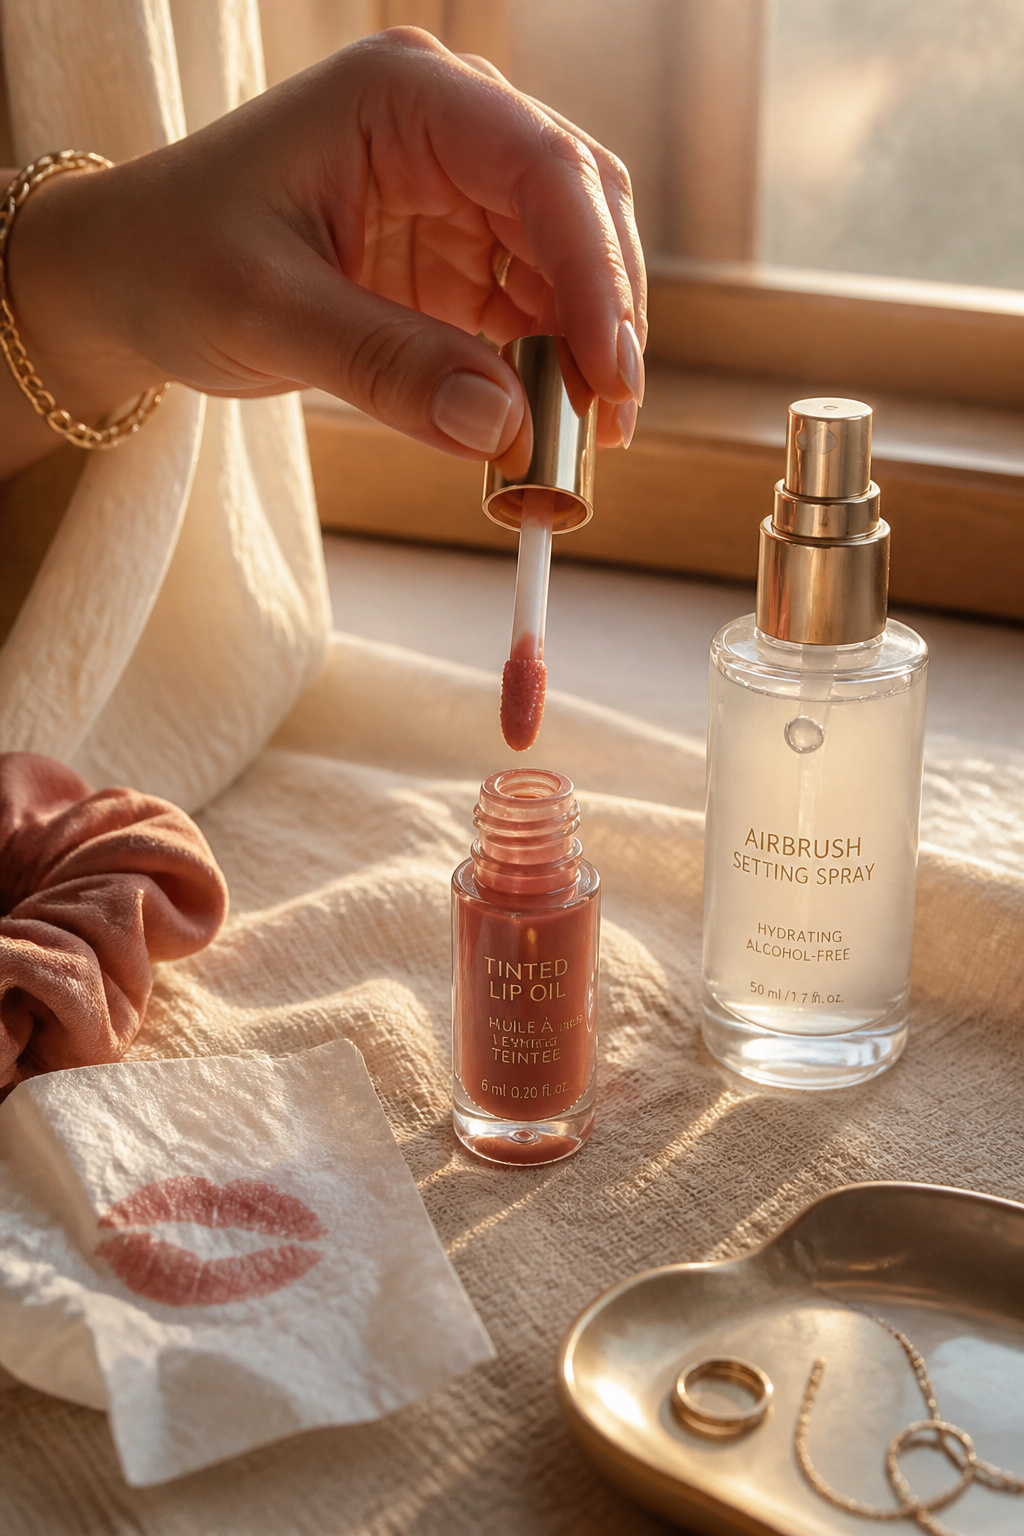

A tonal lip keeps the look cohesive and forgiving in closeups. I prefer balm-first then stain.
Swipe a Tinted lip oil in rose beige around $10 to $22 and press a sheer Long-wear lip stain small tube around $12 to $24 into the center.
Top with a blot to remove slippery shine where the camera catches reflection.
Seal the whole look with a fine-mist Hydrating setting spray travel size around $8 to $28 so tears bead and roll off rather than dissolve makeup.
Avoid heavy matte liquid lipstick for bridesmaids. It tends to crack and show lines. The tonal, slightly glossy finish photographs more natural.
Common Styling Mistakes to Avoid
Mistake: Powdering the whole face
Why it doesn't work: Creates a flat, photo-unfriendly finish and highlights creases.
Do this instead: Set T-zone only with a Translucent setting powder small jar around $12 to $28.
Mistake: Matching foundation by face only
Why it doesn't work: Produces a masked jawline under flash.
Do this instead: Match the neck and jaw. Try a Lightweight foundation stick neutral around $14 to $36.
Mistake: Heavy black liner on the lower lash line
Why it doesn't work: Smears with tears and makes eyes look smaller.
Do this instead: Smudge a Soft brown eyeliner pencil waterproof around $6 to $18 along only the outer half.
What You'll Need for This Look
Face & Base Essentials
Tinted skin tint medium 30 ml around $18 to $36
Translucent setting powder small jar around $12 to $28
Hydrating setting spray travel size around $8 to $28
Eyes, Brows & Lips
Cream eyeshadow stick soft taupe around $10 to $22
Waterproof lengthening mascara small tube around $9 to $25
Brow gel in soft brown around $8 to $20
Clothing Staples
Silk wrap dress dusty rose approx $60 to $140
Shoes, Bags & Jewelry
Low block heel in nude leather around $40 to $120
Gold chunky hoop earrings small around $12 to $40
Leather clutch tan around $30 to $90
Budget Swaps
Cream blush stick in warm peach around $14 to $24 (drugstore dupe often available at Ulta during sales)
Shopping Guide for This Look
Buy during seasonal beauty sales: Stock up on mascara and setting spray during spring and Black Friday events. Hydrating setting spray travel size around $8 to $28.
Thrift + new mix: Pair a thrifted silk scarf with a new Gold chunky hoop earrings small around $12 to $40 for polish on a budget.
2025 trend pick: Lean into cream textures and glossy centers for fresh photos. Try Cream blush stick in warm peach around $14 to $24.
Splurge vs save: Splurge on a long-wear mascara if you cry easily, save on a drugstore cream blush for that lived-in flush. Waterproof lengthening mascara small tube around $9 to $25.
Conclusion
Start with one change: swap powder-only base for a hydrating skin tint and targeted setting. It’s the single easiest way to keep makeup moving naturally when emotions rise.
My last tip: rehearse with the dress and lighting the day before so you know where shine shows and where to soften.
Which product from the list would you try first?


