






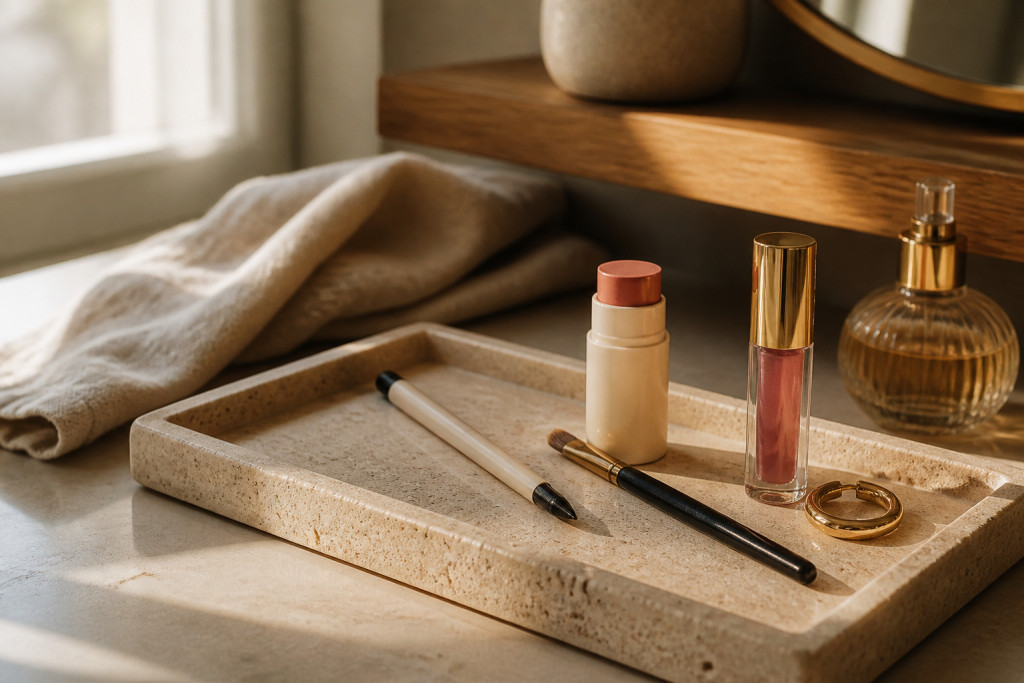

My cat eye used to take six redraws and an attitude. How to do cat eye makeup without redrawing it six times started as survival.
If you want one clean wing that lasts through coffee, commute, and reheated lunch, this guide shows the order, the product combos, and the tiny placement hacks that stop the wobble. Budget: under $40 to start, $80 to $150 for a curated kit.
Clean-girl meets lived-in glam. This suits hooded lids to almond eyes, and most warm or neutral undertones.
I noticed search interest for "winged eyeliner" spikes seasonally on Google Trends, and Pinterest Predicts 2025 favors wearable eye definition over theatrical wings. So the trick is staying precise and forgiving.
1. Start with the Glow: Skin Prep and Sheer Base
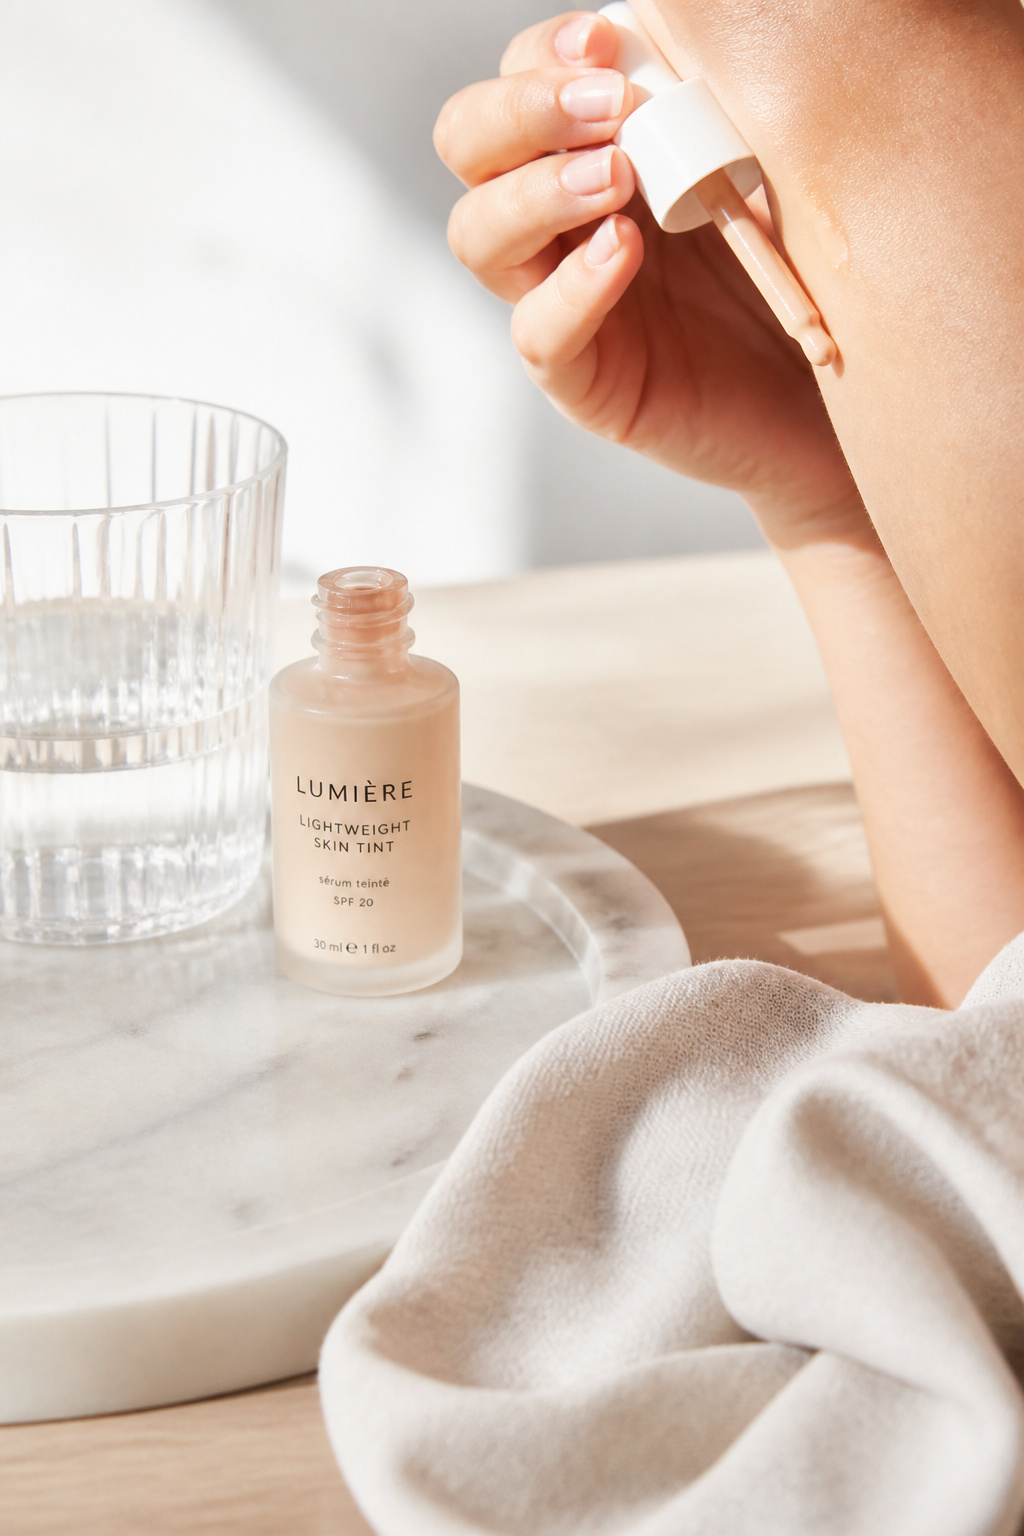

Start here because a stable canvas makes a cat eye look clean rather than patchy. If your base slips, the liner follows.
I use a skin tint to even tone without masking texture. Try Lightweight skin tint with dewy finish for days I want the wing to be the focus, not the foundation.
Add a bit of cream concealer on the outer corner if your lid creases. I set only the outer third with a tiny sweep of translucent powder using a fluffy brush to give the liner something to bite into. A sticky, powdered edge is the visual principle: slight resistance equals fewer redraws.
Common mistake: full powdering locks movement but also flakes liner. Do this instead: sheer base, spot-set the outer lid. The result is a crisp wing that floats, not a hard edge that cracks.
2. Layer Cream Color in Three Strategic Places
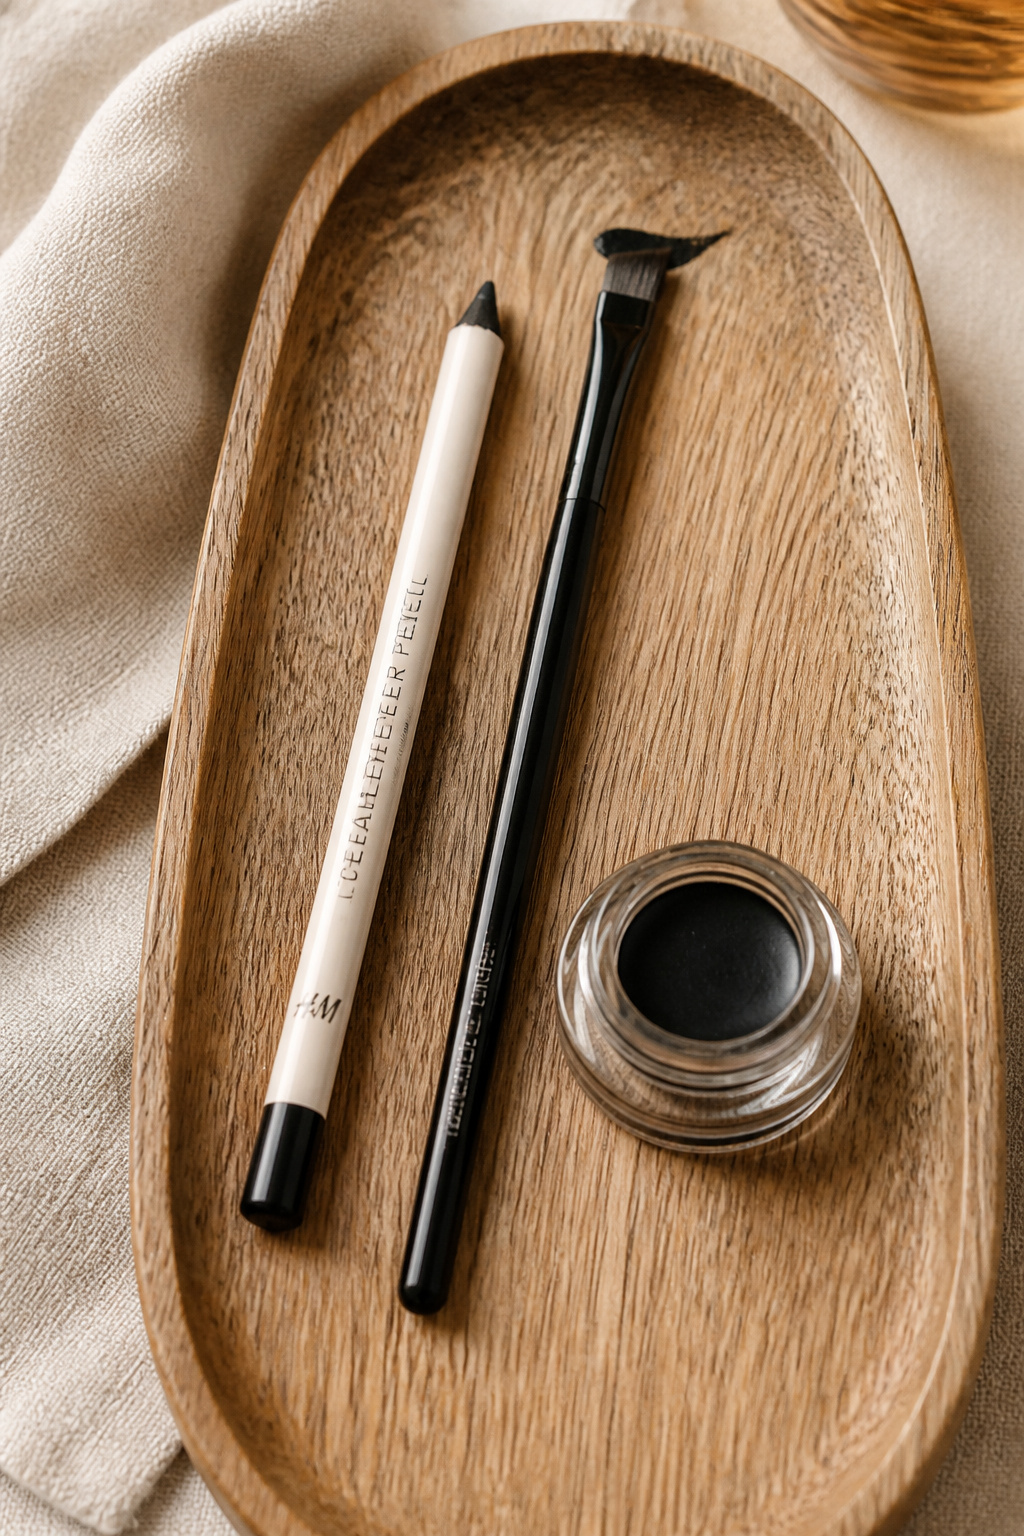

The secret I learned is to build the shape with cream first. Cream holds. Pencil or gel followed by liquid cuts down redraws.
Start with a Cream eyeliner pencil in soft black to sketch the wing outline. Use a small angled brush and a Tightlining gel pot to press product into the lash base and outer corner. Then go over the very edge with a thin-tipped liquid for the final crisp line.
This is texture mixing at work. The cream gives forgiveness; the liquid gives definition. Placement matters: draw the tail along the lower lash line extension, not straight up. That slant flatters most eye shapes.
Mistake: trying to draw a perfect single stroke. Instead, build: cream, set, then ink the edge. I learned this after ruining many mornings and one silk blouse.
3. Define Without Hardness: Soft Eye and Brow Work
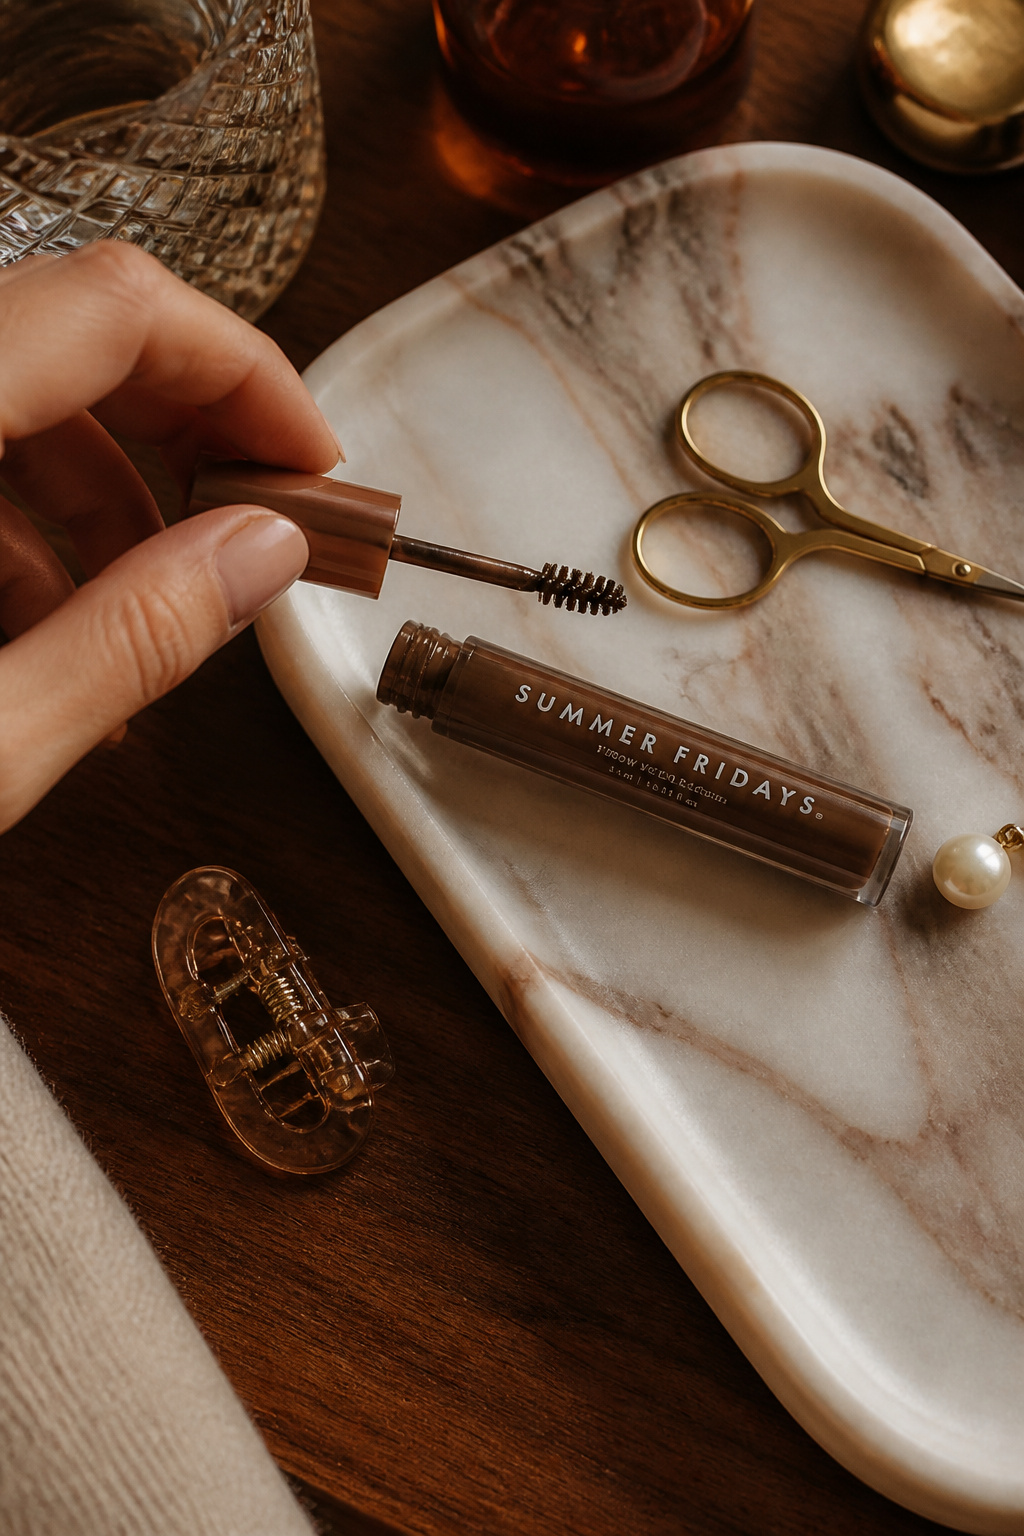

A cat eye stands out when the rest of the eye looks intentional, not overdone. Soft brows and a hint of shadow anchor the wing.
Brush brows up with a Tinted brow gel medium brown to create a frame without heaviness. Smudge a warm matte shadow along the upper lash line with a tiny smudger brush. This matte layer balances the black wing without competing.
Visual principle: tonal harmony. Warm matte next to black liner reads modern and pulled together. Mistake: heavy glitter or too-contrasting shades. They tug the eye away from the wing and force redraws.
Finish lashes with a flake-proof Lengthening mascara black to keep the eye open and the wing visible.
4. Finish with Tonal Lip and Subtle Setting
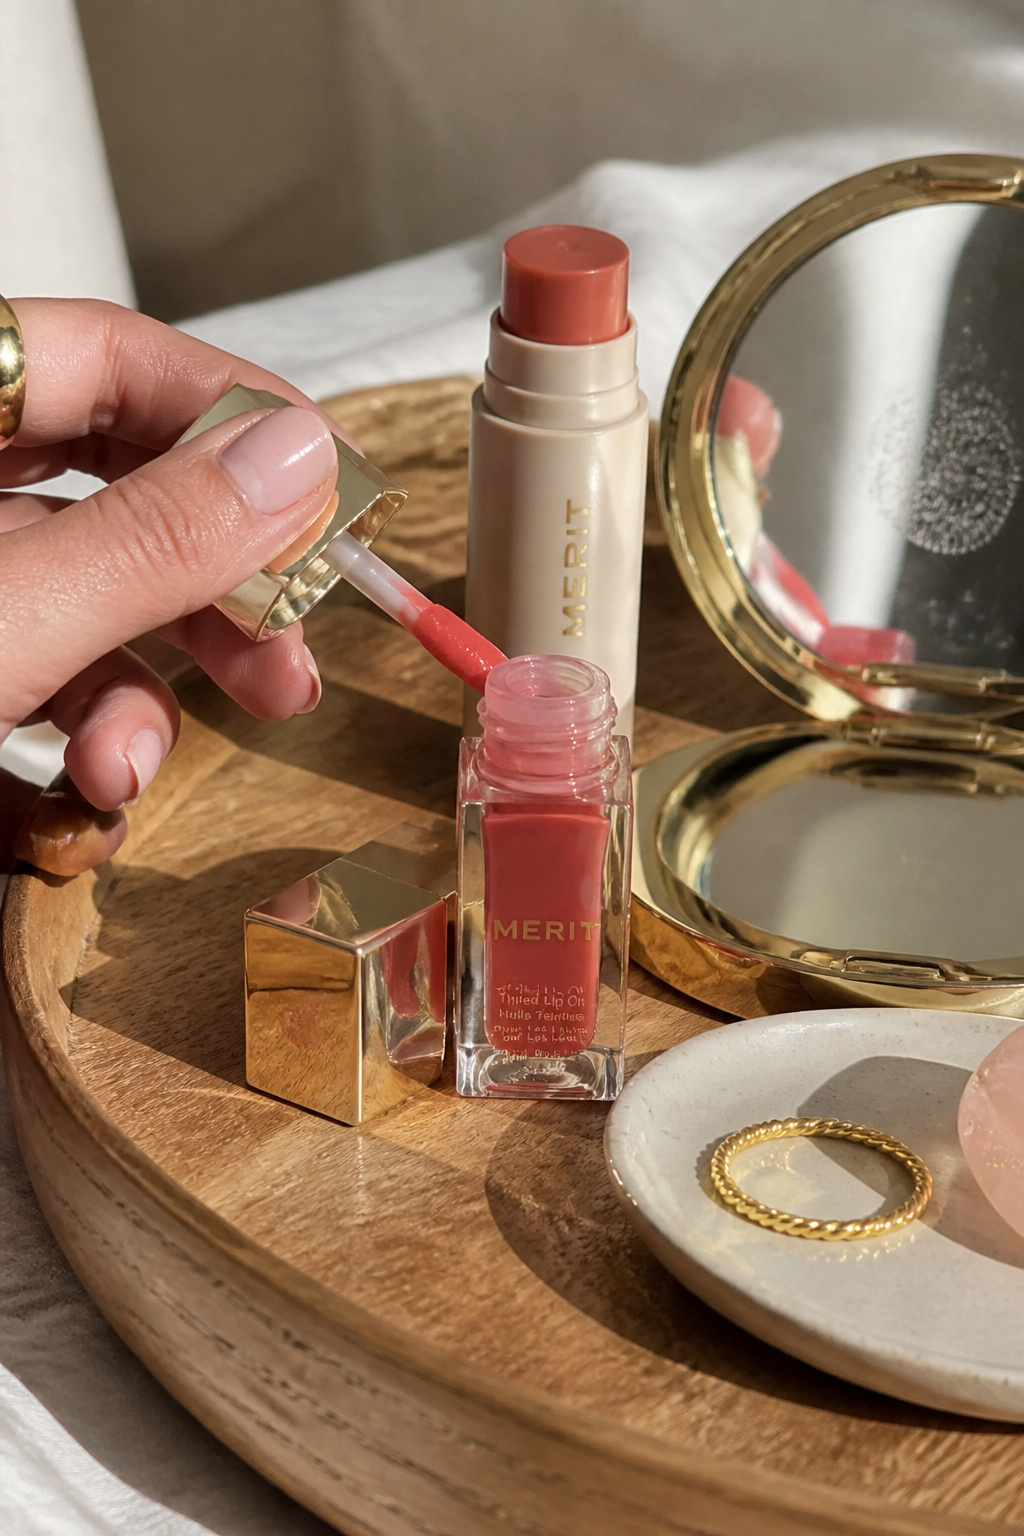

A bold wing pairs best with a tonal, low-contrast lip. This keeps the face balanced so the liner reads intentional.
Use a Tinted lip oil sheer nude or a satin nude lipstick. Add a quick dot of cream blush on the cheekbone and blend with fingertips for a lived-in flush. I use a Cream blush stick warm peach that melts into skin.
Mistake: pairing a heavy matte lip with a sharp wing. It competes and makes the eye feel overworked. Do the tonal route and set with a light mist of Hydrating setting spray to lock everything in.
Common Styling Mistakes to Avoid
Mistake: Drawing the wing freehand from the middle of the lid
Why it doesn't work: Causes uneven tails and requires multiple fixes.
Do this instead: Anchor the tail with a tiny dot where you want the wing to end, then connect it to the lash line using an Angled liner brush.
Mistake: Powdering the entire lid before liner
Why it doesn't work: Liner slips or flakes, especially creased lids.
Do this instead: Spot-set only outer lid with a Translucent setting powder mini.
Mistake: Using super-thin pens only for dramatic eyes
Why it doesn't work: Thin tips break easily and need multiple strokes.
Do this instead: Use a Fine-tip liquid liner black over a cream base for the last pass.
What You'll Need for This Look
Face & Base Essentials
Cream concealer stick medium around $10 to $22
Lightweight skin tint dewy finish around $15 to $36
Hydrating setting spray fine mist around $8 to $28
Eyes, Brows & Lips
Cream eyeliner pencil soft black around $6 to $20
Tightlining gel pot black around $8 to $25
Tinted brow gel medium brown approx $6 to $18
Clothing Staples
White fitted tee cotton approx $12 to $40
Straight leg high waist dark wash jeans approx $30 to $120
Shoes, Bags & Jewelry
Leather loafers black leather around $40 to $150
Leather tote bag tan (price range $80 to $200)
Gold chunky hoop earrings 14k plated approx $12 to $50
Budget Swaps
Cream blush stick warm peach drugstore around $6 to $14
Fine-tip liquid liner drugstore black around $4 to $12
Shopping Guide for This Look
Buy the liner as a duo: pick a Cream eyeliner pencil soft black and a Fine-tip liquid liner black so you can build then refine, $10 to $35.
Seasonal timing: shop mascaras and gels during Ulta or Sephora holiday sets; I scored a tinted brow gel during a 21 Days of Beauty sale, approx $8 to $15.
Thrift and layer hack: pair a thrifted blazer with a White fitted tee cotton for polish on a budget, $12 to $40.
Splurge vs save: splurge on a long-wearing Hydrating setting spray fine mist if you redraw often, save on Fine-tip liquid liner drugstore black for practice, $4 to $12.
Conclusion
Start with one high-impact change: build the wing with cream first, then ink the edge. That single habit cut my redraws in half.
My last tip: match the wing angle to your lower lash line extension for a natural lift. Which habit makes your liner fail the most—wobbly hand, creasing, or smudging?


