








My graduation makeup slid off during sun-drenched photos once. I learned how to do graduation makeup that survives heat, hugs, and happy tears the hard way.
This guide shows an $80 to $150 kit that lasts a ceremony and a rooftop party. Expect wearable shades for warm undertones and neutral palettes for everyone. I keep things cream-first, then powder-set, and I only go waterproof where it counts.
Late spring events heat up. According to NOAA, many U.S. cities have average highs above 75°F in May and June, so sweat-proofing matters. The American Academy of Dermatology also recommends SPF 30 for prolonged sun exposure, which I fold into a sheer base.
1. Start with the Glow: Skin Prep and Sheer Base
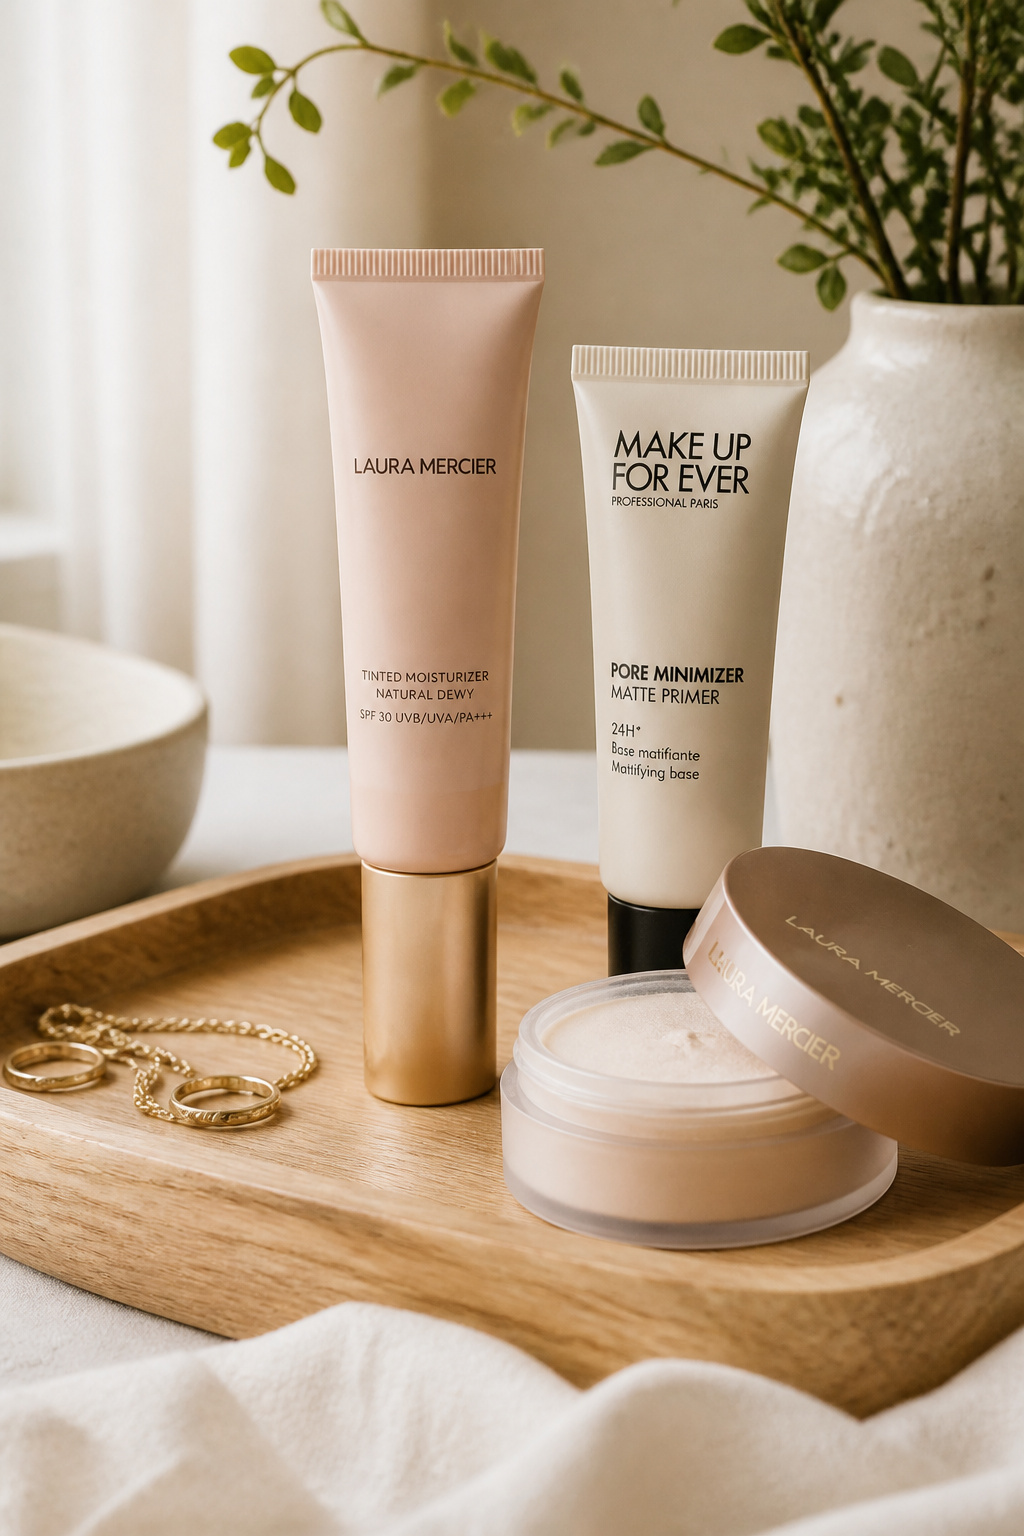

Prep is everything. I prime oily zones and leave cheeks a touch dewy so photos read natural rather than flat. Start with a Hydrating skin tint SPF 30 for sun protection and thin coverage.
Then use a Mattifying poreless primer only where your T-zone is greasy. The trick is targeted control, not drying your whole face.
Set the T-zone lightly with a Translucent setting powder pressed with a puff. This balances glow and longevity.
Mistake most people make: slathering heavy foundation. It cakes under heat. Do a thin base and build only where needed.
2. Layer Cream Color in Three Strategic Places
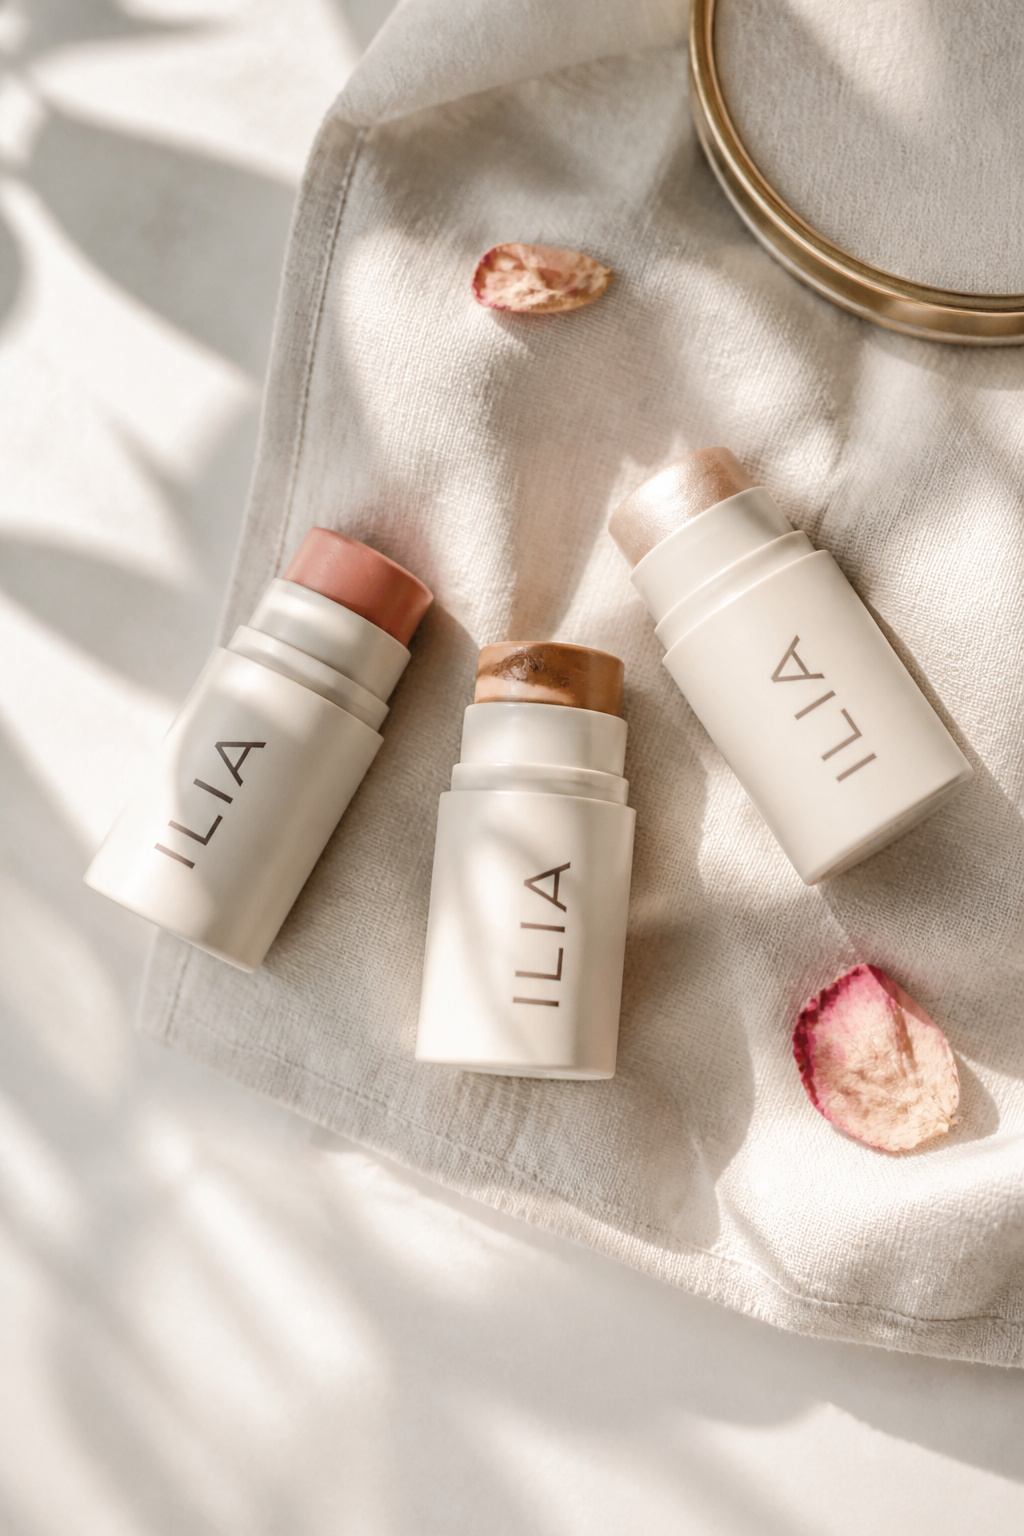

Cream products lock into skin better than powders when blended correctly. I dab a Cream blush stick in warm peach on the high cheekbone, temple, and the bridge of the nose for a sun-kissed flush.
Warm depth comes from a Cream bronzer stick in caramel lightly swept under the cheekbone and along hairline to slim the face.
Top with a pinpoint of a Cream highlighter champagne on cupid’s bow and upper cheek. The visual principle is tonal layering: same family, different values.
Common error: putting blush on the apple. That reads childish and smudges when you hug. Place color higher and blend outward.
3. Define Without Hardness: Soft Eye and Brow Work
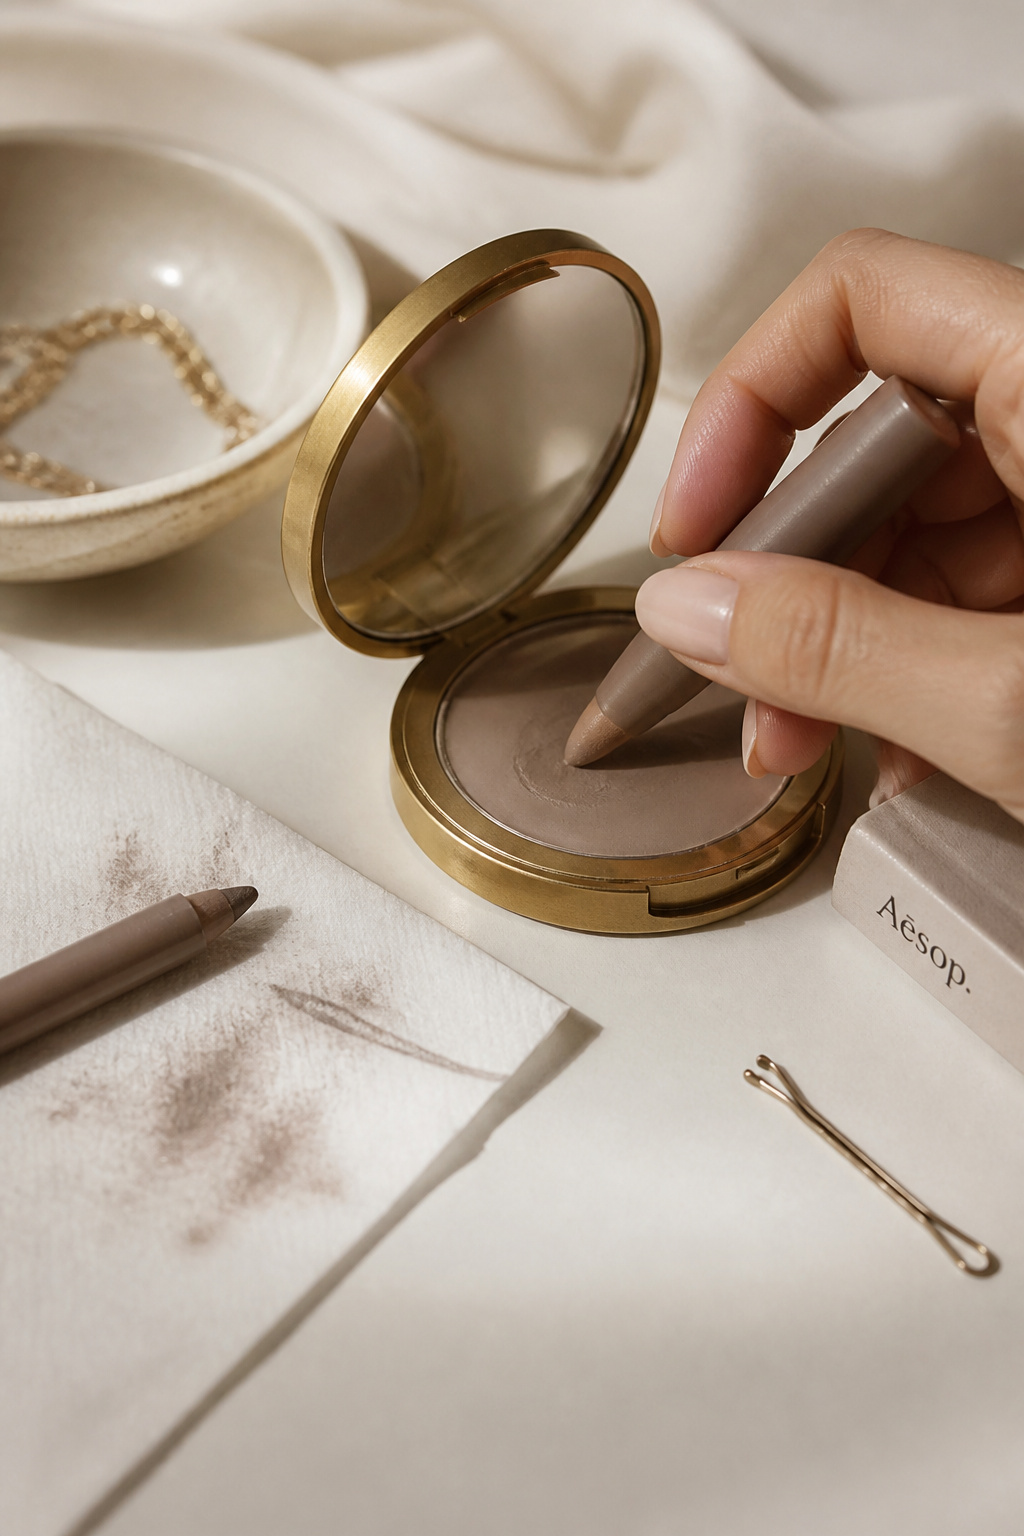

For tears and sweat, choose cream products that set. I sweep a Cream eyeshadow stick neutral taupe across lid and blend with a finger. It keeps crease-free photos.
Tightline with a Waterproof eyeliner pencil brown to define lashes without a harsh line. For lashes I use a Tubing mascara black that slides off with warm water rather than flakes.
Finish brows with a Tinted brow gel medium brown to keep shape. Ugly truth: waterproof mascara can clump if layered too thick. Apply thin coats and comb.
4. Finish with Tonal Lip and Subtle Setting
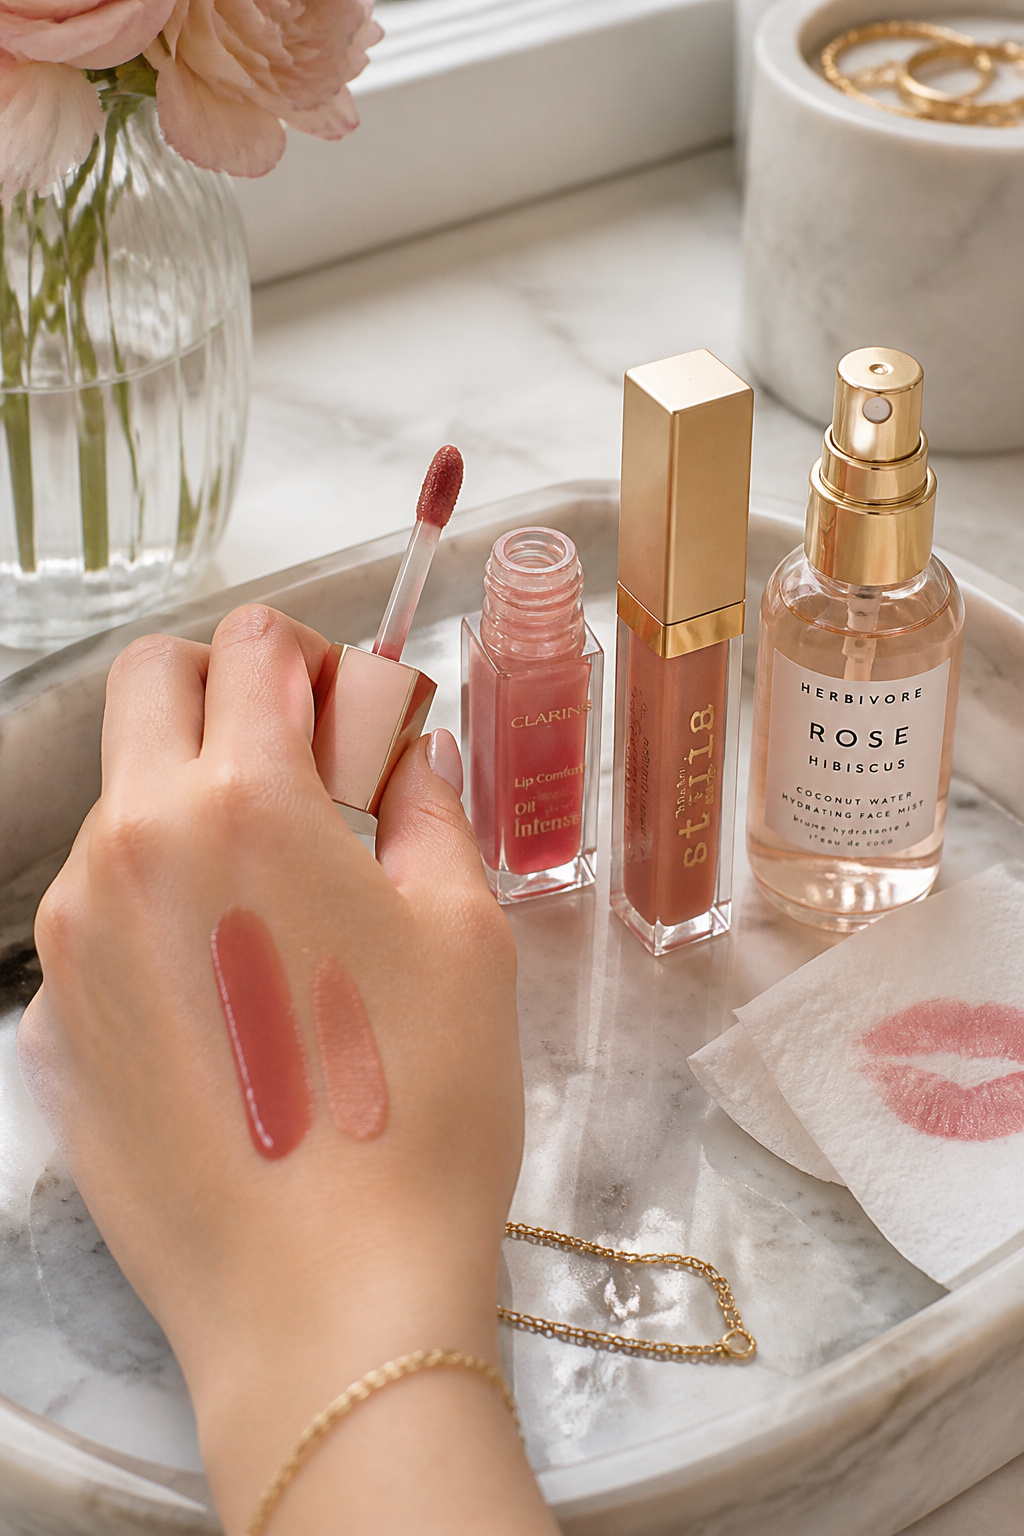

For long events, I pick a cream-to-stain approach. Start with a Tinted lip oil rose for glossy hydration, then press a Long-wear lip stain nude pink into the center for lasting color.
Lock everything with a Lightweight setting spray dewy misted from arm’s length. For touch-ups, carry Travel blotting papers pack and a Compact pressed powder travel size.
Mistake: overpowdering lips or cheeks. That removes the fresh face you worked for. Blot, then press color back in.
5. Outfit and Hair That Won't Ruin Your Makeup
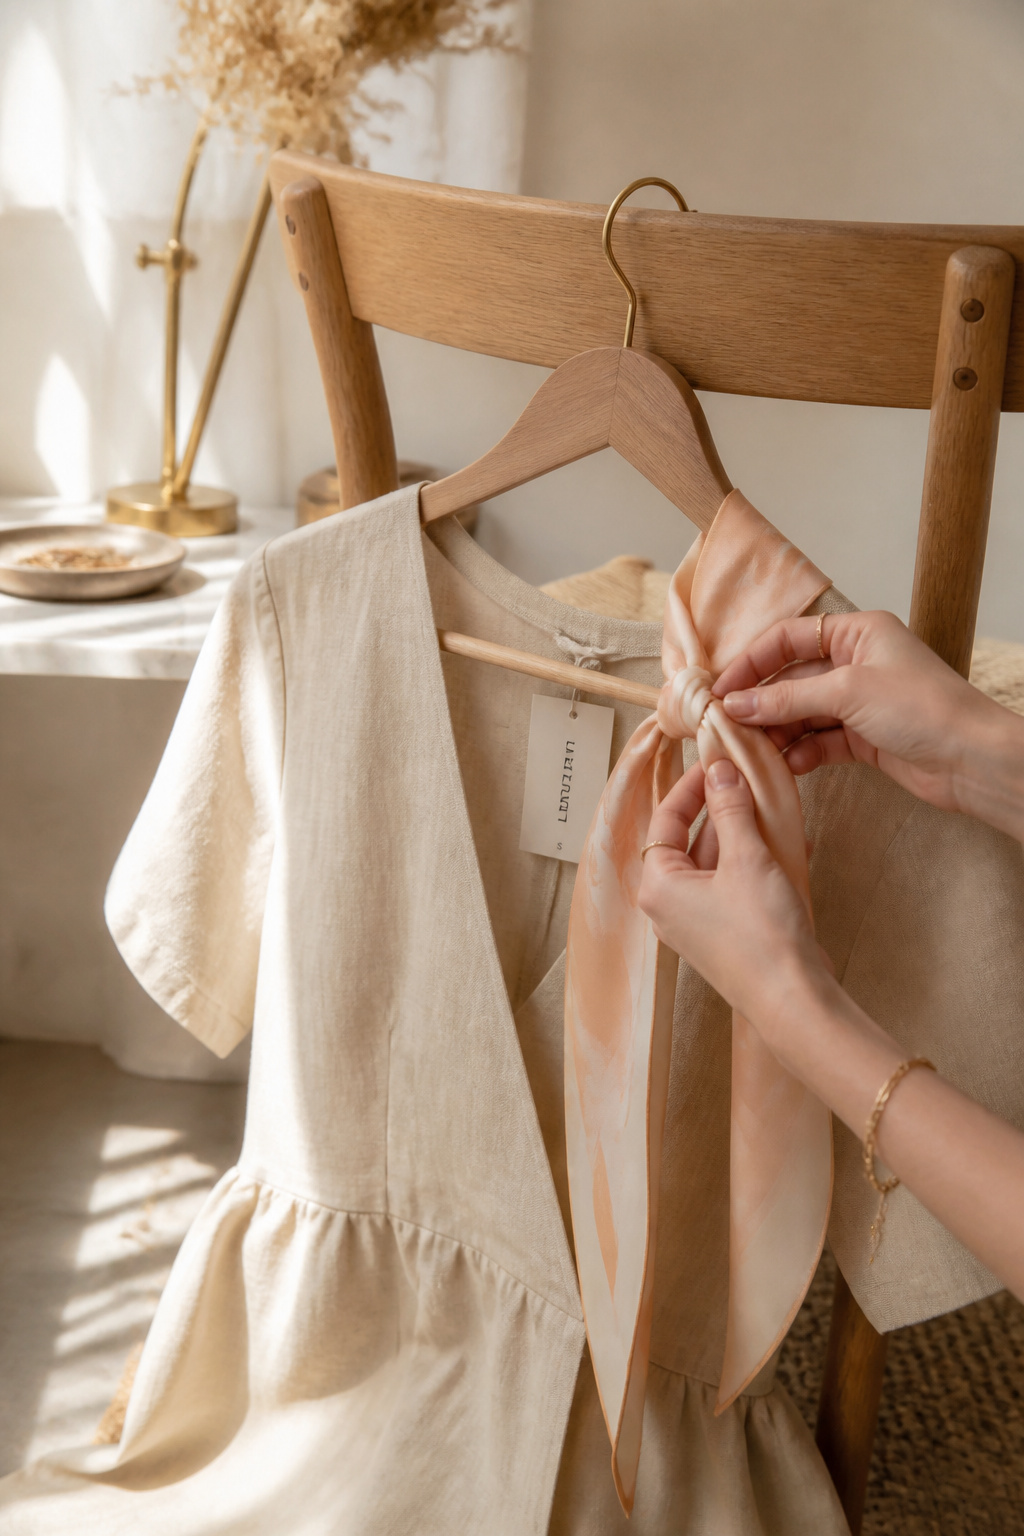

Your outfit and hair affect makeup longevity. I pick breathable fabrics like a Linen midi dress beige so sweat doesn’t trap makeup.
Keep hair off the face with a Silk hair scarf cream or soft barrettes. For footwear, bring Foldable ballet flats black for after-ceremony comfort.
Pick accessories that harmonize: Gold hoop earrings 30mm and a Leather tote bag tan medium are classic and photo-friendly.
Common Styling Mistakes to Avoid
Mistake: Using full-coverage foundation for outdoors
Why it doesn't work: Clogs pores in heat and looks cakey in photos.
Do this instead: Use a Hydrating skin tint SPF 30 for light coverage and sun protection.
Mistake: Relying only on waterproof mascara to prevent smudges
Why it doesn't work: Waterproof formulas flake or clump over time.
Do this instead: Try a Tubing mascara black that removes cleanly and resists smudging.
Mistake: Blotting then reapplying powder under eyes
Why it doesn't work: It creases and emphasizes texture.
Do this instead: Press a Compact pressed powder travel size only where needed and freshen with a light spritz of setting spray.
What You'll Need for This Look
Face & Base Essentials
Hydrating skin tint SPF 30 around $18 to $32
Mattifying poreless primer approx $10 to $28
Translucent setting powder around $8 to $35
Eyes, Brows & Lips
Cream eyeshadow stick neutral taupe $7 to $22
Waterproof eyeliner pencil brown $6 to $20
Tubing mascara black $10 to $28
Clothing Staples
Linen midi dress beige $30 to $120
Silk hair scarf cream $8 to $45
Shoes, Bags & Jewelry
Foldable ballet flats black $18 to $60
Leather tote bag tan medium $50 to $200
Gold hoop earrings 30mm $10 to $60
Budget Swaps
Drugstore cream blush peach dupe $6 to $14
Affordable tubing mascara $8 to $16
Shopping Guide for This Look
Time your buy for end-of-season sales: Grab linen dresses and leather totes during spring clearance. Linen midi dress beige $30 to $120.
Thrift + new mix: Score a silk scarf at thrift, pair with a new Silk hair scarf cream $8 to $45 for polish.
2025 trend tip: Cream color continues to rule; pick Cream blush stick in warm peach $12 to $24.
Splurge vs save: Splurge on a leather tote for longevity Leather tote bag tan medium $80 to $200; save on a drugstore cream blush dupe Drugstore cream blush peach dupe $6 to $14.
Bring a tiny kit: Pack Travel blotting papers pack $4 to $12 and Compact pressed powder travel size $6 to $20.
Conclusion
Start with one small change: swap your powder for a skin tint and a cream blush. It makes photos and hugs forgiving.
My rule is tonal consistency and targeted setting. That keeps makeup looking like you, not a mask.
Which part are you trying first: base, cream color, or hair and outfit?


