








My everyday makeup for glasses used to make my eyes vanish. I spent $28 on the wrong mascara, learned the hard way that chunky black liner can sink behind frames, and rebuilt a routine that actually reads through lenses. Below are 17 concrete ideas you can try this week, most under $40, with a few splurges around $120 that really change how frames and eyes play together.
These looks lean polished and wearable, mostly under $30, with a few splurges around $120. They suit clean girl, soft glam, mature eyes, and small frames. Lately I’ve noticed cream products and brown tones win for glasses-wearers, so I leaned into those trends while keeping everything practical.
1. Brown Mascara Over Black For Softer Definition
Style: Clean Girl | Budget: Under $20 | Best For: Sensitive eyes, round frames
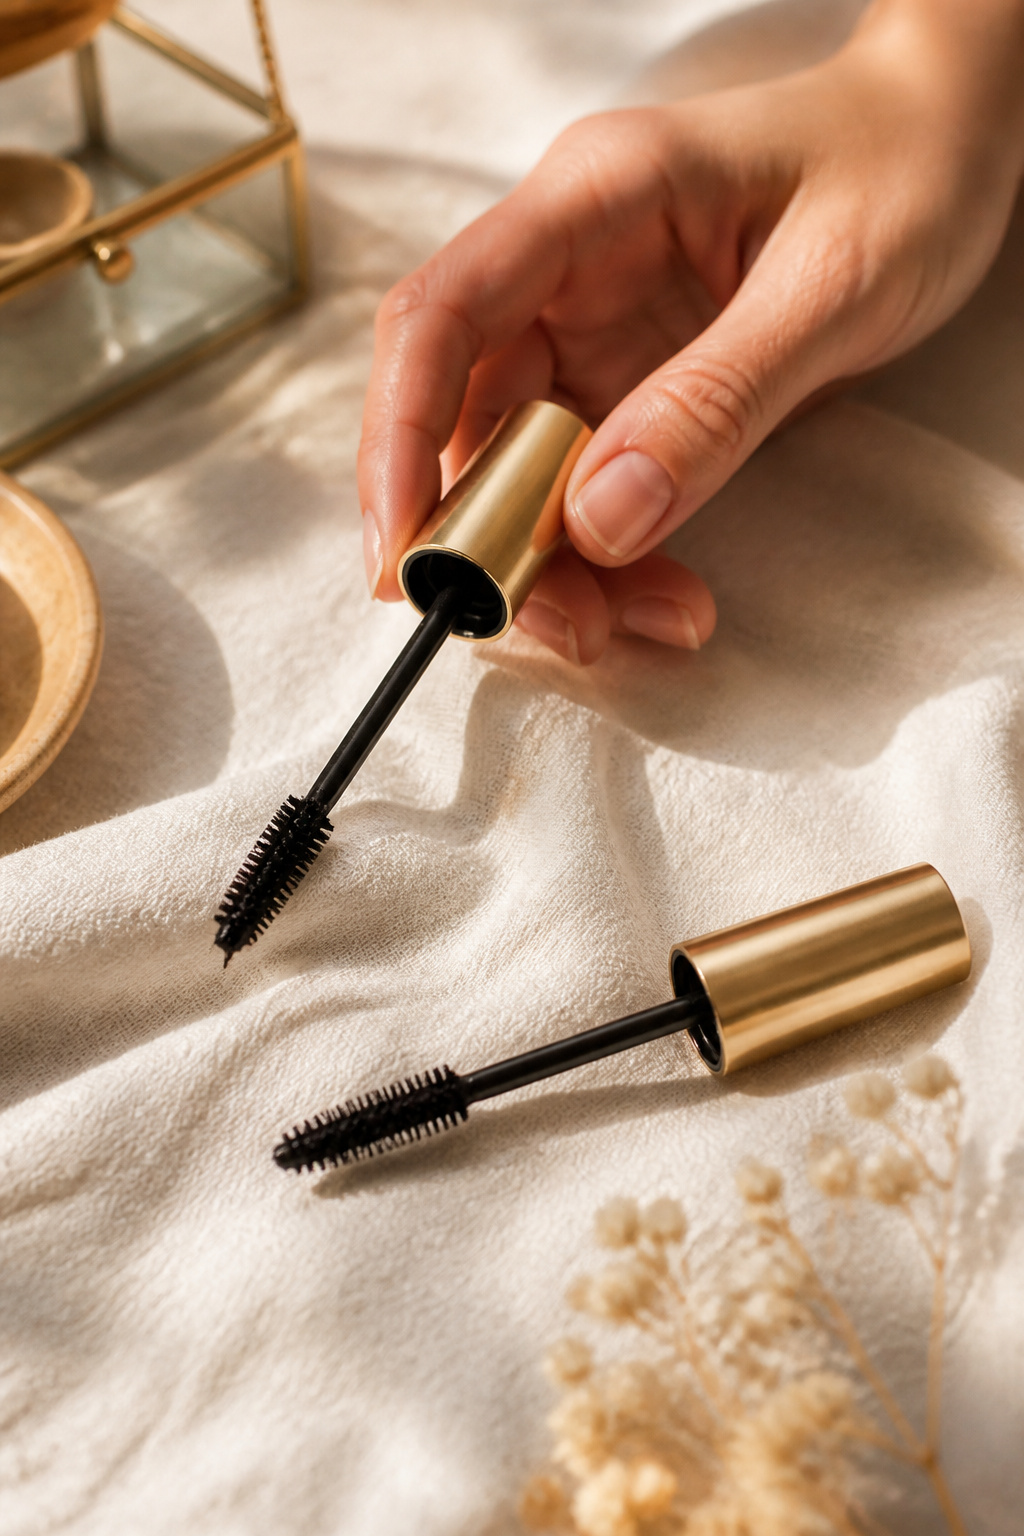

Result: lashes that show without looking too harsh behind lenses. The trick is a brown lengthening formula instead of black, it reads through lenses and avoids the illusion of a smaller eye. I use a brown mascara that costs about $12 to $22 and comb through twice at the root for lift. Ugly truth: cheap volumizing mascaras smudge on frames, so test before committing.
Shop this idea:
2. Tightline With Waterproof Brown Pencil
Style: Minimal | Budget: Under $15 | Best For: Small eyes, deep-set frames


Tightlining fills the upper lash line so lashes read fuller behind lenses. Use a waterproof brown pencil that costs about $8 to $16 and pat into gaps with a stiff brush. The trick is tiny dots between lashes, not a thick line. I once overlined in black and my glasses swallowed it; brown tightline fixed that instantly.
Shop this idea:
3. Soft Taupe Matte Shadow On Lid Crease
Style: Soft Glam | Budget: Under $25 | Best For: All skin tones, rectangular frames


A matte taupe crease adds depth without reflective shimmer that fights lenses. Apply a muted warm taupe with a light hand, then blend upward to create an illusion of eyelid space. I grabbed a taupe single for about $10 to $20 at a drugstore and it outperformed shimmery palettes for clarity behind glass.
Shop this idea:
4. Brown Gel Liner For Close, Clean Definition
Style: Polished | Budget: Under $20 | Best For: Round frames, monolids
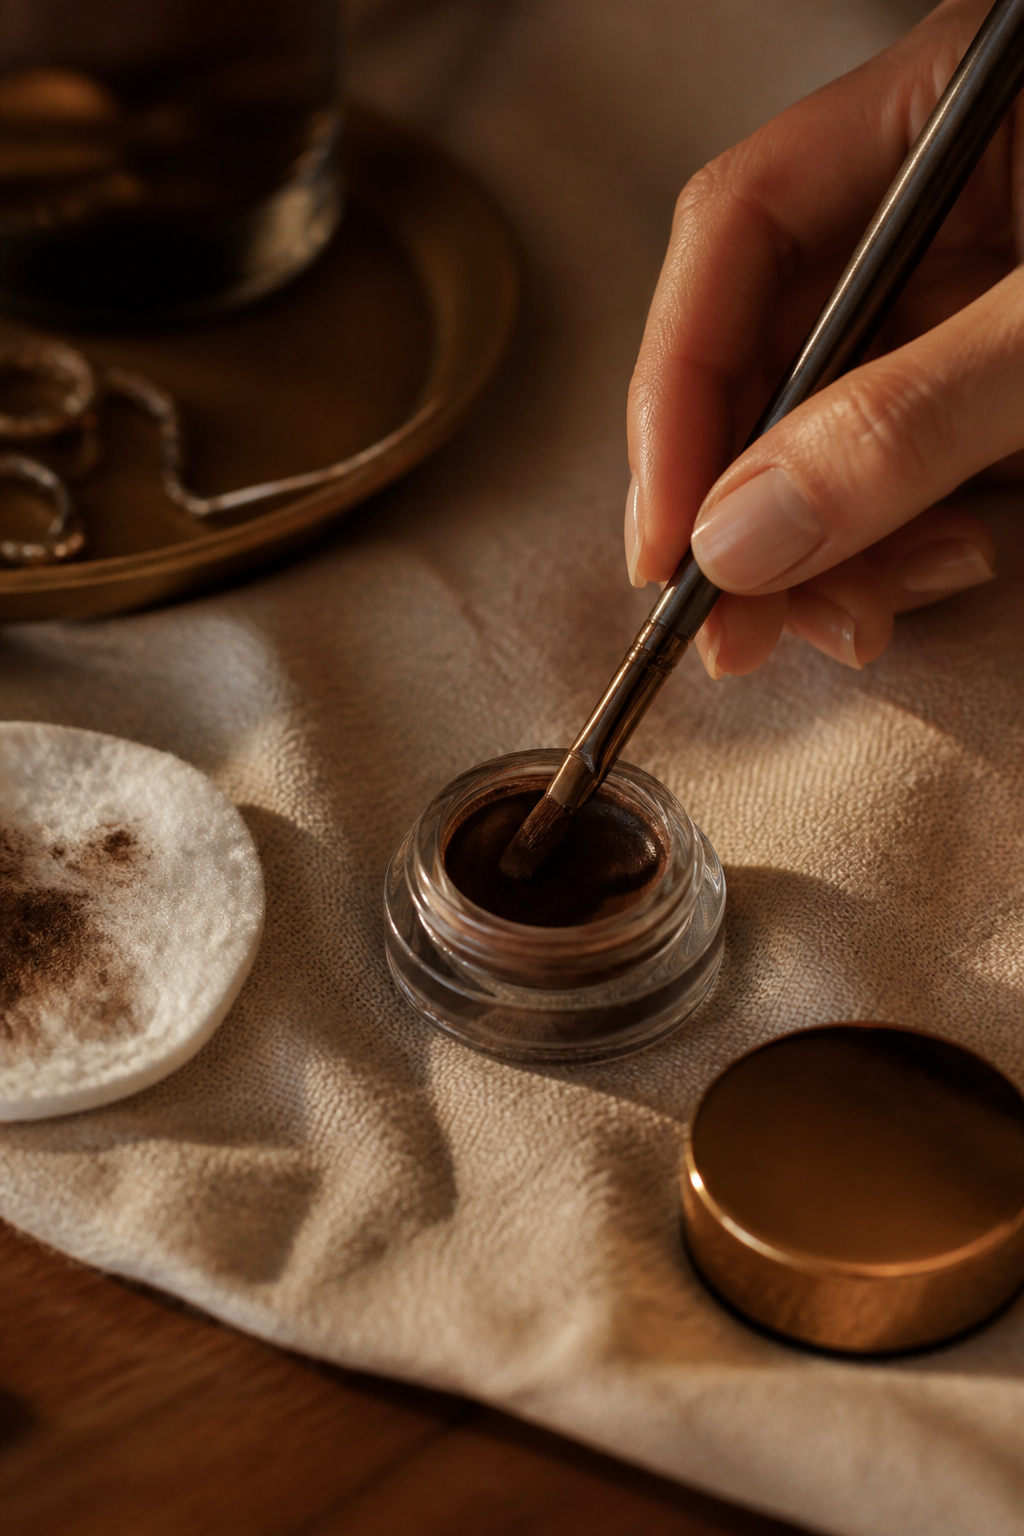

Brown gel liner gives crisp definition without flattening your eyes. Use an angled brush to draw a thin line at the lash base, then smudge slightly with a pencil for softness. I spent $18 on a stash that lasts months. Ugly truth: thick black winged liner usually disappears behind thick frames, so keep it low and brown.
Shop this idea:
5. Lash Lift Kit For Long-Lasting Lift
Style: Low-Maintenance | Budget: $30 to $70 | Best For: People who hate daily mascara
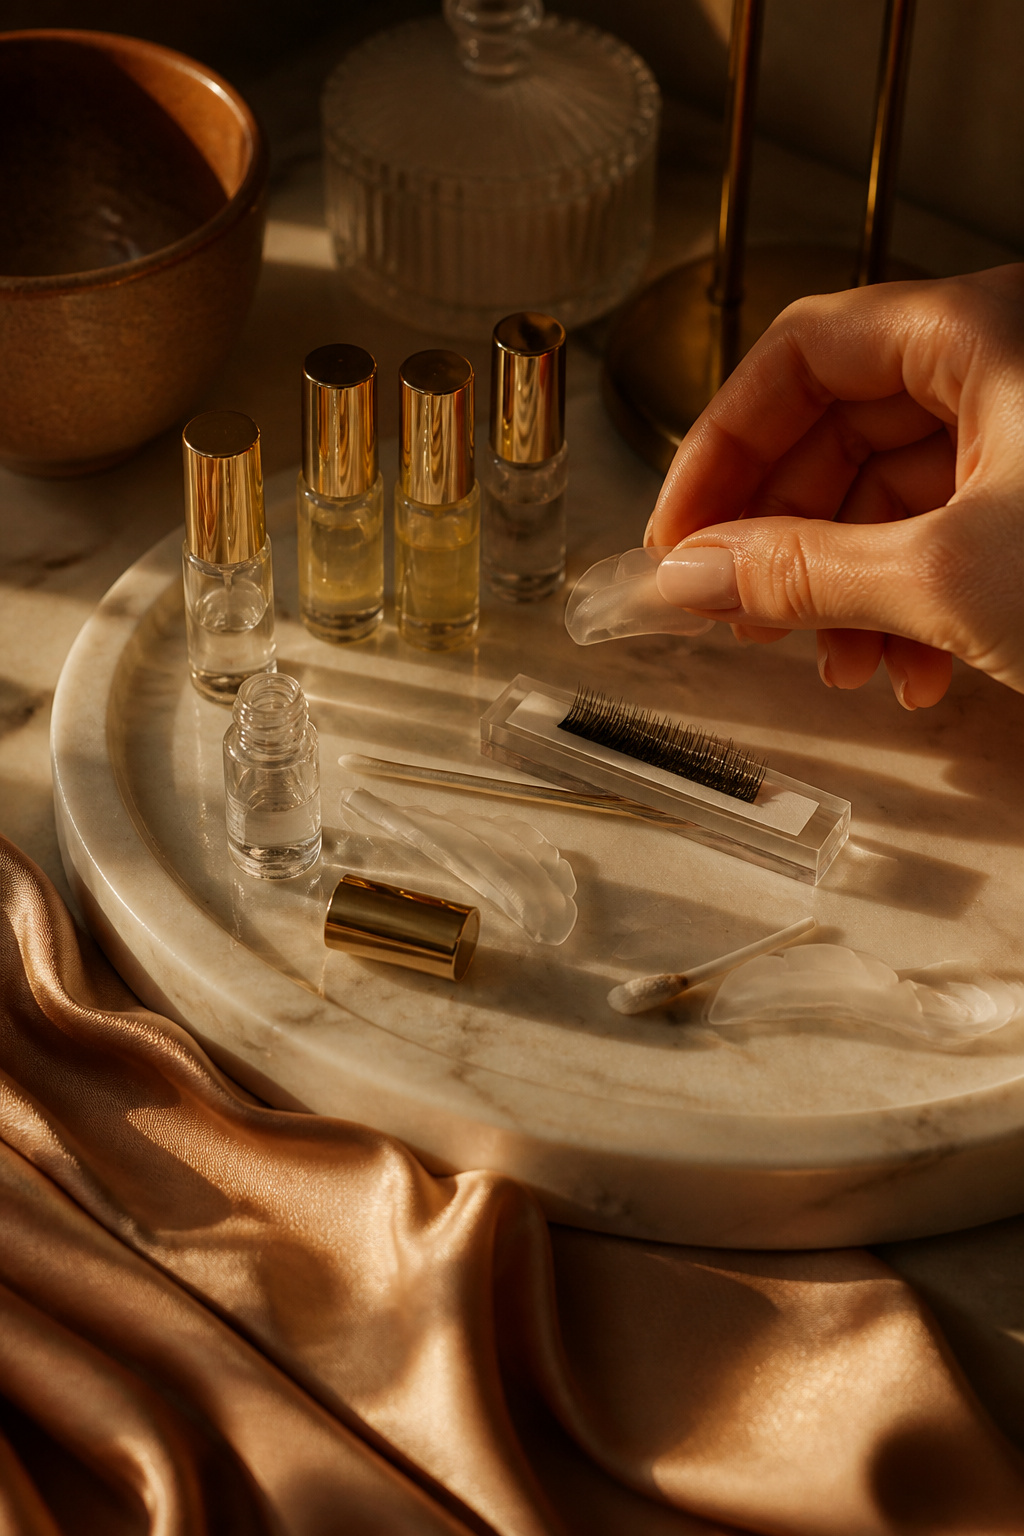

A lash lift physically curls lashes so eyes read up through frames. Kits run about $30 to $70 and last 6 to 8 weeks. I did a salon lift once and ditched daily heavy mascara; my eyes showed much better through lenses. Practical tip: avoid overly long falsies after a lift, they can hit lenses.
Shop this idea:
6. Clear Brow Gel And Soft Brow Tint
Style: Groomed | Budget: Under $25 | Best For: Sparse brows, busy frames


Well-groomed brows frame the eyes and stop them from disappearing behind glasses. I use a soft-tint brow gel in taupe or soft brown, about $12 to $22, brushed upward for a feathery look. Tip: don’t overdarken; too-heavy brows compete with lenses and pull focus.
Shop this idea:
7. Inner Corner Opener In Champagne Satin
Style: Elevated | Budget: Under $18 | Best For: Tired eyes, thick frames


A small dab of champagne satin at the inner corner brightens the eye and visually separates lens edge. Use a cream highlighter about $8 to $18 and blend with your ring finger. Be careful: glittery chunky highlighters reflect in lenses; choose fine satin finishes only.
Shop this idea:
8. Matte Bronzer To Sculpt Above Cheekbone
Style: Warm Minimal | Budget: Under $30 | Best For: Round faces, heavy frames


Sculpting above the cheekbone lifts the eye area when seen behind glasses. A matte bronzer in warm caramel, $10 to $28, swept softly under the temple gives upward motion. I used to contour too low and my glasses emphasized it; lifting placement fixed the balance.
Shop this idea:
9. Cream Blush Dabbed High On Cheek
Style: Fresh | Budget: Under $20 | Best For: Petite faces, narrow frames
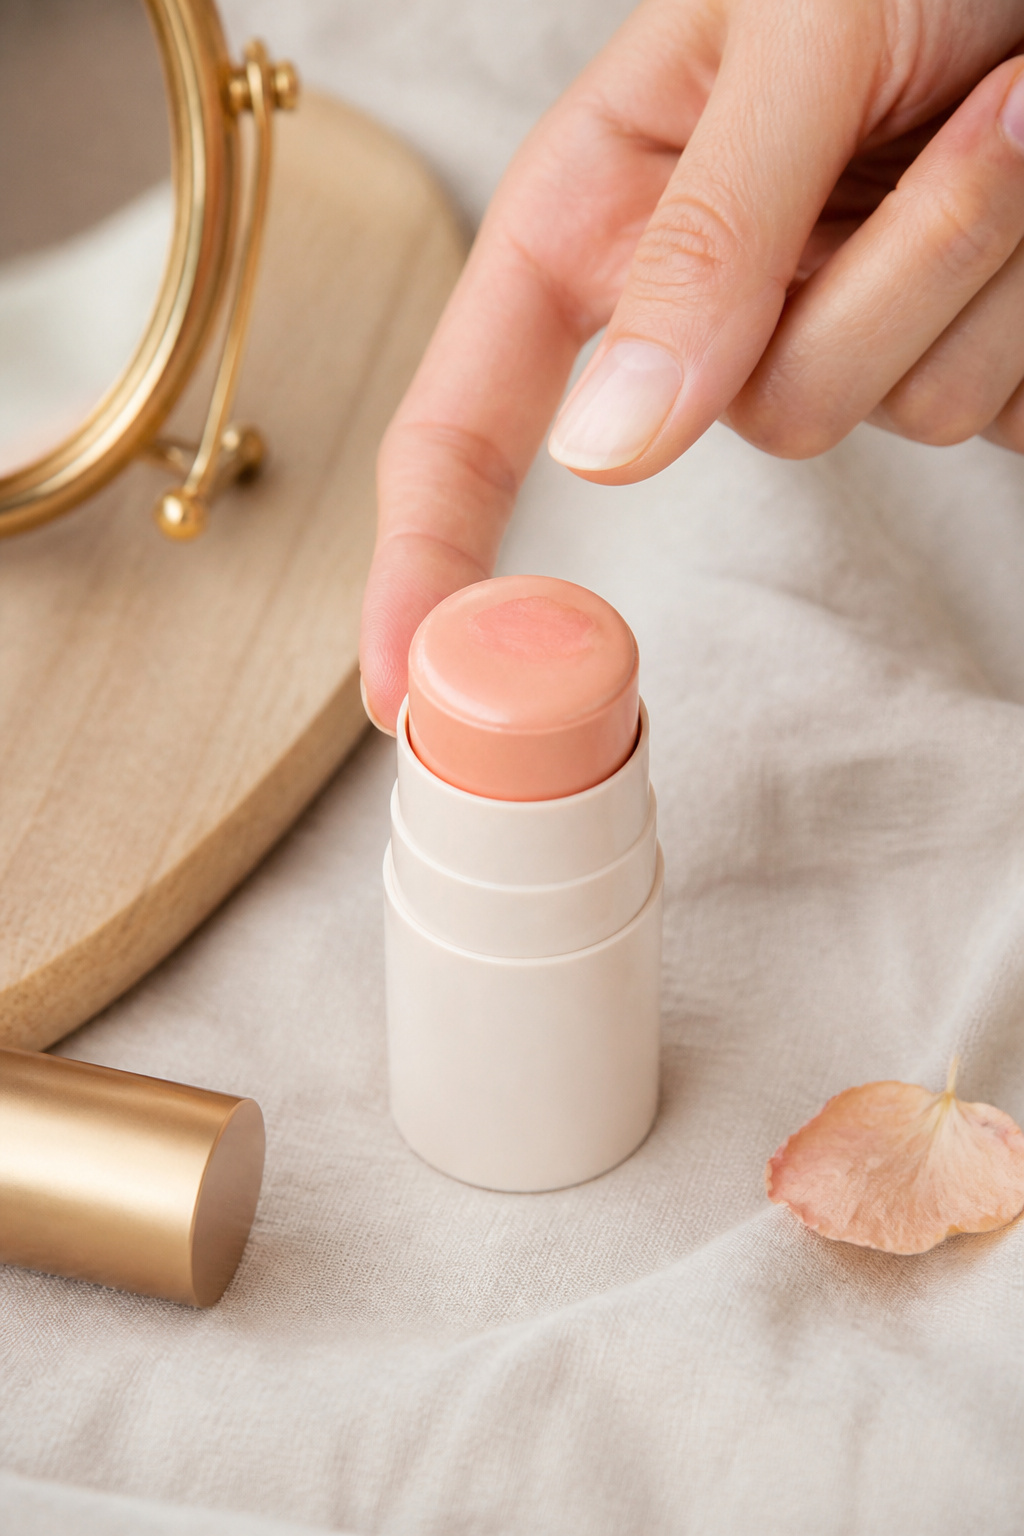

Cream blush high on the cheekbone draws attention upward, framing the eye rather than the frame. Use a warm peach cream stick about $10 to $18 and blend into the temple. I found one at Ulta during a sale and it made my eyes look wider in photos with glasses.
Shop this idea:
10. Tinted Brow Gel To Match Frame Color
Style: Curated | Budget: Under $18 | Best For: Colored frames, warm undertones
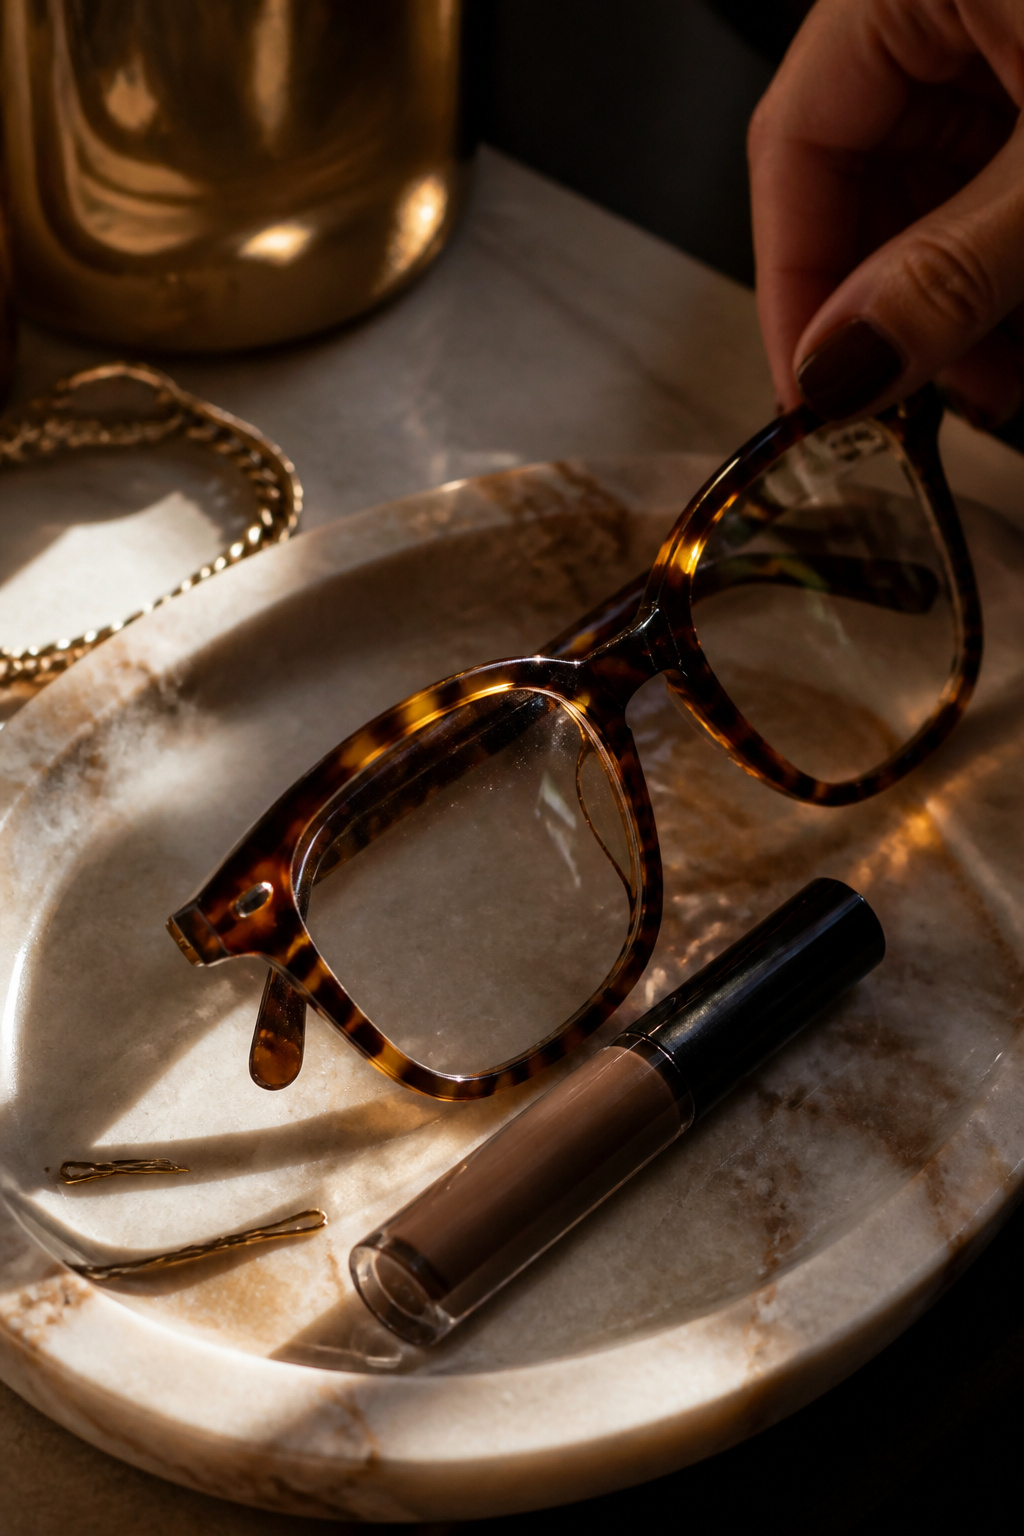

Matching brow tint to the frame color creates cohesion and stops frames from pulling focus. I use a tinted brow gel in taupe-brown when wearing tortoiseshell frames, about $10 to $18. Practical tip: test in daylight; online swatches can lie.
Shop this idea:
11. No-Glare Setting Spray And Anti-Reflective Lens Wipe
Style: Practical | Budget: Under $25 | Best For: Photographers, night driving
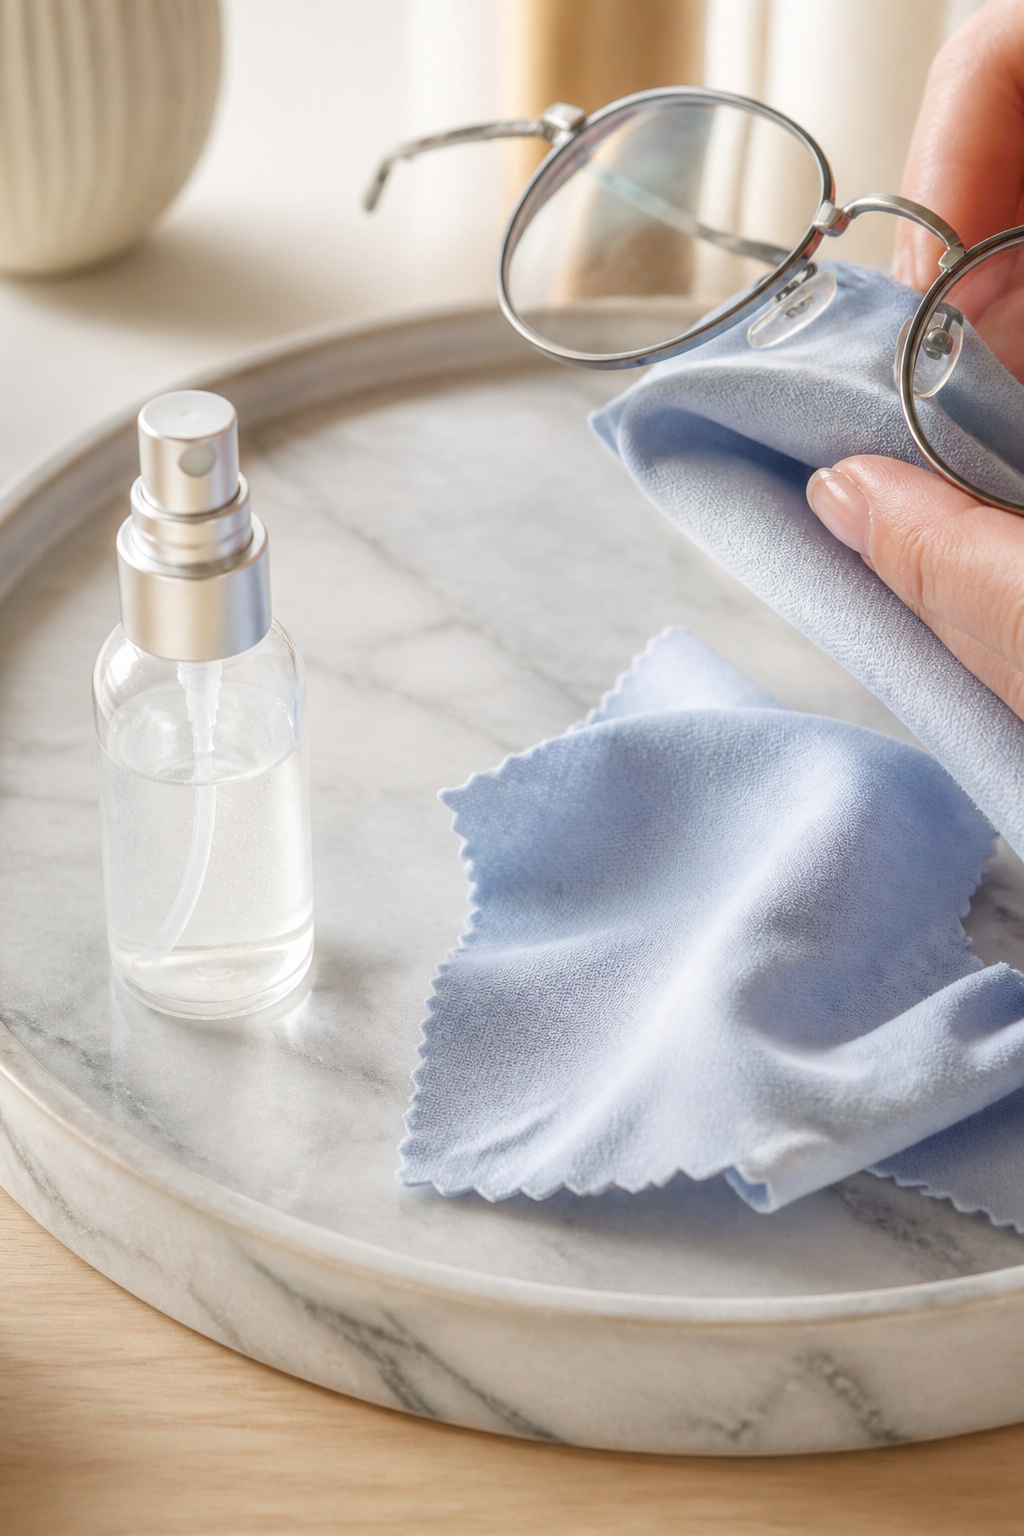

Anti-reflective glare makes eyes show up clearer in photos. A no-glare setting spray for skin and a microfibre lens wipe for glasses help cut reflections. I keep a small lens cloth in my bag and a face mist that sets makeup for $10 to $20. Ugly truth: overly dewy skin increases reflections, so matte where the glass sits.
Shop this idea:
12. Soft Colored Liner At Lower Lash
Style: Playful | Budget: Under $18 | Best For: Green or hazel eyes, light frames
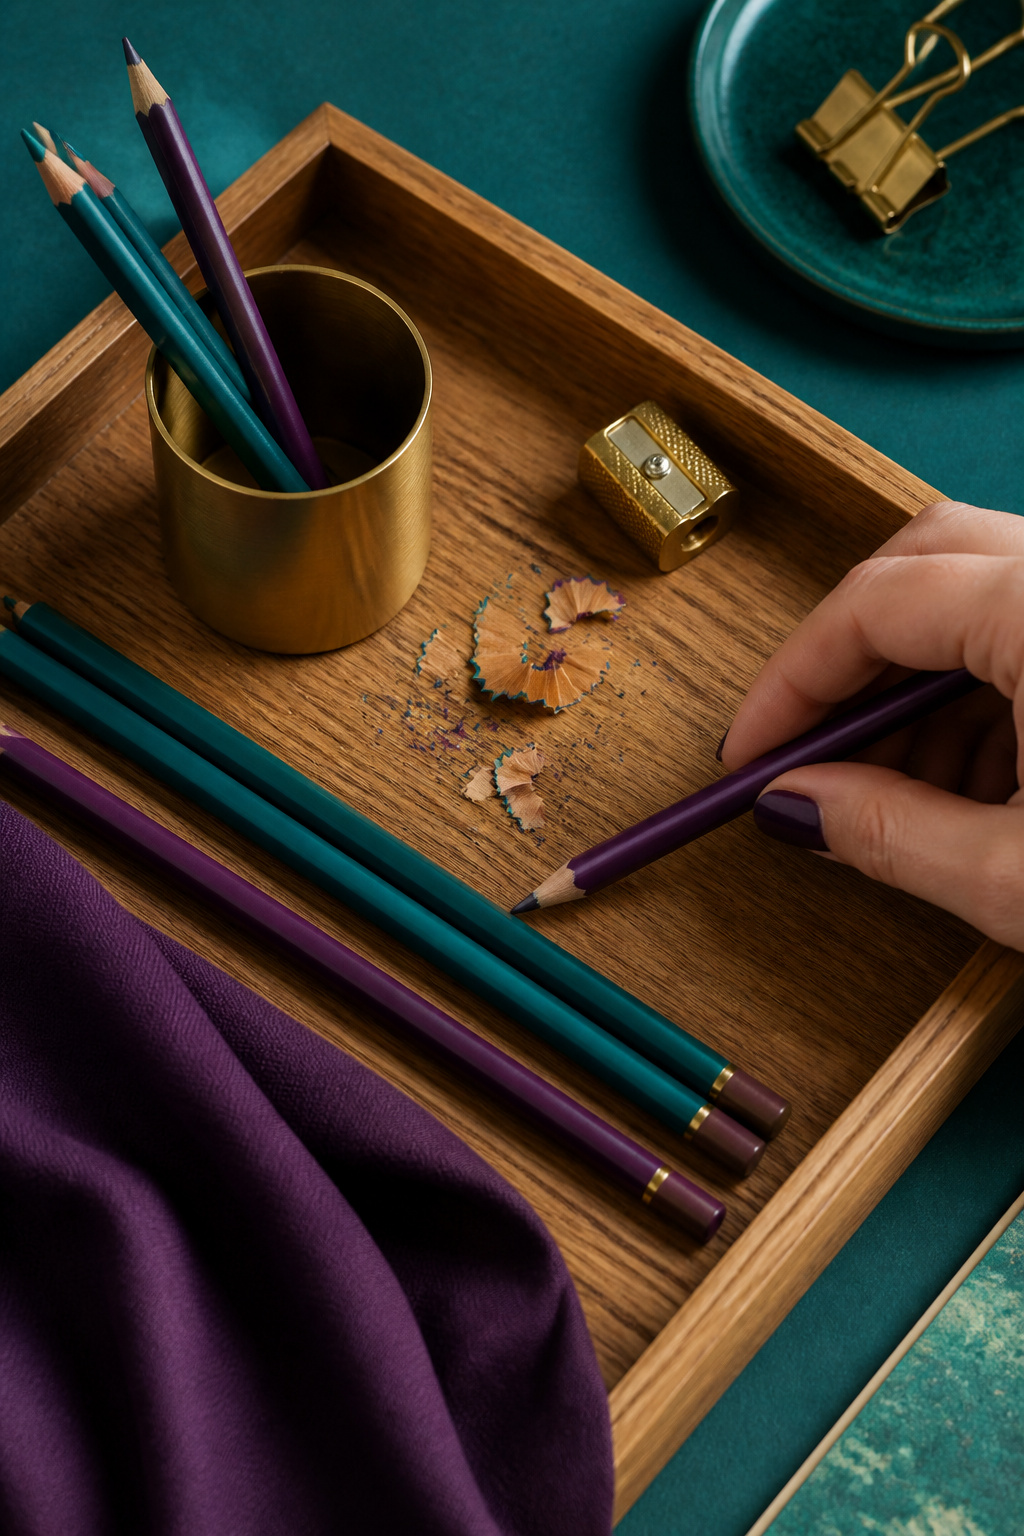

A soft wash of teal or plum under the lower lash opens the eyes without adding heavy contrast that battles frames. Use a creamy pencil about $8 to $16 and smudge with a brush. I tried electric blue once and it read too heavy; muted teal was the winner for reading through lenses.
Shop this idea:
13. Short, Natural Falsies That Follow Lash Line
Style: Night Out | Budget: $6 to $18 | Best For: Special events, shallow lenses


If you want falsies, pick short clusters that follow your natural lash line so they don’t hit the inside of the lens. I keep a pack for evenings that cost about $6 to $18 and glue them to the outer third only. Ugly truth: long dramatic falsies often poke or reflect weirdly on lenses.
Shop this idea:
14. High-Contrast Lip And Cheek Tandem
Style: Bold Minimal | Budget: Under $25 | Best For: To balance heavy frames
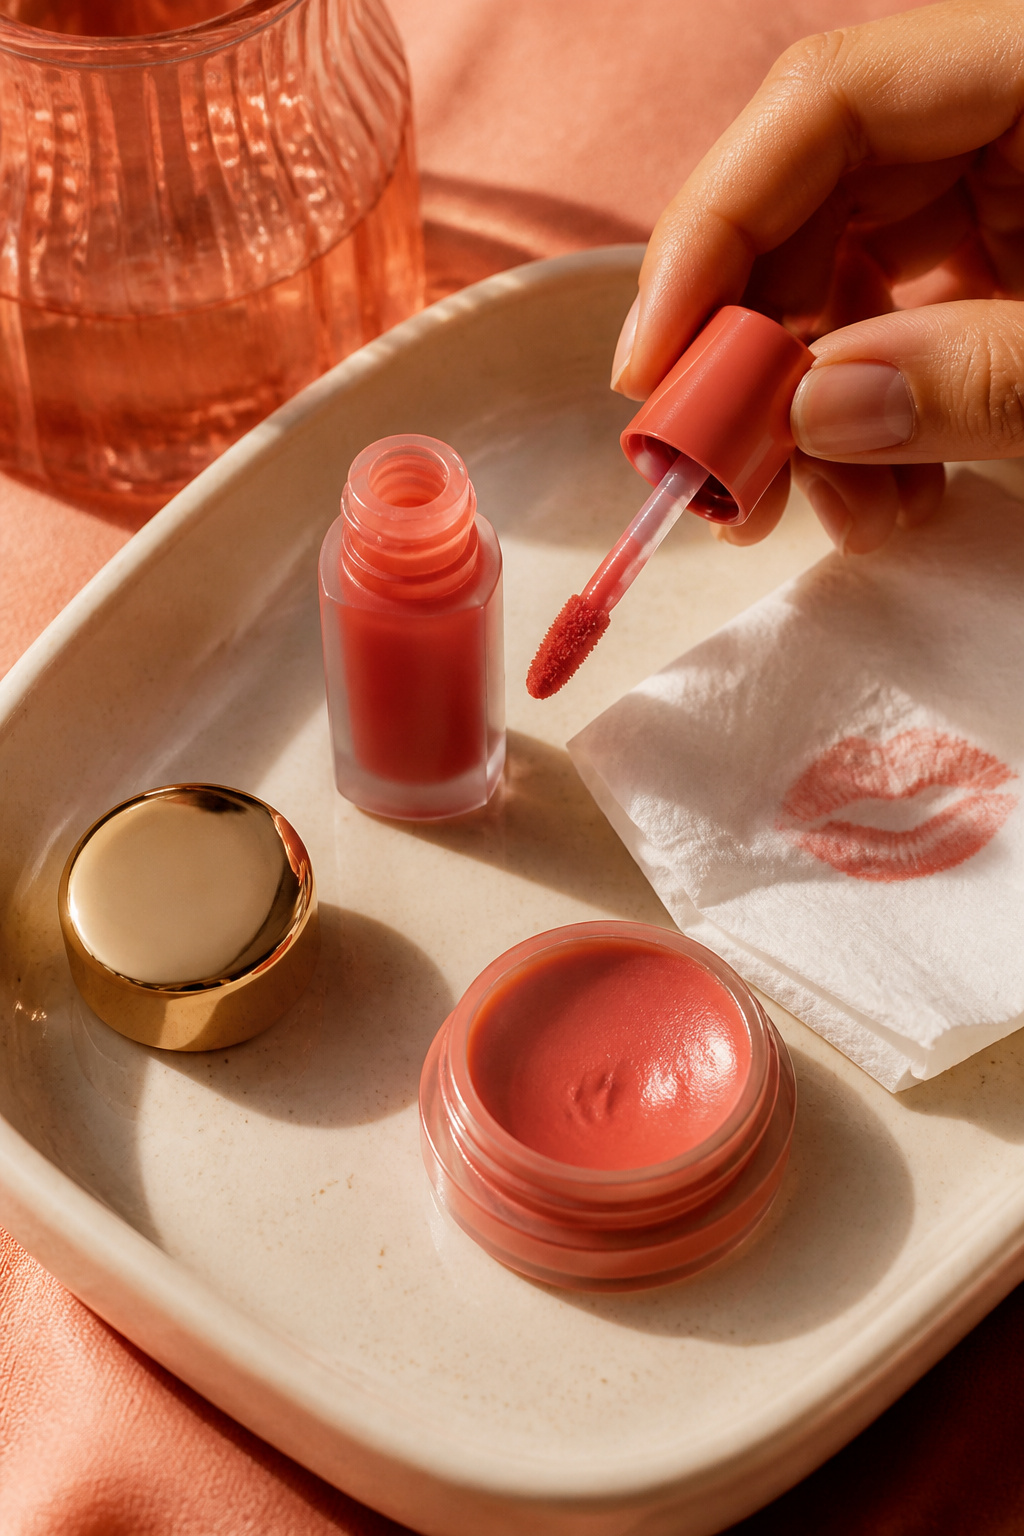

A coordinated lip and cheek color brings attention down and balances heavier frames. Try a coral cream tint that costs about $12 to $22 and press it high on the cheek. I once wore a washed-out lip with chunky frames and my face felt lopsided; a richer shade fixed that.
Shop this idea:
15. Hair Pulled Slightly Back With Statement Earring
Style: Classic | Budget: Earrings $18 to $60 | Best For: Round or small frames


Tucking hair behind ears and adding a statement earring lifts the whole eye area without changing makeup. I pair gold chunky hoops or a single pearl signet and the contrast helps pull focus to the upper face. Practical tip: choose earrings that echo your frame metal or color.
Shop this idea:
16. V-Neck Tops To Lift The Gaze
Style: Capsule | Budget: Under $40 | Best For: All frames, shorter necks
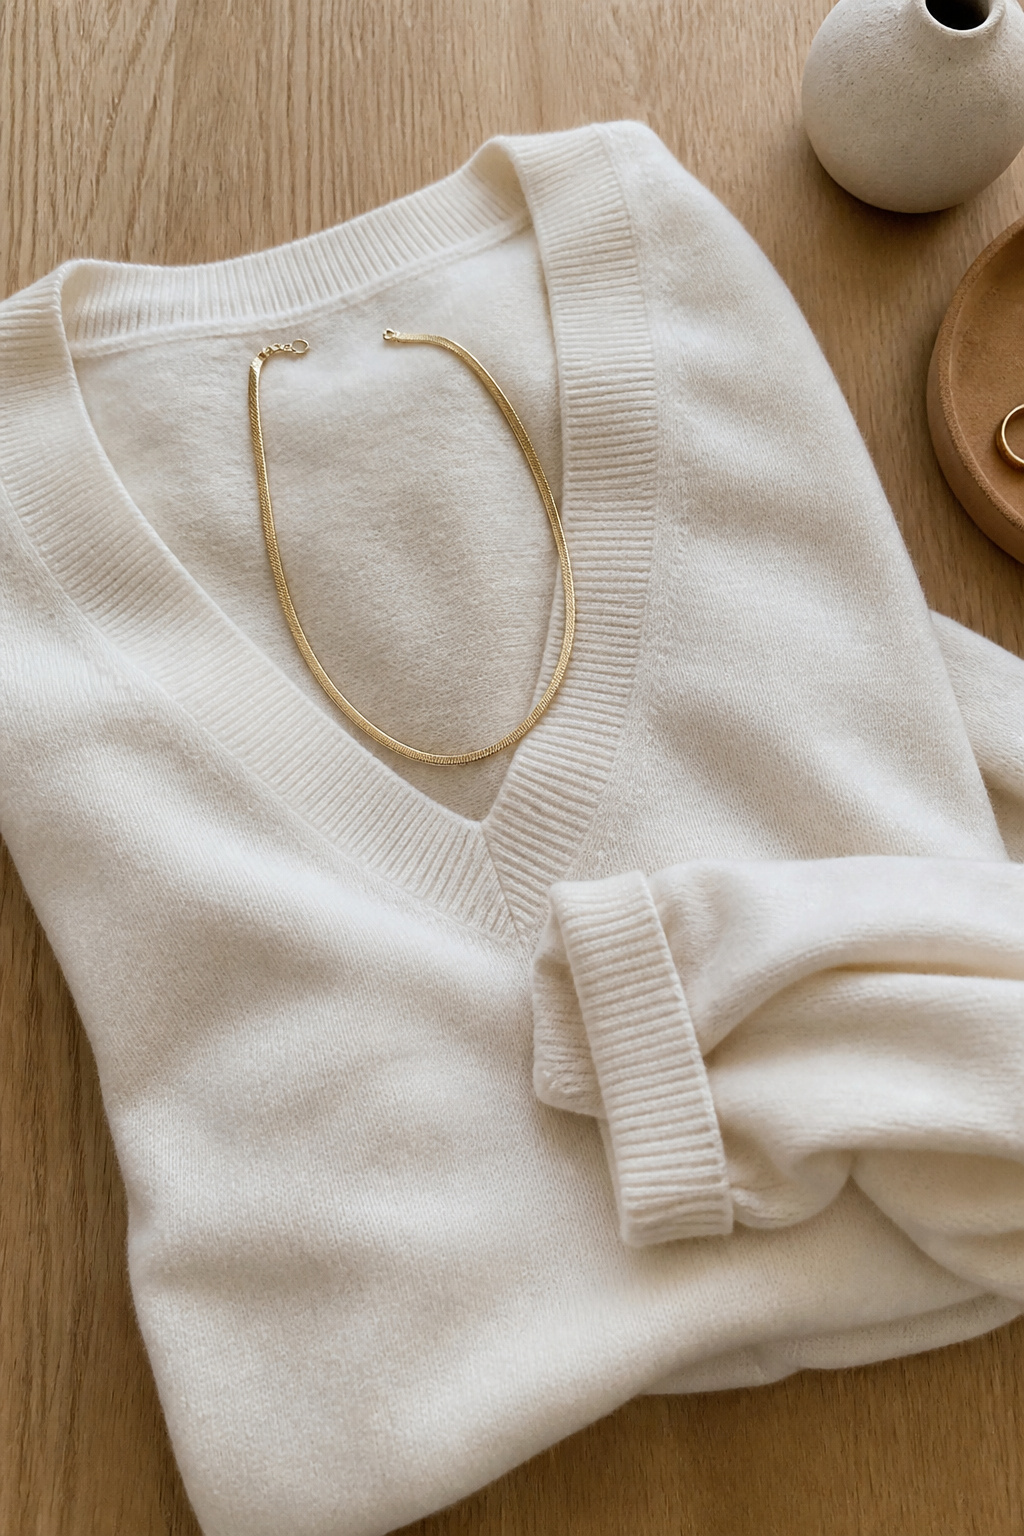

A V-neck creates a vertical line that lifts the face, making eyes appear more prominent in glasses. I found a cotton V-neck for about $18 to $38 that I wear with tortoiseshell or metal frames. Ugly truth: high crewnecks can make frames overwhelm your face if your glasses sit low.
Shop this idea:
17. Lightweight Frame Swap For Photos
Style: Versatile | Budget: $40 to $120 | Best For: Portraits, video calls


If you want your eyes to pop in photos, swap to thinner, lighter frames for the shoot. My thin metal frames cost about $40 to $120 and gave better eye visibility than my chunky acetate pair. Practical tip: keep a neutral spare pair in your bag for unexpected snaps.
Shop this idea:
What You'll Need to Get This Look
Face & Base Essentials
- Matte primer radiance control around $12 to $26
- Cream blush stick warm peach around $10 to $18
- Matte bronzer warm caramel around $10 to $28
- Makeup setting spray matte finish around $10 to $22
Eyes, Brows & Lips
- Brown lengthening mascara around $12 to $22
- Waterproof brown eyeliner pencil around $8 to $16
- Tinted brow gel taupe around $10 to $18
Clothing Staples
- Cotton V-neck sweater cream around $18 to $38
- Thin metal glasses frame silver around $40 to $120
- Tortoiseshell glasses pouch around $6 to $18
Shoes, Bags & Jewelry
- Gold chunky hoop earrings around $18 to $60
- Pearl signet stud around $20 to $50
- Leather crossbody bag tan around $40 to $160
Budget Swaps
- Drugstore brown mascara under $12
- Cream blush drugstore duo around $8 to $14
- Affordable thin frames clear around $20 to $45
Shopping Tips for These Looks
Time purchases for seasonal sales: Shop mascara and frames during Black Friday or Ulta 21 Days of Beauty for 20 to 40 percent off. See current deals at your retailer.
Try swatches in natural light: Bring a small daylight portable mirror when testing brow tint or taupe shadows in-store.
Thrift and tailor frames: Thrift shops often have unused frames; get new lenses fitted at an optician and you’ll save 40 to 70 percent.
Buy multitaskers: Choose cream products that double as cheek and lip color to simplify touchups and match textures.
Invest in anti-reflective lens care: A good lens cloth and wipe keep reflections low for photos and video calls.
2025 trend note: Cream textures and warm brown tones are increasingly favored for glasses-wearers, so try cream blush or cream eyeshadow for modernity.
Frequently Asked Questions
Q: How do I make my eyes look bigger with glasses?
A: Focus on lifting the upper lash line and cheek area. Tightline with a waterproof brown pencil like Waterproof brown eyeliner pencil and use cream blush high on the cheek to pull the gaze upward.
Q: Will anti-reflective coating stop my lenses from hiding my eyes in photos?
A: Yes, anti-reflective coatings reduce lens glare and help eyes show up in photos. Keep a microfiber Anti-reflective lens cloth handy for quick touch-ups.
Q: Are colored liners okay with glasses?
A: Muted colored liners like teal or plum work well if smudged softly at the lower lash; they open the eye without heavy contrast. Try a creamy option like Creamy teal eyeliner pencil.
Q: My falsies keep hitting my lenses, what to do?
A: Opt for short, natural strips and apply them to the outer third only. A precise pair like Short natural lash strips avoids contact with most lenses.
Conclusion
Start with one small change, like swapping black for brown mascara, and you’ll see a big difference in photos and daily wear. A tiny tweak at the lash line or cheekbone often beats a full routine overhaul. Which idea will you try first at your next coffee run or Zoom call?


