







Scary clown makeup should make people look twice and then step back. I tried 13 exaggerated looks that went from creepy-cute to genuinely nightmare fuel, all on a $10 to $120 scale. These are specific, wearable, and intentionally messy. Pick one, practice, and prepare for weird compliments or startled strangers.
These looks lean theatrical, party-ready, or full-on horror. Most pieces are under $30, a few splurges around $100 to $120. They suit beginners, drag test runs, plus-size and petite faces, and deeper skin tones. Lately I’ve noticed everyone layering cream paint under powder for longer wear.
1. Bleached Smile With Stitched Shadow
Style: Horror Glam | Budget: Under $30 | Best For: Long faces / Photogenic lighting


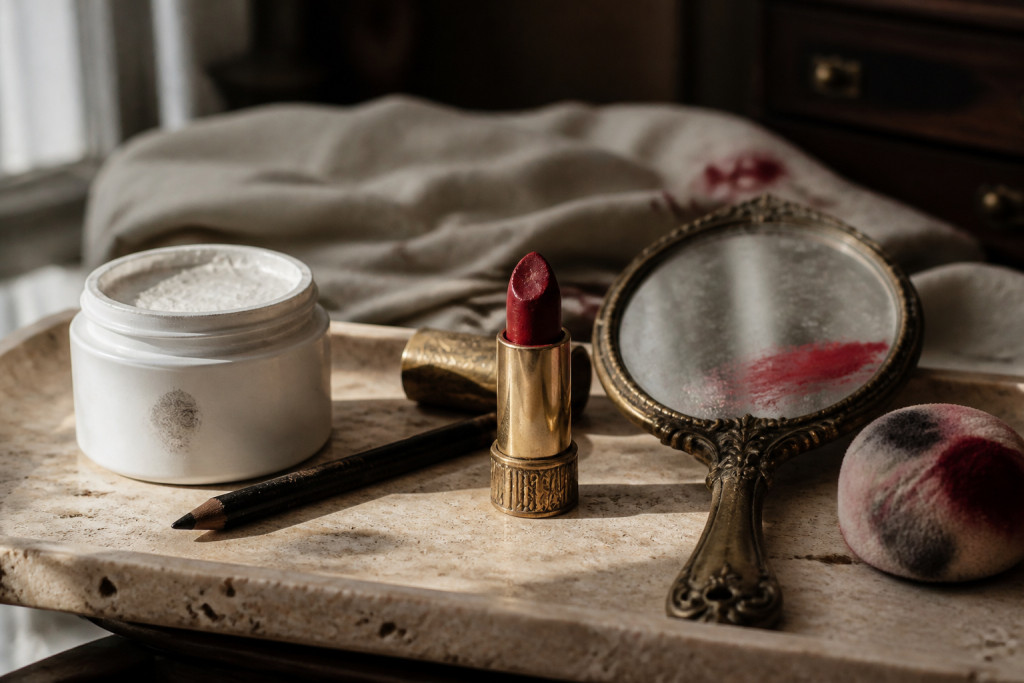
Result: a grin that looks photographed from the inside of a nightmare. I used a thin black kohl to draw a stitched shadow below a white toothy smile, then smudged it with a small brush. The trick is to dilute face paint with setting spray for a baked, cracked look. I paid around $9 to $18 for the paint and the pencil, found at a drugstore aisle one rainy Saturday. People actually backed away at my office Halloween party.
Shop this idea:
2. Runny Watercolor Tears
Style: Moody Art | Budget: Under $25 | Best For: Round faces / Sensitive skin
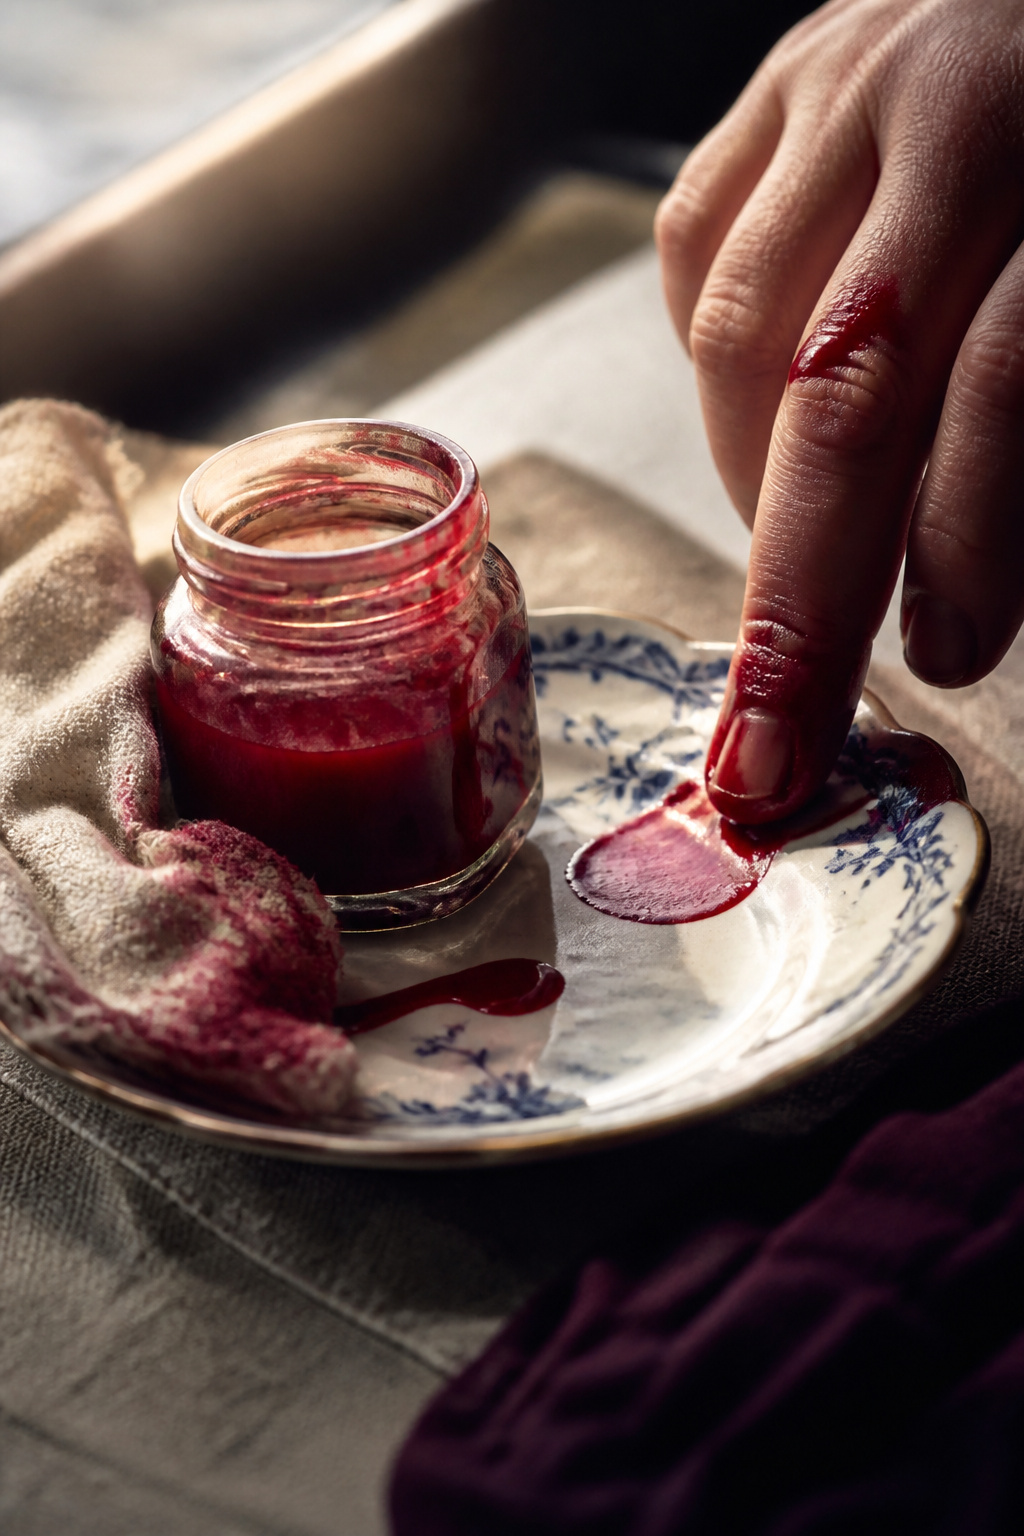

I painted bleeding watercolor tears in deep cardinal and let them run. Use a lightweight cream pigment like a red lip stain mixed with glycerin for controlled drip. A trick I learned is to blot the first drip, then coax a second for asymmetry. Bought the stain for about $12 to $20 online. Ugly truth: too much gloss makes the runs look amateur. My roommate called it art, then locked the door.
Shop this idea:
3. Doll Face With Cracked Porcelain
Style: Vintage Creepy | Budget: Under $35 | Best For: Mature skin / Medium coverage bases
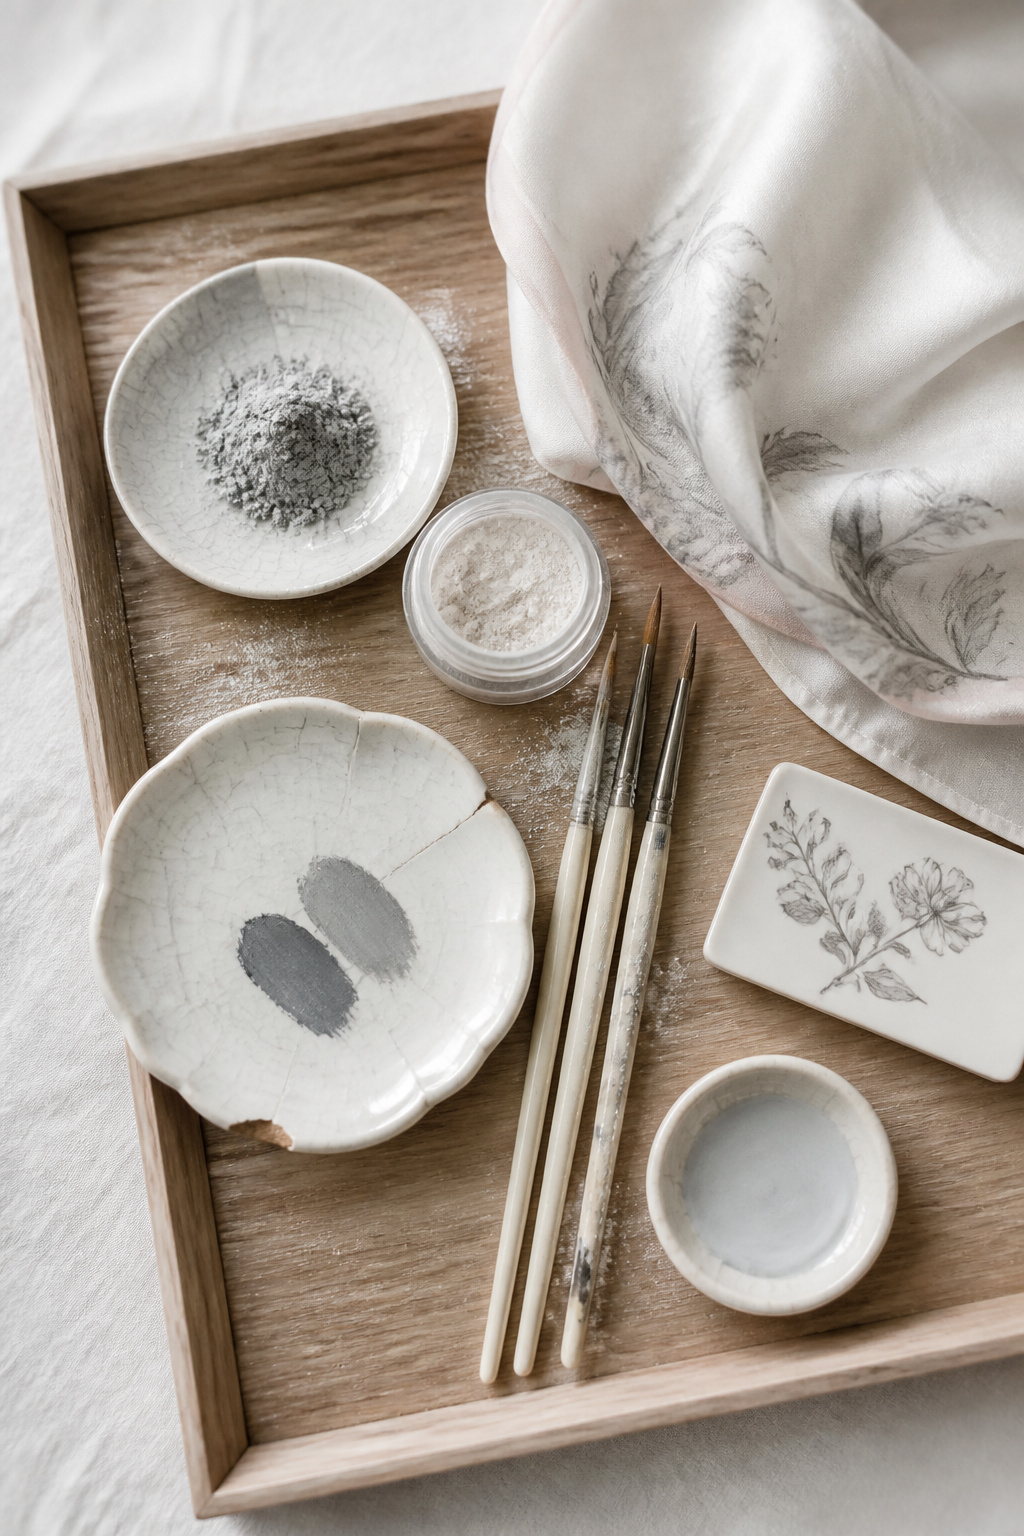

I built a porcelain doll face and then hairline-cracked the finish. Layer a thin white cream base, set with translucent powder, then use cool grey eyeliner to map hairline cracks. The price for a quality cream base was around $18 to $30 for a travel size I grabbed at Ulta during a weekday sale. Ugly truth: airbrushing hides cracks better, but it also flattens the texture. A friend asked if my face was a vintage doll, in the nicest way.
Shop this idea:
4. Grinning Teeth Cut-Out
Style: Gore Minimal | Budget: Under $20 | Best For: Small mouths / Night events


I painted a wide toothy grin with white paint then carved gaps with black liner to simulate cut-out teeth. Tip: use a matte long-wear lipstick as the red base for lasting color. I spent about $6 to $14 on the lipstick at a beauty kiosk and learned that shiny finishes read as campy rather than sinister. Someone screamed at a subway stop once, then texted to say "best costume ever."
Shop this idea:
5. Hollowed-Out Eyes With Glow
Style: Neon Horror | Budget: Under $40 | Best For: Nightclubs / Festival looks
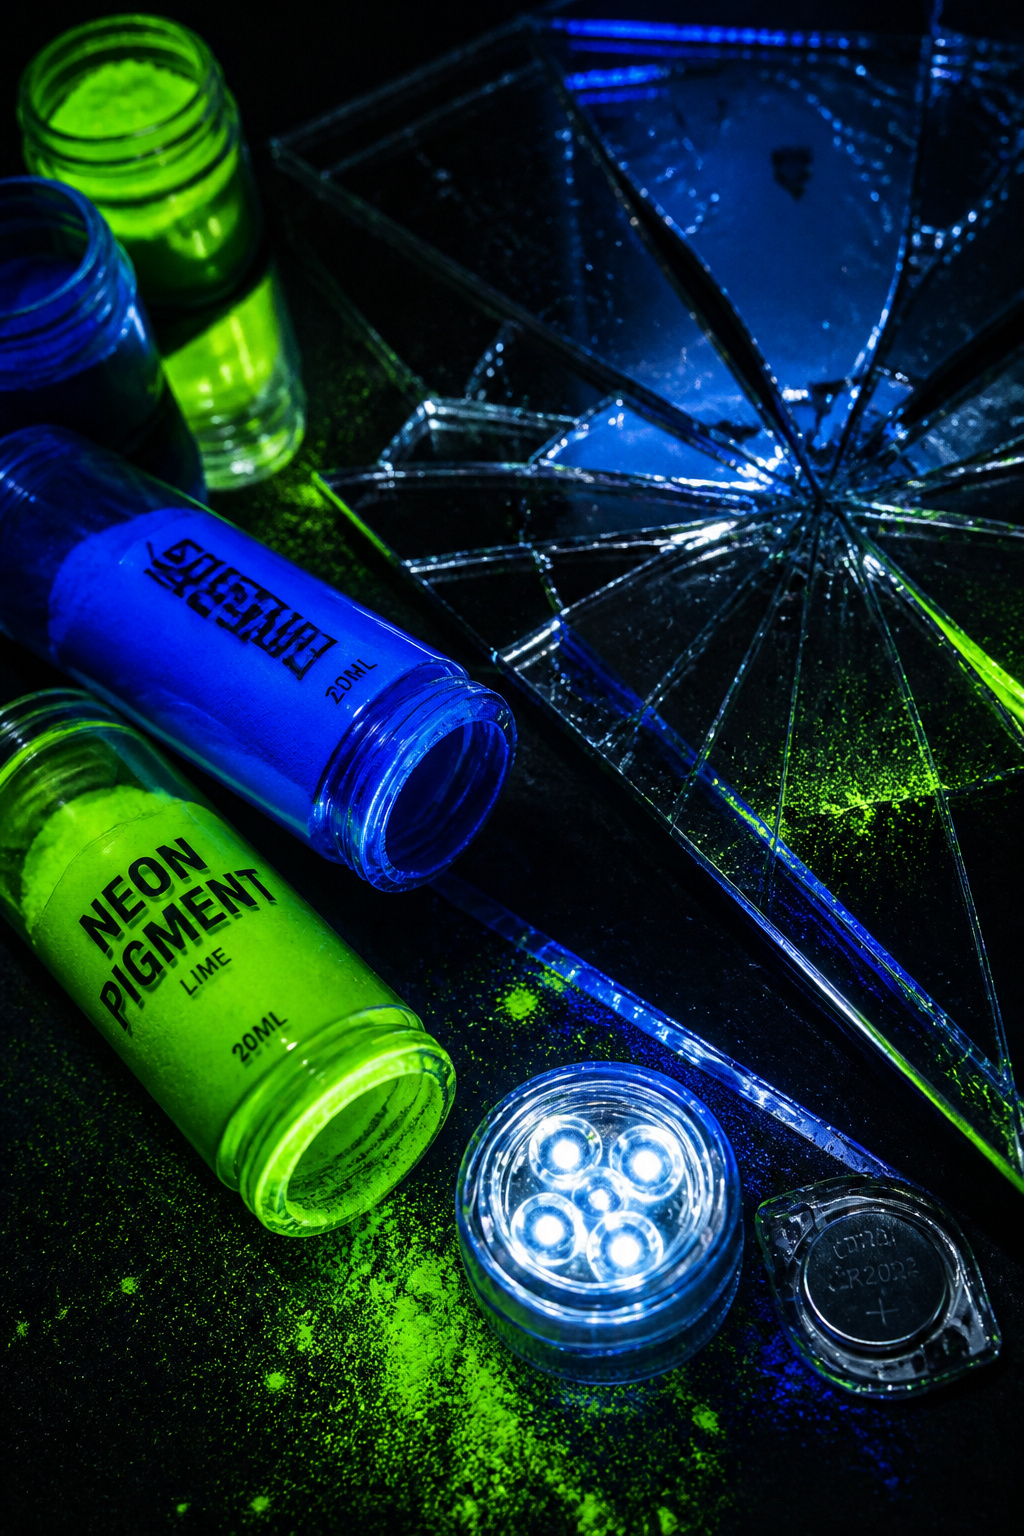

I hollowed the eye sockets in matte black, then layered neon pigments at the edges for an inner glow. Use a cream black base, set it, and pack neon pigment with a damp brush for intensity. I paid around $15 to $28 for pigments and a small LED puck to test in dim light. Ugly truth: neon fades without a sticky base. At a late-night show people took photos like it was a performance piece.
Shop this idea:
6. Puckered Lips and Overdrawn Smile
Style: Sleek Cruelty | Budget: Under $22 | Best For: Full lips / Close-up photos
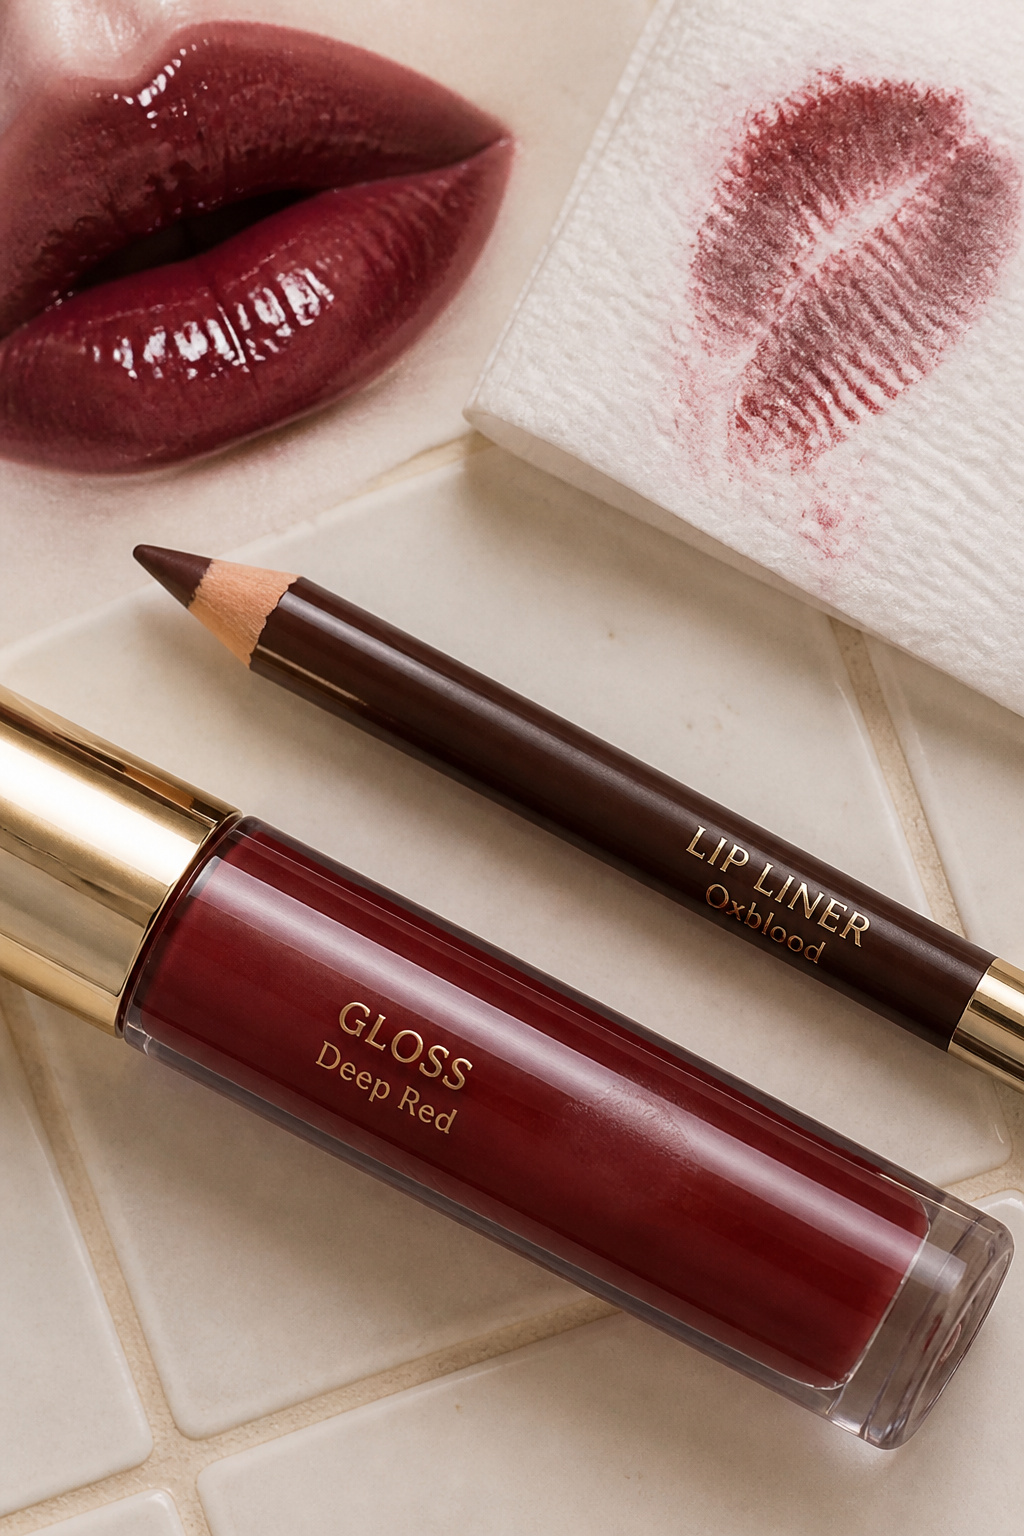

I overlined lips into a crescent smile and filled with a high-shine deep oxblood. Tip: sketch the overline with a brown liner, then blend toward the border for realism. The liner cost me roughly $8 to $14 and I found the exact shade at a local Sephora clearing bin. Ugly truth: too glossy and the smile looks photoshopped. Someone asked if I had film makeup on because it read so unreal.
Shop this idea:
7. Half Face Melt
Style: Body Horror | Budget: $25 to $60 | Best For: Oval faces / Costume contests


I sculpted a half-melt using prosthetic wax and spirit gum, then painted raw flesh tones and glossy red. Application tip: warm the wax in hands and press in thin layers for believable drips. This kit ran about $25 to $60, I bought the wax set online and practiced three times. Ugly truth: spirit gum stings if applied to irritated skin. A judge at a small convention whispered "how did you do that" and I felt proud.
Shop this idea:
8. Checkerboard Eyes And Pinpoint Pupils
Style: Graphic Scare | Budget: Under $30 | Best For: Wide-set eyes / Editorial photos


I stamped a tiny checker pattern around the eye socket and painted pinpoint pupils for a doll-like stare. Use waterproof pigment and a small stamp for uniform squares. The mini stamp cost around $8 to $16 and was an impulse buy from an indie seller. Ugly truth: stamping freehand looks messy; practice on paper first. A photographer complimented the geometry and asked to shoot more.
Shop this idea:
9. Blood Veins and Pale Base
Style: Medical Creepy | Budget: Under $20 | Best For: Pale skin / Close-up gore


A thin, ghostly base plus purple-red vein lines makes the face look medically wrong. Paint veins with a fine liner in burgundy, then glaze with a pale translucent powder. I paid about $7 to $15 for a mini liner brush and immediately regretted not practicing on my wrist first. Ugly truth: overdoing blue veins reads cartoon rather than disturbing. My partner asked me to stop watching medical shows before trying this.
Shop this idea:
10. Mirror-Faced Clown with Negative Space
Style: Minimal Terror | Budget: Under $45 | Best For: Minimalists / Photo edits


I left negative space where the face should be and applied mirrored shards and glossy gel around the mouth. Use cosmetic-grade glass pieces and a clear gel adhesive to avoid irritation. The mirror kit and gel came in around $30 to $45 and I glued one shard slightly lopsided on purpose. Ugly truth: shards can snag hair, so pack them densely and avoid windy parties. On camera the reflections read like a broken identity, which creeped out even my regular makeup group.
Shop this idea:
11. Childlike Smudge With Acid Colors
Style: Chaotic Pop | Budget: Under $28 | Best For: Youthful skin / Club nights


I layered neon smudges like a kid grabbed colors and never stopped. Use cream neon crayons and tap for smudgeable, lived-in edges. I spent about $10 to $22 on assorted neon crayons at a party-supply store and found the worst combo is neon pink with glossy finish. Ugly truth: neon needs a matte base to look threatening rather than playful. My co-worker asked if I’d swapped my daytime personality for a rave filter.
Shop this idea:
12. Greasepaint Monochrome With Single Red Dot
Style: Silent Film Scare | Budget: Under $18 | Best For: DSLR portraits / Black-and-white looks


I painted the face monochrome and added one precise scarlet dot on the forehead for an eerie focal point. Use greasepaint for opaque coverage and a tiny brush for the dot. The greasepaint pot cost about $6 to $14 and I actually tested it under studio strobes. Ugly truth: full monochrome hides skin dimension, so add faint contour to avoid flattening. An amateur photographer snapped one shot and said it looked like an old silent movie villain.
Shop this idea:
13. Retro Pierrot With Smudged Runway Liner
Style: Cabaret Nightmare | Budget: Under $30 | Best For: Narrow faces / Stage lighting


I went classic Pierrot with exaggerated teardrops and smudged runway liner that bled into the cheek. The trick is a waterproof liner for the initial tear, then soften with a damp brush for that lived-in run. I paid about $9 to $18 for the liner and wore it during a windy outdoor shoot; the smudges read cinematic. Ugly truth: waterproof liners can be stubborn to remove. Someone from the theatre called it "perfectly tragic."
Shop this idea:
What You'll Need to Get This Look
Face & Base Essentials
- Cream white face paint pot around $8 to $18
- Translucent setting powder around $10 to $30
- Cream black base around $12 to $30
- Prosthetic modeling wax around $15 to $60
Eyes, Brows & Lips
- Precision black eyeliner around $6 to $18
- Fine liner brush around $5 to $15
- Matte red lipstick bullet around $6 to $22
Clothing Staples
- Oversized black blazer around $30 to $120
- High-collar white blouse around $20 to $60
Shoes, Bags & Jewelry
- Black patent ankle boot around $40 to $150
- Chunky gold hoop earrings around $8 to $40
Budget Swaps
- Creme red lip stain dupe around $6 to $12 (drugstore)
- Spirit gum alternative adhesive around $6 to $18 (theatre makeup supply)
Shopping Tips for These Looks
- Shop the off-season: Buy prosthetic wax and pigments after Halloween when indie sellers mark down. I picked a wax kit in November for about $10 less. Prosthetic modeling wax
- Test small first: Buy travel sizes to practice texture tricks before committing to full kits. Travel pots cost around $6 to $18. Cream white face paint pot
- Thrift the wardrobe: A vintage high-collar blouse from a thrift shop reads better than fast fashion for these looks. Look for crisp collars and low wear. High-collar white blouse
- Use adhesive-safe mirrors: Cosmetic mirror shards are more forgiving than real glass and won’t snag fabric. Buy cosmetic-grade pieces only. Cosmetic mirror shard kit
- Follow 2025 texture play: Cream-under-powder layering is trending for longevity, so pack a cream base then lightly powder for grit. Translucent setting powder
Frequently Asked Questions
Q: How do I remove heavy clown makeup safely?
A: Use an oil-based cleanser first to dissolve products, then double cleanse with a gentle gel. I recommend a balm cleanser for prosthetics. Try Oil balm cleanser for stubborn adhesives.
Q: Will white face paint look patchy on deeper skin tones?
A: It can, if you use chalky formulas. Layer cream bases and blend edges, then set with translucent powder. A cream white base in a travel size helps control opacity. Cream white face paint pot
Q: Can I reuse prosthetic wax pieces?
A: Yes, with care. Clean gently, store in a sealed bag, and recondition with a tiny amount of wax or petroleum. Buy modeling wax extras for practice. Prosthetic modeling wax
Q: What’s the cheapest way to make runs look real?
A: Use diluted lip stain plus a drop of glycerin to guide drips. Glycerin controls flow so runs look intentional. Makeup glycerin dropper
Conclusion
Start with one small element, like a smudged liner or a single painted tear, and build confidence. My favorite trick is practicing the worst-looking sketch three times, then committing once. Which of these 13 looks would you try first, and where would you wear it?


